Curling edges on glue-down cork almost always trace back to three spots: subfloor prep, the adhesive you grab, and the roll-down step after the tile is set. Skip any one of those and the tile lifts within a season, no matter how good the cork itself is. Here is where each mistake hides, and how to catch it before you ever spread glue. These three trouble spots are just part of the picture, so for the fuller rundown of failure patterns I run into on cork jobs, see 6 cork flooring failures and what actually lasts.
Key takeaways
- Curling or lifting edges on glue-down cork come from a bad subfloor or skipped rolling, not from the cork itself.
- Match the glue to the tile: Jelinek Cork's 10-year warranty requires true contact cement, while many maker sheets that say 'contact adhesive' actually mean a roll-on pressure-sensitive glue.
- Test concrete slabs for moisture and check flatness with a straightedge before you spread any adhesive.
- Press every tile with a non-marking segmented roller (a small paint-roller-style tool with gaps in it) so the whole back transfers into the glue.
- Glue-down cork outlasts floating cork in bathrooms, kitchens, and heavy traffic because there is no floating seam to swell or gap.
Glue-Down vs Floating Cork: Which Actually Lasts Longer?
Glue-down lasts longer in the rooms that punish a floor. It bonds every tile flat to the subfloor, so there is no floating seam left to swell, gap, or lift. That's why it beats floating cork in bathrooms, kitchens, and high-traffic rooms.
Floating cork goes in faster and is friendlier for a first-timer. But it rides on click-together seams, and once moisture works its way underneath, those seams can telegraph and lift. Glue-down has no seam to lift because the whole tile is stuck down. If a click-together install still appeals to you despite that risk, cork laminate flooring offers a similar floating system with a tougher wear layer worth comparing.
Here is a rough sense of the cost, though actual bids vary by region, tile brand, and job size. Cork tiles themselves often run somewhere in the $3 to $8 per square foot range. Adhesive typically adds roughly $0.50 to $1.50. Glue-down labor tends to run around $2 to $5 per square foot, higher than floating because of the extra prep and rolling time. Small rooms with lots of cuts, stairs, and below-grade basement jobs all cost more per foot than a big open room, so budget above the low end for those. Before you shop by price alone, cork floor tiles and plank options breaks down how format and pattern affect that per-square-foot number.
Repairs are the trade-off. Swapping one glued tile is harder than popping out a floating plank. But a floor that was glued right rarely asks for that repair in the first place.
| Cost piece | $ per sq ft |
|---|---|
| Adhesive | $0.50 - $1.50 |
| Labor (glue-down) | $2.00 - $5.00 |
| Cork tiles (material) | $3.00 - $8.00 |
Cost per square foot for a glue-down cork install, split into material, adhesive, and labor. Drawing is not to scale.
Contact Cement vs Pressure-Sensitive Adhesive: What to Actually Buy
Buy the exact glue your tile maker names, because "contact adhesive" on a box does not always mean true contact cement. Some makers print "contact adhesive" but ship, or expect, a roll-on pressure-sensitive glue instead of the solvent-based contact cement. Grabbing the wrong one off the shelf is a real cause of failure.
Contact cement grabs the instant the two coated surfaces meet. There is no repositioning once the tile lands, so both the tile back and the subfloor get coated and left to flash first. Flash just means letting the coat go tacky before you touch the two sides together.
Pressure-sensitive adhesive, often called PSA, goes on the subfloor only. It stays tacky and gives you a working window to nudge tiles into line. That forgiveness is why first-timers often prefer it.
There is a warranty angle you cannot ignore. Jelinek Cork's 10-year warranty requires true contact cement, so using a pressure-sensitive glue on those tiles can void the coverage. Follow the specific tile maker's own sheet, not what a neighbor used.
| Adhesive | How it bonds | Working time | Coats | Notes |
|---|---|---|---|---|
| Contact cement | Instant grab the moment surfaces touch | None once the tile is placed | Both tile back and subfloor, then flashed | Required for Jelinek Cork's 10-year warranty |
| Pressure-sensitive (roll-on) | Stays tacky, tiles can be adjusted | Longer open window to align tiles | Subfloor only, troweled or rolled on | What many maker "contact adhesive" sheets actually mean |
Source: Jelinek Cork's stated warranty terms
How the two cork adhesives differ in bond, working time, and where each coat goes.
Check the Subfloor First (This Is Where Edge Lift Starts)
Edge lift almost always starts under the tile, not on top of it, so the subfloor gets checked before any glue comes out. Cork is thin and telegraphs every bump, which means a floor that isn't flat shows up as rocking, gapping edges within a season.
Lay a long straightedge, roughly 6 to 10 feet, across the floor and look for daylight under it. Fill the low spots with floor patch. Grind or sand the high spots down. The goal is simple: every tile back sits in full contact with the adhesive, with nothing to rock on.
Moisture is the other edge-lift culprit, and it works from below. On a concrete slab, run a slab moisture test before you glue, either a calcium chloride test or an in-slab relative-humidity probe. These moisture-testing methods fall under the flooring standards that ASTM International's Committee F06 (resilient floor coverings) maintains, so follow whichever specific test your adhesive manufacturer calls for. If the adhesive sheet calls for it, prime a porous slab. The slab or wood subfloor also has to be clean, dry, and sound, with no dust, paint, or old adhesive left behind.
Then acclimate the cork by the box's own sheet, not a rule of thumb from a forum. Some cork products want a few days in the room; others say it isn't needed at all. The box wins that argument.
How to Glue Down Cork Tiles Step by Step
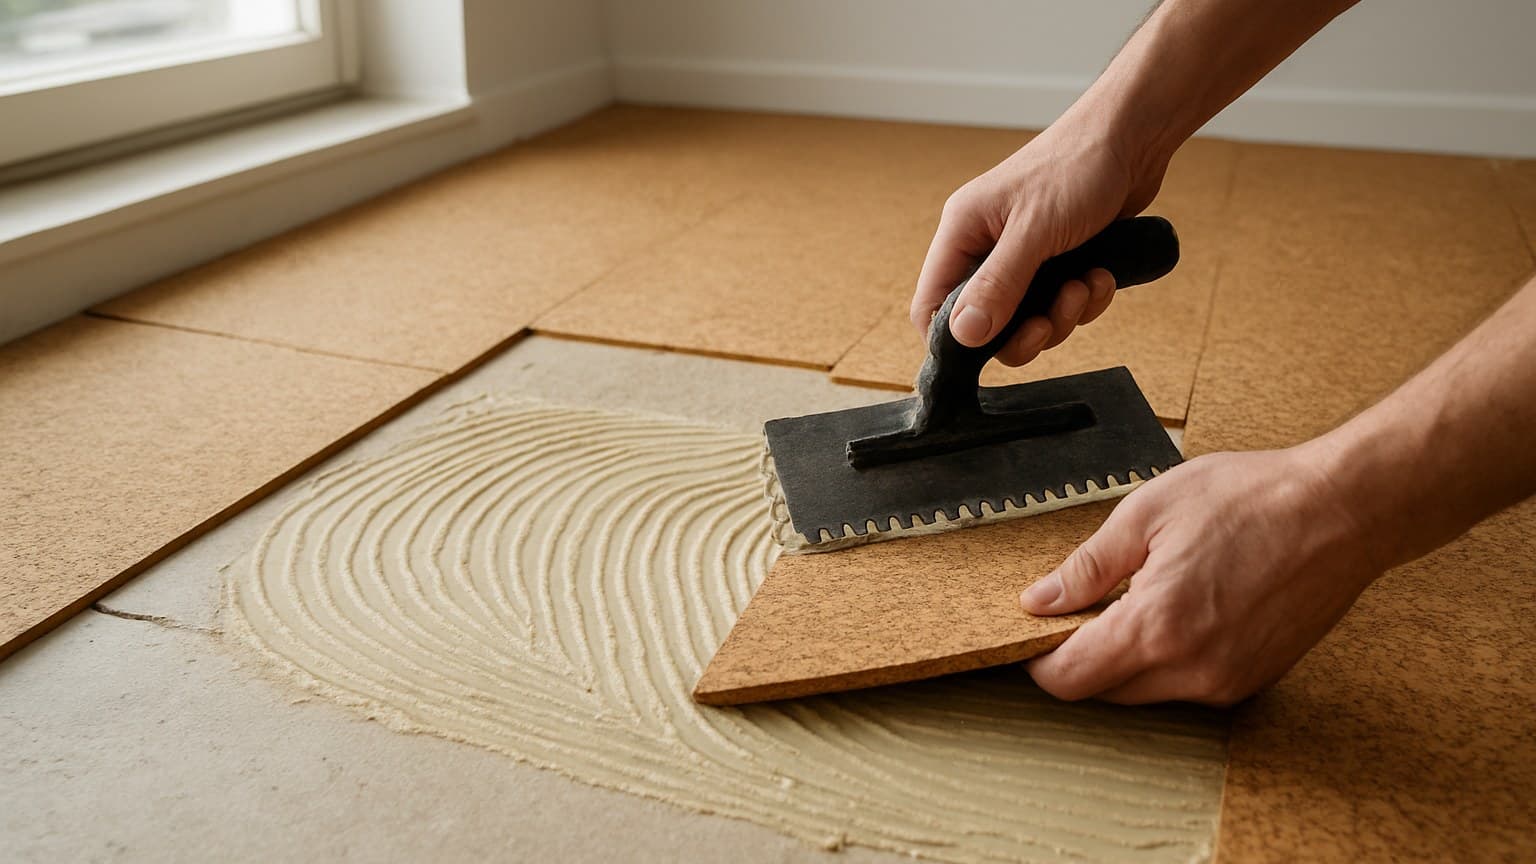
Work from the center out, glue one section at a time, and roll every tile. That sequence is the whole job, but glue-down is a one-shot install, once contact cement grabs there's no repositioning, and a rushed section means cutting tile back out. If you're not comfortable working a notched trowel against a flash-time clock, this is one of those jobs worth hiring a pro for. Here is how it goes in order.
Dry-lay first. Snap layout lines from the center of the room so your border tiles don't land as thin slivers along the walls. Spread adhesive with the notched trowel size the maker specifies, working one manageable section at a time. Wait the flash or open time listed on the adhesive sheet, which is the tacky window when the glue is ready to take the tile.
Set square-edge tiles tight and butt them together with no gaps, working off your snapped lines. There is no locking edge and no tongue-and-groove on these tiles, so your alignment and full contact do the job a click seam would. Pre-finished cork is done once it cures. Unfinished cork still needs sealing before it takes traffic or water. That same square-edge, no-seam approach is exactly what you'll use if you ever build a cork board wall instead of a floor.
The Segmented Roller Step That Stops Edge Lift
The moment a section is set, roll the whole floor with a non-marking segmented roller. That is a small paint-roller-style tool with gaps cut into it, so the pressure presses evenly across the tile. According to the National Wood Flooring Association's (NWFA) installation guidelines, this rolling step is what forces the full back of each tile into the adhesive, the detail that actually stops edges from lifting later.
Then go back and re-roll the seams and edges specifically. Those are the first places to let go if any part of the back didn't transfer into the glue, so they get the second pass.
Sealing Unfinished Cork
Unfinished cork typically needs 2 to 3 coats of water-based urethane before it sees traffic or water. Let each coat dry per the finish can. Skip this and the raw cork drinks up spills at the seams, which is the fastest way to ruin a fresh floor.
| Step | Detail |
|---|---|
| Acclimate cork | Per the box; some products skip it entirely |
| Layout and dry-lay | Snap center lines, plan borders so edges aren't slivers |
| Spread adhesive | Maker's notched trowel size, one section at a time |
| Flash / open time | Wait the tacky window listed on the adhesive sheet |
| Set tiles | Butt square edges tight, no gaps, off the snapped lines |
| Roll the floor | Non-marking segmented roller right away, then again at seams and edges |
| Cure | Stay off the floor per the adhesive sheet |
| Seal (unfinished only) | 2-3 coats of water-based urethane |
Source: NWFA installation guidelines
The full glue-down cork sequence from acclimation through sealing, in the order the work happens.
Where Glue-Down Cork Works Best (Bathrooms Included)
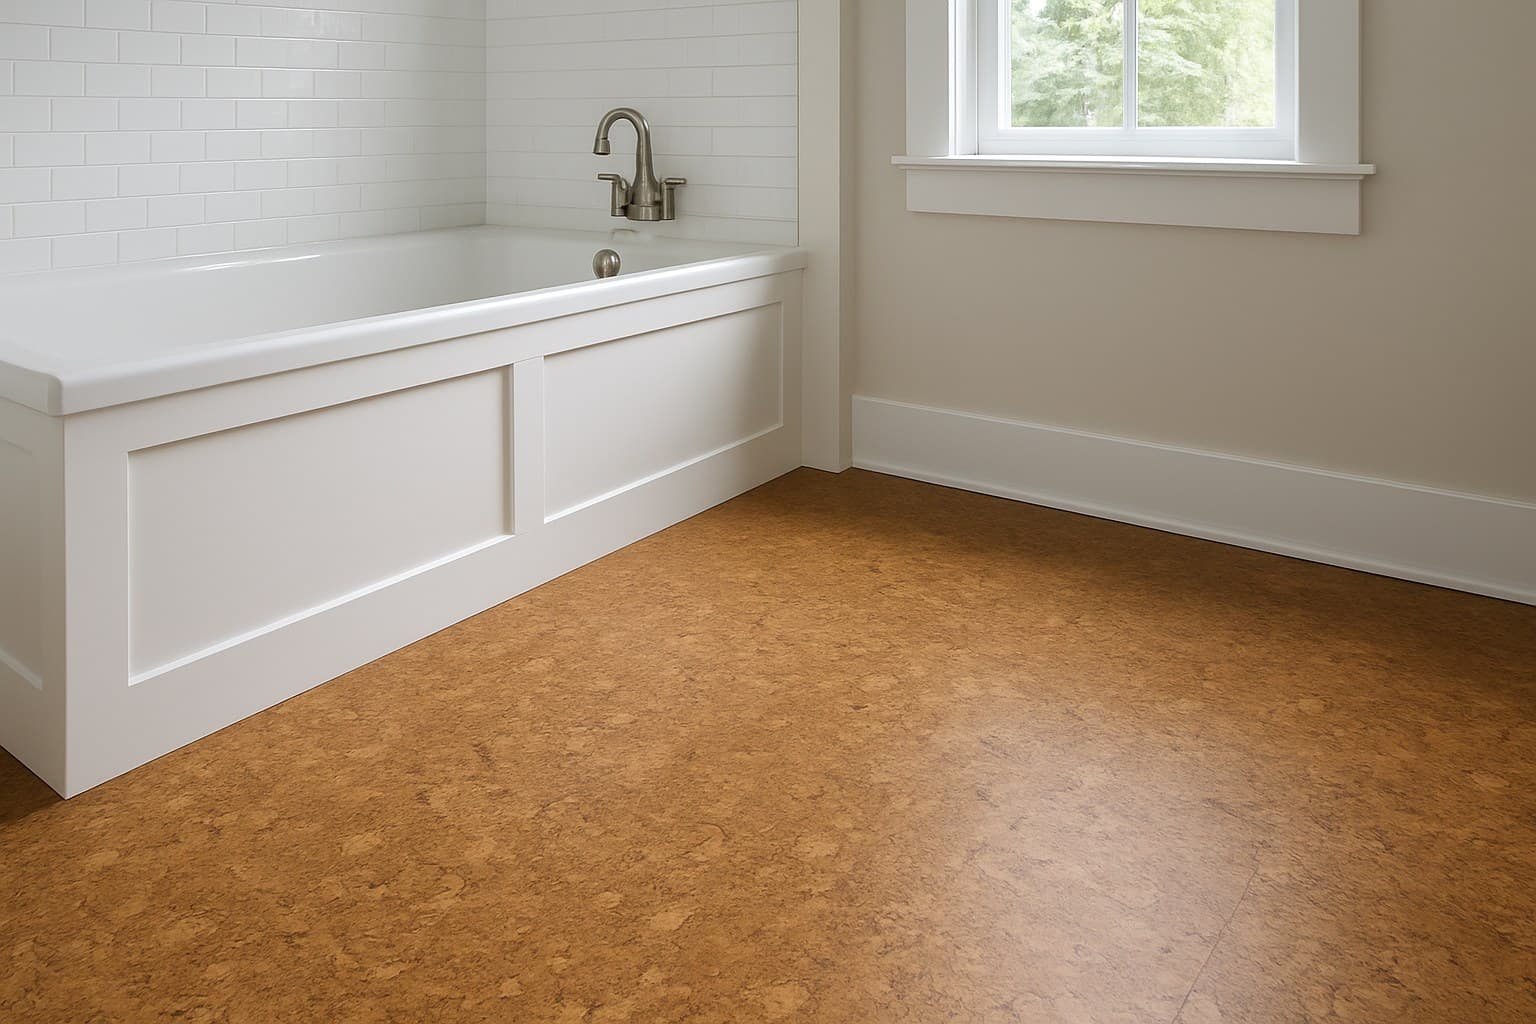
Kitchens, bathrooms, entryways, and heavy-traffic rooms are where glue-down earns its keep over floating cork. There is no floating seam sitting over the moisture, so there is nothing to swell or gap when the room gets damp. If you want cork in a wet or busy room, this is the install method.
Cork in the Bathroom
Glue-down cork sealed with water-based urethane handles splashes well, but be clear on the limit: it is water-resistant, not waterproof. Standing water and unsealed seams still cause failure. So seal every seam and edge, not just the tile faces, use glue-down rather than floating over any damp area, and wipe up standing water fast before it can sit at a seam. For the fuller picture on what cork can and can't take, waterproof cork flooring walks through where the "waterproof" label really applies.
Two more things I tell every client. Cork is soft and dents, so put protectors under heavy furniture and swap hard casters for soft ones before the couch ever lands. And strong direct sun fades cork over time, so factor that into a bright room. If you're still weighing whether cork is right for your space at all, the cork flooring pros and cons breakdown lays out the trade-offs before you buy.