
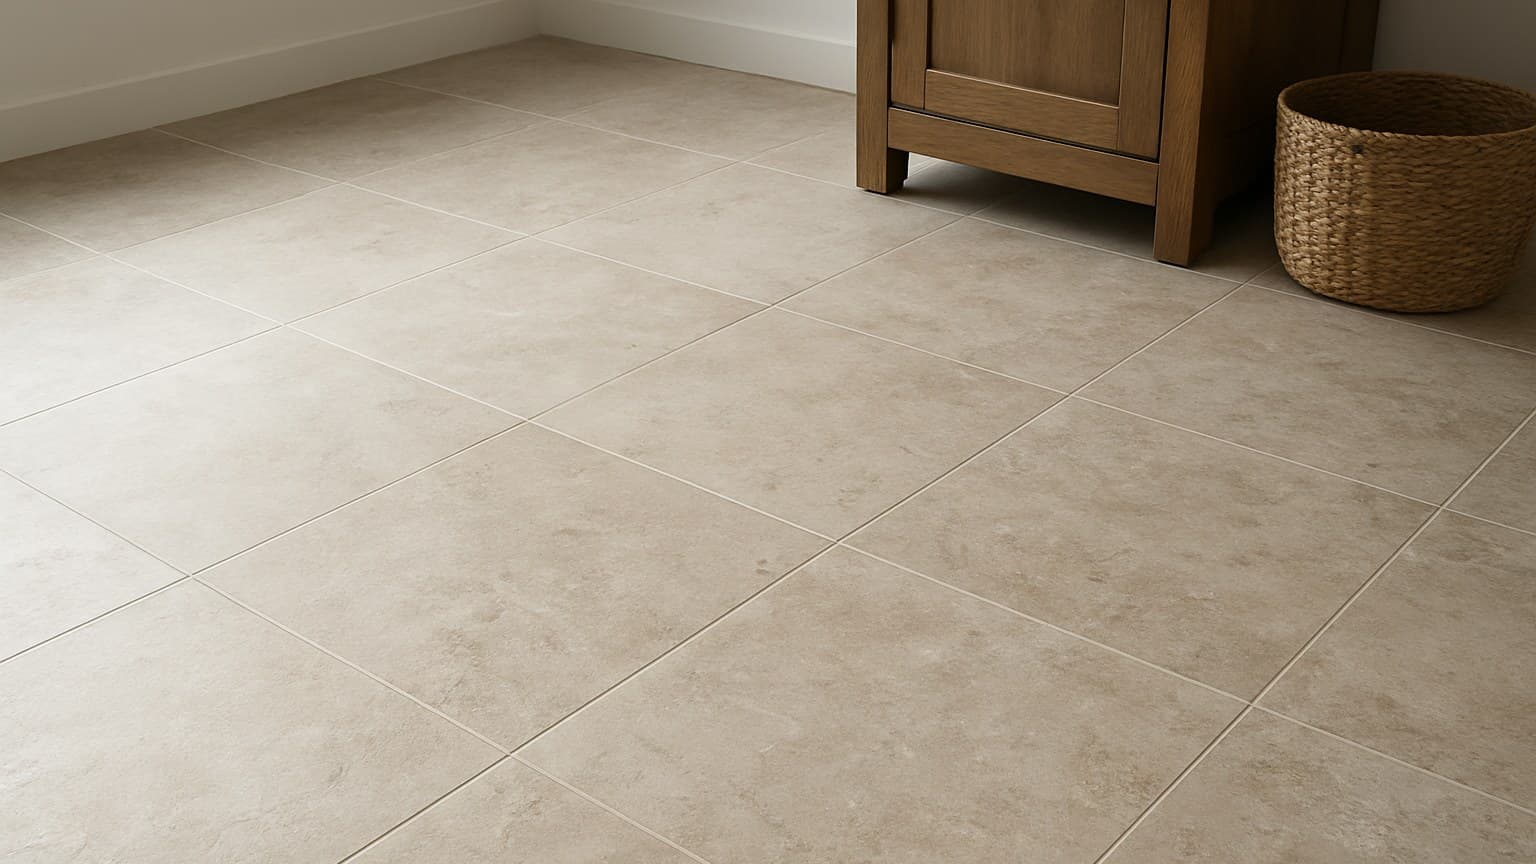
A customer outside Sacramento called me back three months after her bathroom remodel because her shower floor turned into a skating rink every time the water hit it. She'd picked that tile off a showroom photo, the same stone-look pattern I'd just laid in a dry entryway on another job two weeks earlier, but it had zero grip rating for wet feet. That kind of callback is exactly what I break down in my rundown of the factors that decide whether a stone tile floor lasts, but here's the order I actually check things in on a job so that doesn't happen to you.
Key takeaways
- Pick by the room first: for any floor walked on while wet, look for a wet DCOF of at least 0.42 (the ANSI A326.3 recommendation).
- Match the PEI wear rating to traffic. PEI 3 covers most rooms; step up to PEI 4 for entryways and busy kitchens.
- Budget both parts: standard stone look porcelain runs about $3-10 per sq ft for the tile plus roughly $5-12 per sq ft labor, and large-format, showers, and stairs cost more.
- Matte and textured finishes grip better wet; honed and polished look richer but turn slick on a wet floor.
- Large-format slabs need a dead-flat subfloor, two sets of hands, and special tools. That is a hire-a-pro job, not a first tile project.
Step 1: Start With the Room, Not the Tile
The room decides everything else, so read it before you fall for a tile. Its traffic level, how much moisture it sees, and whether feet land on it while it's wet set the numbers you shop with. Skip that and you're buying on looks alone.
Rate your room in about a minute. First, traffic: high (an entry or a busy kitchen) or low (a bedroom or a guest bath). Second, moisture: dry, occasionally damp, or truly wet underfoot. Third, and this is the one people forget: does water actually sit where feet come down, like a shower floor or the spot inside a back door on a rainy day.
Here's a habit from my own jobs. I count closets, doorways, and wet zones on their own, separate from the open floor, because that's where both the spec and the labor hours climb. The middle of a room is never where the time or the risk goes. It's the corners, the thresholds, and anywhere water pools. That quick read is what feeds the five checks below, so you walk into the store with numbers instead of a pretty picture.
Step 2: Check the DCOF Slip Number Before Anything Wet
For any floor that gets walked on while wet, look for a wet DCOF of at least 0.42. DCOF stands for dynamic coefficient of friction, which is just a lab score for how much grip a tile has when it's wet and you're moving across it. Higher means more grip.
That 0.42 figure comes from ANSI A326.3, the US tile slip standard set by the American National Standards Institute. It's the recommended floor for interior tile expected to be walked on when wet. Dry-only floors like a bedroom don't need to hit it, but a kitchen, a bath, or an entry should.
You find the DCOF on the manufacturer's spec sheet, not the display card. If a tile lists no DCOF at all, treat that as a no for showers and other wet floors. A missing number is a number you can't trust.
One caution: higher isn't automatically better. Very rough, heavily textured tiles grip hard but trap grit and are a pain to clean, so match the grip to the room instead of maxing it out.
| Area | Minimum wet DCOF | Note |
|---|---|---|
| Dry interior floor (bedroom, closet) | No minimum needed | Choose for looks and comfort |
| Floor walked on wet (kitchen, bath, entry) | 0.42 or higher | The ANSI A326.3 floor for wet-walked areas |
| Shower floor / wet room | 0.42 or higher | Small tiles add grout lines that boost grip |
| Exterior patio / pool edge | Textured, above 0.42 | Follow the maker's outdoor rating |
| Source: ANSI A326.3 slip recommendations |
Minimum wet DCOF I look for by area of the home.
Step 3: Match the PEI Wear Rating to the Room
PEI tells you how much foot traffic the tile's surface can take before it starts to dull. It's a 1-to-5 scale from the Porcelain Enamel Institute, and it's on the same spec sheet as the DCOF. Most rooms in a house want PEI 3 or higher.
Read it as a range you rule tiles in or out with. PEI 1 is walls only. PEI 2 is light traffic like a guest bath. PEI 3 covers normal residential floors. PEI 4 handles heavy home use, so it's my pick for entryways and busy kitchens. PEI 5 is built for commercial traffic you won't see in a house.
Don't overbuy, either. A PEI 5 tile in a bedroom is money spent on wear resistance you will never use up. Buy the rating the room earns, not the biggest number on the shelf.
| PEI rating | Where it fits |
|---|---|
| PEI 1 | Walls only, no foot traffic |
| PEI 2 | Light traffic, guest baths |
| PEI 3 | All normal residential floors |
| PEI 4 | Heavy home use: entry, kitchen, light commercial |
| PEI 5 | Heavy commercial traffic |
| Source: Porcelain Enamel Institute wear scale |
How the PEI wear scale maps to rooms in a house.
Step 4: Pick Format and Thickness (Tile vs. Large-Format Slab)
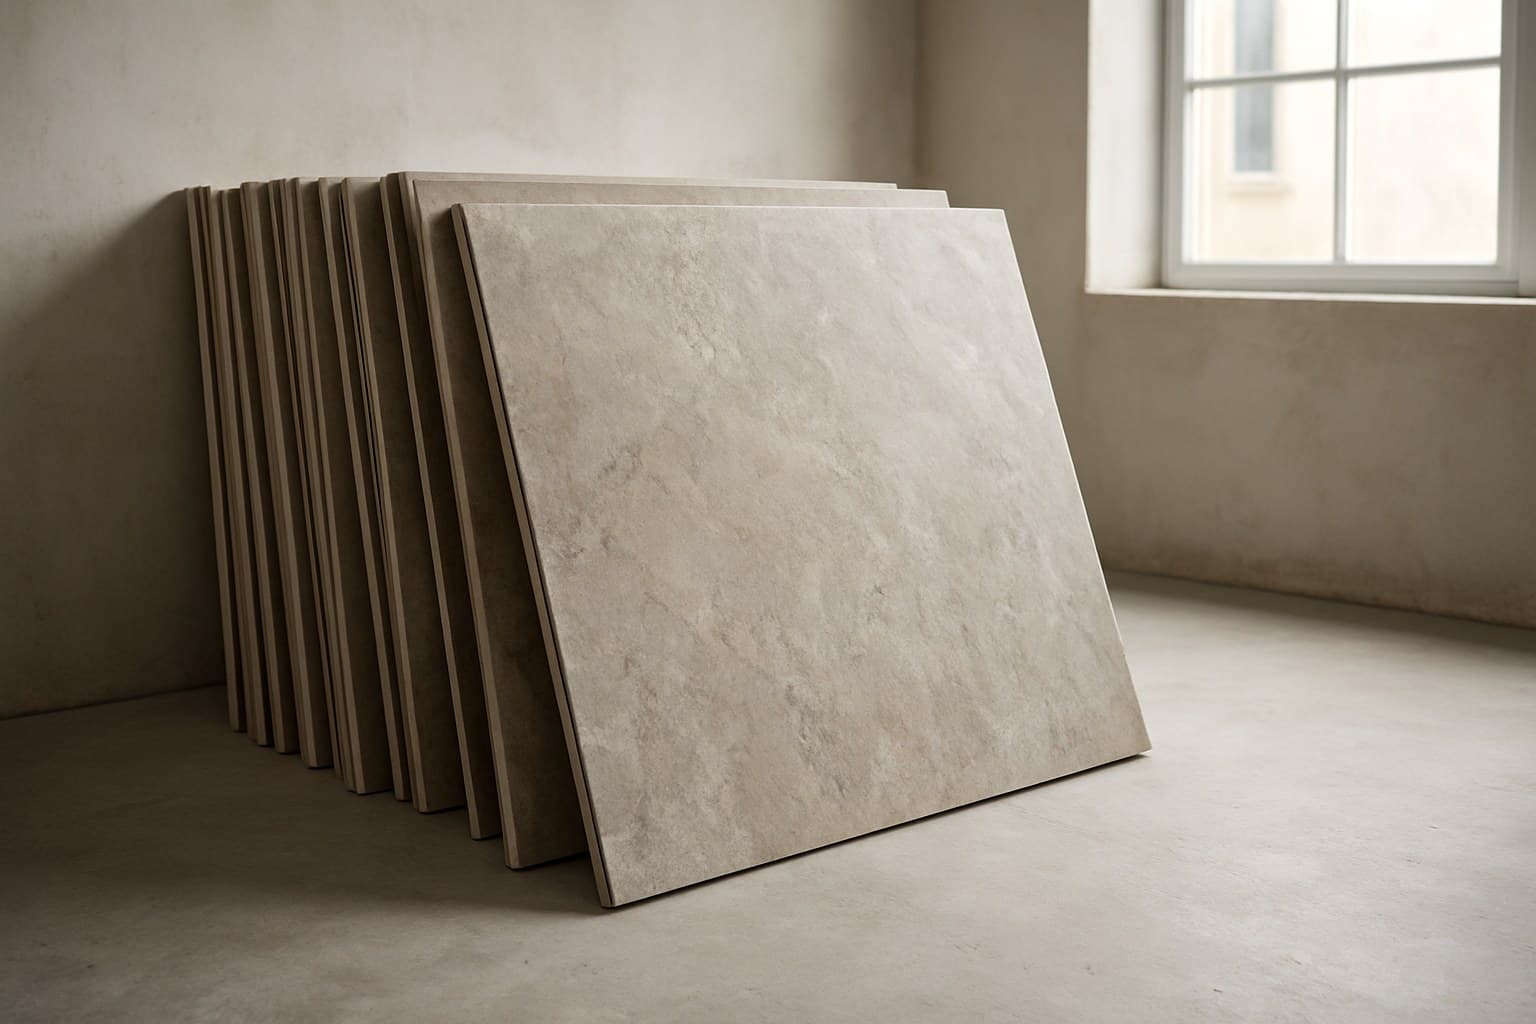
Format is where the job gets easier or a lot harder. You'll see everything from small mosaics and 12x12 squares up to large-format slabs that come in a few thicknesses: 6mm, 12mm, and 20mm, with 20mm being the heavy outdoor paver weight. The bigger and thinner the piece, the more the handling matters.
You'll also run into rectified versus non-rectified edges, and it changes how the finished floor looks. Rectified means the edge is machine-cut dead straight, so the tiles sit tight together with a thin grout line. Non-rectified keeps the slightly rounded factory edge, which needs a wider grout line to look even. If you want a tight, slab-like joint, you want rectified.
Large-format is a different animal from a box of 12x12s. The big panels crack if you mishandle them, they need a very flat subfloor, they take two people to place, and they call for suction handles and a big straight-cut setup. That's a hire-a-pro job, not a weekend first project.
So here's the trade-off. Bigger tiles mean fewer grout lines and a look closer to a solid stone slab, but they are far harder to install than a standard tile. If you're doing it yourself, a standard rectified tile gets you most of the look with a fraction of the risk.
Step 5: Choose the Finish (Matte, Honed, or Textured)
Your DCOF need from Step 2 should pick the finish, not the other way around. Matte and textured surfaces give the best grip on wet and high-traffic floors, and they hide smudges and footprints better than anything shiny. That's what I put down in a bathroom or an entry almost every time.
Honed sits in the middle. It's a soft satin look with middling slip, fine for dry to lightly damp floors but not where water sits. Polished looks the richest of all, but it turns slick the moment it's wet, so keep it on walls and dry rooms only.
Watch the look you're chasing, too. Travertine and limestone looks usually come matte, which is exactly right for a floor. Marble looks tempt buyers toward polished, and on a bathroom floor that's the wrong call. Pick the finish that matches the room's grip need, then find the stone look you want inside that finish, not the reverse. When that polished marble look matters more than porcelain's grip trade-offs, marble-look LVT (luxury vinyl tile) sidesteps the slip issue entirely, though picking a convincing sheet takes its own eye, which is why I walk through how to spot fake-looking marble LVT in a separate piece.
Step 6: Set a Materials-Plus-Labor Budget for That Room
Always split the two. The tile price and the install price move on their own, and lumping them into one number hides where the money goes. On the jobs I quote, standard stone look porcelain runs about $3-10 per square foot for the tile, and large-format runs about $7-15. Standard install labor runs roughly $5-12 per square foot.
The premiums stack up on the hard stuff. Large-format panels, shower pans, and small cut-heavy rooms push labor toward $10-20 per square foot or more, because of the careful handling, the waterproofing, and all the extra cuts. A shower floor isn't priced like an open bedroom, and it shouldn't be.
That's the room reality. Basements, stairs, and showers cost more than an open floor, so price the specific room in front of you and never a flat whole-house rate.
| Cost item | Range ($/sq ft) |
|---|---|
| Standard tile materials | $3-10 |
| Standard install labor | $5-12 |
| Large-format materials | $7-15 |
| Large-format / shower labor | $10-20 |
Typical price ranges I quote for stone look porcelain, split into materials and labor, in dollars per square foot.
Your Room-by-Room Cheat Sheet
Here's the whole thing folded into one table. Find your room and read straight across for the minimum wet DCOF, the PEI to aim for, the format and finish I'd pick, and the one thing that trips people up in that room. Use it as a shortlist filter at the store, then confirm every number on the tile's own spec sheet before you buy.
| Room | Min wet DCOF | PEI | Format | Finish | Watch out |
|---|---|---|---|---|---|
| Entry / mudroom | 0.42+ | 4 | Standard or large-format, 10-12mm | Matte / textured | Grit tracks in; pick a finish that hides dirt |
| Kitchen | 0.42+ | 4 | Standard, rectified | Matte | Grease and spills; skip anything polished |
| Bathroom floor | 0.42+ | 3 | Standard or small tile | Matte | Wet feet; more grout lines add grip |
| Shower floor | 0.42+ | 3 | Small mosaic (2x2 or smaller) | Matte / textured | Grout lines and slope matter more than the tile |
| Living / bedroom | No minimum | 3 | Any, including large-format | Any, honed or polished fine | Dry floor; buy for looks, don't overpay on PEI |
| Basement | 0.42+ if damp | 3 | Standard | Matte | Check moisture first; damp slabs need testing |
| Fireplace surround | No minimum | 1-2 | Any | Polished fine here | Vertical or no-traffic, so slip doesn't apply |
| Patio / outdoor | Textured, 0.42+ | 4-5 | 20mm paver | Textured | Must carry the maker's outdoor and freeze rating |
| Source: my own install jobs, cross-checked to ANSI A326.3 |
My room-by-room shortlist for stone look porcelain tile.
One thing outranks the tile choice on every wet floor: the prep under it. A shower that isn't sloped right, or a slab that reads dry to the hand but not to a moisture meter (a small tool that reads how much water is in the subfloor), will fail no matter which tile you picked. I've relaid a floor on my own dime because I let a customer talk me out of a moisture test, and I don't skip it anymore.