
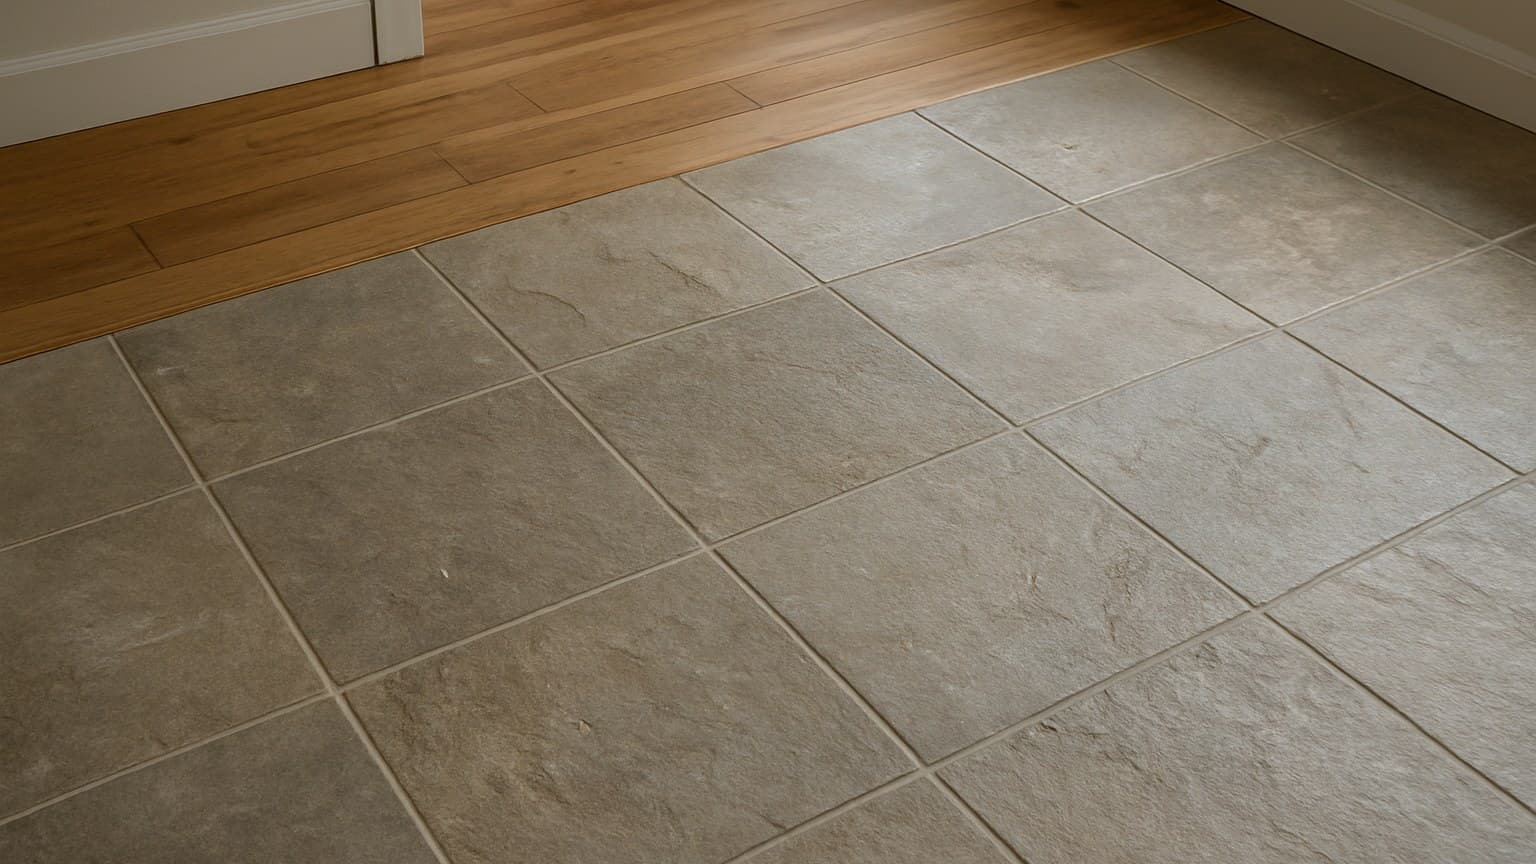
I've torn out stone tile floors barely two years old, and the tile itself was almost never the reason. What fails is the part nobody sees: the base under it and the install standards your setter did or didn't follow. Get those wrong and a stone tile flooring job turns into a tear-out instead of a floor you keep.
Here are the eight things that actually decide it, in the order I check them on a job.
Key takeaways
- Stone cracks over a bad subfloor, not a bad tile: flatness within about 1/8 inch over 10 feet and a real moisture reading come before anything else.
- Two ANSI standards decide wet-room jobs: A108.17 crack isolation under any slab that flexes, and A108.13 waterproof membrane in showers and bathrooms.
- For wet floors, look for a DCOF of at least 0.42 (ANSI A326.3) or an R10-R11 rating; polished marble is slick and belongs off the shower floor.
- Installed stone tile usually runs about $15-50 per square foot, split roughly $4-40 materials and $8-20 labor, with bathrooms and small cut-heavy rooms costing more per foot than open floors.
- Sealing isn't optional on porous stone: travertine and limestone may want resealing every year, denser granite and slate every 3-5 years.
1. A Subfloor Flat Enough That the Tile Never Flexes
Flatness comes first, because stone splits over a floor that moves, not over a bad tile. For most thin-set stone, aim for about 1/8 inch of variation over 10 feet, and tighter than that for large-format pieces. You find the trouble by laying a long straightedge across the floor and sliding a thin shim underneath it as you go, mark any spot where the shim slides in past 1/8 inch, and any spot where the straightedge won't sit flush because it's resting on a ridge.
Here's what happens if you skip it. A tile that rocks even slightly, or one bridging a hump, takes all that stress into the stone and the grout. That's exactly where hairline cracks and hollow, drummy spots start a year or two later.
The fixes are simple and worth the afternoon. Grind the humps down, fill the low spots with a leveling compound, and don't try to bridge a gap with a thick pad of thin-set hoping it holds, because it won't.
The two stone jobs I've had to redo both came back to the same mistake: I trusted my eye on a slab that looked flat under the work lights, and skipped the shim-and-straightedge check that would have caught the ridge running under the shower wall.
2. A Real Moisture Reading, Not a Hand Test
A concrete slab can feel bone dry to your palm and still push up enough moisture to wreck an install. That's why you test it, either with a meter (a small tool that reads moisture in the slab) or a taped-down plastic sheet and a calcium-chloride kit that catches vapor over a day or two.
Trapped moisture causes a few different problems for stone. It feeds efflorescence, the white mineral haze that blooms up through grout and stone, it can weaken the bond under the tile, and it pushes you toward adding a membrane.
I learned this the hard way. I once let a customer talk me out of a moisture test to save an afternoon, the floor failed, and I relaid it on my own dime rather than argue about whose call it was. Now the test isn't optional on my jobs.
A slab on grade or a basement floor carries more moisture risk than a second-floor wood subfloor, so those are the ones you never skip.
Run this list before you set a single tile: check the floor with a straightedge and shim for ridges and low pockets, grind the high spots and fill the low ones with leveler, moisture-test any slab (basements and slab-on-grade especially), and confirm the subfloor is stiff enough that it doesn't bounce underfoot.
3. Crack Isolation Membrane Where the Slab Can Move (ANSI A108.17)
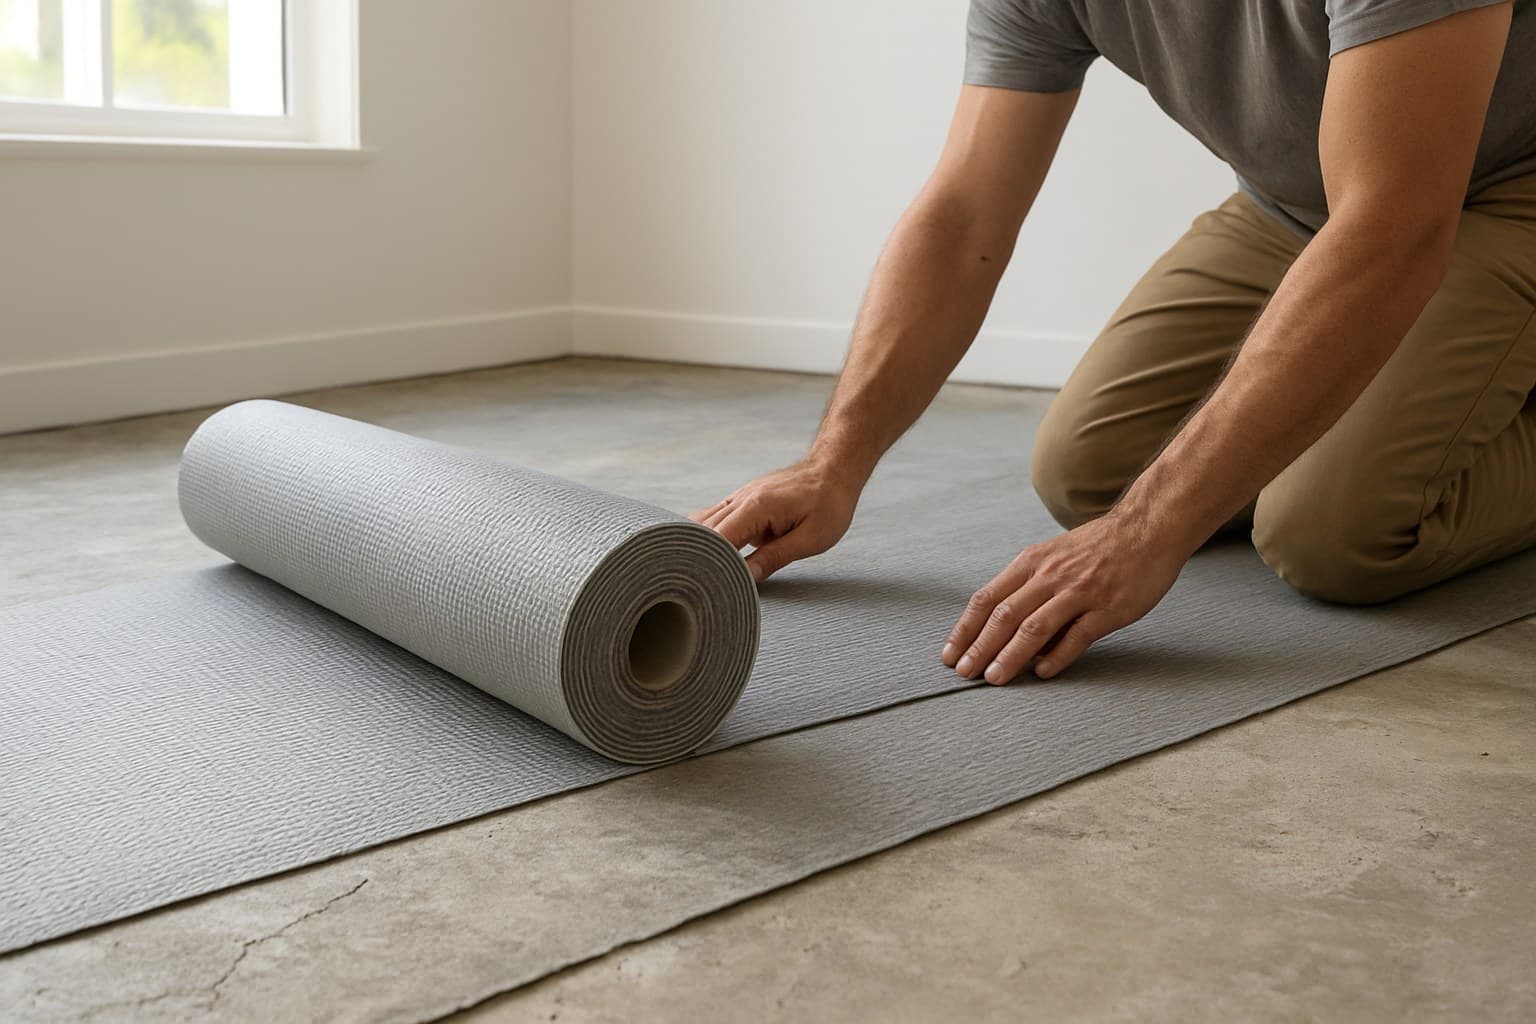
A crack isolation membrane is a thin sheet or a trowel-on layer that sits between the subfloor and the tile. Its job is to let a small crack or shift below move without that crack traveling straight up and splitting your stone.
The reference to hold your setter to is ANSI A108.17, the crack isolation membrane installation standard published in the Tile Council of North America's (TCNA) ANSI (American National Standards Institute) standards library. If someone tells you the floor is protected, that standard is what "protected" should mean.
It earns its keep over concrete slabs, which naturally crack as they cure and age, over any subfloor you have doubts about, and under large or brittle stone. The material is cheap next to the cost of relaying a whole floor.
One honest limit: it's not a cure for a bad base. It manages minor movement. It doesn't replace flattening and stiffening the floor first, so do the prep in items 1 and 2 either way.
4. A Waterproof Membrane in Any Wet Room (ANSI A108.13)
Stone being dense doesn't make your floor waterproof. Water gets through at the grout lines and the edges, so the waterproofing has to live in a membrane under the tile, not in the stone itself. This is where people get bathrooms wrong.
According to the Tile Council of North America's ANSI standards library, ANSI A108.13 covers load-bearing bonded waterproof membranes, the layer that belongs under shower floors and bathroom floors. It's a different job from crack isolation, though some products do both.
Picture the stack from the bottom up: subfloor or slab, then your crack isolation or waterproof membrane, then thin-set mortar, then the stone, then grout on top.
This is also where I tell most homeowners to hire out. A bathroom floor tie-in and a shower pan are unforgiving, and a failed waterproof layer is a full tear-out, not a quick patch. Click-lock floors are fine to DIY, but a bonded wet-room membrane is not the place to learn.
5. A Slip Rating That Matches Where Water Lands
For any floor that gets wet, look for a DCOF of at least 0.42. DCOF stands for dynamic coefficient of friction, a measured number for how much grip you get underfoot while moving, and 0.42 is the wet-floor line set by the ANSI A326.3 standard, part of the same ANSI tile-installation standards library the Tile Council of North America (TCNA) maintains. A ramp-test rating of R10 to R11 tells you the same thing a different way. Ramp testing puts a tester in oiled shoes on a ramp coated with oil, then tilts the ramp until they start to slip. The steeper the ramp gets before that happens, the higher the R number, running from R9 (least grip) up to R13 (most grip).
Finish is what makes or breaks that number on stone. Honed (a soft matte surface) and textured stone grip well, while polished marble and glossy travertine turn slick the moment they're wet and have no business on a shower floor or an entry.
This is one reason slate holds up well in wet rooms, since its natural cleft surface is grippy right out of the box. A high-polish stone in the same spot needs a mat, or a rethink.
| Room | Slip target |
|---|---|
| Shower / bathroom floor | DCOF ≥ 0.42, R11, matte or textured |
| Kitchen | DCOF ≥ 0.42, R10-R11, honed |
| Entry / mudroom | R11, textured stone |
| Living / bedroom (dry) | Your choice; polished is fine |
Source: ANSI A326.3 slip guidance
Slip targets by room for wet and dry areas, based on ANSI A326.3 guidance.
If you want the finish-and-slip detail on a manufactured option, porcelain prints its DCOF right on the box, and I walk through reading it on the stone look porcelain tile guide.
6. A Stone Hard Enough for the Traffic in That Room
Match the stone to the abuse the room hands out, measured on the Mohs scale, a 1-to-10 scratch-hardness rating. Quartzite lands near 7 and granite near 6.5, which makes them among the toughest of the common floor stones. Marble, travertine, and limestone sit lower, roughly 3 to 5, so they scratch and etch more easily. That softness is part of why so many homeowners who love marble's veining but not its upkeep end up comparing marble vinyl flooring formats ranked by room, budget, and moisture instead.
That ranking sorts the rooms for you. Dense quartzite, granite, and slate handle kitchens, entries, and mudrooms. Softer marble and limestone do better in a low-traffic bathroom, and they need more upkeep wherever you put them. Stone isn't the only flooring material with its own failure order — porcelain, ceramic, and ceramic's other cousins each have weak points that show up in a different sequence, which is exactly what gets sorted out in this ranking of tile types by what fails first.
| Stone | Mohs | Porosity | Best room |
|---|---|---|---|
| Quartzite | ~7 | Low | Kitchen, entry, high traffic |
| Granite | ~6.5 | Low | Kitchen, entry |
| Slate | ~5.5 | Low-medium | Wet rooms, mudroom |
| Marble | ~3-5 | Medium-high | Low-traffic baths |
| Travertine | ~3-4 | High | Low-traffic, drier areas |
| Limestone | ~3-4 | High | Low-traffic baths |
Source: the Mohs hardness scale
Common floor stones by hardness, porosity, and the room each one suits.
I ranked all seven by upkeep and slip risk on the stone flooring guide, and dug deeper into each in the natural stone flooring breakdown, so I won't repeat the full list here. If you're weighing real stone against a hardwood look-alike, the stone hardwood flooring guide covers that trade-off. The one link worth making now: the softer stones are usually the thirstier ones too, and that porosity is what sets the sealing schedule in the next item.
7. A Sealing Schedule the Stone Actually Needs
Porous stone drinks in water, wine, and oil if you leave it bare, so sealing is not a nice-to-have on the thirsty ones. A sealer soaks in and buys you time to wipe a spill before it stains, but it wears off and has to be redone.
How often depends on the stone and the sealer product used. Travertine and limestone are so porous they may want resealing about once a year. Marble usually goes one to two years. Denser granite, quartzite, and slate can often stretch to three to five years between coats. These are rough, commonly cited ranges, always check your specific sealer's label for its recommended interval.
The simple field test: drop a little water on the tile and watch. If it darkens the stone within a few minutes, the seal is thin and it's time to reseal. If the water beads and sits, you're still covered.
| Stone | Reseal about every |
|---|---|
| Travertine, limestone | 1 year |
| Marble | 1-2 years |
| Slate | 3-5 years |
| Granite, quartzite | 3-5 years |
Source: manufacturer sealer guidance
Rough resealing intervals by stone type; test with a water-drop check and reseal sooner if the stone darkens fast.
8. A Budget Split Into Materials and Labor, Room by Room
Installed stone tile flooring usually lands somewhere around $15 to $50 per square foot, though exact pricing varies by market, stone type, and installer. That splits into roughly $4 to $40 for materials, depending on whether you're buying basic slate or high-end marble, and about $8 to $20 per square foot for labor.
The part the flat-rate quotes hide is that the room shape drives the labor. An open living-room floor is where labor sits at the low end. A bathroom eats far more per foot because of the waterproof membrane, the small cuts around a toilet and vanity, and the tight working space. Basements cost more too, since the moisture prep and often a leveling pour get added before any tile goes down.
| Job | Materials / sq ft | Labor / sq ft |
|---|---|---|
| Open living floor | $4-40 | $8-13 |
| Kitchen | $4-40 | $10-16 |
| Bathroom / shower floor | $6-40 | $14-20 |
| Basement (slab prep) | $4-40 | $12-18 |
Source: my own install jobs
Typical materials-versus-labor split by room; small, cut-heavy, and wet rooms run higher per foot than open floors.
I stopped quoting flat rate by the square foot after a job full of closets, doorways, and a bay window ate a whole extra day. The open middle of a room is never where the time goes, so count the cut-heavy areas separately when you price a job.
If real stone's install cost pushes past your budget, a convincing stone look tile, a good stone-look vinyl, or stone laminate flooring can get you close to the look for a lot less labor and upkeep.