
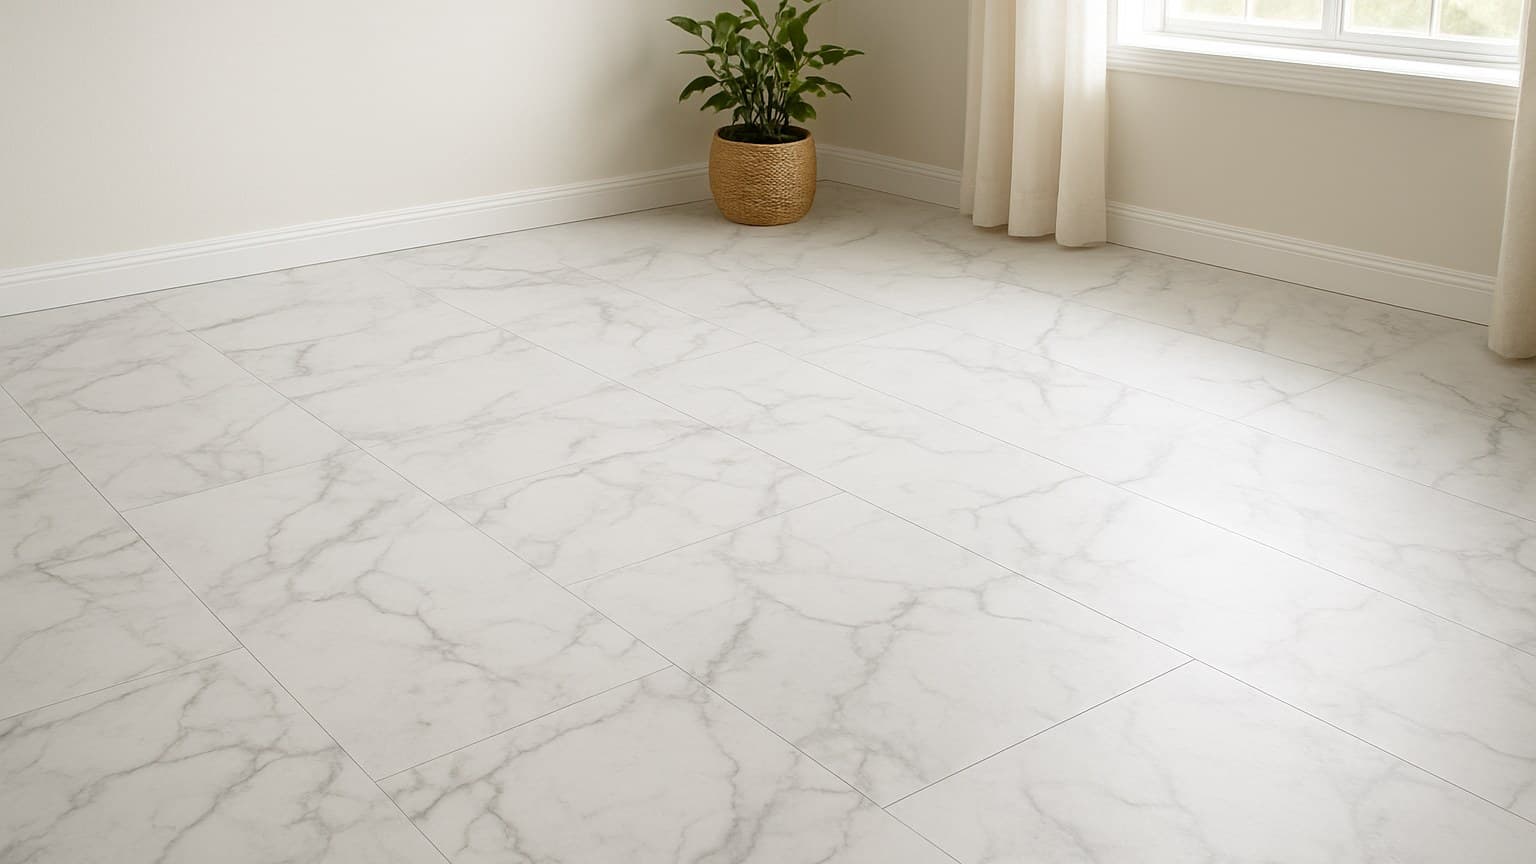
Marble LVT can pass for real stone or read like a plastic sticker, and that gap gets decided before you buy, not after. The wrong print, finish, or subfloor prep is what makes a floor look fake or fail early, and I'm the guy who gets called out to redo it. Here is how I pick it on the job. If you want the wider picture before narrowing down to marble LVT specifically, my marble vinyl flooring guide walks through the full range of looks and formats.
Key takeaways
- Judge a full-size sample in real daylight, not a tiny swatch under store lights: convincing marble LVT has veining that wanders and rarely repeats, plus embossing you can feel along the vein lines.
- Match the finish to where water lands: matte or honed (soft satin) for bathrooms, laundry, and kitchens; save gloss for low-water rooms because it turns slick when wet and shows every scuff.
- The core can be waterproof, but water still gets in at the seams and edges, and that is where most floors fail, so seam fit and perimeter detail matter more than the 'waterproof' sticker.
- Budget splits into materials (roughly $2-7 per sq ft) and labor (about $2-4 for click-lock, $3-6 for glue-down), and basements and stairs cost more than open rooms.
- Click-lock marble LVT is realistic for most DIYers; glue-down, stairs, and large open-plan moisture transitions are usually worth hiring out.
What Marble LVT Is and How It Holds Up Against Real Marble
Marble LVT is luxury vinyl tile with a printed photo layer of marble on top, a texture pressed into the surface, and a clear wear layer over a resilient or rigid core. The tile shape is why it is called LVT (tile) instead of LVP (plank). The look comes from photos of real stones like Carrara, Calacatta, and Nero Marquina. Knowing what sets those stones apart from granite, travertine, and the rest of the field makes it easier to judge which print you're actually looking at, which is why I put together a guide to different types of stone.
Compared to real marble, it is the easier floor to live with. Natural marble is porous, etches when anything acidic sits on it, and needs periodic sealing set by the stone and sealer maker. Marble LVT skips the sealing and the etching. What it will never give you is the depth and cold weight of real stone underfoot. If you want to weigh that trade-off against the real thing, my breakdown of natural stone flooring options by cost and upkeep ranks the seven types on exactly this.
Waterproof core vs. the seams where water sneaks in
Here's the line I never let a customer blur: a waterproof core is not the same as water-resistant seams. The core can shrug off water all day, but water gets in at the joints and edges first. Seam fit and the detail around the perimeter matter more than the "waterproof" sticker on the box. Judge the install, not the label.
LVT vs. LVP: is it just the shape?
Mostly, yes. "Marble look waterproof vinyl flooring" and "marble LVP flooring" are the same construction sold in different shapes and moisture ratings. LVT comes in tiles that suit stone and marble looks; LVP comes in planks that suit wood looks. If you want the full rundown on cores, wear layers, and what makes vinyl last, see my vinyl flooring buyer's guide. If you are also weighing the porcelain version, my guide on picking stone-look porcelain tile by room lays out that trade-off. There's a laminate route to that same stone-inspired look as well, and my stone laminate flooring guide covers how it stacks up against vinyl and porcelain.
Step 1: Judge a Full-Size Sample and Its Veining in Real Daylight
Get a full tile as a sample, not a little chip, and lay it in the actual room in daylight. These prints can look convincing under store LEDs and go plastic-fake by a window. I bring samples to the site for exactly this reason. A while back a customer in Dayton named Renee almost bought a grey marble LVT that looked perfect in the aisle and cheap in her own north-facing kitchen; the window is what caught it.
A convincing print shows veining that wanders and rarely repeats from tile to tile, embossing (texture) you can feel that follows the vein lines, and a micro-bevel (a small angled edge) that reads like a slab seam. A fake one repeats the same pattern every few tiles and sits dead flat where a vein should be.
The four traits that separate convincing marble LVT from a fake print. Not to scale.
Cool vs. warm veining
Match the veining temperature to the room's light and fixtures. Cool grey-and-white veining (the Carrara and Calacatta look) reads modern and pairs with white or grey cabinets. Warmer cream-and-taupe veining suits wood tones and warmer light. Put the wrong temperature in a room and even a good print looks off.
White, grey, or black marble
White and light grey hide dust and make a small room read bigger. Grey marble LVT is a forgiving all-rounder and the one I steer most people toward. Black (the Nero Marquina look) is dramatic but shows dust, water spots, and footprints, so it needs a matte finish and steady cleaning to stay looking sharp.
Step 2: Choose the Finish by Where Water Lands
Pick the finish by water, not by looks. Matte and honed (a soft, low-shine satin) keep their grip when wet and hide scuffs, so they belong anywhere water hits the floor. Gloss looks like polished stone but turns slick when wet and shows every scratch.
So the room calls are simple: matte or honed for bathrooms, laundry rooms, mudrooms, and kitchens; save gloss for low-water spots like a formal entry or a dry accent floor where slipping and scuffing are not a worry. Gloss also telegraphs footprints and dust, so it needs more wiping day to day. Clean any of them with a pH-neutral (gentle, non-acidic) cleaner, not bleach or vinegar.
| Finish | Look | Grip when wet | Shows scuffs | Best rooms |
|---|---|---|---|---|
| Matte | Flat, natural stone, no shine | Best | Least | Bathrooms, laundry, mudrooms, kitchens |
| Honed (soft satin) | Low satin sheen, like honed real marble | Good | Some | Kitchens, hallways, powder rooms |
| Gloss / high-shine | Polished-stone shine, most dramatic | Poor (slick) | Most | Dry, low-traffic accent floors and entries only |
How the three marble LVT finishes compare on grip, wear, and where each belongs.
Step 3: Pick the Format and Layout for a Slab Look
Bigger tiles read closer to a stone slab. Large rectangles like 12x24 or 18x36 inches cut down on grout-line clutter and look more like real stone; smaller squares look busier and more obviously tiled.
Layout matters just as much as size. A straight grid reads clean and modern and shows off big veining. A staggered (offset) layout hides the plank-to-plank repetition in a busier print, which helps cheaper patterns look less fake.
Decide the grout look before you buy. Some marble LVT is made to be grouted so it mimics stone, and some just butts tile to tile with no grout. Check the maker's install method so you do not get halfway in and find you bought the wrong system.
Last, scale the tile to the room. An oversized format can swallow a tiny bathroom, so drop to a smaller tile and keep the veining calmer in small spaces.
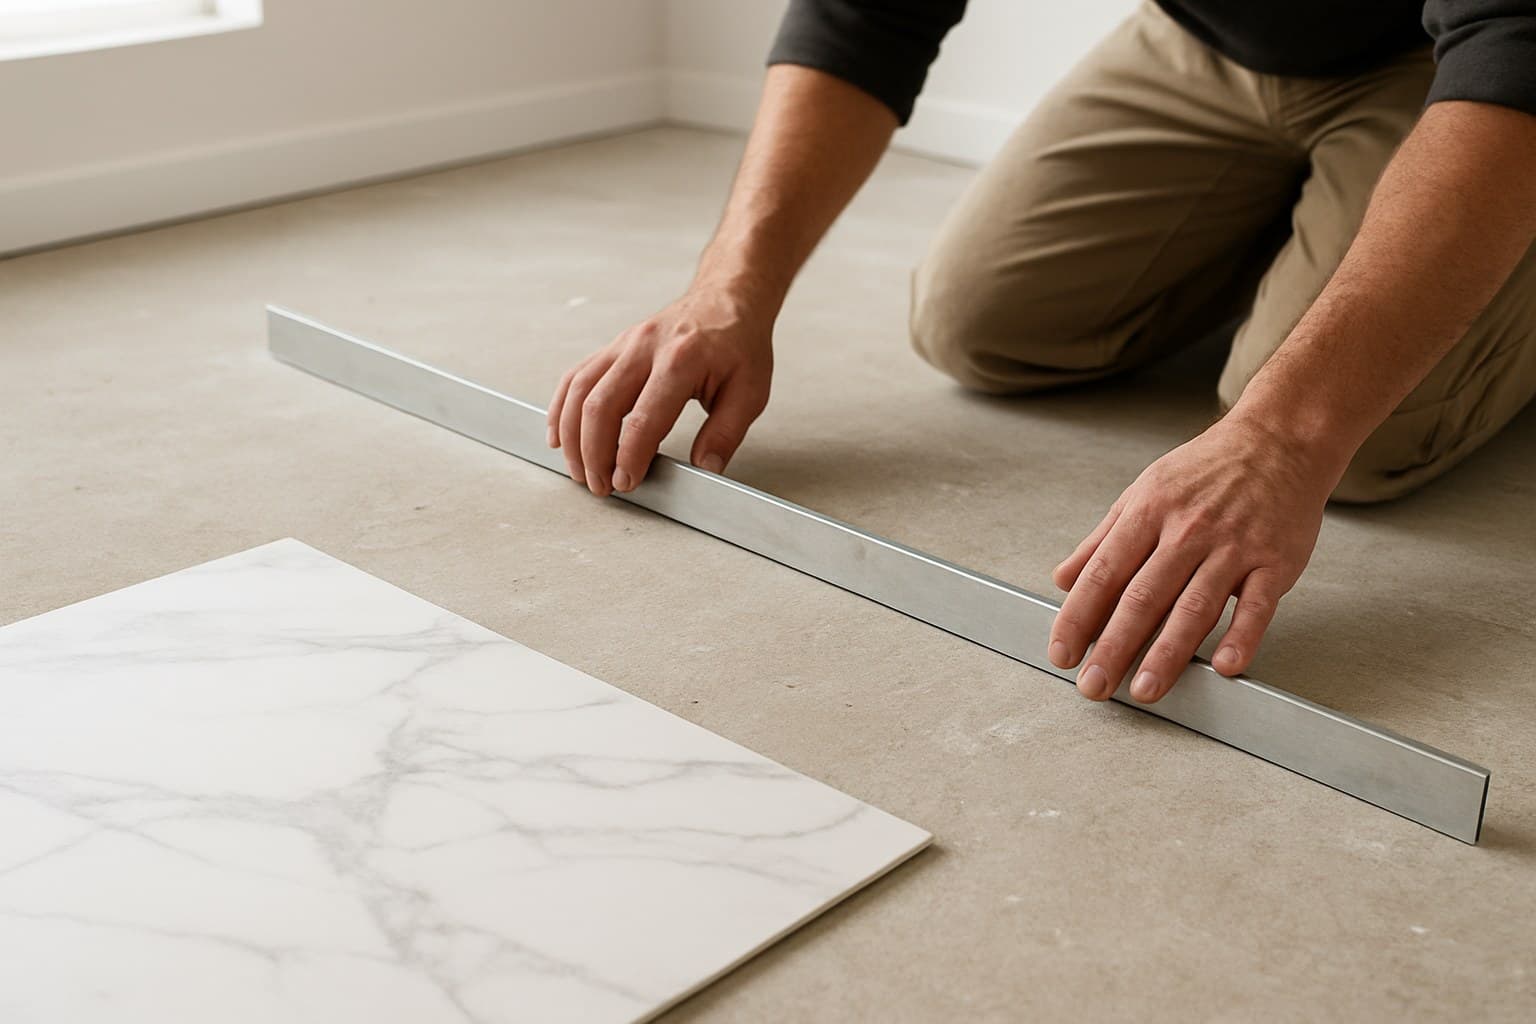
Step 4: Check Subfloor Flatness and Moisture First
The finished floor only lasts as long as the prep under it. The maker's warranty depends on subfloor flatness and moisture, not on which tile you picked, and that is where I see the most failures start.
For flatness, run a straightedge across the subfloor to find the high spots and dips. Grind down the highs and fill the lows to whatever flatness the maker's instructions call for. Skip this and the tile flexes as you walk, then the seams work open over time.
For moisture, especially over a concrete slab in a basement, take a real reading with a moisture meter (a tool that measures how wet the slab is) instead of a hand test. Then use the moisture protection the product specifies. A slab that tests fine in July can push moisture up in a wet spring.
Two more box-sheet items: some products want the tile to acclimate in the room first and some do not, and nearly every floating floor needs an expansion gap around the edges so it can move without buckling. Follow the box's own sheet for both, not a rule of thumb you read online. If you are leaning toward real stone tile instead, my guide on what makes a stone tile floor last covers the subfloor and membrane steps that route needs.
Step 5: Budget It as Materials vs. Labor, Room by Room
Split the budget into two buckets: materials and labor. For marble LVT, materials run roughly $2-7 per square foot depending on the print quality and core. Labor runs about $2-4 per square foot for click-lock and $3-6 for glue-down, because glue-down is slower and less forgiving.
Rooms are not priced equal. Basements cost more because of the moisture prep and cuts around posts and mechanicals, and stairs cost more per square foot because every tread is hand-cut and wrapped. An open living room is the cheapest floor to lay per foot.
| Cost bucket | Per square foot |
|---|---|
| Materials | $2-$7 |
| Labor, click-lock | $2-$4 |
| Labor, glue-down | $3-$6 |
Source: NWFA and TISE flooring lifecycle cost research; marble LVT range from general market pricing
To work your own number, use: (materials per sq ft + labor per sq ft) x room square footage. For a 150 sq ft bathroom in click-lock, running the mid-range numbers from the table above through that formula lands around $1,125 before waste and trim. Add 5-10 percent for cutting waste.
Should You DIY Marble LVT or Hire It Out?
Click-lock marble LVT is realistic for most DIYers if the subfloor is flat and dry. The tiles snap together, and the slow part is the prep and the cuts, not the laying.
Hire out the harder jobs. Glue-down leaves no room for error once the adhesive grabs, stairs need every tread cut and wrapped by hand, and large open-plan floors with moisture transitions between rooms are where a pro earns the fee. If any of those describe your job, the callback you avoid is cheaper than the money you save.