
Snapping laminate planks together is the easy hour of the whole job. What actually decides whether your laminate flooring installation stays tight or gaps a season later is everything the box print rushes past: subfloor prep, acclimation, and the expansion gap. Get those wrong and the planks are just along for the ride.
Key takeaways
- Most laminate is click-lock that floats over a prepped subfloor, which is realistic DIY for an open room; glue-down, stairs, and big multi-room moisture transitions are where hiring pays off.
- Budget roughly $1-5 per square foot for materials and $2-5 for labor in an open room, with stairs and basements costing more per foot than a plain rectangle.
- Your subfloor has to be flat to about 1/8 inch over 10 feet (confirm your product's own number) and pass a moisture check before a single plank goes down.
- Acclimation time and expansion-gap size are set by your product's install sheet, not an internet rule of thumb, and the warranty quietly hinges on both.
- A damaged plank can be swapped a year later by unclicking back to it or cutting in a lace-in replacement, but only if you saved leftover boards from the same lot.
What Laminate Installation Really Takes (and What It Costs)
Most laminate is click-lock: the planks snap edge to edge and float over a flat, dry subfloor with no nails and no glue. That makes an open bedroom or living room a realistic job for a careful DIYer. Stairs, the occasional glue-down product, and big transitions that run from a dry room into a damp one are where hiring out usually earns its keep.
Here is the money split. Materials run roughly $1 to $5 per square foot depending on the line, and labor in an open room runs about $2 to $5 per square foot. Underlayment adds cost if it is not already stuck to the back of your planks. A basement or a staircase costs more per foot than a plain rectangle, because both are heavy on cuts and transitions, and cuts are where the clock runs.
The clicking part is fast. What eats the day is acclimation, subfloor prep, and the fiddly stuff: closets, doorways, and odd corners. The open middle of a room is never where the time goes.
| Part of the job | Cost per sq ft |
|---|---|
| Underlayment (if not attached) | $0.30 - $0.60 |
| Budget laminate (materials) | $1 - $3 |
| Labor, open room | $2 - $4 |
| Mid/premium laminate (materials) | $3 - $5 |
| Labor, stairs / cut-heavy | $4 - $8 |
Typical materials-vs-labor ranges per square foot; local labor and the specific product move these figures.
For local numbers, the deeper laminate floor installation cost breakdown and the guide to finding and vetting a local installer are worth a look before you commit either way.
Tools and Materials to Have Ready
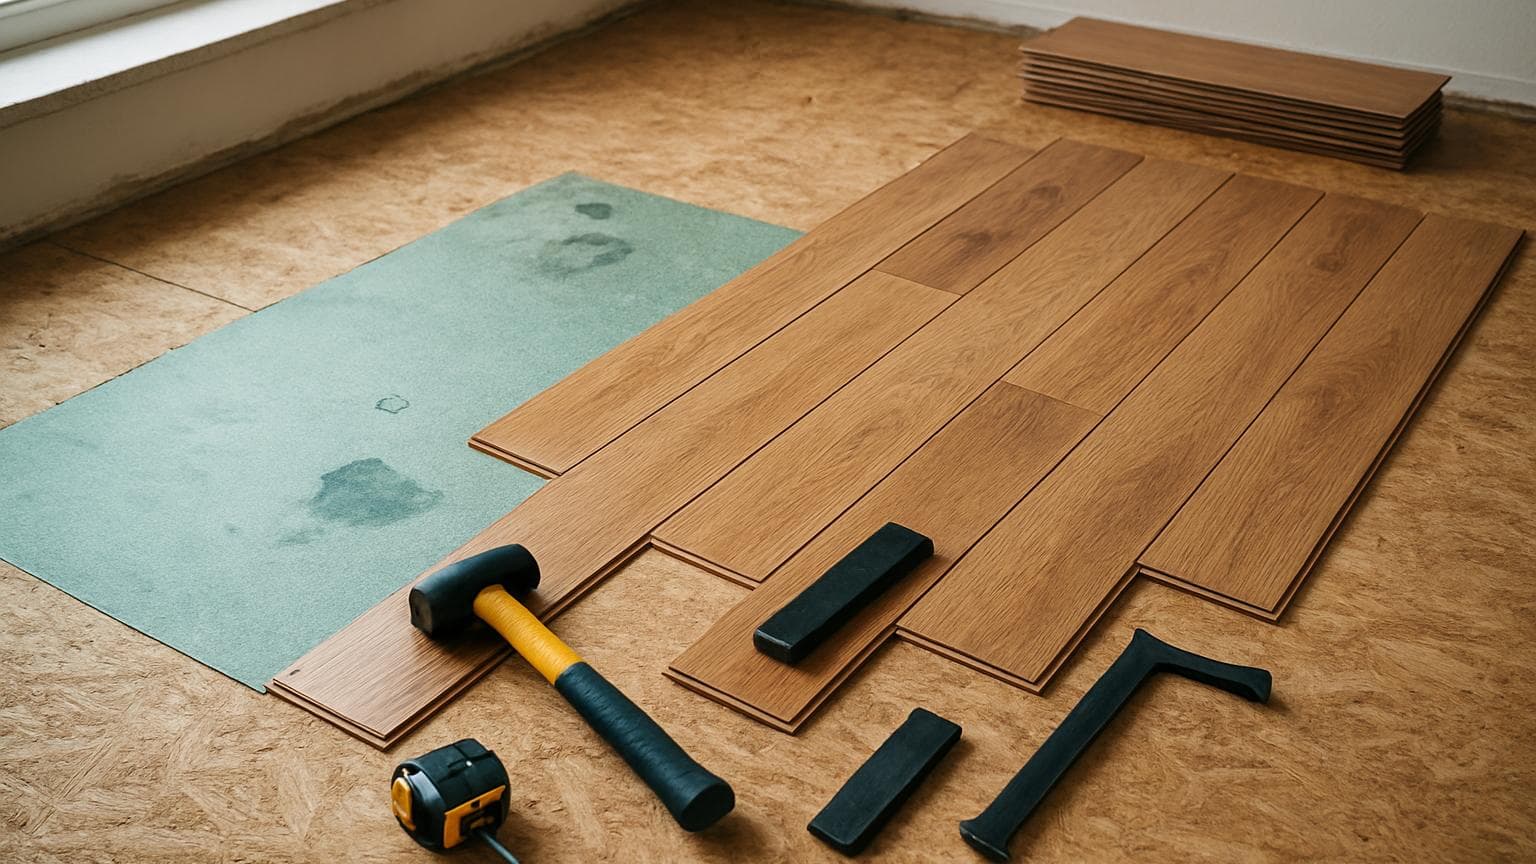
Stage everything before you open a single box. Stopping mid-row to run to the store is how a floor ends up out of square. You need a tapping block and a pull bar (the pull bar hooks the last plank in a row and pulls it snug against the wall), plus a set of spacers to hold your expansion gap. Add a rubber mallet, a jamb saw to undercut door casings so planks slide underneath, a speed square, and a tape measure.
For cuts you want a saw for straight and notch work, either a miter saw and a jigsaw, or a shear-style laminate cutter that snaps boards without dust. Most of these are basic tools you may already own, and the specialized bits come cheap in a single install kit. The full rundown lives in the tools you need to install laminate guide.
On materials, buy planks about 5 to 10 percent over your square footage. That covers waste from cuts and leaves you spare boards for a repair years later. Run your numbers through a laminate flooring calculator so you order once. Add underlayment if it is not pre-attached, a moisture barrier for concrete, and the transition and trim pieces you will need at doorways and edges. A moisture barrier is just a plastic sheet that blocks damp from rising out of a slab into the floor.
One buying trap I see constantly: confirm you have enough boxes from a single dye lot before you start. A dye lot is a production batch, and two batches of the "same" color can print slightly different. A customer once bought clearance waterproof laminate to save money, came up short for the stairs, and the lot difference showed at every seam. If you are still choosing a plank, the brand ranking by what each is actually best for will steer you.

Is Your Subfloor Ready? What NALFA and NWFA Actually Point To
This is the section people skip and pay for. Before any plank goes down, your subfloor has to be flat enough and dry enough, and laminate is a floating floor, meaning it rests loose on top and telegraphs, or copies, whatever is underneath it.
General industry practice for floating floors commonly points to keeping subfloor variation under roughly 1/8 inch over 10 feet, though the exact tolerance varies by product and isn't fixed by a single universal rule, your own product's install sheet sets the number you must meet, so read it and go by that. Industry groups including NALFA (North American Laminate Flooring Association) and the NWFA (National Wood Flooring Association) continue to work on aligning installation guidance across the industry, NALFA's own coverage of its 2026 spring meeting flagged ongoing efforts toward more consistent standards, which is one more reason to treat the manufacturer's sheet as the final word. According to the NWFA's published installation guidelines, laminate is installed using the floating method, one of three recognized installation approaches, and the table below shows why that distinction matters.
| Method | Best for | Used for laminate? | Difficulty |
|---|---|---|---|
| Floating (click-lock) | Laminate and most LVP | Yes, the standard | DIY-friendly |
| Glue-down | Some engineered wood, rare laminate lines | Rarely, product-specific | Harder, usually hire |
| Nail-down / staple | Solid and engineered hardwood over wood subfloor | No | Pro tools needed |
Source: NWFA install-method categories; NALFA/NWFA subfloor flatness guidance (general)
The three install methods and where each belongs; laminate uses floating almost exclusively.
Checking Flatness With a Straightedge
Lay a long straightedge or level, 6 to 10 feet, across the floor in several directions. Where it rocks or leaves daylight, you have a problem. Slide a coin under the edge: if it disappears into the gap, that low spot needs leveling compound (a pourable filler that sets flat). Where the straightedge rides up and rocks, that is a high spot to sand or grind down. Do this before anything else, because a hollow under a floating floor turns into a soft, clicking spot you can feel underfoot.
The Moisture Test You Should Not Skip
Concrete needs a moisture test before anything goes down, plus whatever barrier your product calls for. Two common tools: a calcium chloride kit, which sits sealed on the slab and weighs how much moisture rises out over a set time, and a moisture meter, a handheld reader you press to the surface for a quick number. A slab can feel bone dry to your hand and still fail one of these.
I learned that the hard way. I once let a customer talk me out of the test to save an afternoon, and the floor cupped before the season was out, meaning the plank edges lifted higher than their centers. I relaid it on my own dime. Now I treat the test as the price of doing the job, not an optional extra. If yours is a below-grade room, read the waterproof laminate claims versus what you can verify before you count on any core surviving a damp basement.
Acclimation and Planning Your Layout
Acclimation: Follow the Box, Not a Rule of Thumb
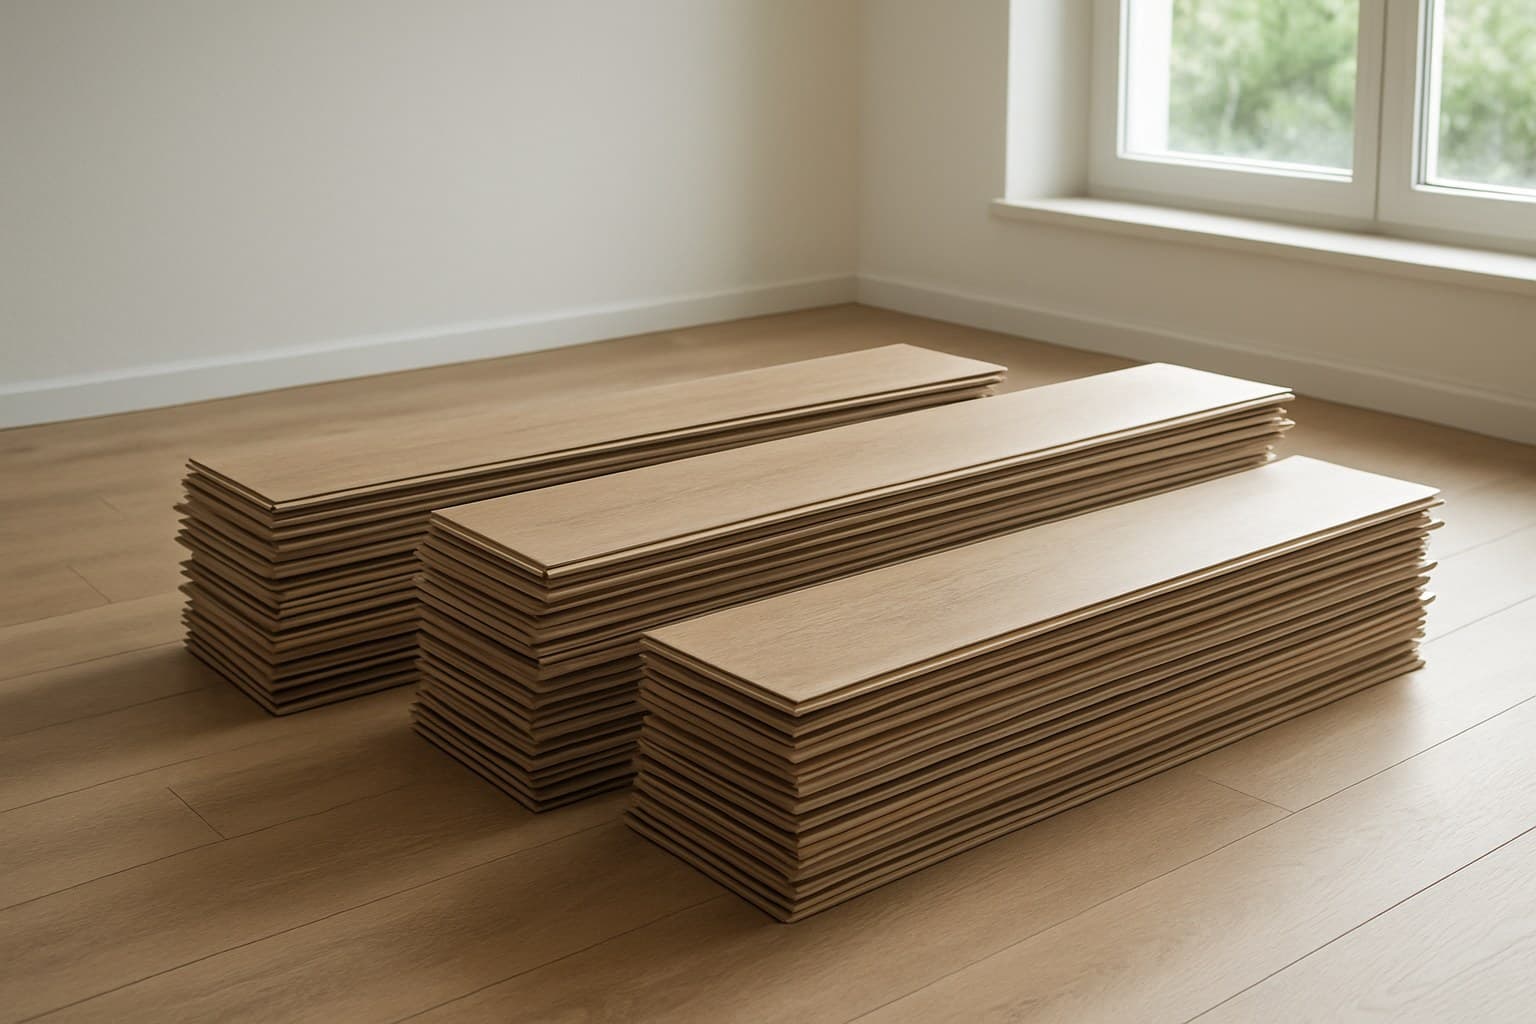
Some products want the planks left in the room 48 hours so they settle to the home's temperature and humidity. Others say it is unnecessary. The box's own sheet governs, not a number someone repeats online, and your warranty can quietly hinge on you having done what it says. Stack the boxes flat in the room where they will live, not in a cold garage.
Direction, Stagger, and the Expansion Gap
A floating floor grows and shrinks with temperature and humidity, so you leave an expansion gap around the entire perimeter at the size your product specifies, often around 1/4 inch. Skipping it is a common reason a floor "peaks," where two planks push against each other and lift at the seam months later. Your baseboard or quarter-round trim hides the gap.
For direction, run planks along the longest wall or in line with the main light from a window, so the seams read cleaner. Stagger the end joints row to row, and many products call for roughly 8 to 12 inches of offset, so no two seams line up. Plan the layout from the hallway outward, run boards the same direction straight through doorways, and check your first and last row widths so you do not finish on a paper-thin sliver against the far wall. Which rooms this floor belongs in at all is worth settling first in the room-by-room laminate guide.
Step-by-Step: First Row to Final Row
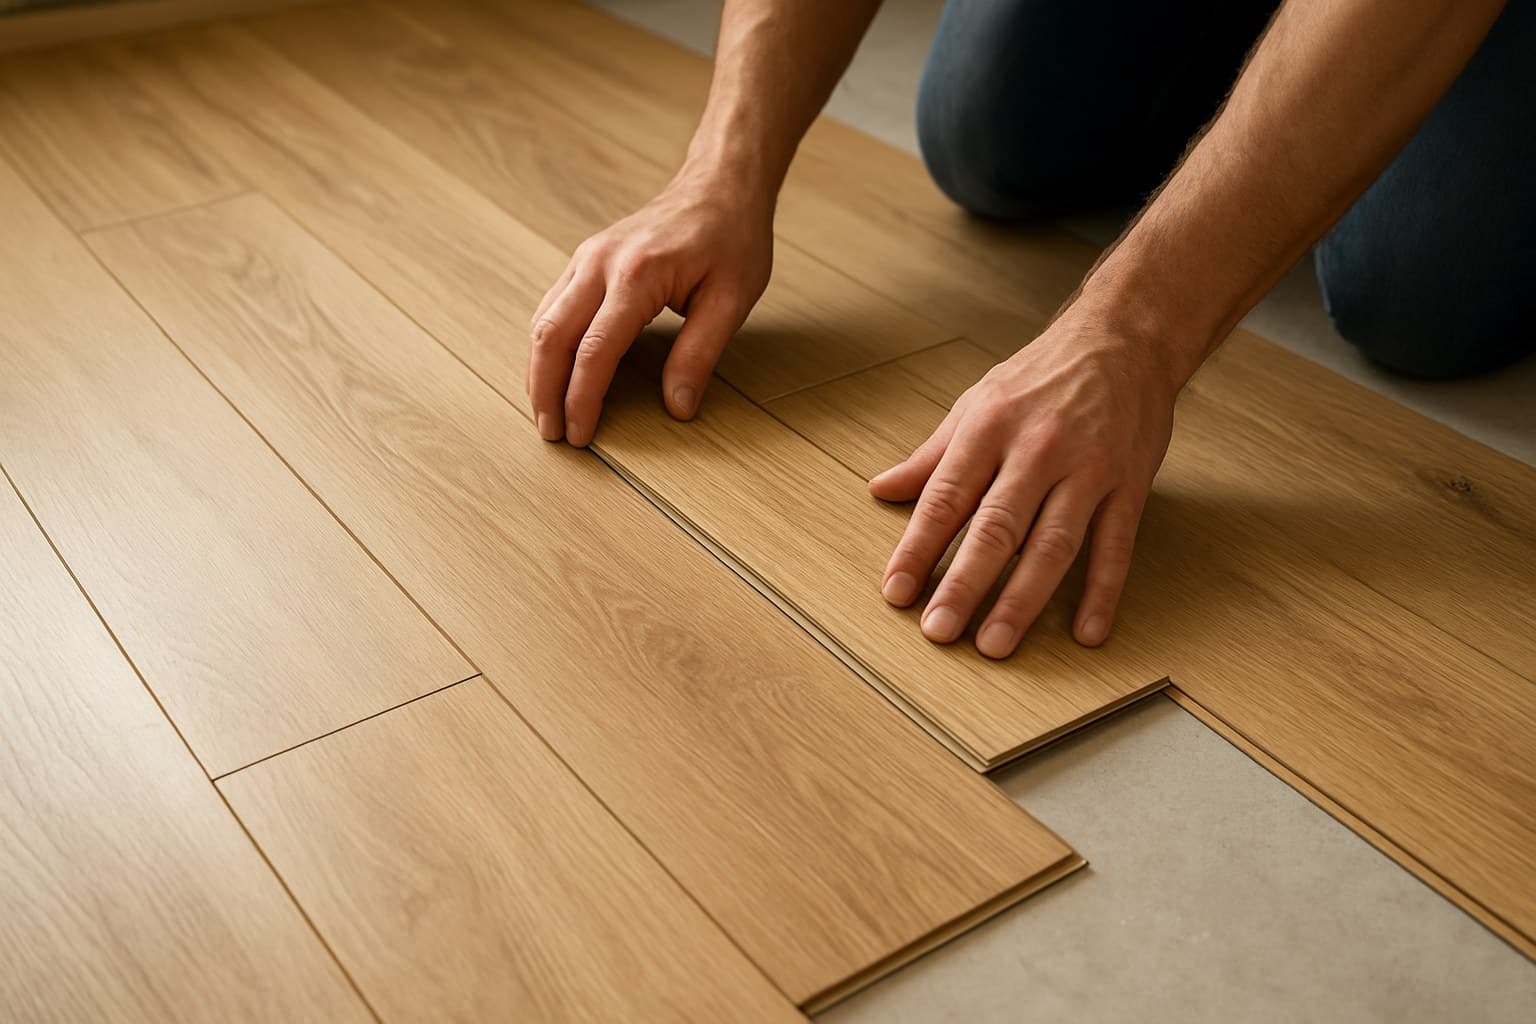
Start along the straightest wall. Set spacers to hold your expansion gap and lay the first plank with its tongue side facing the wall (you may need to trim the tongue off so the plank sits flush). Click the next plank to the end of the first and work down the wall, cutting the last board to length. Use the offcut to start row two if it is long enough to meet the stagger rule.
Keep going row by row, tapping seams tight with the tapping block and mallet, never hitting a plank edge directly or you will crush the locking profile. At each doorway, undercut the casing with the jamb saw and slide the plank beneath it, rather than cutting the plank around the trim. Careful cuts around vents, corners, and pipes are where a job looks pro or amateur, and the how to cut laminate flooring guide covers the tricky notches.
For the final row, you will almost always rip planks down their length to fit, leaving the expansion gap. This is where the pull bar earns its place, hooking the last boards and drawing them snug when there is no room to swing a mallet. Finish by installing transitions at doorways and where laminate meets other flooring, then reinstall the baseboard or quarter-round to cover the perimeter gap. Nail the trim to the wall, never to the floor, so the floor can still move. For a fuller walk-through, see the step-by-step guide to installing laminate flooring.
How to Fix or Replace a Plank Later
A gouged or swollen plank can be swapped a year or two down the road, which is exactly why you saved 5 to 10 percent of boards from the same dye lot. You have two routes.
If the bad plank is near a wall, pull the baseboard, unclick the rows back to it, swap the board, and click everything home again. That is clean but only practical when the damage is close to an edge.
For a plank stuck in the middle of the room, you do a lace-in repair: cut the damaged board out with a saw, trim the tongue and lower lip off the replacement so it drops straight into the hole, and glue it in place. It holds fine, but that one plank no longer floats, so it is a patch, not a do-over. Either way, the fix only works if your leftovers match the lot, which loops right back to buying enough up front.