
The confusing part of how to install engineered hardwood isn't laying the planks, it's that four different methods exist and picking the wrong one for your subfloor buckles a floor a year later. Most guides cover one method and skip the specs that decide the other three. This one walks all four, start to finish.
Key takeaways
- The right method follows your subfloor and the plank's core, not your preference: click-lock floats over almost anything, glue-down suits slabs, and nail or staple needs a plywood or OSB base at least 1/2 inch thick.
- Acclimation and expansion-gap size are not universal numbers. Run your HVAC about 5 days first, match plank and subfloor moisture, and read the exact gap size off your product's sheet (commonly 1/4 to 1/2 inch).
- Test moisture before you lay a single plank: ASTM F1869 or F2170 on a slab, a moisture meter on wood, and get the base flat to roughly 3/16 inch over 10 feet.
- Click-lock floating is a realistic weekend DIY; glue-down, stairs, and big open-plan moisture transitions are where hiring a pro usually pays.
- Split cost by materials vs labor: floating labor runs about $2-4 per sq ft, glue-down and nail-down $3-6, and basements or stairs cost more than an open room.
Start With Your Subfloor and Core, Not the Method You Like
The install method is decided by three things: what your subfloor is, what the plank's core is made of, and how thick the plank is. It is not decided by which method sounds easiest on a Saturday.
Here's the quick map. A concrete slab points you to floating or glue-down. A plywood or OSB subfloor (OSB is oriented strand board, a panel of compressed wood chips) opens all four methods. Over existing tile, you float.
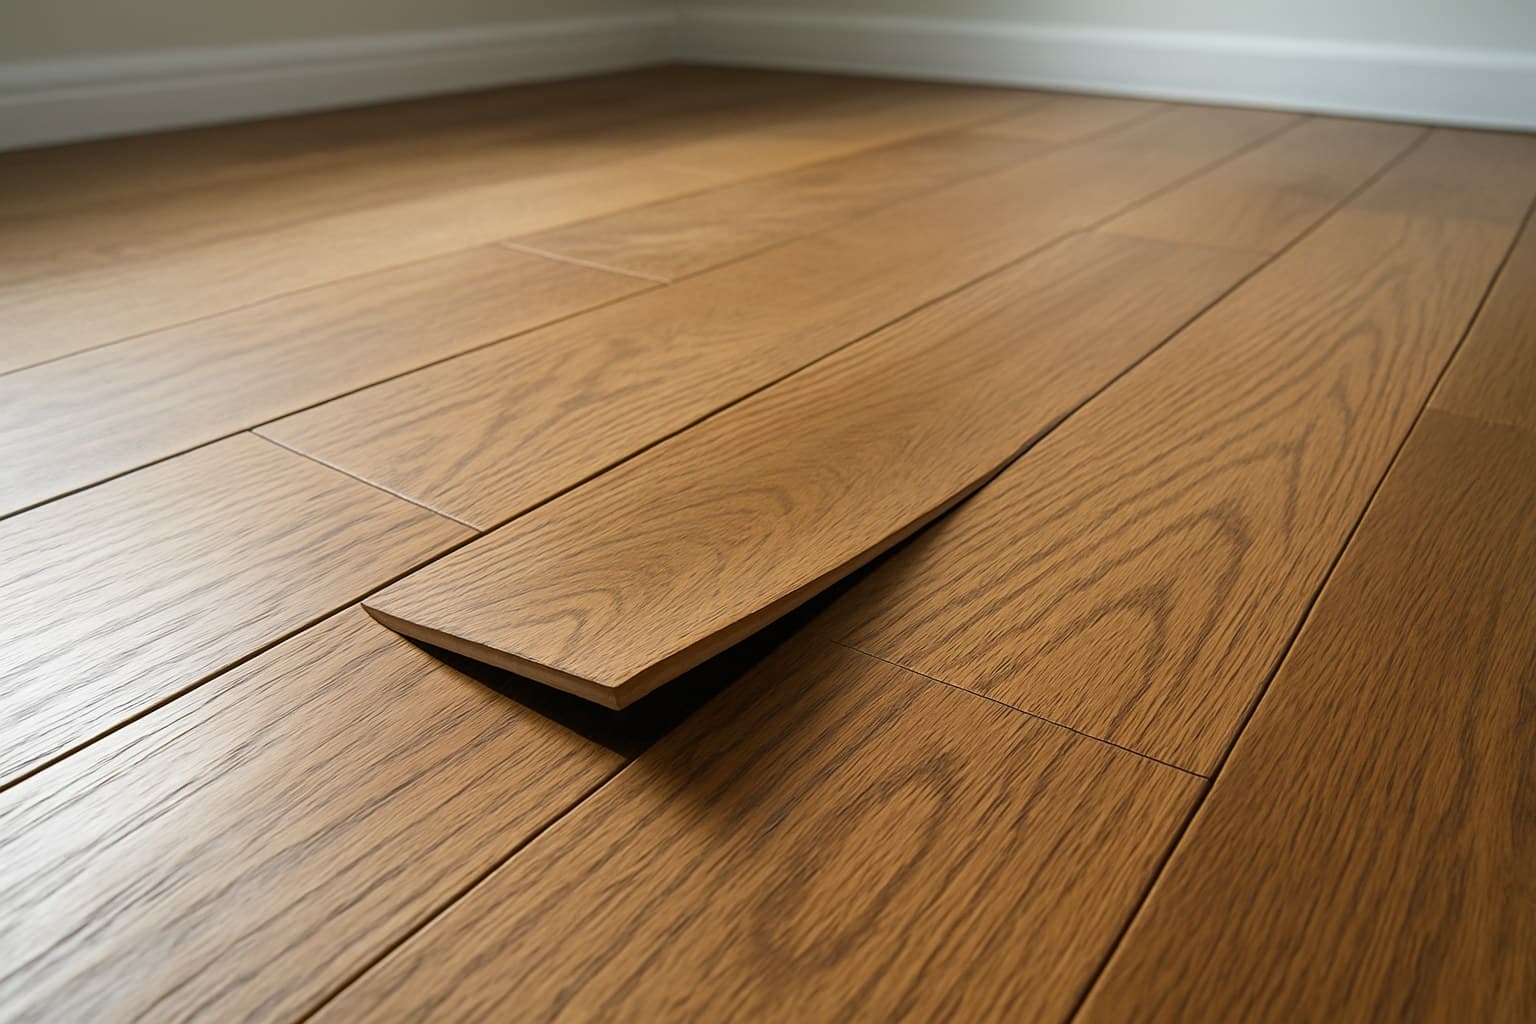
I got called to a job in Longmont where a homeowner had nailed a floating floor solid to fix a "bouncy" spot. Turns out a dip in the slab was causing the bounce, and nobody had checked for it before he pinned the boards down tight. With no room left to move, the planks had nowhere to go but up, so they peaked at every seam by spring. That job is why I check the subfloor before I ever pick a method.
So we're doing this in the right order. This guide gives you numbered steps for floating, glue-down, nail-down, and staple, plus the prep specs the DIY blogs cut off right when they matter. If you want the wider overview of the job first, the installing engineered hardwood walkthrough sets the scene.
What Engineered Hardwood Is, and Why the Core Changes the Install
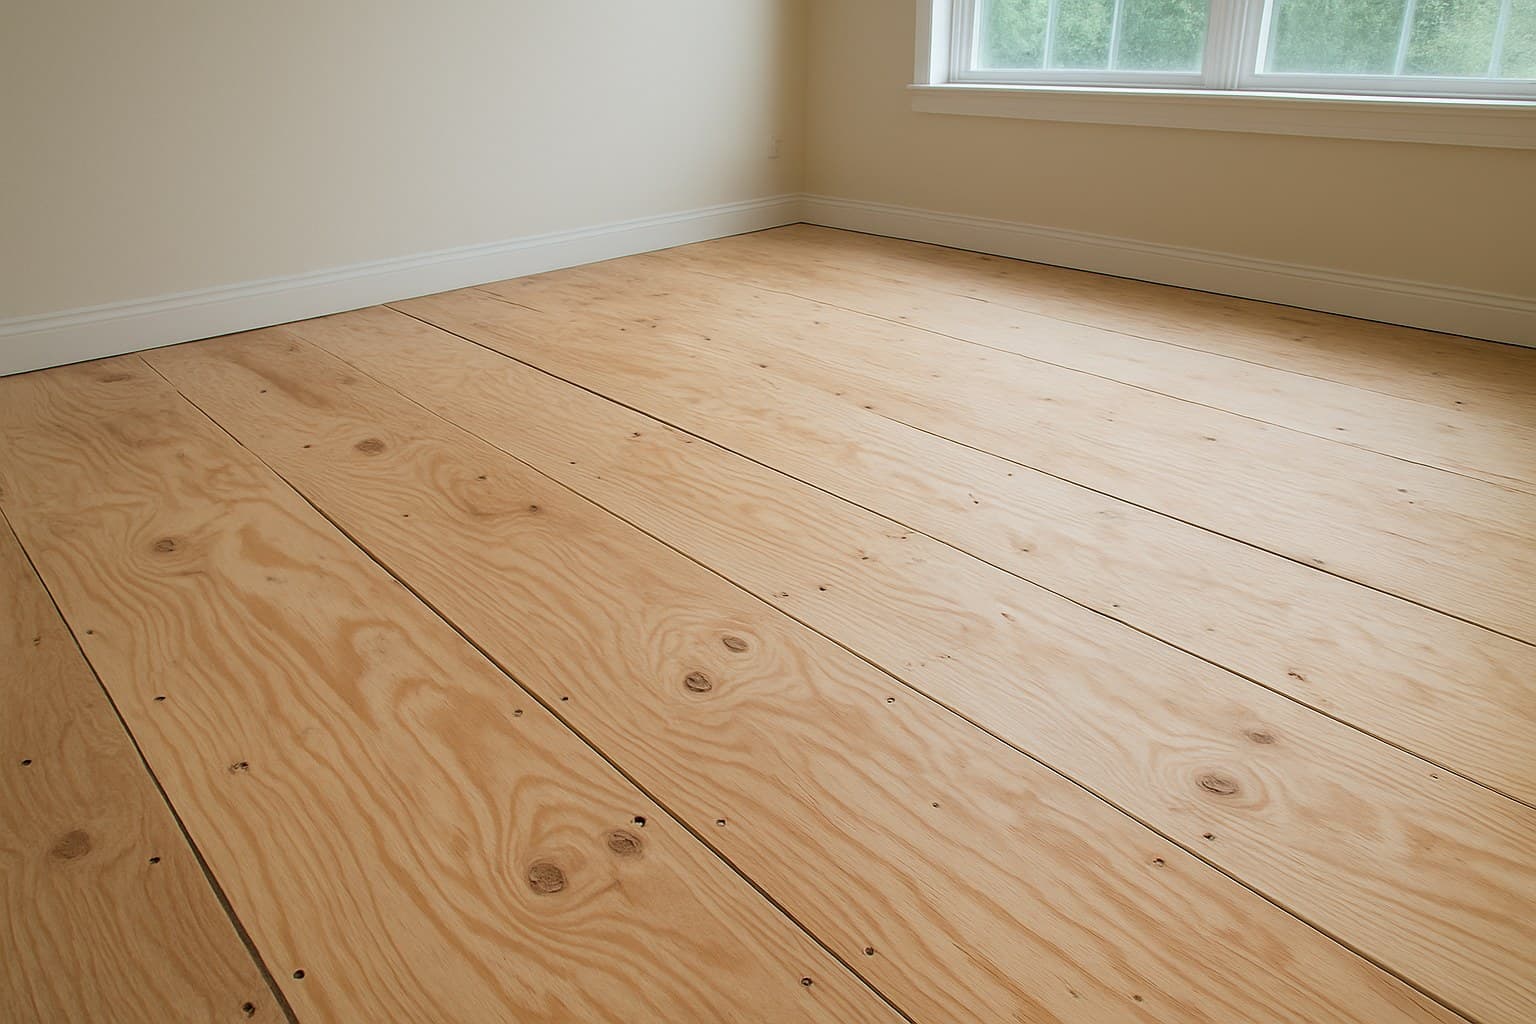
Engineered hardwood is a real wood veneer bonded over a manufactured core, and that core is what tells you which method you can even use. Here's the plain version of the three cores you'll meet. If you're still weighing engineered against solid wood altogether, choosing between solid and engineered hardwood also comes down to picking the right species for the room.
A plywood core is the most stable and the most flexible to install. It takes glue, nails, staples, or floating. An HDF core (high-density fiberboard, which is wood fibers pressed tight under heat) usually floats or glues, but isn't meant for nailing. An SPC core (stone plastic composite, a rigid blend of stone powder and plastic) clicks together and floats, and that's mostly it. Plywood cores also vary by the wood used to build them, and birch engineered hardwood is one of the more common claims worth checking before you buy.
The veneer is the real hardwood layer on top, the part you see and the only part you can ever refinish. Treat its thickness as a spec to look up on the product sheet, not something to eyeball, because a thin veneer may never sand at all. If that top layer is Brazilian cherry, there are a few species-specific quirks worth settling before installation, covered in Brazilian cherry engineered hardwood.
Plank thickness decides whether fastening is even on the table. A 3/8 inch plank is usually too thin to nail without splitting the tongue, while 1/2 and 5/8 inch planks take fasteners fine. If you're still choosing product, it helps to know what engineered hardwood actually is at the core level, how it compares to solid in engineered hardwood vs hardwood, and the extra layout care wide-plank boards need, since wider planks move more.
Acclimation: How Long, Really (the Conflict Settled)
There's no single acclimation number that's right for every floor, and that's the honest answer the guides fight over. Some say 3 days with your HVAC running 5 days first. Others say a flat 5 to 7 days. Both can be wrong for your product.
The tiebreaker is the NWFA (National Wood Flooring Association) Installation Guidelines, which say to acclimate the floor to the room's normal in-use conditions and match the plank's moisture to the subfloor, not to a fixed calendar. Some engineered products actually say no acclimation is needed at all. The box wins over any blog.
Here's how I actually run it on a job. I get the home's heat or AC running for about 5 days first so the room sits at the temperature and humidity it'll live at. I cross-stack or lay the boxes out in that room. Then, before I start, I check plank moisture against the subfloor with a meter. If they're close, I lay. If they're not, I wait.
| Source | What it says about acclimation time |
|---|---|
| FlooringInc DIY guide | 3 days, with HVAC running 5 days first |
| West / Hallmark guides | 5 to 7 days |
| NWFA Installation Guidelines (tiebreaker) | Acclimate to in-use conditions, match plank and subfloor moisture, run HVAC first, and follow the maker's sheet |
Source: I lined the ranking pages up against the NWFA Installation Guidelines
How three common sources answer "how long do I acclimate," and why the maker's own sheet settles it.
Subfloor Prep and Moisture Testing Before Anything Else
No method survives a bad base. Before a single plank goes down, the National Wood Flooring Association's job-site checklist calls for the subfloor to be clean, flat, dry, and structurally sound, and you have to prove the "dry" part with a test, not a hand on the concrete.
Clean, Flat, Dry, and Sound
Clean means swept and scraped, no drywall mud lumps, no old adhesive ridges. Sound means no loose panels or squeaks you can fix now. Flat is the one people skip: the NWFA target runs about 3/16 inch over 10 feet. Grind down humps and fill low spots with patch or self-leveler before you commit, because a floating floor telegraphs every dip as a hollow spot and a glue-down floor won't fully bond over one.
The approved bases, in plain terms: CDX plywood (an exterior-glue plywood, the standard wood subfloor), OSB, a concrete slab, and existing tile. Plywood and OSB allow all four methods. A slab allows floating or glue-down. Tile you float.
The Moisture Tests Worth Running
On concrete, you run a real test. ASTM F1869 (ASTM stands for American Society for Testing and Materials, the group that writes these testing standards) is the calcium chloride test, which measures how much moisture rises out of the slab over a set time. ASTM F2170 uses an in-situ relative-humidity probe, a sensor dropped into a hole drilled in the slab to read the humidity inside it. On a wood subfloor and on the planks themselves, you use a moisture meter, a handheld tool that reads moisture as a percentage.
| Test | What it measures | Common limit |
|---|---|---|
| ASTM F1869 (calcium chloride) | Moisture leaving a concrete slab | Read your product's max lbs per 1,000 sq ft per 24 hr |
| ASTM F2170 (in-situ RH probe) | Relative humidity inside the slab | Often a 75 to 85% RH cap, per the maker |
| Wood moisture meter | Moisture percent in a wood subfloor and the planks | Planks within about 2 to 4% of the subfloor |
Which moisture test fits which subfloor, and where the pass/fail line usually sits.
Installing Over Radiant Heat
If the subfloor hides hydronic tubing or electric mats, that changes the method list too. Engineered hardwood handles radiant heat far better than solid wood because the plywood or HDF core is more dimensionally stable across temperature swings, but the manufacturer still sets a maximum surface temperature, commonly somewhere around 80 to 85°F, and going over it voids the warranty regardless of method. Floating and glue-down are the methods to reach for first here, since a nail or staple driven blind can puncture a tube or wire that a floating floor never touches. Run the system at its normal operating temperature for a few days before you acclimate the planks, so the subfloor is at the temperature it'll hold for years rather than stone cold, then moisture-test as usual. Worth knowing: radiant heat can dry a slab's surface faster than its depth, so a reading taken right after the system cycles off can read drier than the slab actually is.
Two more prep steps pay off before you buy anything: order engineered hardwood samples so you're judging the finish in your own light, and if you're still shopping, it helps to know what's actually on the racks at Floor and Decor.
The Expansion Gap Size, Settled
Wood moves with humidity, so a floating floor needs an empty gap around its whole edge to swell into. The guides quote 1/4 inch, or 1/2 inch, or "it depends on thickness," and readers get whiplash.
Here's the settled version: the NWFA and every maker's sheet size the gap to the product and the room, and it commonly lands between 1/4 and 1/2 inch. Bigger rooms need more room to move. Read the number off your product's instructions, then leave that gap at every wall, every pipe, every doorway jamb, and every vertical thing the floor touches, not just the two long walls. A floor pinned on one side peaks somewhere else.
While you're laying, stagger the end joints at least 6 inches apart from row to row and keep the pattern random. Line the seams up and they telegraph as an obvious stripe across the floor.
Choosing Your Method: A Side-by-Side Comparison
Here's a table putting all four methods against skill level, best subfloor, main tools, and relative labor cost, so you can see where you fit before you commit.
| Method | Skill level | Best subfloor | Main tools | Relative labor cost |
|---|---|---|---|---|
| Floating (click-lock) | Beginner | Slab, plywood, OSB, tile | Tapping block, pull bar, spacers, saw | Lowest |
| Glue-down | Advanced | Concrete slab | Notched trowel, chalk line, adhesive, cleaner | Higher |
| Nail-down | Intermediate | 1/2 in+ plywood or OSB | Flooring nailer, mallet, rosin paper | Medium |
| Staple-down | Intermediate | 1/2 in+ plywood or OSB | Pneumatic stapler, mallet, rosin paper | Medium |
Source: I built this from the four methods I've run across my own residential jobs
Skill, subfloor, tools, and relative labor cost for the four engineered hardwood install methods.
The honest DIY line: click-lock floating is a realistic weekend job for most handy homeowners. Glue-down, stairs, and big open-plan floors with moisture transitions between rooms are where hiring a pro can pay for itself. To judge the difficulty fairly against other materials, it's worth seeing how the job compares in engineered hardwood vs LVP and in engineered hardwood vs laminate, since both of those often install easier than a glued wood floor.
How to Float a Click-Lock Engineered Hardwood Floor
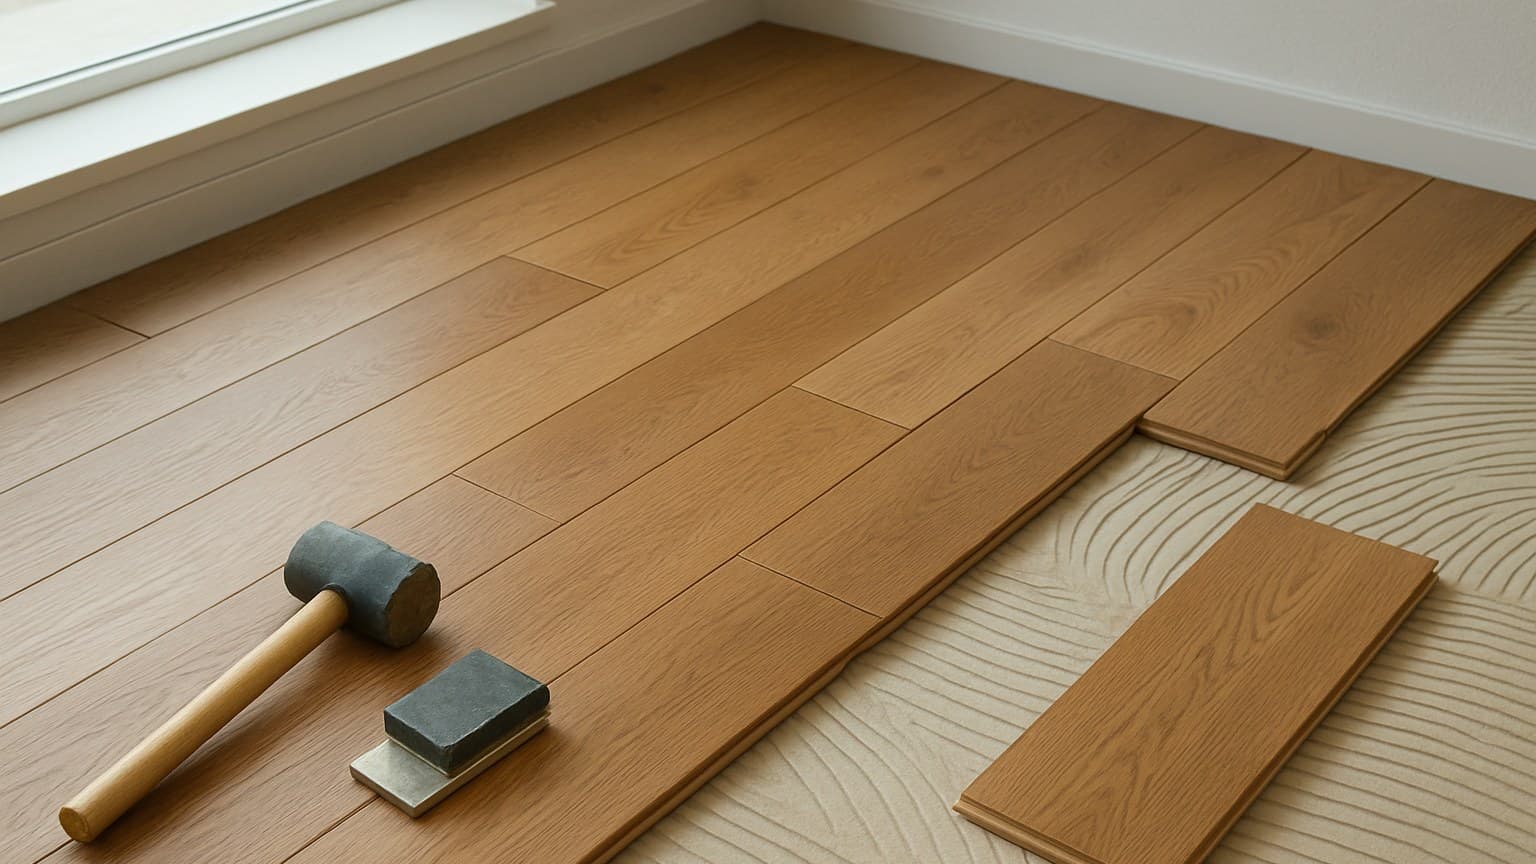
Floating is the method most DIYers should reach for first: the planks lock to each other, not to the floor, so the whole thing rests on top and moves as one sheet.
- Confirm the base. Flat to 3/16 inch over 10 feet, clean, and moisture-tested per the tables above. Roll out the underlayment or vapor barrier your product calls for, seams taped, not overlapped.
- Plan the layout. Measure the room and dry-fit so you don't end with a sliver-width last row. Aim for balanced border widths on both sides. Rip the first and last rows to make that work.
- Set the first row. Start along the straightest wall, tongue side out, with spacers holding your expansion gap. Keep that gap at every wall.
- Lock and stagger. Angle each plank into the last one until it clicks, then tap it home with a tapping block, never a bare mallet on the edge. Stagger end joints at least 6 inches and keep the pattern random.
- Work around obstacles. Notch planks around pipes and jambs, and hold the same gap at each one.
- Close the last row. Rip it to width and pull it tight with a pull bar, a flat steel hook that lets you snug the final row where a tapping block won't fit.
- Finish. Pull the spacers, install shoe molding or quarter round to hide the gap, and set your transitions at doorways.
If floating is the route you've settled on, the deeper floating engineered hardwood guide covers underlayment choices and the trickier transitions in more detail.
How to Glue Down Engineered Hardwood
Glue-down bonds each plank directly to the subfloor with flooring adhesive, which makes it the go-to over concrete slabs where you want a solid, no-bounce feel. It's also the least forgiving method, so this is the one I most often tell homeowners to hire out.
- Prove the slab is dry. Run ASTM F1869 or F2170 and stay under your adhesive's and your product's limits. Many jobs need a moisture-barrier primer or a barrier troweled down first.
- Snap your lines. Chalk a straight working line to start from, since the wall is rarely as straight as you think.
- Spread adhesive. Use the exact trowel notch the adhesive sheet specifies, and only spread as much as you can cover before it skins over. Wrong notch, wrong bond.
- Set, don't slide. Lay each plank into the adhesive and press it down. Sliding it smears glue up the seams. Stagger joints the same 6 inches.
- Manage squeeze-out and lift. Wipe glue off the surface right away with the cleaner the maker names, not water. Tape or weight any plank edge that lifts until it grabs.
- Hold your gaps. Same expansion gap at every wall and vertical.
- Stay off it. Give the adhesive its full cure time before you walk the floor or set furniture. Rushing this is how you get hollow spots.
How to Nail Down Engineered Hardwood
Nail-down drives fasteners through the plank's tongue into a wood subfloor, and it only works with planks 1/2 inch or thicker over plywood or OSB at least 1/2 inch thick. Thin planks split, so check your thickness before you buy the nailer.
- Prep and paper. Confirm the wood subfloor is flat, sound, and moisture-checked, then roll out rosin paper (a thin building paper that quiets the floor and slows moisture) across it.
- Start by hand. The first rows sit too close to the wall for a nailer. Blind-nail them by hand, which means driving the nail through the tongue at an angle so the next plank hides it. Face-nail the very first row if you must, then cover the holes with molding.
- Switch to the nailer. Once you've got room, use a flooring nailer set to your product's fastener schedule, usually a nail every 6 to 8 inches and a few inches from each end.
- Rack ahead. Lay out several rows loosely first, called racking, so you can choose plank lengths that keep a random, staggered pattern.
- Close the field. The last rows near the far wall get blind-nailed by hand or glued, since the nailer won't fit. Keep the expansion gap the whole way around.
How to Staple Down Engineered Hardwood
Stapling works like nailing but uses a pneumatic stapler, and the wider staple crown grips well on thinner engineered planks that a nail might split. Same subfloor rules apply: 1/2 inch or thicker plywood or OSB, moisture-checked, with rosin paper down first.
The steps mirror nail-down. Hand-fasten the starter and closing rows, run the pneumatic stapler through the field on the fastener spacing your product's sheet lists, rack ahead to keep the pattern random, and hold the expansion gap at every edge.
The one thing that trips people up is air pressure. Set it too high and the staple crushes the tongue or dimples the surface. Test on a scrap first and dial the pressure to where the staple seats flush without denting. When in doubt, the product sheet names both the fastener and the spacing, and it beats any general rule.
Stairs, Transitions, and Where DIY Stops Paying
Stairs are their own job, and they're the clearest line between a DIY floor and a hire. Treads and risers get fully glued and often face-nailed, every nosing (the rounded front edge of the step) has to be cut and bonded so it can't lift underfoot, and there's no floating a stair. A loose stair plank isn't a cosmetic problem, it's a fall, so this is where I tell most homeowners to bring in a pro.
Transitions between rooms are the other spot. Where a floating floor meets tile, another room, or a long open-plan run, the floor needs a break so one big sheet of wood isn't trying to move as a single piece across the whole house. Get those transition gaps wrong and the floor buckles at the doorway. Basements add moisture risk on top, so a below-grade slab install almost always costs more and deserves more testing than an open upstairs room. For that kind of moisture-prone space, it's worth looking at a waterproof engineered hardwood option built to handle the exposure instead of fighting it with testing alone.
Troubleshooting Squeaks, Gaps, and Cupping After Install
Most post-install noise or movement problems trace straight back to a prep step, not a defect in the floor.
Squeaks usually mean a fastener missed the subfloor seam or joist, or a floating floor got pinned down somewhere it needed to move. On a nailed or stapled floor, adding a fastener at the offending spot (from below through a basement ceiling, or from above at a spot you can fill and cover) usually quiets it. On a floating floor, look for whatever is pinning the board down, often a baseboard nail through the field or a transition strip screwed too tight, and free it.
Gaps that open up between boards weeks after install are usually a dry-season symptom: the wood lost a little moisture and shrank, and anything under about 1/8 inch is normal and often closes back up once humidity returns. Wider gaps, or ones that show up in humid months, point to a skipped expansion gap at the wall or a rushed acclimation step, and the fix is pulling the base molding and cutting more room, not living with it.
Cupping, where the edges of a board sit higher than the center, points at moisture underneath: an untested slab, a crawlspace without a vapor barrier, or a spill that sat too long. Pull a board and check its moisture against the subfloor before you touch anything else. Cupping from a one-time event, like a dishwasher leak, often flattens back out once both sides dry evenly; cupping from a standing moisture source needs that source fixed first, or the next boards will cup right behind the ones you replace.
What Installation Actually Costs: Materials vs Labor
Cost splits into two parts that move independently: the material you pick and the labor for the method. There's no single national number, so treat these as starting ranges to confirm with local quotes, and expect basements and stairs to run higher than an open room.
| Method | Labor (per sq ft) | Notes |
|---|---|---|
| Floating (click-lock) | About $2 to $4 | Lowest labor, most DIY-friendly |
| Glue-down | About $3 to $6 | Adhesive adds material cost too |
| Nail-down | About $3 to $6 | Needs a wood subfloor |
| Staple-down | About $3 to $6 | Similar to nail-down |
Source: These are the callbacks I've been sent to fix on other crews' installs
Materials sit on top of that and swing widely by veneer thickness, species, and brand, commonly running a few dollars per square foot at the low end to well over ten for thick-veneer wide planks. Stairs are priced per step, not per square foot, and basement slabs add moisture testing and prep. For a full breakdown by room and square footage, the engineered hardwood flooring cost guide runs the numbers.
If your next question is what a pro will charge to do the whole job for you, 9 Numbers That Reveal the Real Cost to Install Engineered Hardwood breaks the labor side down line by line so you can sanity-check a quote before you sign.