
Figuring out how much flooring you need comes down to one formula: multiply the room's area by your waste percentage, then divide by what one carton covers, rounding up, that's your box count. The room's raw square footage is never the number you actually order, because waste cuts, carton coverage, and dye lots all push that figure around. A dye lot, also printed on the box as a run number, is just the batch a carton was made in, boxes from different batches can shade slightly differently side by side. Get one wrong and you're a box short with no matching batch left to finish the floor. Before any of that math matters, it helps to have already settled on a wood species and color, something guide to choosing wood flooring and colors walks through before you ever pick up a tape measure.
Key takeaways
- Start with area = length x width, split L-shaped rooms into rectangles, then add waste before you order anything.
- Waste runs about 7-10% for straight layouts, 12-15% diagonal, and 18-20% herringbone, plus 2-5% more for solid or engineered hardwood.
- Don't assume 20 sq ft a box: read the carton's own coverage (often 18-24 sq ft) and buy every box from one dye lot or run number.
- Materials run roughly $1-5/sq ft vinyl, $2-6 laminate, $4-10 engineered, $6-15 solid hardwood; install adds about $2-5/sq ft.
- A 12x12 room at 10% waste is about 159 sq ft, which is roughly 8 cartons at 22 sq ft each.
Step 1: Measure the Room (and Split L-Shaped Spaces)
Start with the formula every installer uses: area equals length times width, measured in feet to the nearest few inches, then rounded up. For a plain rectangle, that one line gives you your base number.
Measure closets, doorway returns, and the little notch in front of a hearth as their own small rectangles. These edges are where people come up short, because they eyeball them instead of measuring.
Only subtract a fixture if it's big and permanent, like the footprint of a kitchen island that's staying put. Don't subtract small stuff like a toilet flange or a floor vent. The waste from cutting around them eats up that space anyway.
Splitting an L-shaped room into rectangles
Don't try to measure an odd shape in one go. Draw the room on paper, cut it into clean rectangles, work out the area of each one, then add the totals back together.
A simple L is usually two boxes: say a 12 by 12 main area plus an 11 by 6 bump-out. That's 144 plus 66, or 210 square feet before you touch waste. The split method keeps you from guessing on the part that bends.
Step 2: Add the Right Waste Percent
Here's where two groups of online calculators disagree. One ties waste to how complex your layout is, the other ties it to how big the job is. Both move the number, so you need both.
Use these as your base: straight layouts need 7-10%, diagonal 12-15%, and herringbone or chevron 18-20% because nearly every board gets an angled cut. Add another 2-5% on top for solid or engineered hardwood, since you'll cull short and off-grade boards out of the carton. That culling isn't arbitrary: the NWFA/NOFMA grading standard sets minimum average board lengths by grade, Clear grade calls for an average length of about 36 inches, so a carton of a lower grade naturally mixes in more short pieces that end up as cut waste.
| Situation | Add | Why |
|---|---|---|
| Straight / standard layout | 7-10% | Planks run parallel to the walls, fewer angled cuts |
| Diagonal (45 degrees) | 12-15% | More angled end cuts along every wall |
| Herringbone / chevron | 18-20% | Nearly every board is cut on an angle |
| Solid or engineered hardwood | +2-5% more | Culling short and off-grade boards |
| Room under ~1,000 sq ft | Use the top of the range | One bad cut is a bigger share of a small order |
Waste percentages to add on top of measured area, by layout type, material, and job size.
Lean to the top of the range on rooms under about 1,000 square feet. On a small order, one botched cut is a bigger slice of what you bought.
One more habit: keep a full, uncut box in the closet after the job. When a plank gets gouged two years later, a matching dye lot is almost impossible to track down.
Step 3: Convert Square Footage to Boxes or Cartons
There is no standard 20-square-foot box, and planning around one is how people end up a carton short. Read the coverage printed on your own carton, which commonly runs 18-24 square feet.
The math is simple: boxes equal your area times (1 plus waste), divided by the coverage per box. Then round up to the next whole box every single time, never down.
Buy every box from one dye lot or run number. Mixing lots shows up later as faint shade lines running across a finished floor, and in the right window light it's hard to miss.
So before you hit buy: confirm the carton's real coverage, round the box count up, check that all the boxes share one run number, and plan to set one aside for repairs. Don't count on buying a partial carton to top off your order.
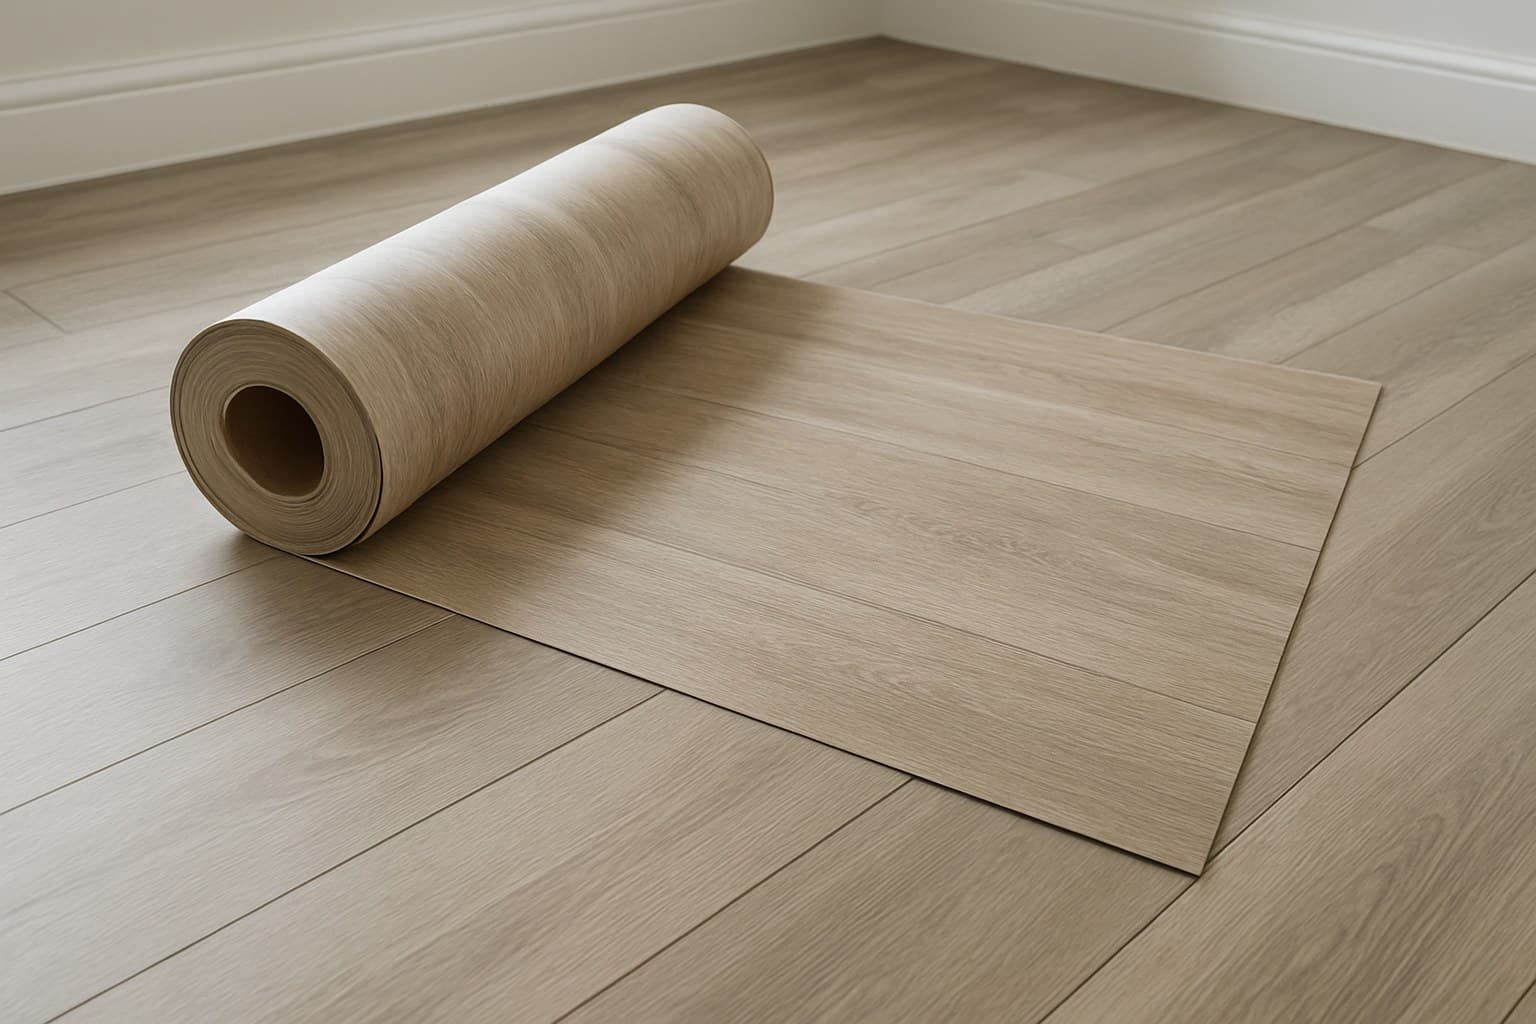
Step 4: Carpet and Vinyl, Plan Roll Width and Seams
Carpet and sheet vinyl aren't sold in boxes. They come off a roll by width, most often 12 feet, with 6-foot and 13-foot-2-inch widths also out there. Your room width decides how many seams you'll have. The Carpet and Rug Institute, the carpet industry's trade group, treats seam placement as part of choosing the right carpet for a room, it's worth mapping seam locations with your installer before the roll gets cut, since a seam that looks fine on paper can land in a bad spot once it's unrolled.
Place seams out of the main traffic lanes and run them toward the light from a window, so the join doesn't cast a shadow line. Keep the carpet pile or the vinyl pattern all facing the same direction, or the floor reads as two different shades.
Add about 10% more for a patterned carpet or a Berber, so you have enough to line the pattern up across each seam.
DIY note: click-lock LVP (luxury vinyl plank) is realistic for most homeowners. Seaming carpet or sheet vinyl is fussy work with a hot iron or a knife and a straightedge, and it's usually worth hiring out.
Step 5: Add Underlayment Where It Belongs
Match your underlayment order to the same floor area, then subtract any pad that's already attached to the plank. A lot of LVP and laminate lines ship with the pad built on, and you don't buy it twice.
Rolls commonly cover around 100 square feet. Pick foam, cork, or a combination for the feel and sound you want, and add a moisture barrier over any concrete slab.
Overlap and tape the seams the way the product sheet says. Don't double up pad under attached-pad planks, because the extra cushion lets the lock joints flex and can void the warranty.
Figure one extra roll for odd corners and hallways rather than cutting it exactly to the number. Underlayment is cheap compared to stopping the job to go buy more.
Step 6: Confirm the Subfloor Is Flat and Dry First
Before you lock in a final order, check the subfloor. A floor that needs leveling, or that forces a different layout, changes both your waste number and your plan.
The National Wood Flooring Association (NWFA) publishes a JobSite Checklist that calls for moisture-meter readings, a joist and span check, and a floor flat to the maker's spec before a wood floor goes down. On concrete, run a moisture test. On a wood subfloor, get the subfloor's moisture within range of the flooring before anything ships. NWFA's Homeowners Handbook to Real Wood Floors also recommends letting new wood flooring acclimate in the install room for several days beforehand, since boards that haven't adjusted to the room's humidity are more likely to gap or cup once they're down, another reason the waste and culling allowance in Step 2 exists.
Many floating floors want the subfloor flat to around 3/16 inch over 10 feet, but check your specific product's sheet, because that number is set by the maker, not a universal rule. A straightedge laid across the floor finds the dips and humps fast: grind the high spots down, fill the low spots with leveling compound.
I had a homeowner near Dayton crank the heat the day after install to "help it settle." The boards dried out and opened gaps across the whole living room that first week. This subfloor prep is what the warranty on most floating jobs actually depends on, not the plank you picked, so for the full step-by-step see our engineered hardwood install guide.
Flooring Cost by Type, Materials vs Install
For materials alone, expect roughly $1-5 per square foot for vinyl and LVP, $2-6 for laminate, $4-10 for engineered hardwood, and $6-15 for solid hardwood. Install adds about $2-5 per square foot on top, and basements and stairs cost more per foot than an open room. If that price gap between the two hardwood types has you torn, our guide to picking solid vs. engineered hardwood floors walks through which construction and species actually suit your room.
| Flooring type | Materials only, $/sq ft |
|---|---|
| Vinyl / LVP | $1-5 |
| Laminate | $2-6 |
| Engineered hardwood | $4-10 |
| Solid hardwood | $6-15 |
Materials-only cost per square foot by flooring type; install labor runs about $2-5 per square foot on top.
To budget, multiply your with-waste square footage by the material rate, then add the install rate if you're hiring out. For a full hardwood breakdown by species and room, see our hardwood flooring cost guide, and engineered hardwood guide for where that plywood-style core earns its place over concrete.
Worked Examples at Four Room Sizes
Read your own job straight off this table instead of typing into a widget. Each row runs the raw area, the waste added, the carton count, and a rough materials estimate.
| Room | Raw area | With waste | Cartons (22 sq ft) | Materials est. (LVP ~$3/sq ft) |
|---|---|---|---|---|
| 12 x 12 | 144 sq ft | 159 sq ft (10%) | 8 | ~$480 |
| 14 x 14 | 196 sq ft | 216 sq ft (10%) | 10 | ~$650 |
| L-shaped (12x12 + 11x6) | 210 sq ft | 231 sq ft (10%) | 11 | ~$695 |
| 1,000 sq ft | 1,000 sq ft | 1,070 sq ft (7%) | 49 | ~$3,210 |
Worked box counts and materials estimates at four room sizes, using a 22-square-foot carton as a stand-in.
Swap in your carton's real coverage and the box count shifts up or down from what's shown here. The L-shaped row shows the split method in action: 144 plus 66 is 210 square feet before waste. The 1,000-square-foot row uses the lower 7% because on a big job one cut is a smaller share of the order.
The hardwood flooring cost calculation, worked by species
Hardwood changes the money, so run it as its own line. Take that 14 by 14 room at 216 square feet with waste. A mid-grade engineered white oak hardwood floor at about $7 per square foot in materials is roughly $1,510. Add install at $3 per square foot, about $650, and you're near $2,160 all-in for that room.
Keep the two halves separate in your head: the material portion and the labor portion. That's how you compare a $3 LVP against a $7 white oak without the numbers blurring together.
Sources
- Carpet and Rug Institute: Selecting the Right Carpet
- NWFA Homeowners Handbook to Real Wood Floors (PDF)
- NWFA JobSite Checklist (PDF)
- NWFA/NOFMA Unfinished Wood Flooring Grading Standard (PDF)