A homeowner named Dana in Tulsa called me to quote 3 inch hardwood for her dining room remodel, and the first thing I told her was that one inch matters more than she thought. At 3 inches, a board stops being a strip and becomes a plank, and that shift changes the grade rules, the price, and which rooms it actually suits. Here's how to read it before you buy.
Key takeaways
- Under 3 inches is a strip; 3 to 8 inches is a plank, so 3 inch sits right on the NOFMA cutoff and follows the wider plank width tolerance (about plus or minus .008 inch versus .005 for strips).
- Grade sets price and board length: Clear runs about 36-inch minimum average length, Select 32 inches, #1 Common 28 inches, and #2 Common 24 inches, with more knots and color as you go down.
- For 3 inch white oak solid, expect materials roughly $3-12 per square foot by grade, plus about $3-6 per square foot for nail-down labor, with stairs and basements costing more than open rooms.
- Solid 3/4 inch 3 inch strip nails down over wood subfloors; over a concrete slab or below grade, check moisture first and lean engineered.
- Check subfloor flatness and moisture before anything else; that prep, not the board, is what most warranties quietly depend on.
What "3 Inch" Hardwood Flooring Actually Means
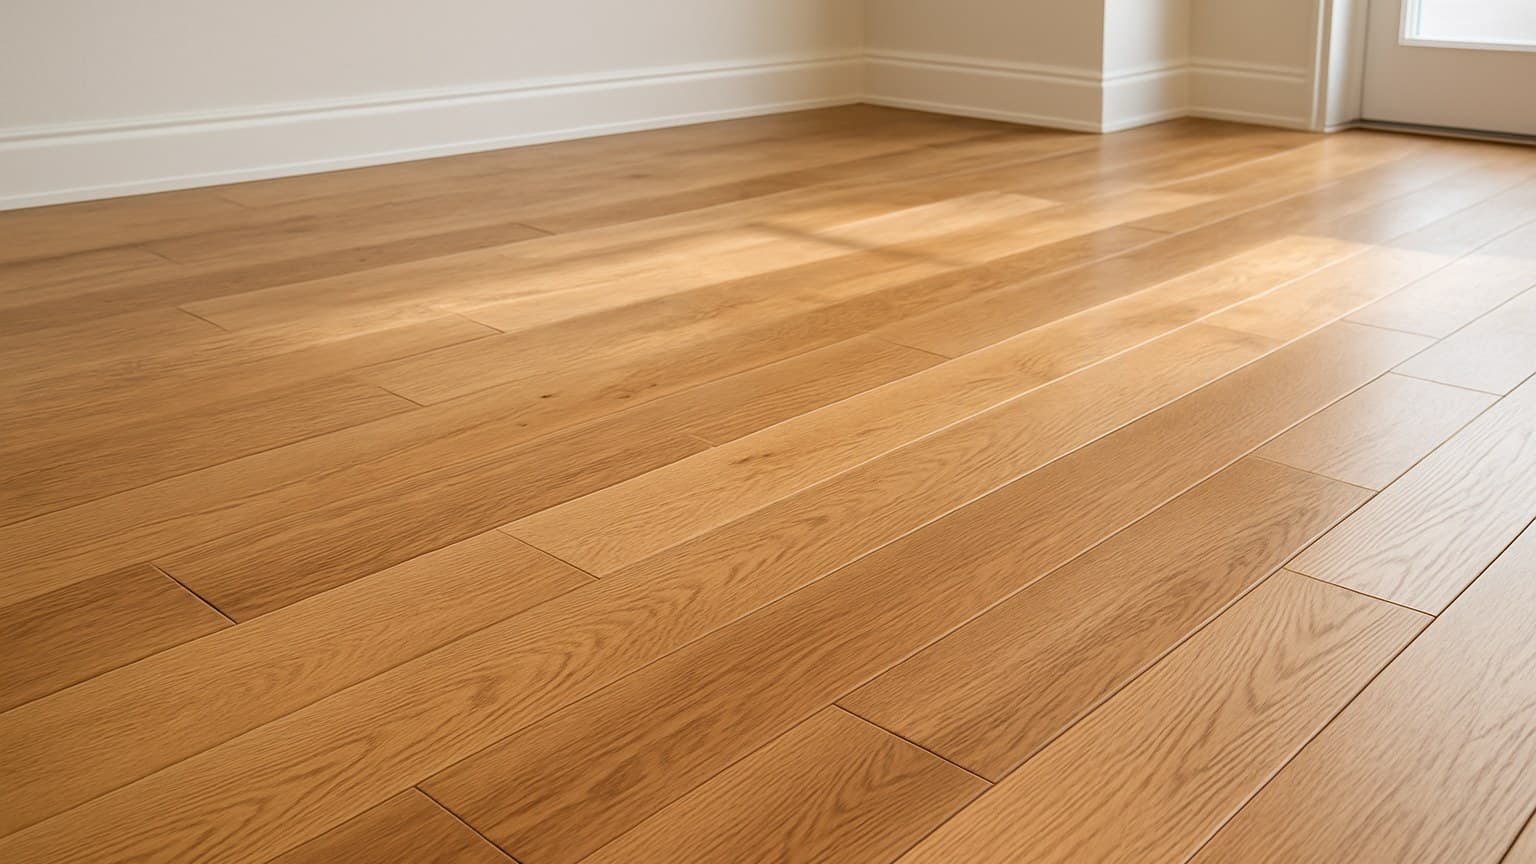
Three inches is the exact width where a strip becomes a plank. Anything under 3 inches is a strip. From 3 inches up to about 8 inches, the trade calls it a plank. So a 3 inch board sits right on that dividing line, and it follows the plank rules, not the strip rules.
Strip or Plank? Three Inches Is the Dividing Line
When a board crosses into plank territory, the allowed width wobble loosens up. According to the NWFA/NOFMA Unfinished Wood Flooring Standard, strip widths are held to a tolerance of about plus or minus .005 inch, while plank widths, including 3 inch, run about plus or minus .008 inch. In plain terms, a wider board is allowed to vary a hair more in width, so the seams between boards can sit a touch less perfect than on a tight 2.25 inch strip floor.
That doesn't make it a worse floor. It just means the subfloor prep matters a little more once you go wider, which is a theme you'll see all the way through this guide.
| Width | Class | Width tolerance | Look |
|---|---|---|---|
| 1.5" - 2.25" | Strip | about +/- .005" | Narrowest, busiest look |
| 2.25" | Strip | about +/- .005" | The most common strip size stores push |
| 3" | Plank (boundary) | about +/- .008" | First width the trade calls a plank |
| 4" - 5" | Plank | about +/- .008" | Calmer, more modern look |
| 6" - 8"+ | Wide plank | about +/- .008" | Fewer seams, needs flatter subfloor |
Source: the NWFA/NOFMA solid strip and plank width classes and tolerances
Why 3/4 Inch Thickness Comes Up So Often
Most solid 3 inch flooring is 3/4 inch thick. That's the standard thickness for nail-down solid wood, and it's what lets you sand and refinish the floor down the road. Keep two numbers straight: 3 inch is the face width, the part you see. The 3/4 inch is the thickness, how tall the board stands. When someone says "3 inch hardwood," they almost always mean a 3/4 inch thick solid board that's 3 inches wide across the face.
NWFA and NOFMA Grades, in Plain English
Grade is about looks and yield, not strength. A lower grade is not a weaker floor. It just has more knots, more color swing, and shorter boards. Here's what the names on the box actually mean.
Clear is the top grade: the most uniform color, almost no knots, the calmest look. Select and Better steps down a little, with slight color range and minimal character. #1 Common brings moderate knots and real color variation. #2 Common is the character grade, with heavy knots, big color swings, and the lowest price. That heavy-knot, character-grade look is exactly what often gets marketed as cabin grade, and whether it reads rustic or just cheap in your room is worth checking first in this cabin grade hardwood flooring guide.
Here's the part no listing page shows you: grade also sets how long the boards run. Per the NWFA/NOFMA grading standard, minimum average board lengths range from about 36 inches for Clear down to about 24 inches for #2 Common, lower grades come in shorter average lengths, which means more end seams across your room. If you want the fuller picture of how these grade rules and length ranges play out across the whole trade, this grades of hardwood flooring guide breaks it down chart by chart.
| Grade | Min. avg. board length | Look | Price tier |
|---|---|---|---|
| Clear | about 36" | Most uniform color, almost no knots | Top |
| Select & Better | about 32" | Minimal character, slight color range | High |
| #1 Common | about 28" | Moderate knots and color variation | Mid |
| #2 Common | about 24" | Heavy character, knots, color swings | Budget |
Source: the NOFMA minimum average board-length rules by grade
How to pick: if you want character and want to save money, #1 or #2 Common is honest value, and the knots read as "real wood" rather than a defect. If you want a formal, uniform floor with long clean boards, pay up for Select or Clear. That same character-versus-cost tradeoff shows up across solid hardwood generally, and this hardwood flooring pros and cons guide lays out the fuller list of upsides and downsides before you commit.
What 3 Inch Hardwood Costs by Grade
There's no single price for a 3 inch floor, so ignore any flat national number you see. Split it into materials and labor. For 3 inch white oak solid, materials run roughly $3-12 per square foot depending on grade, and nail-down labor runs roughly $3-6 per square foot on an open room.
The grade drives the material cost more than anything. Budget #2 Common sits at the bottom. Clear sits at the top. Labor is a separate line and stays fairly steady no matter which grade you pick, because the installer nails the same way regardless. When you do spot a steep markdown on a specific grade, it's worth knowing how to tell a genuine discount from an inflated sticker price, which this hardwood flooring sale guide walks through.
| Item | $ per sq ft |
|---|---|
| #2 Common materials | $3-5 |
| Nail-down labor | $3-6 |
| #1 Common materials | $4-6 |
| Select materials | $6-9 |
| Clear materials | $8-12 |
Cost ranges for 3 inch white oak solid, per square foot, by grade plus nail-down labor on an open room.
Stairs cost more per step than open floor because each tread is cut, fit, and nailed by hand. Basements cost more too, because a slab needs a moisture check and often a different install method than a plywood subfloor upstairs. For a full picture across room sizes, see this 500 to 2,500 sq ft cost breakdown, and if you're weighing species, here's what walnut hardwood flooring cost looks like next to oak.
If the price is your main hurdle, don't rule out clearance stock. A cheap lot is often just leftover from a discontinued run, not a defect. I've laid plenty of it. The trick is buying enough of one lot number to finish the job, since you can't reorder it later. Here's how to tell a bargain from a dud with clearance hardwood flooring.
Species and Cuts: White Oak, Red Oak, Maple
Pick species by how the room gets used and how much light it gets, not by brand. In a 3 inch board, three species show up most. If sourcing and eco-certification factor into that pick too, this sustainable hardwood flooring guide explains what the eco label on the box actually tells you.
Which Species Suits a 3-Inch Strip
White oak is hard, neutral in tone, and takes stain evenly. It's my default for a floor that needs to shrug off traffic and read modern. Red oak is a little softer in tone with a warmer, pinkish cast, it's usually the cheapest of the three, and it's the easiest to match if you're blending into an existing oak floor. Hard maple is pale and very hard, but it's fussy to stain, it can go blotchy, so it looks best left natural or close to it.
For a busy hallway or a room with kids and dogs, I lean white or red oak. In a bright room where you want a clean, light floor and won't fight the stain, maple earns its spot.
Cuts: Plain Sawn, Rift, and Quartered
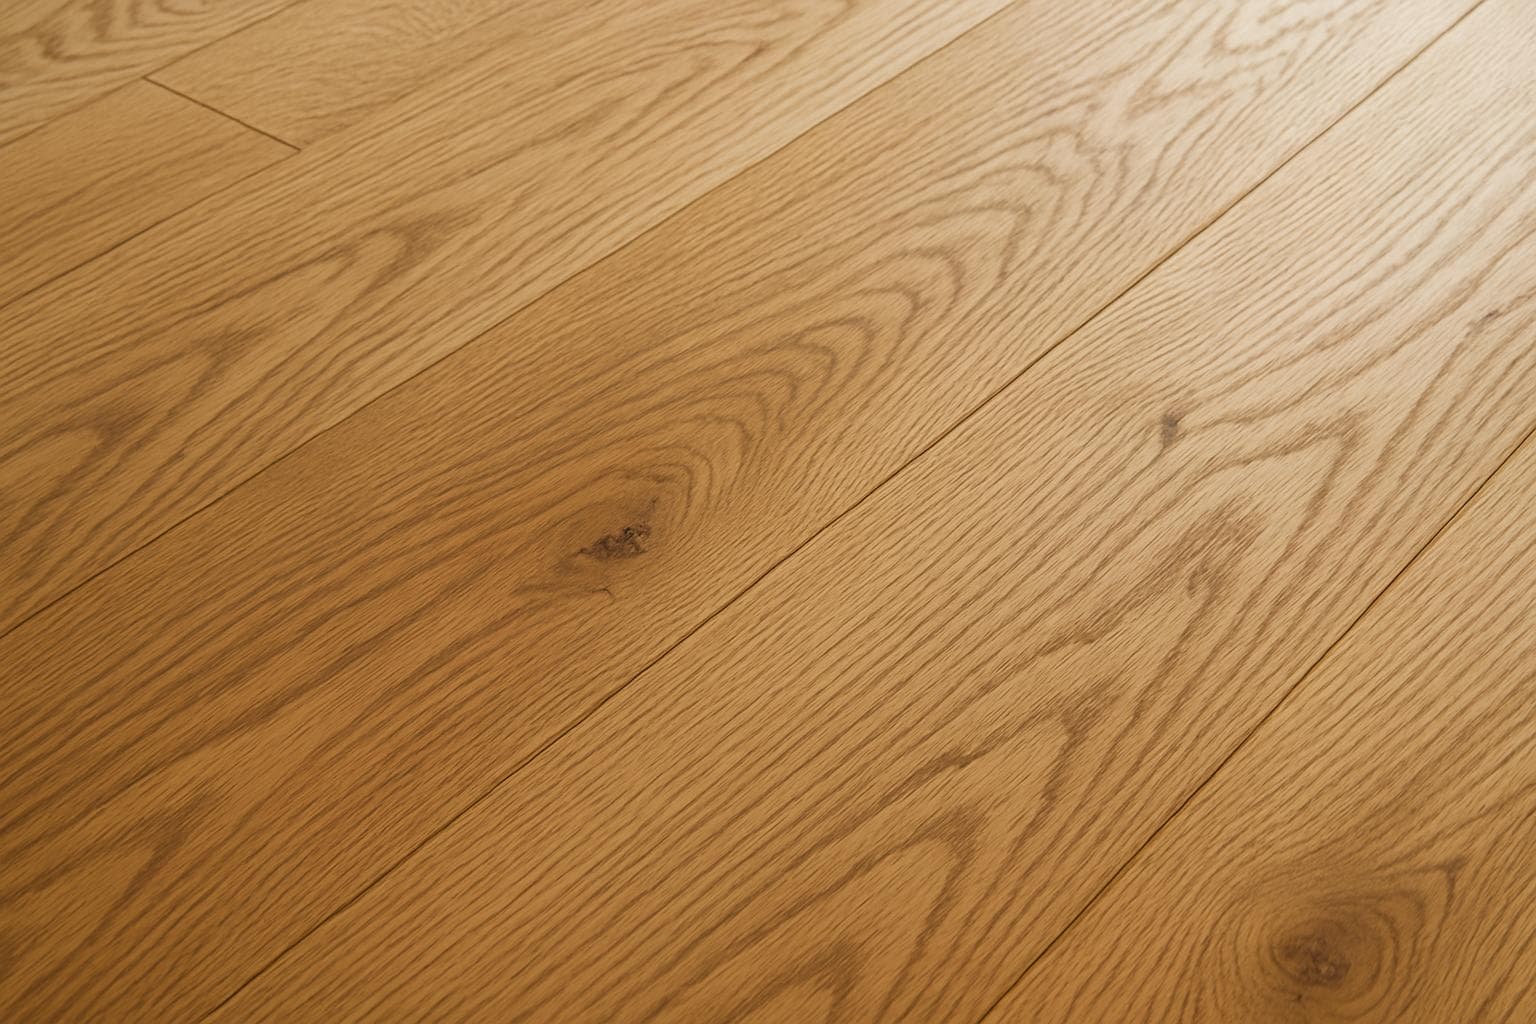
How the log is sliced changes both the grain and the stability. Plain sawn is the common, cheaper cut, and it gives you those wavy "cathedral" arches in the grain. Rift and quartered cuts slice the log so the grain runs straight and tight. That looks cleaner, and it moves less with the seasons, but it costs more because it wastes more of the log. You'll see it sold as rift only, quartered only, or a rift and quartered mix.
If your area swings from humid summers to bone-dry winters, a rift or quartered 3 inch board will gap less than plain sawn. That stability is what you're paying extra for.
A hand-scraped or textured 3 inch board can hide dents and add character, but only if the texture is real. Run your hand across it. Real scraping follows the grain and varies board to board. A printed or embossed texture repeats the same pattern and feels shallow. Here's how to spot the difference on hand scraped hardwood flooring.
Solid vs Engineered in a 3 Inch Board
Where the floor is going decides this, more than looks.
Solid 3/4 inch, 3 inch wide nails down over a wood subfloor and can be sanded and refinished several times over its life. That's its big advantage. On a ground-floor or upstairs room with a plywood subfloor, solid is a fine call.
Engineered is built on a plywood-style core, layers glued crosswise, with a real wood veneer on top. That core is more stable over concrete and below grade, where solid usually isn't recommended. In a basement, I've steered people off solid entirely more times than I can count, because the slab reading told me to. The material didn't fail down there, the moisture under it would have. If you're still weighing solid against engineered for your specific room and species, this solid vs. engineered hardwood guide walks through the full decision in more depth.
Radiant heat is another deciding factor that gets missed. Solid 3/4 inch wood is generally not recommended over radiant heat systems, because the heat cycles the board through more expansion and contraction than a solid plank can absorb without cupping or gapping. Engineered flooring's cross-layered core handles that heat cycling much better and is the safer call for a room with in-floor heat, but "engineered" alone isn't a blanket approval, always confirm the specific product is rated for radiant heat and follow the manufacturer's temperature limits before installing over it.
Whether you can refinish an engineered floor later is a spec question, not a yes or no. It depends on the veneer thickness, the wear layer on top. A thicker veneer can take a light sanding once or maybe twice. A thin one can't be sanded at all. Check the maker's published veneer number before you assume "it's wood, so I can refinish it." That's the same veneer question worth asking before you buy a Pergo floor, since our Pergo hardwood real-or-not guide breaks down what's actually under that finish.
Is 3 Inch Right for Your Room?
Three inch is the middle ground, and that's exactly why it fits most rooms. It calms the busy, seam-heavy look of a 2.25 inch strip floor without demanding the flat, dry subfloor that a 5 inch or wider plank needs. For small-to-medium rooms and traditional spaces, it's the sweet spot.
Compare the three widths and the tradeoff is clear. A 2.25 inch strip is the cheapest and gives the busiest look with the most seams, which suits tight or traditional rooms. A 3 inch board is calmer and forgiving on the subfloor, and it fits most homes. A 5 inch or wider plank gives the fewest seams and the most modern feel, but it costs more and it demands a flatter, drier subfloor.
Wider planks show gaps more in dry winter months, and they telegraph every dip in the subfloor. A 3 inch board hides small imperfections better. If your subfloor isn't dead flat and you don't want to spend a day leveling it, 3 inch is the safer width.
3 inch is the sweet spot for a homeowner who wants a step up from builder-grade strip, in a traditional or medium-sized room, without taking on the prep and cost that wide plank brings.
Installation Basics: Subfloor, Moisture, Nail-Down
Prep first, boards second. On nearly every floor I've done, the finished product only lasts as long as what's under it. Read the manufacturer's warranty terms before you start: most require flat, dry subfloor prep as a condition of coverage, not just the board you picked.
According to NWFA installation guidelines, subfloors should be flat within about 3/16 inch over any 10-foot run before installation. High spots get sanded down, low spots get filled. Then check moisture with a meter, a small tool that reads how wet the wood or slab is, before a single nail goes in. On a hallway job for a homeowner named Carol in Wichita, I let her talk me out of a moisture test to save an afternoon. The floor cupped before the season was out and I relaid it on my own dime. That's the day I stopped treating the test as optional.
Acclimation and the expansion gap around the room's edge are both look-it-up-per-product rules, not universal numbers, and the NWFA's Homeowners' Handbook to Real Wood Floors underscores that both should always follow the manufacturer's specific instructions. Some products want the wood to sit in the room for days, some say it's unnecessary. The gap size is set by the maker's own instructions. Treat "leave a gap" as the rule and the exact size as something you read off the box's sheet.
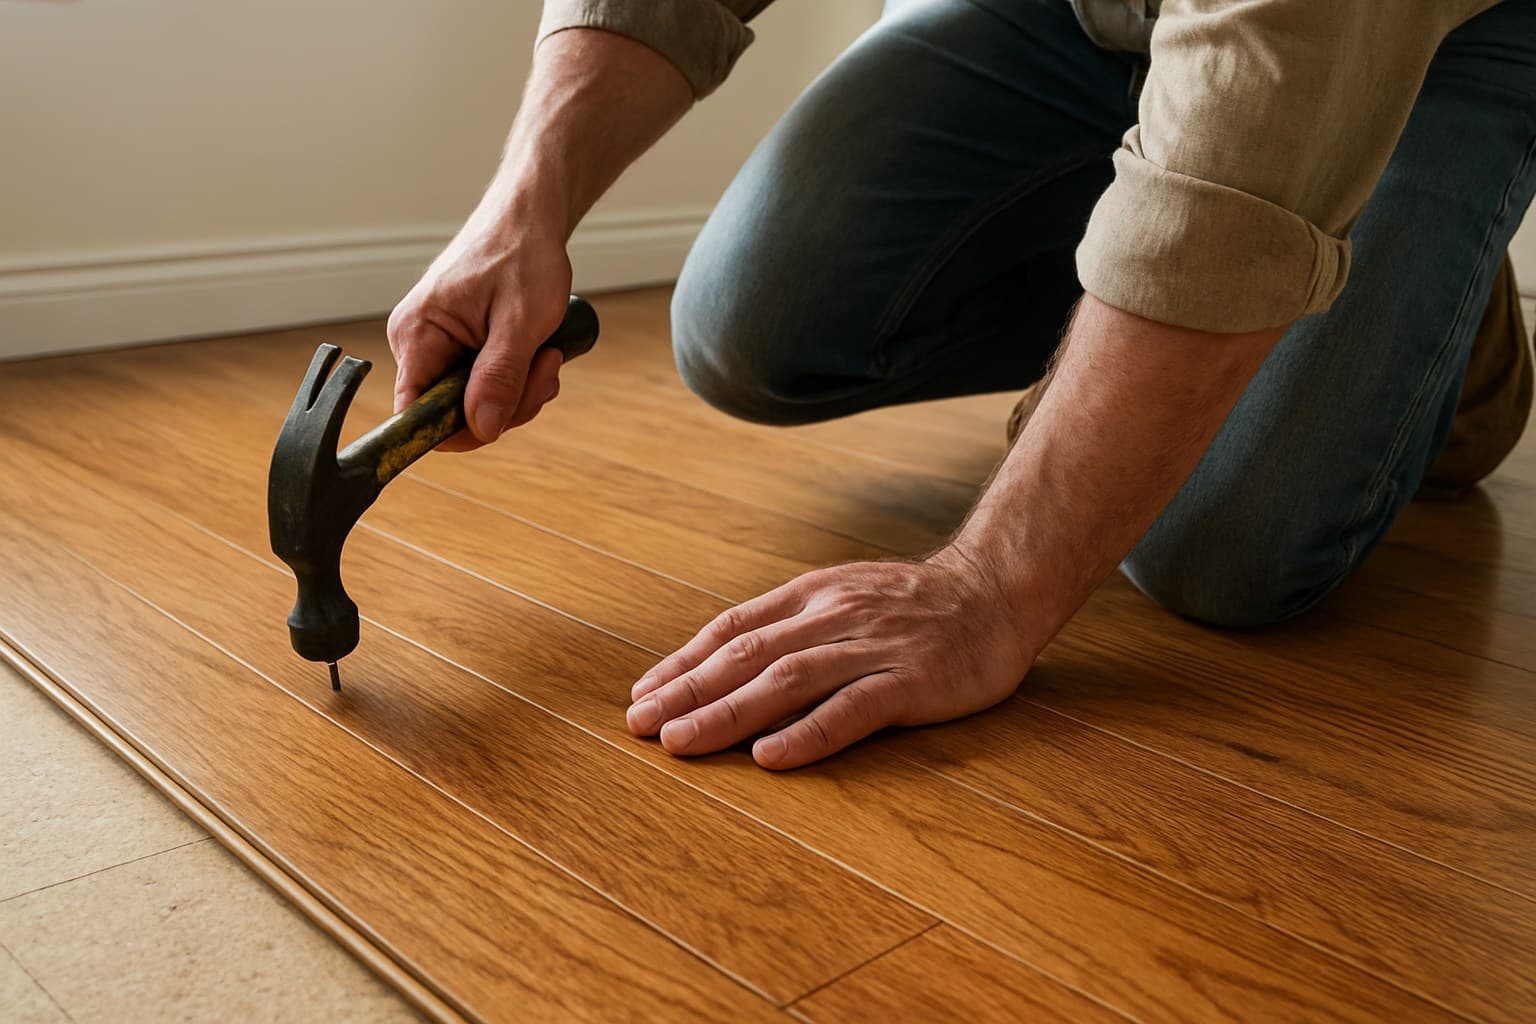
For 3/4 inch solid, install is nail-down: the boards get blind-nailed through the tongue into the subfloor, board by board. Click-lock LVP is realistic for most DIYers, but nail-down solid wood is a different job. It needs a flooring nailer, a good eye, and patience. Stairs and slab moisture transitions are where hiring out usually pays off. If it's an open, flat, upstairs room and you own or rent the tools, a careful DIYer can do it. Below grade or on stairs, I'd hire it out.