Kitchen flooring trips up more homeowners than any other room, because the showroom sells a look while the room quietly punishes the wrong pick with cupped boards and popped seams. It isn't about picking a favorite. It's four plain checks that point you to the floor that fits your kitchen.
Key takeaways
- Three things decide a kitchen floor: how wet it gets, how hard it's used, and what you can spend. Sort those first and the material almost picks itself.
- Check subfloor flatness with a straightedge and test slab moisture with a meter before you buy anything. Nearly every failed kitchen floor I've pulled up went bad because of what was under it, not the plank.
- Click-lock luxury vinyl plank is the safest all-around kitchen pick and realistic to DIY; tile lasts longest but costs the most in labor and is a hire-out job for most people.
- Budget by two numbers, not one: materials run roughly $1-12 per square foot and labor another $1-14, with tile labor by far the priciest.
- Laminate gives a more realistic wood look for less money, but luxury vinyl handles kitchen water better. Pick by which matters more to you, not by which is 'best.'
Start here: the three things that actually decide it
A kitchen floor is decided by three things, in this order: how wet it gets, how hard it's used, and what you can spend. Nail those down and the material almost picks itself. The "best" flooring in a magazine means nothing if it can't take the water your kitchen throws at it.
Every kitchen is a wet room, even one that never floods. Think dishwasher and sink leaks you don't see for weeks, drips off the counter, mopping, and the spill that sits until you notice it. It's the same standard that matters when picking waterproof flooring for a bathroom, where hidden leaks are just as common. A floor that shrugs at that is worth more than one that just photographs well.
So before you fall for a plank, ask yourself three questions: How wet does this kitchen really get? How hard is it used, with kids, pets, and heavy foot traffic? And what can you actually spend, on materials and labor, not just the pretty sample?
The rest of this guide is one decision, not a comparison chart. You'll check the subfloor, match the material to your moisture and traffic, price it out split by materials and labor, then decide whether to DIY or hire. This is the overview, and it feeds the deeper guides: which materials make the shortlist for a kitchen, design ideas, what it costs by room size, real photo galleries, and what changes if your kitchen opens onto a basement level, where basement flooring options bring their own moisture rules.
Step 1: Check the subfloor and moisture before you pick anything
Before you buy a single box, check what's under it. Two things decide whether any kitchen floor lasts: how flat the subfloor is, and how much moisture is in it. Get those wrong and the fanciest plank still fails.
Run a straightedge across the floor first. A straightedge is just a long, dead-flat metal or wood edge, usually 6 to 8 feet, that you lay down to reveal humps and dips light hides. Mark every high and low spot. How flat a floor needs to be is set by the product's own install sheet, not one magic number, so look it up for what you're buying and level to that.
If you're over a concrete slab, test it for moisture with a meter. A moisture meter is a small tool that reads how much water is in the slab. Too much water ruins glue-down floors and can get trapped under a floating floor, where it feeds mold and warps everything above it. Don't judge a slab by touch, it lies.
I'll be straight with you: the two problems that come back to bite me almost always started before I ever laid a plank. One job, a slab read fine to my hand but the meter told a different story. Another time, I spotted a hump and talked myself into ignoring it. Finding that out after the floor's down is a far worse day than the check would have ever cost.
Here's the part people skip. A floating floor only lasts as long as the prep beneath it, and the maker's warranty quietly hinges on that flatness and moisture, not on the plank. Skip the check and you've voided the warranty before the first box is open.
Pre-install checks before you buy a single box
- Straightedge the whole floor and mark the high and low spots
- Moisture-test a concrete slab with a meter, not by feel
- Confirm the product's own flatness tolerance from its install sheet
- Plan an expansion gap around the room, sized per the maker's instructions
- Check whether that product asks for acclimation, and for how long
Source: my own kitchen install jobs
The checks I run on every kitchen job before a single box gets opened.
The straightedge sits on the high spots and bridges the dips, so the gap you see is exactly the flaw you need to fix before flooring goes down.
Step 2: Match the material to your moisture and traffic
Now match a material to what your kitchen actually is. The main options are luxury vinyl plank (LVP) and sheet vinyl, tile, laminate, engineered and solid hardwood, plus cork, stone or marble, and rubber for special cases. Each one fits a different mix of water and foot traffic.
One thing to get straight, because it's where marketing misleads people: a "waterproof core" is not a waterproof floor. A rigid vinyl core can be waterproof while the seams and edges between planks are only water-resistant. Most kitchen failures I pull up happened at the seams, not the plank face, where water crept in and swelled the layer underneath. Any waterproof rating only means something tied to a specific named product, never the whole category, so read the sheet for the exact plank you're buying.
The LVP-versus-laminate question comes up on nearly every job, and neither one is universally better. Laminate often gives a more realistic wood look for less money, because the print layer is genuinely good now. LVP tolerates kitchen water better, full stop. Pick by which of those matters more to you. If you want the deeper rundown of every choice, the full kitchen flooring options guide walks each one in detail.
Kitchen flooring at a glance: how each holds up
| Material | Moisture | Traffic | DIY-friendly | Kitchen verdict |
|---|---|---|---|---|
| Luxury vinyl plank (LVP) | High, but check your product's spec sheet, core and seam ratings vary by SKU | High | Yes (click-lock) | Safest all-around pick |
| Sheet vinyl | Very high, few seams | Medium | Moderate | Cheap and forgiving |
| Porcelain/ceramic tile | Excellent | Very high | No (hire) | Longest-lasting, hard underfoot |
| Laminate | Water-resistant only (per product) | High | Yes (click-lock) | Best wood look for the price |
| Engineered hardwood | Low to moderate | Medium-high | Moderate | Real wood, needs quick spill cleanup |
| Solid hardwood | Low | Medium | No | Risky near sink/dishwasher |
| Cork | Moderate (sealed) | Medium | Moderate | Soft and warm, needs resealing |
Source: my own kitchen install jobs
How common kitchen floors handle moisture, traffic, and a DIY install.
Best all-around picks for a wet, busy kitchen
For most kitchens, click-lock LVP is the safest bet. It handles water at the core, takes dropped pans and dog nails, and clicks together without glue. Sheet vinyl is the budget version of the same idea: it comes in big rolls with almost no seams, so there's very little edge for water to find, though it looks less like real wood or stone.
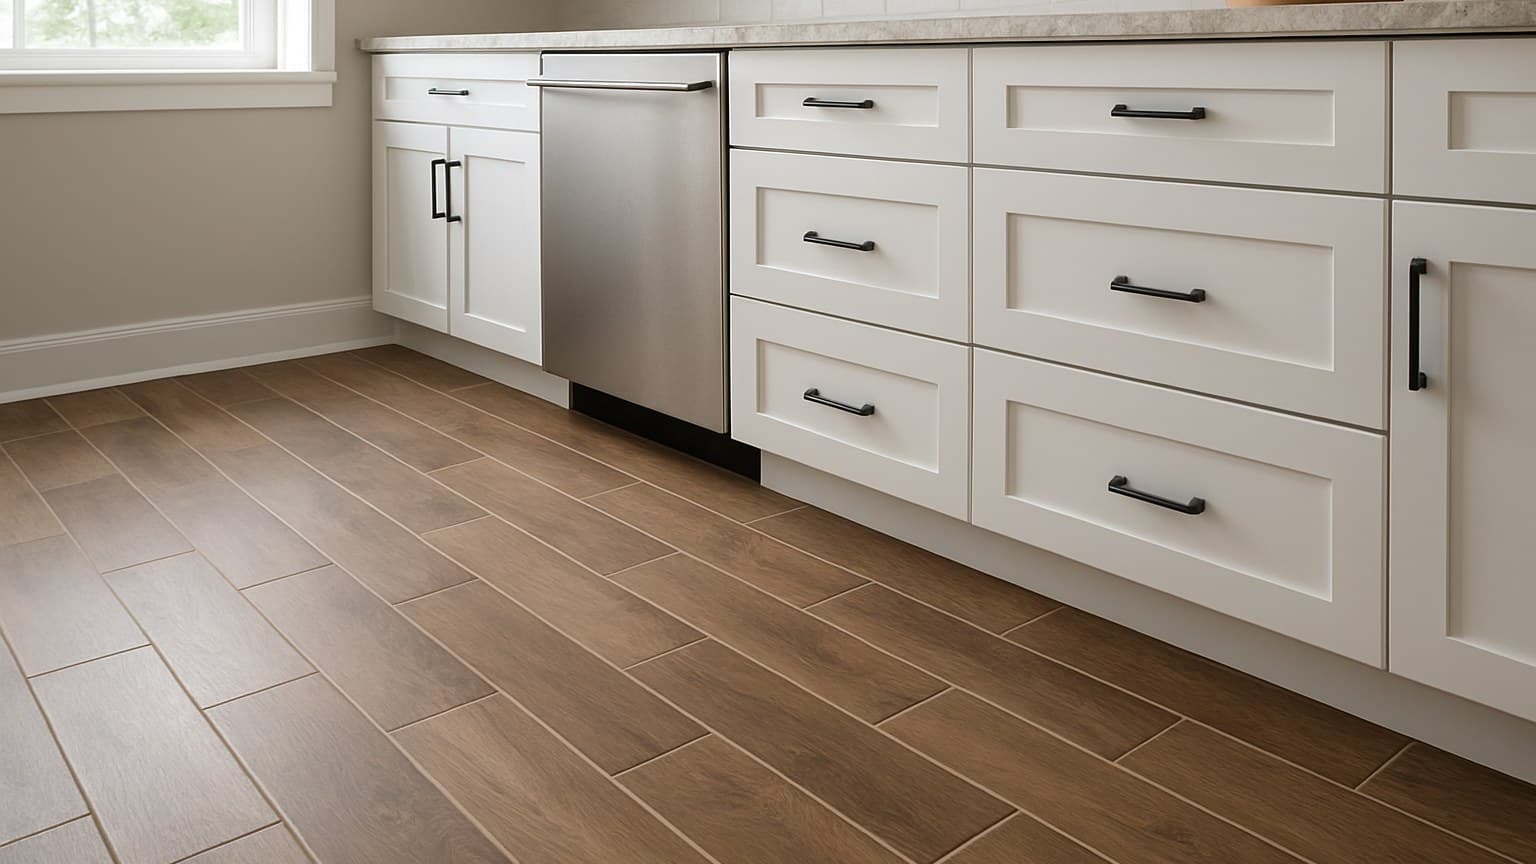
If you want the floor that outlasts everything else and you don't mind hard, cold underfoot, tile is it. Porcelain and ceramic don't care about water at all. It's the same reason tile shows up constantly in bathroom flooring ideas. The catch is labor, which I'll get to in Step 3, and it's a hire-out job for most people.
Durability isn't the only safety question tile raises, though. In a room where the whole point of this framework is "how wet does it get," slip resistance matters as much as water resistance. A polished or high-gloss glazed tile can get genuinely dangerous the moment it's wet, especially right in front of the sink or dishwasher where puddles actually happen. Ask for the tile's slip or coefficient-of-friction rating (often shown as an R-rating or DCOF value on the spec sheet) and lean toward a matte or textured finish for kitchen floors, saving the glossy, slicker options for walls or backsplashes instead. A grippier finish is a little harder to keep spotless, since texture holds more grime, but that tradeoff is worth it next to a wet floor where someone's standing in socks.
When hardwood, stone, or cork still make sense
Real wood belongs in a kitchen only if you're honest about the tradeoff. Engineered hardwood, which is a thin real-wood top over a stable plywood base, holds up better than solid wood and can work if you wipe spills fast. Solid hardwood near a sink or dishwasher is a gamble I usually talk people out of.
Cork is worth a look if you stand and cook a lot, because it's soft and warm underfoot. It handles moderate moisture only when it's sealed, and you'll need to reseal it every few years. Stone and marble bring a high-end look and take water fine, but they're heavy, pricey, and need sealing too.
Step 3: Price it out by materials AND labor, not one number
Never trust a single flat price for a kitchen floor. Real budgeting takes two numbers: materials per square foot, and labor per square foot. A blended number hides where the money actually goes, and it's almost always labor that surprises people.
Layout drives the labor. A kitchen is full of cabinet cuts, appliance toe-kicks (the recessed strip tucked under the base cabinets), and often an open-plan transition into the next room, and each one adds cutting and fitting time. If your kitchen sits in a basement, expect to pay more than an open, ground-level room, because basements bring moisture barriers, uneven slabs, and tighter access. If that's your situation, look at waterproof basement flooring before you commit to a material.
Tile is the labor outlier. Setting and grouting tile takes far more skilled hours than clicking vinyl or laminate together, which is why its labor line runs so much higher than its material line.
Kitchen flooring cost, split materials vs labor
| Material | Materials per sq ft | Labor per sq ft |
|---|---|---|
| Sheet vinyl | $1-3 | $1-3 |
| Luxury vinyl plank (LVP) | $2-7 | $2-5 |
| Laminate | $1-4 | $2-4 |
| Porcelain/ceramic tile | $2-7 | $5-14 |
| Engineered hardwood | $4-9 | $3-8 |
| Solid hardwood | $5-12 | $4-8 |
Source: my own kitchen install jobs
Typical US kitchen ranges, split so you can see materials against labor. Cork and natural stone vary widely by product; price those from a real quote.
For room-size estimates and add-ons like old-floor removal and subfloor repair, the kitchen flooring cost breakdown runs the full math.
Step 4: DIY or hire it out?
Be honest about this one, because a botched install costs more than hiring did. Click-lock LVP and click-lock laminate are realistic DIY jobs for most people, as long as you did the subfloor prep in Step 1. The planks snap together, you cut them with a utility knife or a small saw, and you leave the expansion gap the maker calls for around the edges.
Where I'd tell you to hire out: glue-down floors, tile, stairs, and any large open-plan kitchen that transitions into another room with a moisture change. Glue-down leaves no room for error and off-gasses adhesive you have to work fast around. Tile needs a flat bed, correct thinset (the mortar that bonds tile down), and clean grout lines, and it's slow, heavy, back-breaking work. Those long open-plan transitions have to be planned so the floor can expand and contract without buckling at the seam, and that's easy to get wrong.
A middle path a lot of my customers take: do your own demo and haul-away to save labor, then hand a flat, dry, ready subfloor to a pro for the install. You pocket the cheap labor and pay only for the skilled part.
See it in your own light before you commit
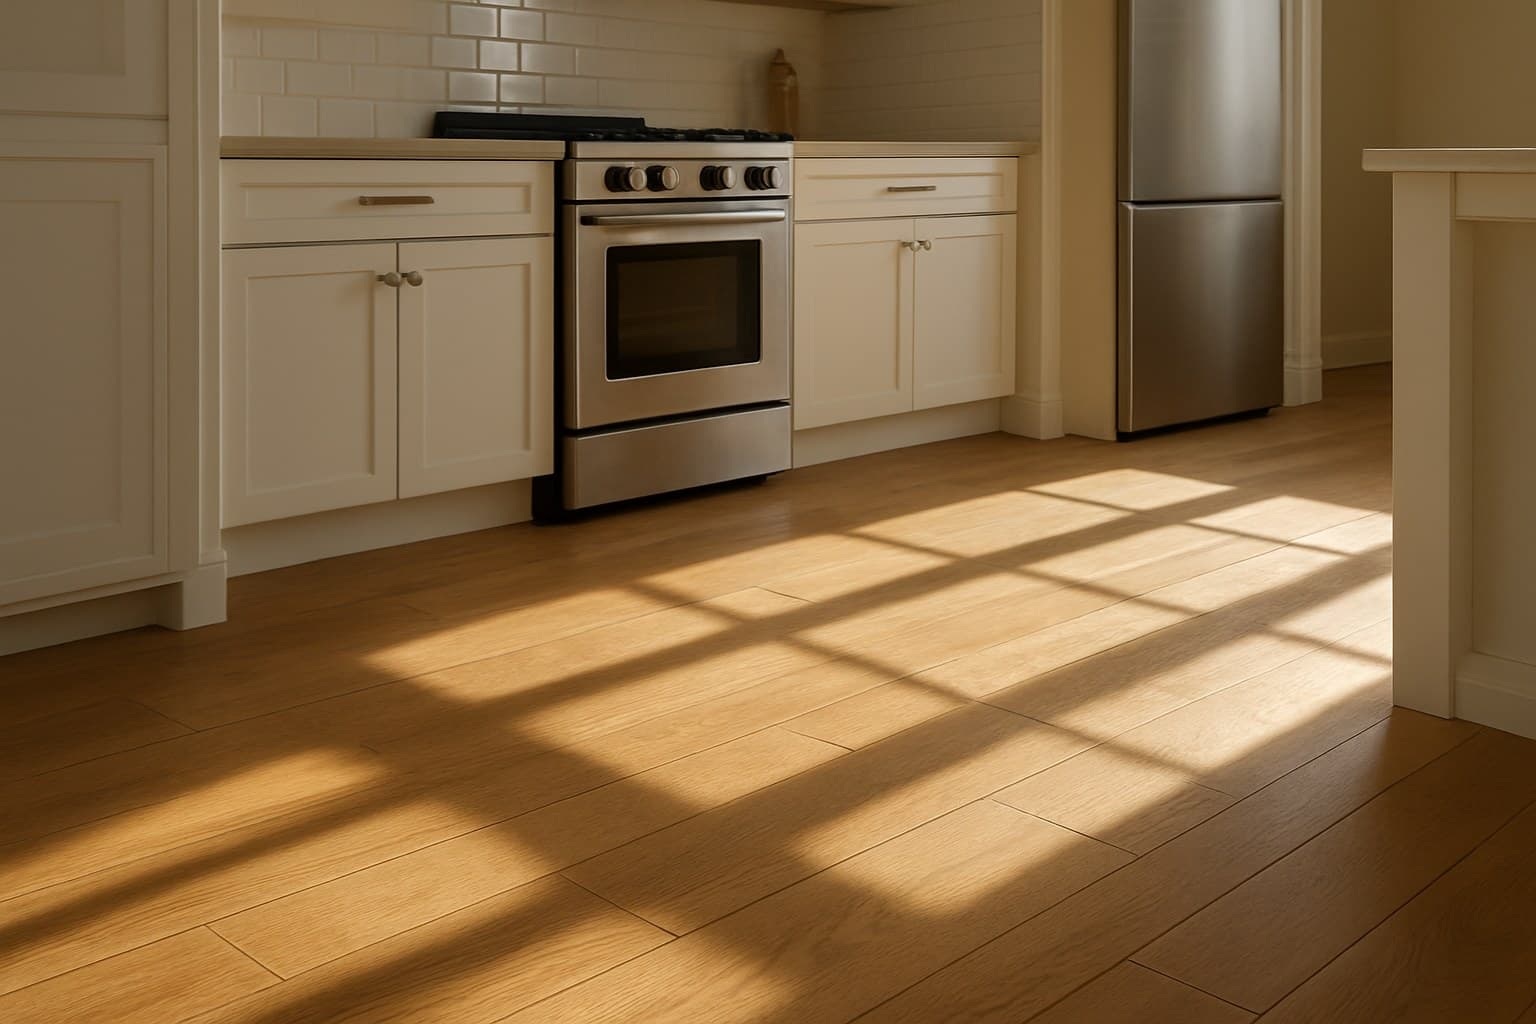
Never choose a kitchen floor off a two-inch chip under store lights. Bring full-size samples home and lay them where they'll live, next to your cabinets and counter, and look at them in morning light and at night under your own bulbs. Flooring shifts color hard depending on the light, and a plank that looked warm in the showroom can read gray and cold in your kitchen.
Photos help you narrow the field before you order samples. Browsing pictures of real kitchen floors shows you how a color and plank width actually read across a whole room, not a tiny swatch. And if you're still deciding on style, plank direction, or pattern, a run of kitchen flooring ideas will spark options you hadn't considered, like running planks toward the main window or picking a larger tile to make a small kitchen feel bigger.
Once the look is settled, walk it back through Steps 1 to 3: is your subfloor ready, does the material handle your moisture and traffic, and does the split cost fit your budget. If all three check out, you've got your floor.