
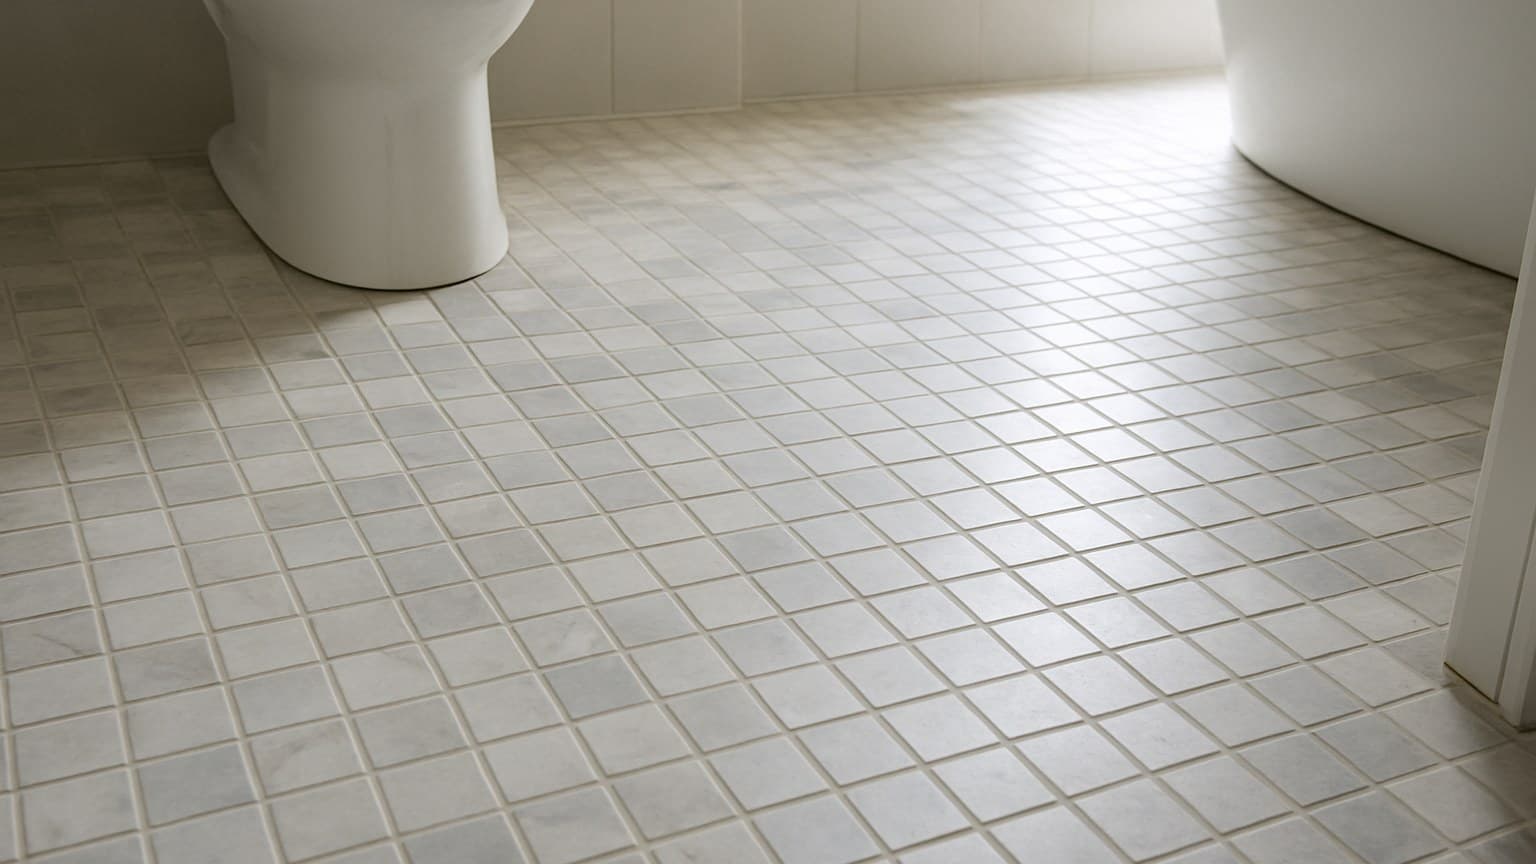
Picking flooring for bathrooms is tricky because one room holds three different water problems, and a floor that shrugs off a shower puddle can still be the wrong call by the vanity. The shower pan gets porcelain tile, the splash zone around the tub and toilet gets LVP (luxury vinyl plank) or sheet vinyl, and a dry powder room can take almost anything, including water-resistant laminate or engineered wood. Most failures I pull up start at the seams and edges, not the face of the plank, so match the floor to the zone, not the showroom display.
Key takeaways
- Bathroom floors fail at the seams and perimeter first, at the toilet flange and tub edge, not out in the middle of the plank, so sealing those edges is the real waterproofing job.
- Porcelain tile is the only floor I'll put in a shower pan or wet surround; LVP and sheet vinyl handle the splash zone; water-resistant laminate belongs only in a dry powder room.
- For any tile walked on wet, ask for a published wet DCOF of at least 0.42 (ANSI A137.1, from the Tile Council of North America) so it isn't slick underfoot.
- Installed costs run roughly $2-6 per sq ft for sheet vinyl, $3-8 laminate, $4-10 LVP, $7-17 engineered wood, and $9-22 porcelain tile. Tile's labor is what makes it expensive.
- Click-lock LVP in a small bath is realistic DIY; shower pans, tile setting, and glue-down are worth hiring out.
Match the Floor to the Wet Zone, Not the Brochure
The fastest way to get this right is to stop thinking "bathroom floor" and start thinking in three zones. The shower pan and surround hold standing water. The splash zone around the tub, toilet and vanity catches frequent spills. A dry powder room or half bath only sees the occasional drip.
The hard truth from the baths I've torn out is this: water almost never came in through the face of the plank. It got in at the toilet flange or the tub edge and crept under. So the perimeter is the real waterproofing job, not the middle of the floor.
That's also why I split a "waterproof core" from "water-resistant seams and edges." A plank body can be fully waterproof and the floor can still fail, because the joint between planks and the gap at the wall are the weak points. Plank floors leak at the seam, not the surface.
One more step before you buy anything for a slab bathroom. Test the slab for moisture first, the same way you would before putting any floor over a basement slab. Concrete pushes vapor up, and that vapor wrecks the wrong floor.
| Zone | Best fit | Keep out |
|---|---|---|
| Shower pan & surround (standing water) | Porcelain tile on a sloped pan, sealed grout | Hardwood, laminate, floating LVP |
| Splash zone (tub, toilet, vanity) | LVP/LVT or sheet vinyl, perimeter caulked | Solid hardwood, standard laminate |
| Dry powder room / half bath | Tile, LVP, water-resistant laminate, even engineered wood | Nothing ruled out, but still caulk the edges |
Source: from the bathroom floors I've torn out and relaid
Once you know which zone you're dealing with, the next question is whether that floor is safe to stand on wet, that's what the slip rating below covers.
Slip Safety: The 0.42 Number Most Guides Skip
Before you pick any tile for a bathroom floor, ask for its wet slip rating. The number that matters is DCOF, short for Dynamic Coefficient of Friction. In plain words, that's how grippy a floor stays while you walk across it wet. Higher means less slip.
The standard most guides skip is ANSI A137.1-2012. ANSI is the American National Standards Institute, and according to the Tile Council of North America's DCOF AcuTest brochure, that standard sets a minimum wet DCOF AcuTest value of 0.42 for level interior tile that gets walked on wet. For a bathroom floor, that 0.42 is the floor-walked-on-wet number I ask for by name.
There's also a newer rating, ANSI A326.3. Per the Tile Council of North America, that standard now requires hard-surface flooring manufacturers to publish a five-category product-use classification based on a tile's slip-resistance properties, so you can tell at a glance whether it's cleared for a wet floor. Look for that class on the spec sheet. If a tile has no published DCOF and no use class, I treat it as unproven and move on.
LVP and sheet vinyl are a different story. They lean on surface texture, not a published DCOF, so a flat glossy vinyl can still feel slick when you step on it with wet feet. Run your hand over the actual sample before you commit. If you want the specific LVP products that hold up best in a bathroom setting, LVP bathroom flooring guide breaks down the top picks by slip resistance and seam quality.
Luxury Vinyl Plank & Tile: The Splash-Zone Workhorse
Luxury vinyl flooring for a bathroom is my default for the splash zone. LVP and LVT (luxury vinyl tile) built on an SPC (stone plastic composite) rigid core, which is a dense stone-plastic blend, won't swell when water sits on them. The plank body shrugs it off, which is what you want around a tub and toilet. That same stone-plastic core is why vinyl tops the list in our guide to choosing kitchen flooring, another room where spills at the sink demand the same water resistance.
Now the catch, stated straight: the core is waterproof, but the click seams and the wall edges are only water-resistant. So you still caulk the full perimeter and seal around the toilet. Skip that and you've built the same leak path I keep pulling up.
Sheet vinyl deserves real credit here too. Rolls typically run 12 to 13 feet wide, so a small bath can go down nearly seamless, which is the whole point on a wet floor. A sheet product like Beauflor Hydrana suits that use because fewer seams means fewer places for water to sneak through. This is the same logic behind the best picks in a kitchen, where water pools at the sink and dishwasher.
On the DIY question: click-lock LVP in a small bath is realistic for a careful homeowner. Glue-down is where I'd hire out, because a bad spread of adhesive is hard to fix once it sets. If you want the broader rundown on where vinyl shines, the living room flooring guide walks through vinyl in drier rooms too.
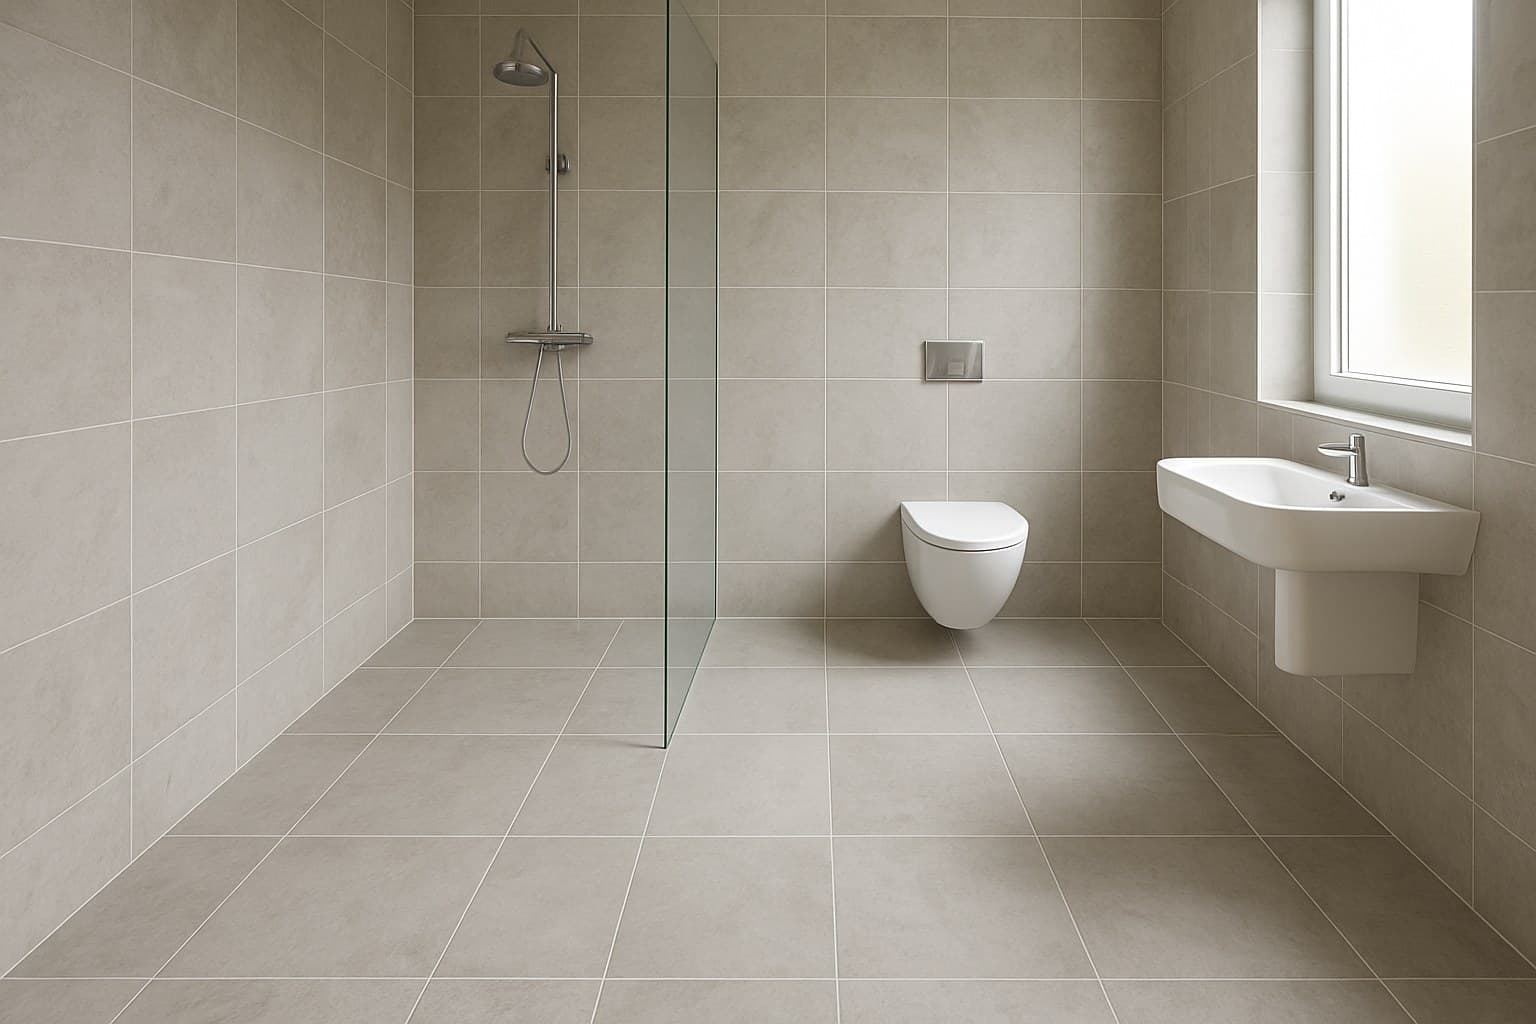
Ceramic & Porcelain Tile: The Only Floor for a True Wet Room
Tile is the one floor I'll rate for the shower pan and surround, where water actually sits and drains. Nothing else belongs in a true wet room.
Ceramic and porcelain are not the same, though. Porcelain is denser and absorbs far less water, so I use it on bathroom floors and wet areas. Ceramic is fine for walls and drier spots, but I keep it off a floor that gets soaked. A kitchen deals with its own wet zones near the sink and dishwasher, and tile holds up well there too, which is why it tops the ranking in our comparison of the best kitchen flooring materials.
Natural stone, marble, travertine, slate, granite, turns up in wet-zone bathrooms too, especially shower floors, and it can handle standing water structurally just fine. The catch is that stone is porous compared with porcelain, so it needs a sealer at installation and resealing on a schedule, and the softer stones like marble and travertine etch and stain more easily than granite or slate. I still default to porcelain for most showers because it skips that upkeep, but sealed stone is a legitimate wet-room floor if you're willing to keep up with it.
The weak line in a tile floor is the grout, not the tile. Water gets through the joints, so seal the grout, keep the joints tight, and re-seal it on a schedule. That's the maintenance tile asks for in exchange for being the only true wet-room floor.
Tile also pairs well with electric radiant heat, which takes the cold bite off a stone-hard floor in winter. It's worth weighing that comfort against the cost of heated floors before you commit. And whatever floor tile you choose, hold it to that wet DCOF 0.42 rule so it isn't slick underfoot.
Engineered vs. Waterproof Hardwood: Powder Room Only
Keep solid hardwood out of any wet bath, full stop. It moves with moisture, then cups and crowns, and no finish stops that for long.
Engineered wood is more stable because it's built on a plywood-style core that moves less than solid wood. But the real wood veneer and the finish on top still don't want standing water. That makes it a dry powder-room pick at most, not a splash-zone floor.
You'll also see "waterproof hardwood" marketing, on products like Raintree. The core may genuinely resist water, but the seams and the finish are still the vulnerable point, same as any plank floor. Waterproof core does not mean waterproof floor.
So the verdict is simple: real and engineered wood stay out of the shower and out of any heavy splash zone. A half bath that stays dry is the one place they earn a spot.
Bathroom Laminate Flooring: When It Can Actually Work
Let me be straight about laminate. It's a wood-look board built on an HDF core, which is high-density fiberboard, and that core is water-resistant, not waterproof. Let water sit on it and the seams swell.
There's really one spot it works in a bathroom: a powder room or half bath, using a product specifically labeled water-resistant with sealed edges, caulked tight at the perimeter and around the toilet. The small space helps, because fewer seams means fewer places to fail. That's the only reason laminate survives a half bath at all.
The real LVP-versus-laminate tradeoff, without picking a universal winner, comes down to this: laminate often gives a more realistic wood look for less money, while LVP tolerates water far better. In a bathroom, the room decides. A dry powder room can take either; anything that gets wet goes to LVP.
How to Choose, and What It Really Costs to Install
Pick by zone first, then by budget. The shower gets porcelain tile. The splash zone gets LVP or sheet vinyl with a caulked perimeter. A dry powder room opens up to almost anything, including engineered wood or water-resistant laminate.
What each bathroom floor costs to install
Costs split into materials and labor, and that split matters because tile's labor is what makes it the priciest floor in the room. That pattern lines up with what the Tile Council of North America lays out in its Tile, the Natural Choice report: tile's premium over other floors comes mostly from the labor side of the job, not the material cost. The table below shows how the common bathroom floors land, per square foot installed. Kitchens show that same labor-driven spread, and tracking the real cost per year rather than just the sticker price is exactly what kitchen flooring cost comparison ranks them on.
| Floor | Materials / sq ft | Labor / sq ft | All-in / sq ft |
|---|---|---|---|
| Sheet vinyl | $1-3 | $1-3 | $2-6 |
| Laminate | $1-4 | $2-4 | $3-8 |
| LVP / LVT | $2-5 | $2-5 | $4-10 |
| Engineered wood | $4-10 | $3-7 | $7-17 |
| Porcelain tile | $3-8 | $6-14 | $9-22 |
All-in installed cost per square foot, low to high, for common bathroom floors. Tile sits highest because of labor, not material.
One thing the tables don't show: a tight bathroom costs more per square foot than an open room. You're paying for cuts around the vanity and tub, working around fixtures, and often pulling and resetting the toilet. It's the same reason basements and stairs run higher than a wide-open floor. Budget for the small-room premium.
DIY or hire it out?
Before anything goes down, check two things: that the subfloor is flat, and that it passes a moisture test. A floating floor over humps and dips will flex and pop at the seams, and a wet slab will undo even the right floor. Get both right first.
From there, click-lock LVP or a small sheet-vinyl floor in a half bath is realistic DIY for a careful homeowner. Shower pans, tile setting, and any glue-down job are where I'd hire out. A pan that isn't sloped and waterproofed right leaks behind the wall, and you won't see it until there's a stain downstairs.