
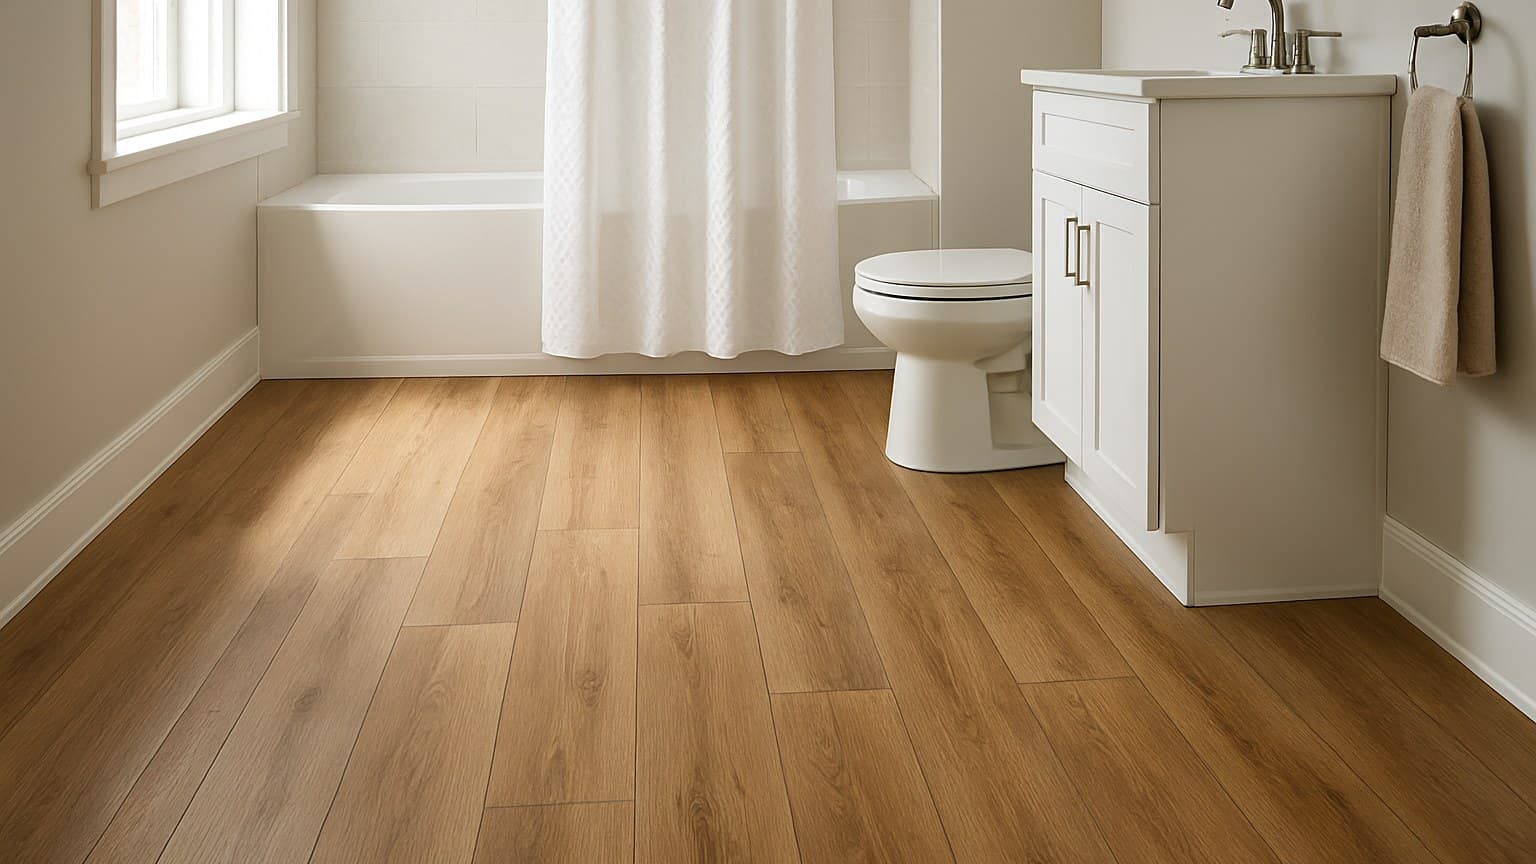
LVP (luxury vinyl plank) bathroom flooring holds up fine in a bathroom, but not because the plank itself is waterproof, it's because of what happens at the seams and edges. Every swollen floor I've torn out had a solid, dry plank face and a soaked spot at a seam, a toilet flange, or a wall gap. That's where the install succeeds or fails, not inside the vinyl itself.
Key takeaways
- LVP's rigid core is waterproof, but bathroom failures start at the seams, the perimeter, and the toilet flange, not the plank face.
- For a full bath that sees standing water, glue-down with a sealed perimeter beats floating click-lock; click-lock is fine for a powder room.
- Check subfloor flatness and slab moisture before you lay anything, and add a moisture barrier over concrete.
- Seal the toilet flange, caulk the tub edge, and silicone the wall perimeter; the floor being 'waterproof' means nothing if water gets underneath it.
- Installed cost runs about $5-13 per sq ft for a pro full-bath job (roughly $3-6 materials plus $3-7 labor); small baths cost more per foot because of all the cuts.
The Plank Core Survives; the Seams and Edges Fail
Yes, vinyl flooring works in a bathroom, but only when the perimeter and the seams are sealed. The rigid core itself is waterproof and almost never the thing that fails. The same waterproof-core and sealed-seam priorities carry over if you're trying to figure out how to choose the right kitchen flooring, another room where spills and sink leaks put vinyl to the test.
The key distinction is this: a waterproof core means the plank body won't swell if water sits on its face. That's not the same as a water-resistant seam or edge, which is the gap where two planks meet or where the floor meets a wall. Water doesn't soak down through the middle of a plank. It creeps in at the toilet flange, the tub edge, and the plank joints, then sits in the subfloor where you can't see it.
When I pull up lvp flooring in a bathroom that went wrong, the plank faces almost always look fine. What I find instead is lifting at the door transition and dark swelling around a toilet flange that had been leaking slow for months. The core did its job. The install didn't.
So treat the "waterproof" sticker as the starting point, not the finish line. The real job is everything around the edges.
SPC vs WPC Core: Which Belongs in a Wet Room
Both cores are waterproof. The difference is how they feel and how much prep they forgive, not whether they keep water out. That same feel-versus-forgiveness tradeoff shows up room by room, which is why I walk through every kitchen flooring option and its catch separately rather than naming one universal winner.
SPC stands for stone-plastic core. It's harder and denser, so it resists dents and rides over a slightly uneven subfloor better. The trade-off is it's thinner and colder underfoot. WPC (wood plastic composite), or wood-plastic core, is thicker and softer, warmer to stand on with bare feet, but it gives a little more under heavy fixtures like a cast-iron tub. That same hard-versus-give tradeoff is the first thing to sort out before flooring a home gym, where dropped weights and dense impact mats push the decision the other way; I rank the options in the best flooring for a home gym.
One thing I tell every homeowner: the core you pick does not make the finished floor waterproof. The install does. Don't let a "waterproof core" box talk you out of sealing the room.
Wear layer is the clear top coat that takes the abuse, measured in mils. It only applies to the exact product named on the box, so always check that product's own spec sheet before you buy. I've installed bathroom-grade planks with a 20 mil wear layer that shrugged off grit and dog claws for years, but that number belongs to that one product, not the category. For the full breakdown on cores and wear layers, see the vinyl flooring buyer's guide.
| Feature | SPC | WPC |
|---|---|---|
| Feel underfoot | Firmer, colder | Softer, warmer |
| Dent resistance | Higher | Lower |
| Typical total thickness | ~4-6 mm | ~6-8 mm |
| Hides a slightly uneven subfloor | Better | Needs flatter prep |
| Best bathroom fit | High-traffic full baths | Comfort-first, powder rooms |
How the two common rigid cores compare for bathroom use.
Click-Lock vs Glue-Down, and What Goes Under the Planks
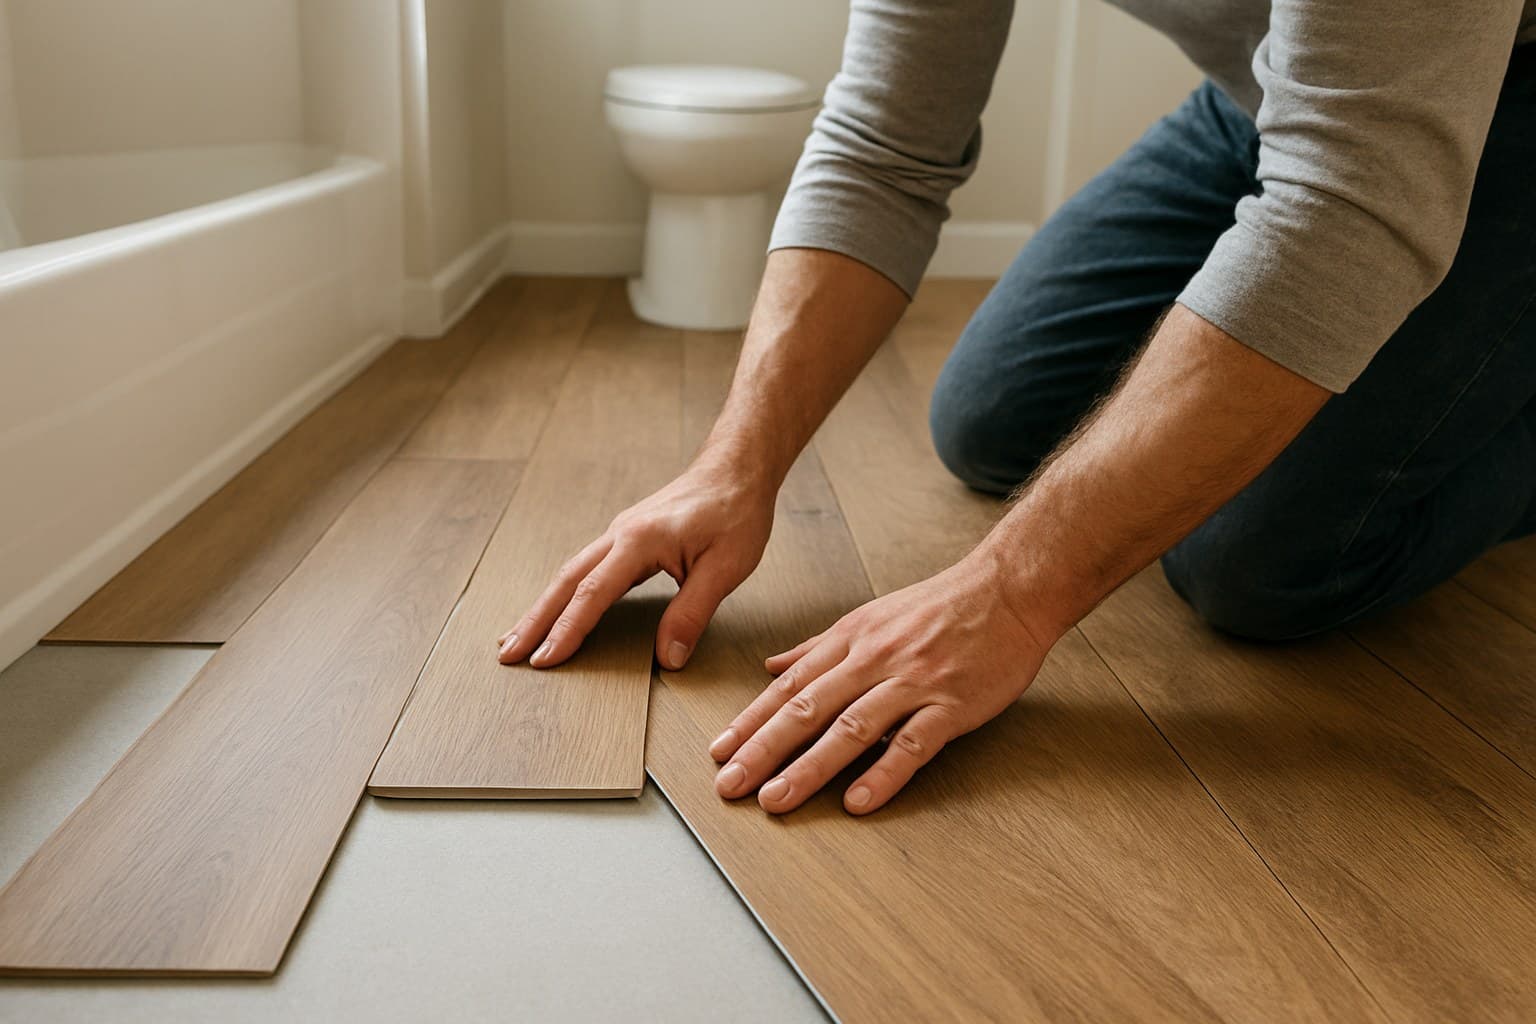
Glue-down is the safer pick for a full bath that sees standing water. Click-lock is fine for a low-moisture powder room and realistic for most DIYers.
Click-lock vs glue-down for a bathroom
Glue-down bonds every plank and every edge to the subfloor. There's no floating field, the loose layer of interlocked planks that sits on top of the subfloor instead of being glued to it, underneath for water to travel through, so a spill that gets past the surface has nowhere to run. That's why I reach for it in a full bath with a tub or shower.
Click-lock floats on top, planks snapping to each other, not to the floor. It goes down faster and a small square powder room is a genuine weekend job. But every click seam is a possible entry point if the perimeter isn't sealed, and in a wet room those seams add up.
On DIY versus hire: click-lock in a simple square room is a fair DIY project. Glue-down, and any bath with a lot of cuts around a toilet and vanity, is usually worth hiring out. The cuts are where a job goes sideways, and a pro cuts them tight the first time.
What goes under LVP in a bathroom
Before anything goes down, check two things: subfloor flatness and slab moisture. A floor that isn't flat telegraphs every dip and hollow up through the planks, and a damp concrete slab wicks moisture straight into the seams. On most floating-floor jobs the finished floor only lasts as long as the prep beneath it, and skipping that prep is often what voids the manufacturer's warranty. For a complete rundown of prep steps and product picks, check out this guide to installing LVP in bathrooms.
Over concrete, add a moisture barrier to block vapor rising from the slab. Add a separate underlayment pad only if the product allows it; many rigid-core planks already have a pad attached, and a second one can void the warranty. And leave the manufacturer's stated expansion gap, the small open space at the edges that lets the planks expand and contract, around the whole room, because the exact size is set by their instructions, not a universal number.
Waterproofing the Whole Bathroom, Not Just the Floor
The floor being "waterproof" means nothing if water gets underneath it. The four spots below are where that happens, and sealing them is the difference between a floor that lasts and one I'm pulling up in two years.
The toilet flange is where water wicks in first. Set the floor around it cleanly, use a fresh wax ring, and seal the toilet base so a slow leak can't sneak under the planks.
At the tub or shower pan, run a continuous bead of silicone where the floor meets the fixture. This joint, not the plank, is where bathroom water damage starts. One gap in that bead and water tracks straight under the floor.
At the walls, caulk that expansion gap with silicone and hide it under base trim or shoe molding. An open gap left exposed to splashes is just an invitation.
Handle the door transition with a metal or vinyl strip plus sealant so water can't escape under the threshold into the next room. If you're carrying the same floor into an adjoining space, it's worth planning that handoff early; here's how to choose living room flooring that transitions cleanly.
What LVP Bathroom Flooring Costs to Install
Split the money honestly. Materials run about $3-6 per sq ft for a bathroom-grade rigid-core plank, and pro labor adds roughly $3-7 per sq ft. A typical pro full-bath job lands around $6-13 per sq ft installed; with a budget plank the low end can start nearer $5.
Most people assume a small bathroom costs less than an open room, it's backward. The money is in the cuts around the toilet, vanity, and tub, plus minimum job charges that don't shrink just because the room does.
| Scenario | Materials / sq ft | Labor / sq ft | All-in / sq ft |
|---|---|---|---|
| DIY click-lock, powder room | $2-5 | $0 (your time) | $2-5 |
| Pro glue-down, full bath | $3-6 | $3-7 | $6-13 |
Source: what I've charged and seen charged on small-bath vinyl jobs around Dayton
Materials versus labor for two common bathroom LVP jobs.
| Cost component | Range per sq ft |
|---|---|
| Materials | $2-6 |
| Labor (pro) | $3-7 |
| All-in (pro full bath) | $5-13 |
The full spread of bathroom LVP costs per square foot, materials through installed.
A DIY click-lock powder room skips the labor line entirely. With a tapping block, a sharp utility knife, spacers, and a few hours you're done. Glue-down baths are where paying a pro pays off, because a bad glue job is a floor you tear out, not patch.
If your bathroom runs cold, radiant heat is a worthwhile add-on under LVP, but budget it as its own line item, not part of the floor; check what heated floors cost before you commit, since it can shift the whole project price.