
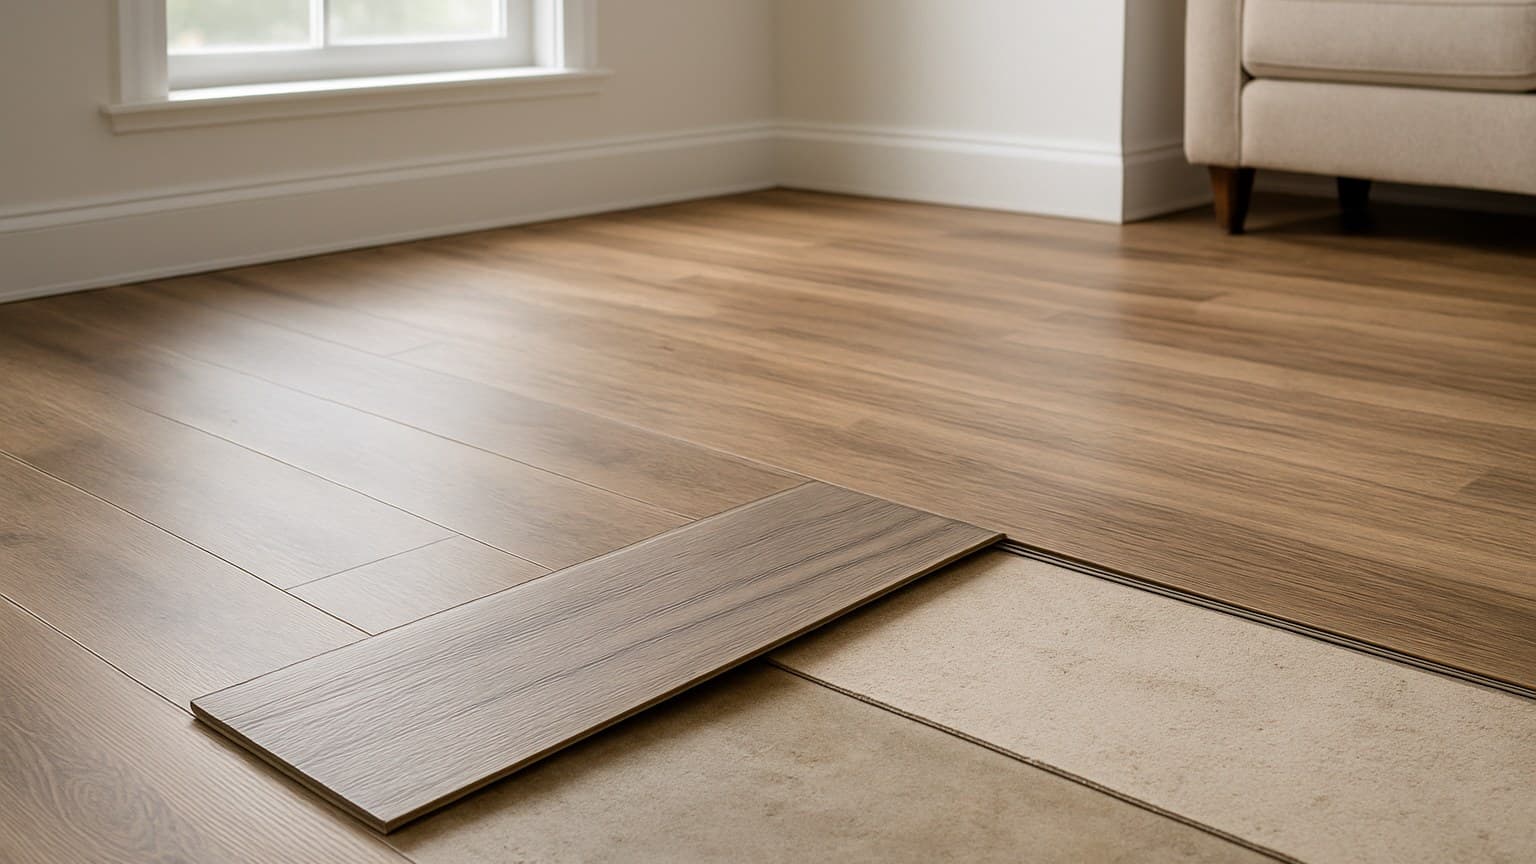
Choosing the right luxury vinyl tile starts before you ever look at a sample: check the subfloor for flatness and moisture, match the wear layer to how hard the room gets used, then read the product's own spec sheet. Do that and you buy a floor that survives your kitchen, bath, or dog. Skip it and you get a good-looking tile that fails at the seams while the plank itself is still fine.
That fear of dropping money on a floor that looks great in the store and cups a year later is fair, and it's avoidable. Here's the order I work in on real jobs, plus the numbers I actually check.
Key takeaways
- A moisture and flatness check on the subfloor comes before choosing the tile itself — that's what actually fails, not the tile surface
- Match wear layer thickness to room use: roughly 12 mil for living areas, 20 mil or more for kitchens, entries, and homes with pets, confirmed against the product's own spec sheet
- "Waterproof" refers to the tile's core, not the seams — standing water can still reach the subfloor at the edges
- Materials typically cost about $2-$7 per square foot, with professional installation adding roughly $2-$5 more (basements and stairs cost extra), though quotes vary by market and product
- Click-lock LVT is a realistic DIY project for most homeowners, but glue-down installs, stairs, and major moisture transitions are worth hiring a professional for
Step 1: Start With the Room, Not the Sample
What's under the tile matters more than the tile itself, and that's the first thing to check. Before I quote any job I get down on the floor with a long straightedge and a light behind it, because the dips and humps that show up there tell me more about how the floor will last than the box the customer already bought.
Read the subfloor first. Lay a straightedge across the floor and look for gaps of light under it. High spots and low spots let a floating floor flex, and that flex works the seams loose over time. The maker's install sheet lists the flatness limit for that exact product, usually stated as a gap over a set span, and that number governs, not a rule of thumb.
Then check the moisture. On any concrete slab, and especially in a basement, run a moisture check before you buy. I've stopped letting people talk me into skipping it to save a day. The one time you skip it is the one time the floor cups on you. Slabs give off water vapor long after they look dry, and that vapor is what lifts and warps a floor from below.
I redid a kitchen last spring where the homeowner had already fallen for a gorgeous slate-look tile online. The tile was never the problem. My meter read wet on that slab three weeks after the old sheet vinyl came up, and if we'd installed on schedule instead of waiting it out, that floor would've cupped in a season. For the full list of what actually decides whether vinyl lasts, see the vinyl flooring buyer's guide.
Know What You're Actually Buying (LVT, LVP, SPC, WPC)
These four letters trip people up, so here's the plain decode: LVT and LVP name the shape, SPC and WPC name the core inside. LVT (luxury vinyl tile) comes in tile and stone shapes with square or rectangular pieces. LVP comes in long plank shapes made to look like wood boards. Same vinyl family, different look. Since LVP's long plank shape puts extra stress on the locking edges compared to tile, knowing how to spot a plank built to fail matters just as much as sorting the acronyms out.
SPC and WPC describe the rigid body in the middle:
- SPC (stone-plastic core) is harder and more dent-resistant. It's the one I lean toward under heavy furniture and pet claws.
- WPC (wood-plastic composite core) feels a little softer and warmer to stand on, which some people prefer in a kitchen where they cook a lot.
Overall plank or tile thickness is its own buying spec, separate from both the wear layer and the core, and it's worth asking about even though it rarely gets its own line in marketing copy. In practice it clusters into a few bands: 3mm is the thin, budget end, it flexes more underfoot, telegraphs subfloor imperfections, and tends to sound hollower when you walk on it. 4.5mm to 5mm is the common mid-range for click-lock LVT/LVP, adding enough rigidity to feel more solid and to quiet footstep sound. 5mm and up (some rigid-core products run 6-8mm, sometimes with an attached pad) gives the sturdiest feel, the best sound dampening, and the most forgiving flex over minor subfloor dips. Thicker generally means quieter and more solid, but it also adds cost and can affect transitions at doorways, so weigh it against the wear layer rather than shopping on thickness alone.
Every luxury vinyl tile is built in layers. Here's how they stack:
Drawing is not to scale; the layers are sized to be readable, not to match real thickness.
The wear layer up top does the daily work, and it's the number worth reading closest. If you want the full brand-by-brand breakdown of cores and wear layers, the luxury vinyl flooring guide covers COREtec, ADURA, and the house lines side by side. And if you're still deciding between tile-shaped and plank-shaped, what LVT is and how it differs from LVP lays that out.
Step 2: Match the Wear Layer and Core to the Room
The wear layer, measured in mil, is the single number that tracks how a vinyl floor holds up to traffic. Thicker is more forgiving. Treat it as a durability dial, not a lifespan promise, and pick your target by the room before you shop.
| Wear layer | Best for | Notes |
|---|---|---|
| 6 mil | Bedrooms, closets, low-traffic rooms | Light residential; scuffs faster under chairs and pet claws |
| 12 mil | Living rooms, hallways, most main floors | The everyday sweet spot for a busy home |
| 20 mil | Kitchens, entryways, homes with kids or dogs | More forgiving of grit and claw marks |
| 28 mil+ | Highest-traffic areas and light commercial use | Overkill for a quiet bedroom, right for a mudroom |
These are the ranges I start a room spec with (1 mil = 1/1000 inch), the number that actually governs is whatever the specific product's own spec sheet lists, so confirm it before you buy. Cross-check that figure, the overall plank/tile thickness, and the fine print against the manufacturer's own published spec sheet and warranty documentation, not just a sales rep's rounded answer or a sample display, those documents are the real source of truth on any specific product, well beyond the general ranges here.
Suggested wear layer in mil, from quiet bedrooms up to the busiest spaces.
For a kitchen or entry with a dog, I lean toward 20 mil paired with an SPC core, because that combination shrugs off grit and claw marks better than anything thinner. In a bedroom or a quiet office, a 6 mil or 12 mil tile is plenty, and matching the spec to the room keeps you from overspending on protection that floor will never need.
Getting a Real Stone or Tile Look
The tell on cheap LVT is repetition. When the same three photos loop across the floor and every printed grout line looks identical, your eye clocks it as fake fast. Better products use more pattern variation, so fewer tiles share the exact same image, and if you're shopping stone patterns specifically, the details that separate real-looking stone-look LVT from the plasticky stuff walks through exactly what to check before you buy.
Two features push the look closer to the real thing:
- Beveled or micro-grout edges give each tile a defined border, so it reads as separate pieces of slate or ceramic instead of one printed sheet.
- Groutable LVT lets you add real grout in the joints for a genuine ceramic feel. It looks the most convincing, but it's more work and less forgiving, so it leans toward a pro or a patient DIYer.
Here's the honest tradeoff against real ceramic or stone: LVT is warmer, quieter, and softer to stand on, which matters in a kitchen where you're on your feet. But up close, a trained eye can still tell it's vinyl. You're buying comfort and an easier install, the look gets close, it doesn't get identical.
Step 3: Pick Your Install Method (and Whether to DIY)
There are three ways LVT goes down, and the room decides which fits:
- Click-lock floating snaps together and floats over a flat subfloor with no glue. Leave the expansion gap around the perimeter that the install sheet lists for that product, because the floor moves with temperature and humidity.
- Glue-down bonds each tile to the subfloor. It handles heat, heavy rolling loads, and big open rooms better, but it's fussier and needs a clean, flat base.
- Loose-lay relies on weight and friction, sometimes with a perimeter of adhesive, and suits some commercial and heavy-traffic settings.
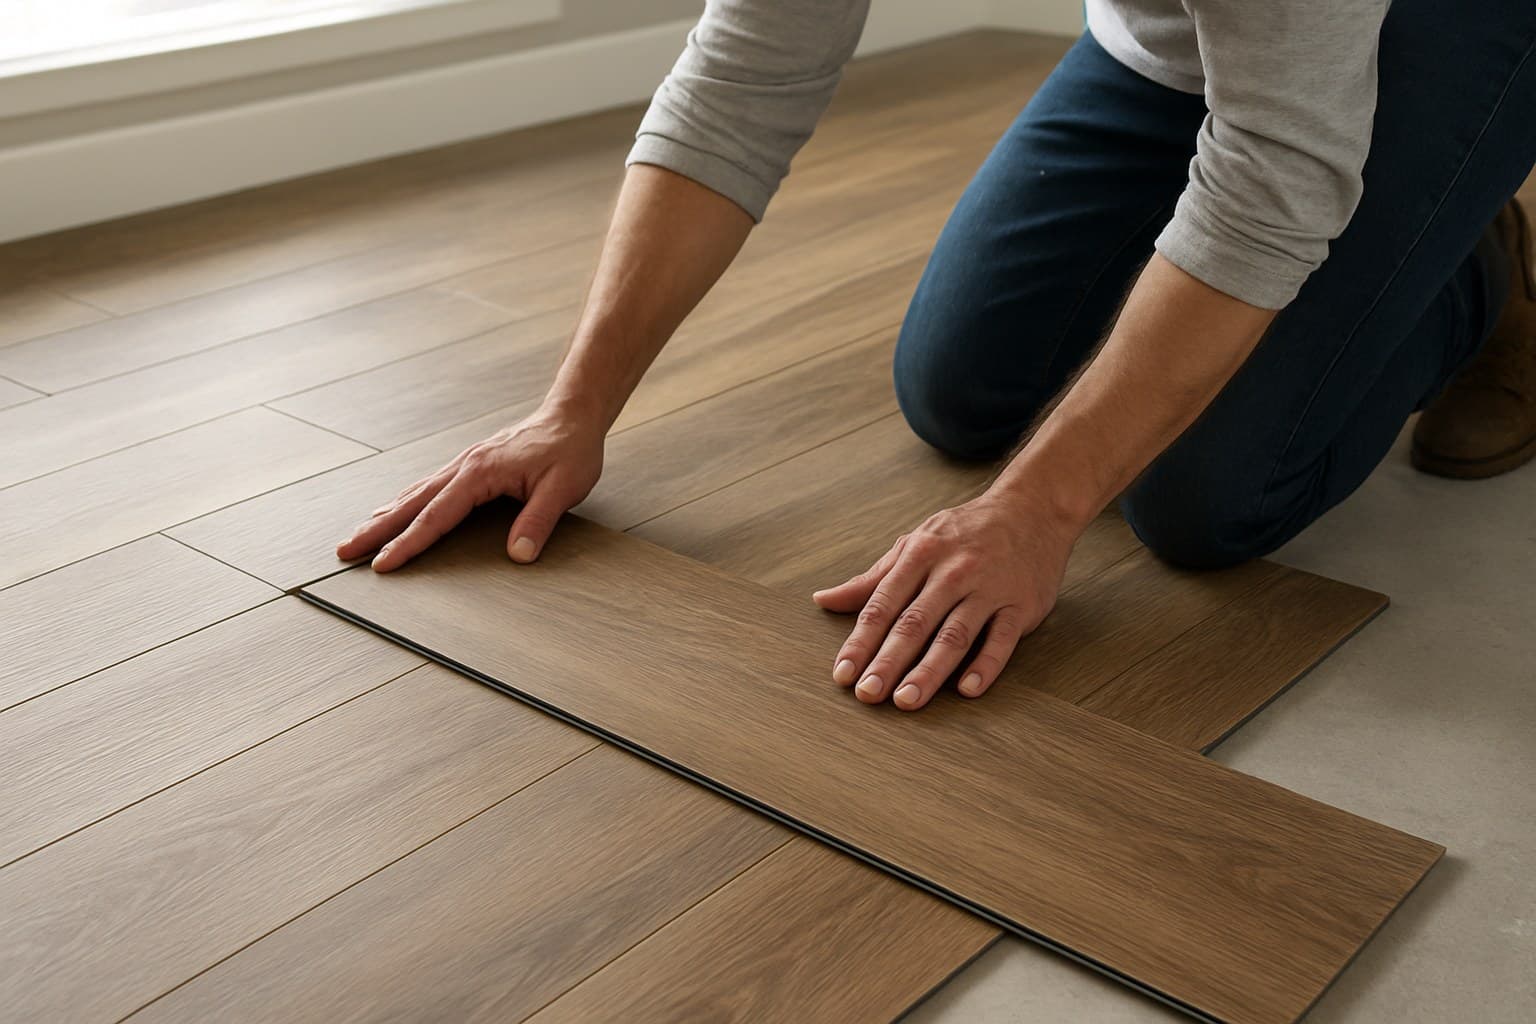
Click-lock is the DIY-friendly choice, and in a square, flat room a careful homeowner can do it. Where I tell people to hire out: glue-down work, stairs, and large open-plan spaces with big moisture transitions between rooms. Those are where a small mistake spreads across the whole floor, and where a pro earns the fee.
What LVT Costs: Materials vs Labor
Never trust one flat national number on flooring, because it hides the two parts that actually move. Split it, and treat both as ballpark figures that vary by market, product, and job.
- Materials: roughly in the $2-$7 per square foot range, depending on wear layer and core. A thin 6 mil residential tile tends toward the low end; a thick 20 mil SPC tends toward the top.
- Pro install: often somewhere around $2-$5 per square foot for a standard open room, but get local quotes since labor rates vary widely.
Basements, bathrooms, stairs, and any job that needs heavy subfloor prep or moisture control push labor higher. A slab that needs grinding or a leveling pour adds real hours before a single tile goes down.
One more math check: the cheapest tile with a thin wear layer in a busy kitchen is usually the most expensive choice over time, because you pay to tear it out and redo it early. Buying the right mil for the room the first time is the cheaper path.
If you're still weighing LVT against laminate for specific rooms, vinyl vs laminate, room by room is the useful next read, since it settles the kitchen-and-basement tradeoff before you commit to a material.