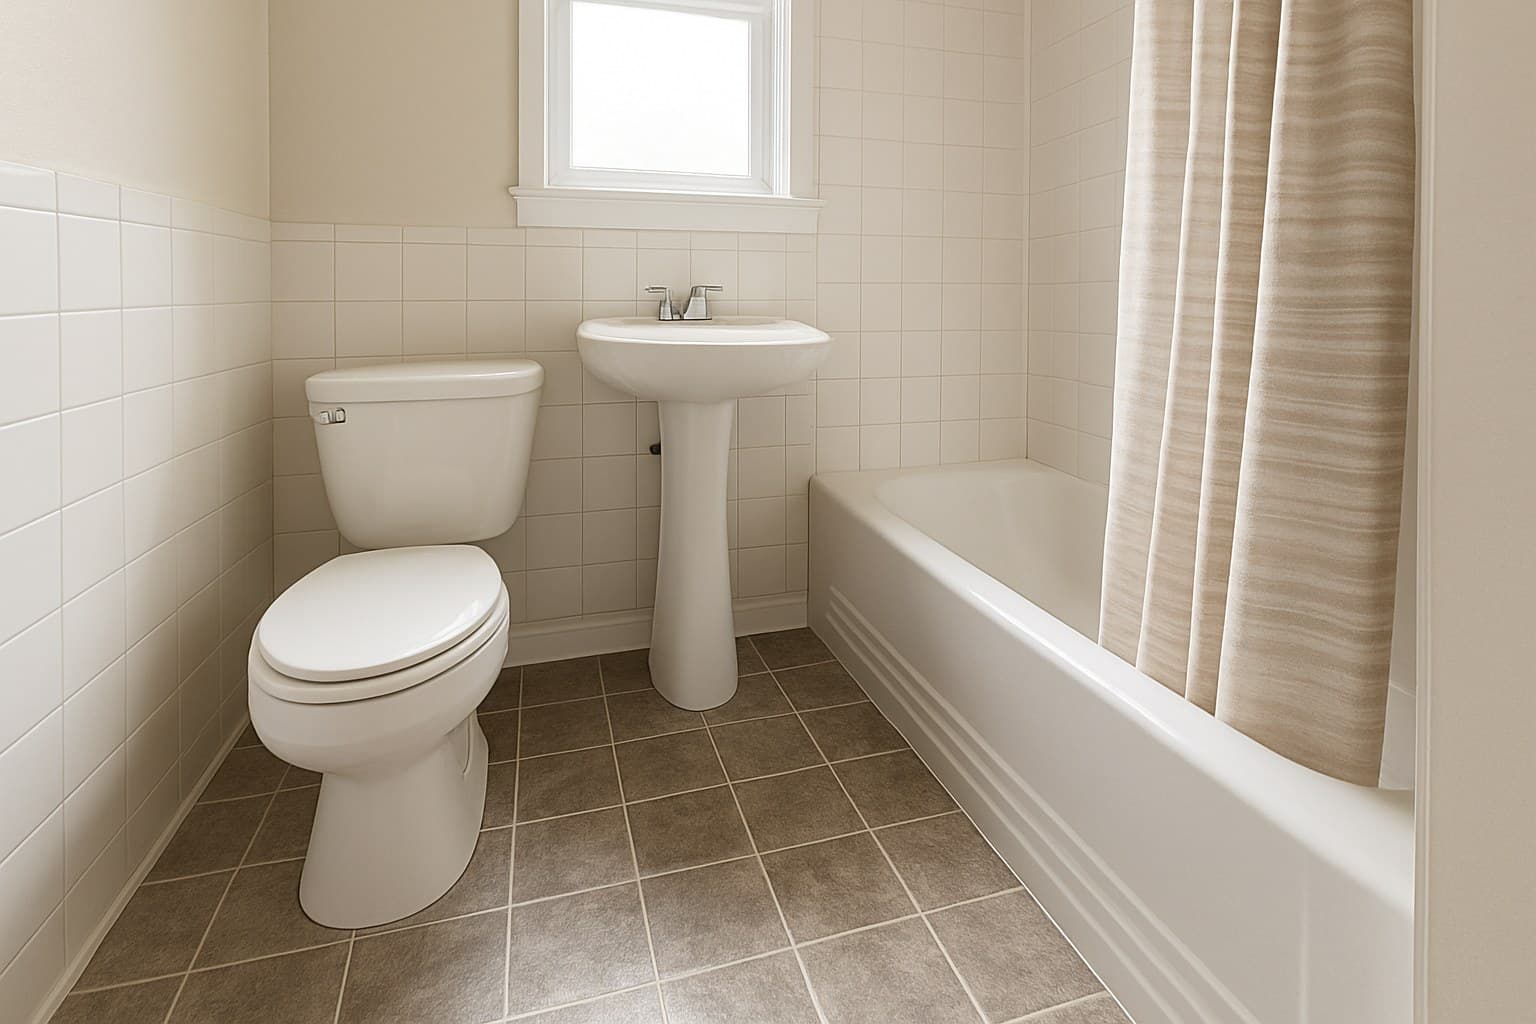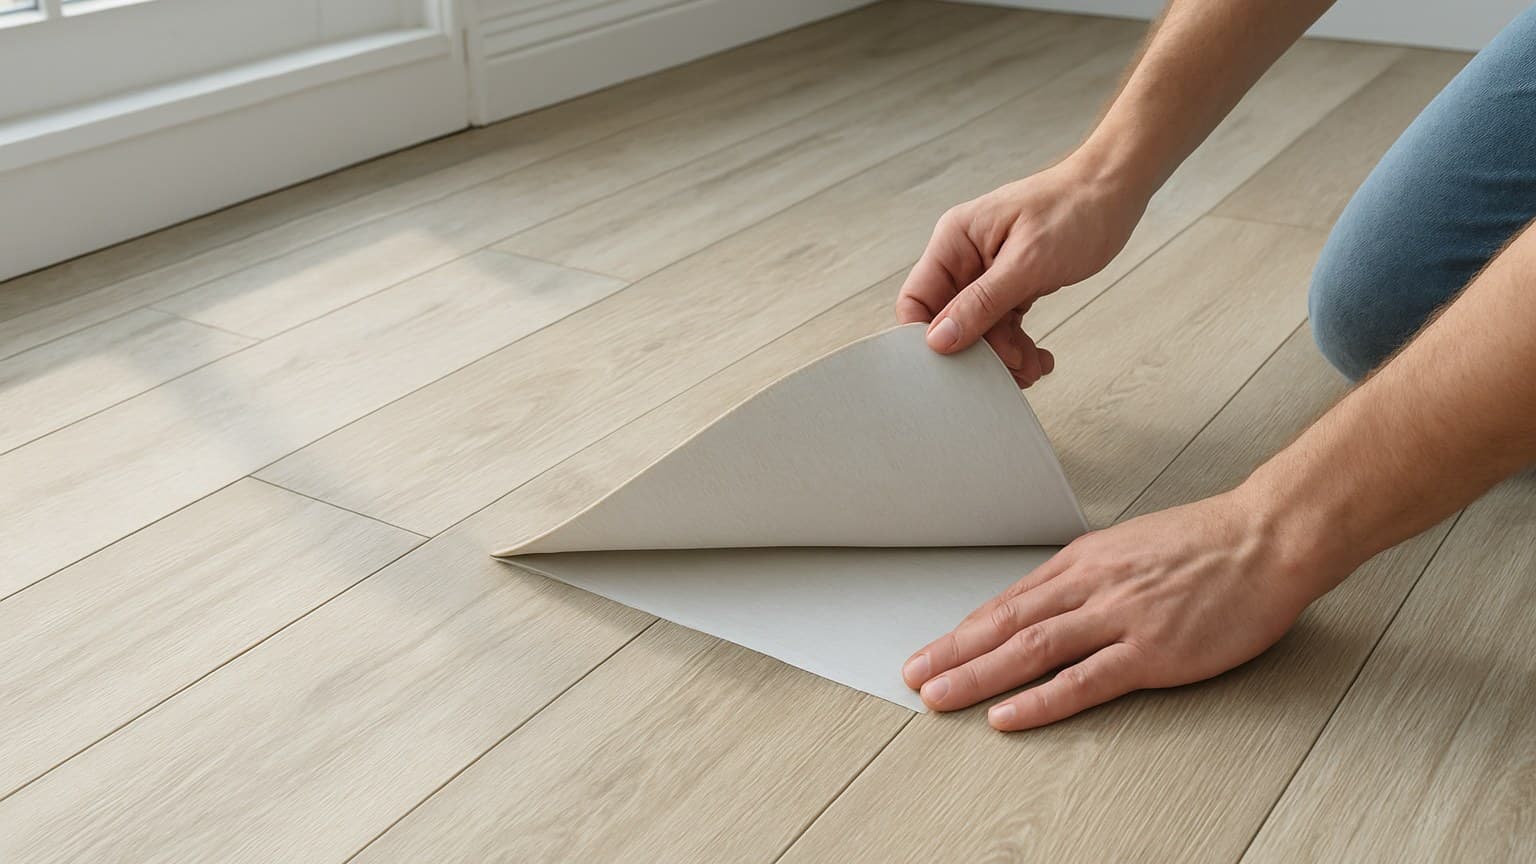
Peel-and-stick floor tile generally runs about $1.50 to $3.50 per square foot in materials, often with zero labor cost if you lay it yourself, which makes it the cheapest floor you can install. That low price is exactly why people put it in the wrong room. Against click-lock LVP (luxury vinyl plank), glue-down LVT (luxury vinyl tile), and porcelain, peel-and-stick wins on upfront cost and how easily you can pull it back up, but it loses on seam water tolerance and lifespan. This comparison sorts out which room each floor actually belongs in.
Key takeaways
- Peel-and-stick vinyl tile runs about $1.50-$3.50 per square foot in materials and is cheap because you skip the labor by doing it yourself.
- The seams are the weak point: the tile face shrugs off water, but water creeping under the edges is what lifts tiles in bathrooms and entryways.
- Expect roughly 5 years in a low-traffic dry room; a full bath or busy kitchen cuts that short, where click-lock LVP or porcelain earns its higher cost.
- It is the most renter-friendly floor here as long as your subfloor is clean, flat, and dry, but a permanent-adhesive product can pull up old finish or leave residue.
- Subfloor comes first: check flatness with a straightedge and check for moisture before a single tile goes down, or the glue fails no matter which tile you bought.
What Peel-and-Stick Floor Tile Actually Is
Peel-and-stick floor tile is a thin vinyl tile with a sticky back built in at the factory. You pull off a paper liner and press the tile straight onto the floor. No grout, no thinset, no wet saw. In the trade this is the pressure-sensitive adhesive type of luxury vinyl tile, the Carpet and Rug Institute classifies this category of resilient-flooring adhesive as A-2, the pressure-sensitive group used for tiles like these, and it's the simplest floor a homeowner can put down alone. Vinyl composition tile, the harder commercial cousin of this product, falls under its own classification entirely, and the Armstrong VCT flooring overview breaks down how that older standby differs.
You'll find it mostly in 12x12 inch squares and 24x12 inch planks, sold in packs of about 6, 10, or 20 pieces. The looks run wide: marble, stone, small mosaic patterns, and wood plank. From across a room, a decent marble-look tile reads as the real thing. If you want that same look in a floor that's actually stone, the marble floor tile buying guide covers what real slabs cost installed.
Here's the one thing to hold onto before you fall for a pattern: this is a surface-stick product. It's only as good as the floor underneath it and the care you take at the seams. The tile itself rarely fails. The bond under it and the edges where tiles meet are what give out.
If you're weighing every kind of vinyl and not just the stick-down tiles, start with the broader vinyl flooring buyer's guide, which covers click-lock and glue-down vinyl too.
The other names for the same thing: self-adhesive, stick-on, and sticky vinyl
Shopping for this stuff gets confusing because every listing names it differently. Self-adhesive tile, stick-on vinyl, sticky vinyl tile, self-stick, and peel-and-stick are all the same product. If the back peels to a glue layer and you press it down by hand, you're looking at the same category no matter what the box calls it.
Peel-and-Stick vs Click-Lock LVP, Glue-Down LVT, and Porcelain
The short version: peel-and-stick wins on upfront cost and on how easily you can pull it back up, but it loses on seam water tolerance and lifespan against glue-down LVT and porcelain. If a room stays dry and traffic is light, that trade is worth it. If the room gets wet or busy, the cheaper floor costs you more because you redo it sooner.
Here's the head-to-head.
| Option | Materials $/sq ft | Pro labor $/sq ft | Water at seams | DIY difficulty | Removability | Realistic lifespan |
|---|---|---|---|---|---|---|
| Peel-and-stick vinyl tile | $1.50-$3.50 | $1-$2 (usually $0, DIY) | Face resists water; seams let it under | Easy | High, but adhesive can leave residue | ~5 years in low-traffic dry rooms |
| Click-lock LVP | $2-$5 | $1-$3 | Floating floor; tight joints, waterproof core | Moderate (most DIYers can do it) | High, floats and unclicks | ~15-20 years |
| Glue-down LVT | $2-$5 | $2-$4 | Tighter bond than stick-down; still a vinyl seam | Harder (full-spread adhesive) | Low, bonded down | ~10-20 years |
| Porcelain/ceramic tile | $2-$7 | $7-$14+ | Best in wet rooms when sealed and grouted | Hard (thinset, cuts, grout) | Very low, demolition to remove | 20+ years |
How the four floors compare on cost, water at the seams, install difficulty, removability, and realistic lifespan.
One line on that "waterproof core" note for LVP: a waterproof core and a waterproof floor are not the same thing, and the exact rating depends on the specific product you buy, so check that plank's own spec sheet. Many click-lock LVP products have a core that won't swell if water sits on top, but the seams and edges are only water-resistant. That same weak point - not the plank itself giving out, but water working in at the joints - applies to peel-and-stick too, just more so, because its seams are pressed butt-to-butt with no locking joint holding them tight. For a wider look at how LVP's seam weakness stacks up against tile's grout lines over the long haul, the LVP vs tile comparison guide walks through which one actually ends up getting redone first.
Labor is the number that swings this whole comparison. If you lay peel-and-stick yourself, labor is basically zero, so the floor costs about what the tile costs. With porcelain, the labor to set, cut, and grout it usually costs more than the tile does. That's why the installed gap between these floors is so wide. That labor premium climbs even higher with stone-look porcelain, where rectified edges and pattern-matching take more time to set, something the limestone-look porcelain tile guide walks through in detail.
| Flooring | Installed cost (pro), $/sq ft |
|---|---|
| Peel-and-stick vinyl tile | $2.50-$5.50 |
| Click-lock LVP | $3-$8 |
| Glue-down LVT | $4-$9 |
| Porcelain/ceramic tile | $9-$21 |
Installed cost per square foot with a pro doing the work; laying peel-and-stick yourself removes most of that labor.
If either step-up floor is on your short list, price the full path first. The LVP tile guide broken down by wear-layer tier covers the click-lock option, and the plank tile flooring guide covers the porcelain route that mimics wood and stone.
What It Costs and How to Do the Coverage Math
For peel-and-stick, most of your money is tile, so the math is simple once you know your room size. Using real online pack prices, I've seen one style at $16.79, most around $20.39, and a bundle at $35.68 that covers a 60x48 inch area, which is 20 square feet.
The formula in plain words: take your room's square footage, add 10% for waste and cut mistakes, divide by the square feet in each pack, and round up to whole packs.
Here's that worked out for a small 12 by 12 room.
| Step | Value |
|---|---|
| Room area | 12 ft x 12 ft = 144 sq ft |
| Add 10% waste | 144 x 1.10 = ~159 sq ft to buy |
| Square feet per pack (ten 12x12 tiles) | 10 sq ft per pack |
| Packs needed | 159 / 10 = 16 packs (round up) |
| Materials at ~$20.39 per pack | 16 x $20.39 = ~$326, or ~$2.27 per sq ft |
| Labor if you DIY | $0 (your time only) |
| Bundle option for coverage check | $35.68 bundle covers 60x48 in. = 20 sq ft, ~$1.78 per sq ft |
Source: Brewster's online product listings
Coverage and cost worked for a 12 by 12 room using real pack prices.
So a 144 square foot room lands near $300 to $330 in tile if you lay it yourself. Hire a pro and you add roughly $1 to $2 per square foot in labor, call it another $150 to $290. A lot of people choose this floor specifically to skip that bill.
Two things push the cost up. Basements sit on concrete slabs that need a moisture test before anything sticks, and that test, plus any patching, adds cost and risk you won't hit in an open main-floor room. Stairs are worse: every tread and riser is a cut and a tricky bond, so stairs cost more per square foot than a flat open floor no matter which flooring you pick.
Subfloor Prep: What You Can and Can't Stick Over
According to the Tile Council of North America's guidance on tiling over existing flooring, do two checks before a single tile goes down, and do them together. Run a long straightedge across the floor to find dips and high spots, and run a moisture check on the slab or subfloor. Pressure-sensitive adhesive fails on both counts: it won't bond to damp concrete, and it telegraphs every ridge and gap below it straight through the thin tile.
| Check | How |
|---|---|
| Flatness | Straightedge across the floor; fill dips, grind high spots |
| Moisture | Test the slab or subfloor; damp concrete kills the adhesive |
| Clean surface | Vacuum and wipe; dust and grease stop the stick |
| Stable base | No loose, cushioned, or peaking existing floor under it |
Source: Tile Council of North America subfloor guidance
The four checks that decide whether peel-and-stick will bond and stay down.
You can stick over a clean, flat, fully-bonded existing hard floor. What you cannot stick over is cushioned sheet vinyl, textured or embossed tile, or any floor with loose or peaking seams. The adhesive needs a firm, smooth, dry face, and a floor that moves under you takes the tile's bond with it. That same bonded, flat, dry standard is also what decides whether a thicker click-lock product will work, a question the guide to installing LVP over tile answers for that floor type specifically.
For a rough subfloor, the fix is a smoothing patch for small dips or a plywood or leveling underlayment for a whole bad floor. Skip that and the tile copies every flaw. Thin flooring is unforgiving: even a floor that looks flat to the eye can fail a straightedge test, and large tile will magnify every dip in the subfloor. The corners lipped up just enough to catch a bare foot and a mop. Big tile punished every dip, and a thin stick-down tile does the same thing in its own way, so now I flatten carefully before anything goes over it.
How to Install It, Step by Step
Start from the center of the room, not a wall. Snap two chalk lines that cross at the middle, square to each other, and dry-lay a row each way without peeling anything. That tells you how wide the border tiles land, so you can shift the layout and avoid a sliver of tile against one wall.
Peel the liner off one tile at a time and press it down inside your chalk lines, working outward. Line up each edge tight to the last tile before you set it, because once this adhesive grabs, sliding it leaves a gap or a smear. Press every tile down hard with your hands or a roller so the whole back bonds, not just the middle.
For border tiles, lay the loose tile over the last full one, mark your cut line, score it with a utility knife against a straightedge, and snap it. No wet saw needed. After the floor is down, run a floor roller over the whole thing or press the seams again with your thumbs, then stay off it while the bond sets.
Click-lock LVP suits most DIYers, and peel-and-stick is even easier, so this is a job most people can do over a weekend. The place to hire out isn't the tile itself, it's the prep: a slab that fails a moisture test, a badly cupped subfloor, or a basement transition is where a pro earns the fee.
Which One for Whom: Picking by Room and Budget
Match the floor to the room, the traffic, and how long you want it to last. Here's how I'd call it.
Choose peel-and-stick when the room is dry and low-traffic and the budget is tight: a bedroom, a closet, a home office, a laundry nook that stays dry, or a rental where you want to pull it up later. It's a renter-friendly floor, as long as the subfloor is clean, flat, and dry. Know that a permanent-adhesive version can pull up old finish or leave residue when you remove it, so test one tile in a corner first.
Choose click-lock LVP for a kitchen, a living room, or any busy floor where you still want to DIY and want it to last 15 to 20 years. It floats over the subfloor, handles spills better at the joints, and unclicks if you move. Click-lock tile takes that same locking mechanism and swaps in a rigid core, and weighing it against glue-down vinyl, laminate, and ceramic room by room is covered in this click lock tile flooring comparison.
Choose glue-down LVT or porcelain for full bathrooms, mudrooms, and entryways that take real water and grit. Glue-down LVT bonds tighter than a stick-down tile, and sealed, grouted porcelain holds up well in a genuinely wet room, which is why it's worth the much higher labor. For a deeper look at the wood-look porcelain path, the plank tile flooring guide prices it out. Porcelain in that wet room is also where classic hexagon shapes show up most, and the hexagon tile decisions that come back as callbacks walks through the sizing and grout-joint calls that shape forces on you.
Peel-and-stick is a smart cheap call in the right room and a false economy in the wrong one. Put it where it stays dry and you'll be happy. Put it in a full bath and you'll be redoing it while your neighbor's porcelain is still fine.