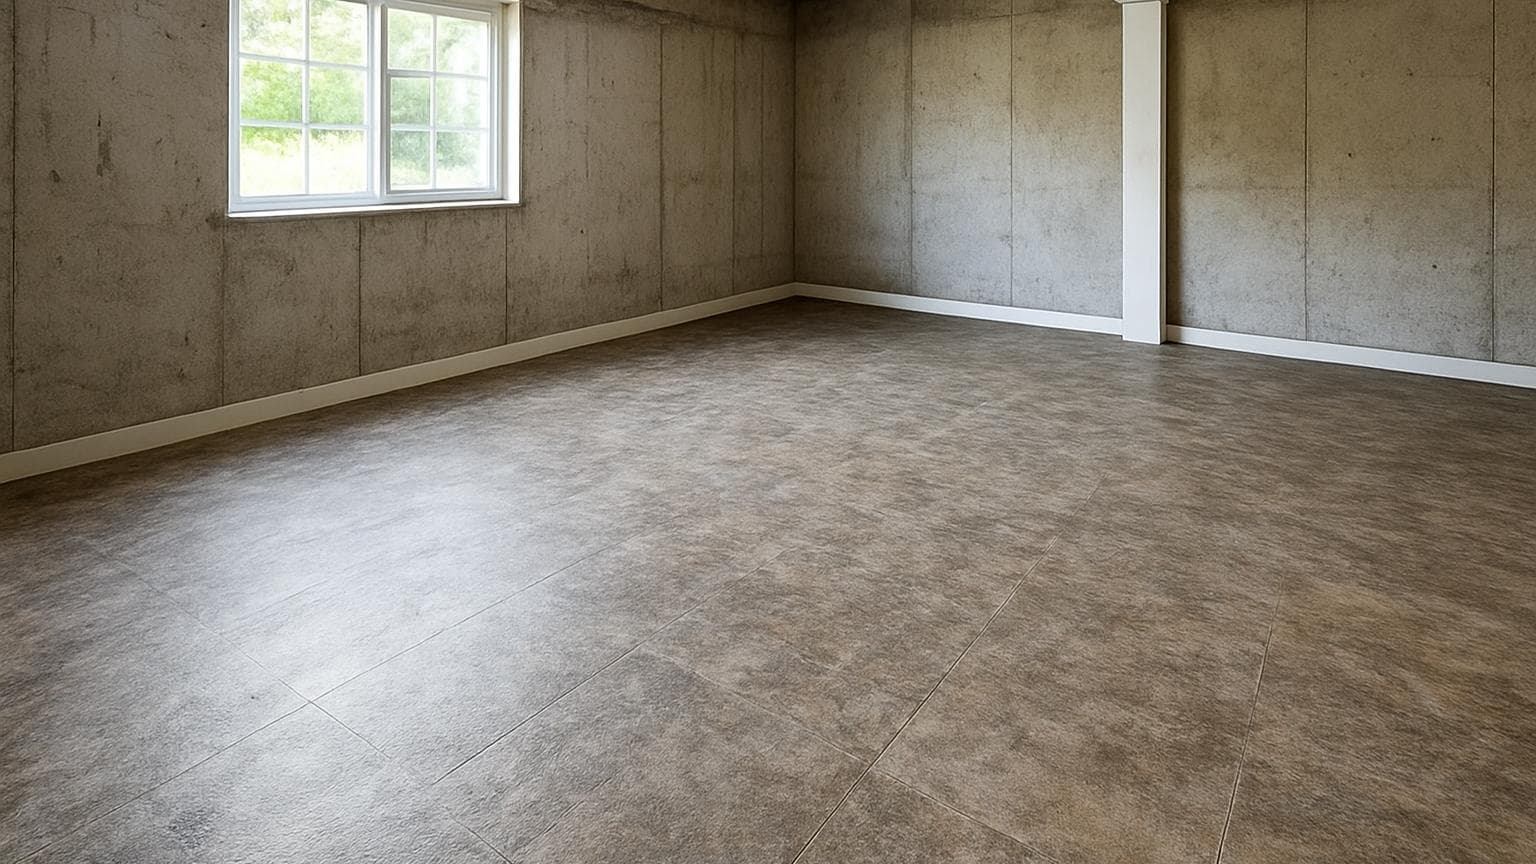
Every waterproof basement flooring pitch sells you on the plank surface, the one part that rarely fails first. What actually gets people is the seam that lets go, the edge that curls, or the slab sweating from underneath. This ranking sorts seven floors by which of those weak points holds up longest.
Key takeaways
- No basement floor is truly waterproof at the seams and slab. A waterproof core sheds surface spills, but water still creeps in at plank edges and rises up through the concrete.
- Porcelain tile, sealed or polished concrete, and epoxy survive standing water and high slab moisture the best. SPC vinyl and sheet vinyl handle everyday damp. Peel-and-stick vinyl tile fails first, at the seams.
- Run a slab moisture test before you buy anything. Most floating-floor warranties quietly hinge on that reading, not on the plank you picked.
- Cost splits vary by floor: SPC runs about $2-5/sq ft materials plus $1.50-3 labor, porcelain tile $2-7 materials plus $5-10 labor, and peel-and-stick under $2 materials but the shortest life.
- Click-lock SPC and sheet vinyl are realistic for most DIYers. Tile, epoxy, and polished concrete are usually worth hiring out.
First, the hard truth: no basement floor is waterproof at the slab
A "waterproof" rating almost always describes the plank surface or the core, not the seams, the edges, or the concrete underneath. Read the fine print on most floating floors and you'll see it spelled out two different ways: the core is called waterproof, and the joints are only called water-resistant. Those aren't the same promise, and the gap between them is exactly where basements flood a floor.
Water gets in two ways down here. Standing water, from a burst supply line or a heavy storm, tracks down through the seams and plank edges and pools on the slab where you can't see it. Vapor also rises up through the concrete from the wet ground below, pushed by pressure under the slab, long after the surface looks dry.
I learned to respect the second one the hard way. On a rec-room job for a homeowner named Karen in Aurora, Illinois, she talked me out of a slab moisture test to save an afternoon, and I let her. The floor cupped before the season was out, and I pulled it up and relaid it on my own dime rather than argue about whose call it was. That's the day the moisture test stopped being optional on my jobs, and it's exactly the kind of step covered in this guide to installing basement flooring that won't fail.
So this isn't a list of floors that laugh off water. Since the core almost never fails first, the real question is which seam, edge, or slab weakness each floor survives longest. That's how these seven are ranked.
The route water takes to reach and ruin a basement floor, from the ground below the slab to the seams on top.
The 7 waterproof basement floors, ranked at a glance
Here's the whole ranking in one place, from the floor that survives standing water longest (porcelain tile) down to the one that fails first (peel-and-stick vinyl tile). If you only read one thing, read this table, then jump to the floor you're weighing.
| Rank | Floor | What fails first | Materials /sq ft | Labor /sq ft | DIY? |
|---|---|---|---|---|---|
| 1 | Porcelain tile | Grout lines and cracked tiles over a moving slab | $2-7 | $5-10 | Hire out |
| 2 | Sealed or polished concrete | Sealer wears at doorways; slab cracks show through | $1-4 | $3-8 | Hire out (polish); sealing is DIY |
| 3 | Epoxy coating | Delamination when vapor pressure lifts it off | $1.50-3 | $3-7 | Kit is DIY; pro system hire out |
| 4 | Rubber flooring | Seams between tiles or roll edges; trapped damp | $3-8 | $1.50-3 | DIY-friendly |
| 5 | SPC vinyl plank | Click-lock seams let water reach the slab | $2-5 | $1.50-3 | DIY (click-lock) |
| 6 | Sheet vinyl | Perimeter and seam adhesive; edges curl if damp gets under | $1-3 | $1-2 | DIY in small rooms |
| 7 | Peel-and-stick vinyl tile | Adhesive lets go at every seam once the slab sweats | $0.50-2 | $1-2 | DIY |
Source: my own basement install jobs
Seven waterproof basement floors ranked by what fails first, with materials and labor split.
Basement jobs run higher than the same floor in an open main-floor room. Hauling material down a tight stairwell, extra moisture prep, and cutting around a furnace, water heater, and support posts all add hours. Every number above keeps materials separate from labor, never blended, because labor is where basement work quietly climbs.
Here's just the labor spread, so you can see where basement work quietly adds hours before materials even factor in.
| Floor | Total installed cost, 300 sq ft basement |
|---|---|
| Porcelain tile | $2,100-$5,100 |
| Sealed or polished concrete | $1,200-$3,600 |
| Epoxy coating | $1,350-$3,000 |
| Rubber flooring | $1,350-$3,300 |
| SPC vinyl plank | $1,050-$2,400 |
| Sheet vinyl | $600-$1,500 |
| Peel-and-stick vinyl tile | $450-$1,200 |
Total installed cost for a typical 300 sq. ft. basement, combining the materials and labor ranges above, useful for budgeting the whole room instead of just per-foot pricing.
1. Porcelain tile: survives standing water, fails at the grout
Porcelain ranks first because the tile body barely soaks up water and shrugs off standing puddles better than any floating floor here. If your basement has ever taken on real water, this is the safest surface you can put down. It's the same durability that makes porcelain a top pick in the best flooring for a kitchen, where spills and standing water are just as common.
Its weak spot isn't the tile, it's the grout lines and the joints between tiles. Grout is porous unless it's sealed, so it drinks up moisture, and a slab that shifts or cracks will telegraph straight up through the tile and pop grout loose. Tile is only as stable as the concrete under it.
Cost splits out to about $2-7 per square foot for materials and $5-10 for labor. That labor number is the highest on this list, because setting tile and grouting is slow, skilled work, and it all has to sit over a slab that's been leveled first.
This is usually a hire-out job. Getting the thinset (the mortar that bonds tile to the slab) flat, so no tile edge sits higher than its neighbor, is exactly where DIY tile floors go wrong in a basement.
2. Sealed or polished concrete: the slab is the floor
Sealed or polished concrete ranks near the top because you're not adding a layer that can trap water, you're finishing the slab you already have. There's nothing to float, nothing to cup, and nothing to lift off the concrete. It's also gained popularity as one of the sleeker kitchen flooring ideas for homeowners who want an industrial look upstairs, not just in the basement.
The failure point is the finish, not the floor. Sealer wears thin at doorways and the lanes people walk most, so it needs a fresh coat every few years, and any crack already in the slab stays right where it is. Polishing hides nothing, so a scarred slab looks like a scarred slab.
Cost divides cleanly. Sealer materials run about $1-4 per square foot with weekend-level labor, while grinding and polishing labor runs $3-8 because it takes heavy machines and a skilled hand.
Sealing a clean, dry slab is a realistic DIY project. Mechanical polishing is a hire-out. Either way, test slab moisture first, because a wet slab can cloud a sealer or reject it entirely.
3. Epoxy coating: bonds tight until vapor pushes it off
A properly applied epoxy system seals the slab surface and handles spills and everyday damp well, which makes it a strong pick for a basement that stays consistently dry. "Consistently dry" is doing a lot of work in that sentence.
The classic failure is delamination, which just means the coating peels away from the slab. When vapor pressure rising through the concrete has nowhere to escape, it lifts the epoxy off in bubbles or sheets. This is why your slab moisture reading matters more than which epoxy you buy.
A big-box DIY kit is cheap on materials, roughly $1.50-3 per square foot. A full pro-installed system adds about $3-7 in labor for grinding, priming, and topcoats.
A kit is doable yourself on a dry, prepped slab. A high-moisture basement usually needs a pro moisture-mitigation primer first, and that's a hire-out. If you want a garage-grade finish and want to know the full price, see what a garage floor coating actually costs before you commit.
4. Rubber flooring: forgiving underfoot, weak at the seams
Rubber flooring earns its spot because it's warm, quiet, and cushioned, a real plus in a basement gym or playroom, and the material itself doesn't care about water. It takes a dropped weight or a rolling chair without complaint.
Where it fails is the seams between tiles or the edges of rolled goods. Water finds those joints, gets underneath, and stays there, and trapped damp against the slab is what breeds the musty smell and, over time, lifts the tiles.
Materials run higher than most people expect, about $3-8 per square foot, with labor a modest $1.50-3. You're paying for the material, not the install.
Rubber is one of the more DIY-friendly floors here, especially the interlocking tiles. Just don't glue it down tight over a slab you haven't moisture-tested, or you seal the damp in.
5. SPC vinyl plank: waterproof core, vulnerable seams
SPC stands for stone plastic composite, a rigid vinyl plank built around a dense stone-and-plastic core. In a product like COREtec Pro Plus XL, that core is genuinely waterproof, meaning a spill sitting on the plank surface won't swell it the way an old laminate would. It's one of several kitchen flooring options worth weighing too, since the same rigid core holds up well against dropped pans and spilled sauce.
But the core isn't the part that fails first. Water gets in at the click-lock seams, the snap-together joints between planks, and once it's down there it pools on the slab where you'll never see it drying. The plank floats, so it can't stop vapor rising from below either. That's the honest limit of "waterproof" on any floating floor.
Cost lands at about $2-5 per square foot for materials and $1.50-3 for labor, one of the better value floors on this list.
Click-lock SPC is a realistic DIY for most homeowners, which is a big part of why it's so popular. Get the slab flat and moisture-tested first, lay a vapor barrier if the product calls for one, and it goes down fast. For the full prep-and-install walkthrough, read how to install basement flooring that won't fail.
6. Sheet vinyl: few seams, but the edges are the weak link
Sheet vinyl ranks well for a cheap, water-tolerant floor because it comes in big rolls, so a small basement room can go down with almost no seams for water to exploit. Fewer seams means fewer places to fail, and that same water-tolerance is why it's also a longtime favorite upstairs, so it's worth a look if you're also figuring out how to choose the right kitchen flooring.
The catch is the perimeter and any seam that does exist, both held by adhesive. If damp gets under an edge, it curls, and once it curls it lifts, and once it lifts water runs freely to the slab. The vinyl doesn't rot, but the glue gives up.
Materials are inexpensive at $1-3 per square foot, with labor $1-2 in a straightforward room.
Sheet vinyl is DIY-able in a small, square room where you can cut one piece. Big open basements with lots of corners and posts are where the seaming gets fiddly and a pro pays off.
7. Peel-and-stick vinyl tile: cheapest to buy, first to fail
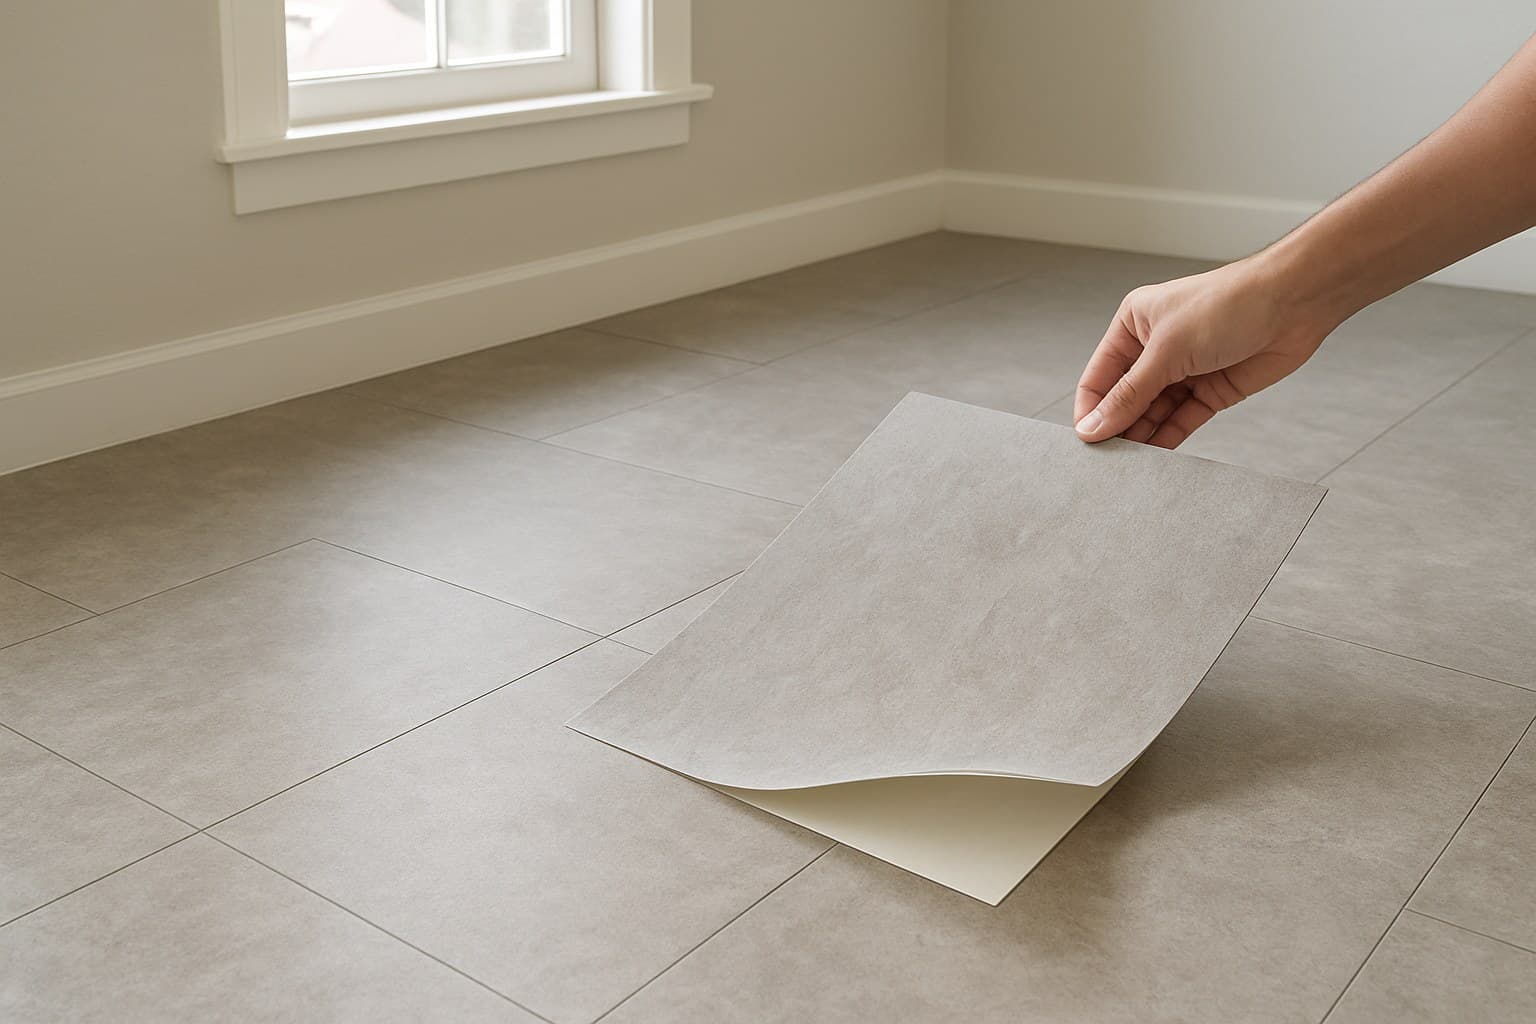
Peel-and-stick vinyl tile is dead last, and I'll be blunt about why: it's the cheapest floor to buy and the fastest to fail in a basement. The tiles themselves don't mind water, but the whole floor depends on adhesive holding at every single seam.
Basements are exactly the wrong place for that. When the slab sweats vapor from below, it attacks the glue on every tile, and the adhesive lets go at the seams. You'll see corners lifting within a season or two, and once one goes, the rest follow.
Materials are as low as $0.50-2 per square foot, with labor $1-2, so the sticker looks unbeatable. The problem is the short life. Replacing it twice costs more than doing it right once.
It's genuinely DIY, and for a rarely-used dry storage room on a budget it can make sense. Just don't expect it to survive a slab that ever gets damp.