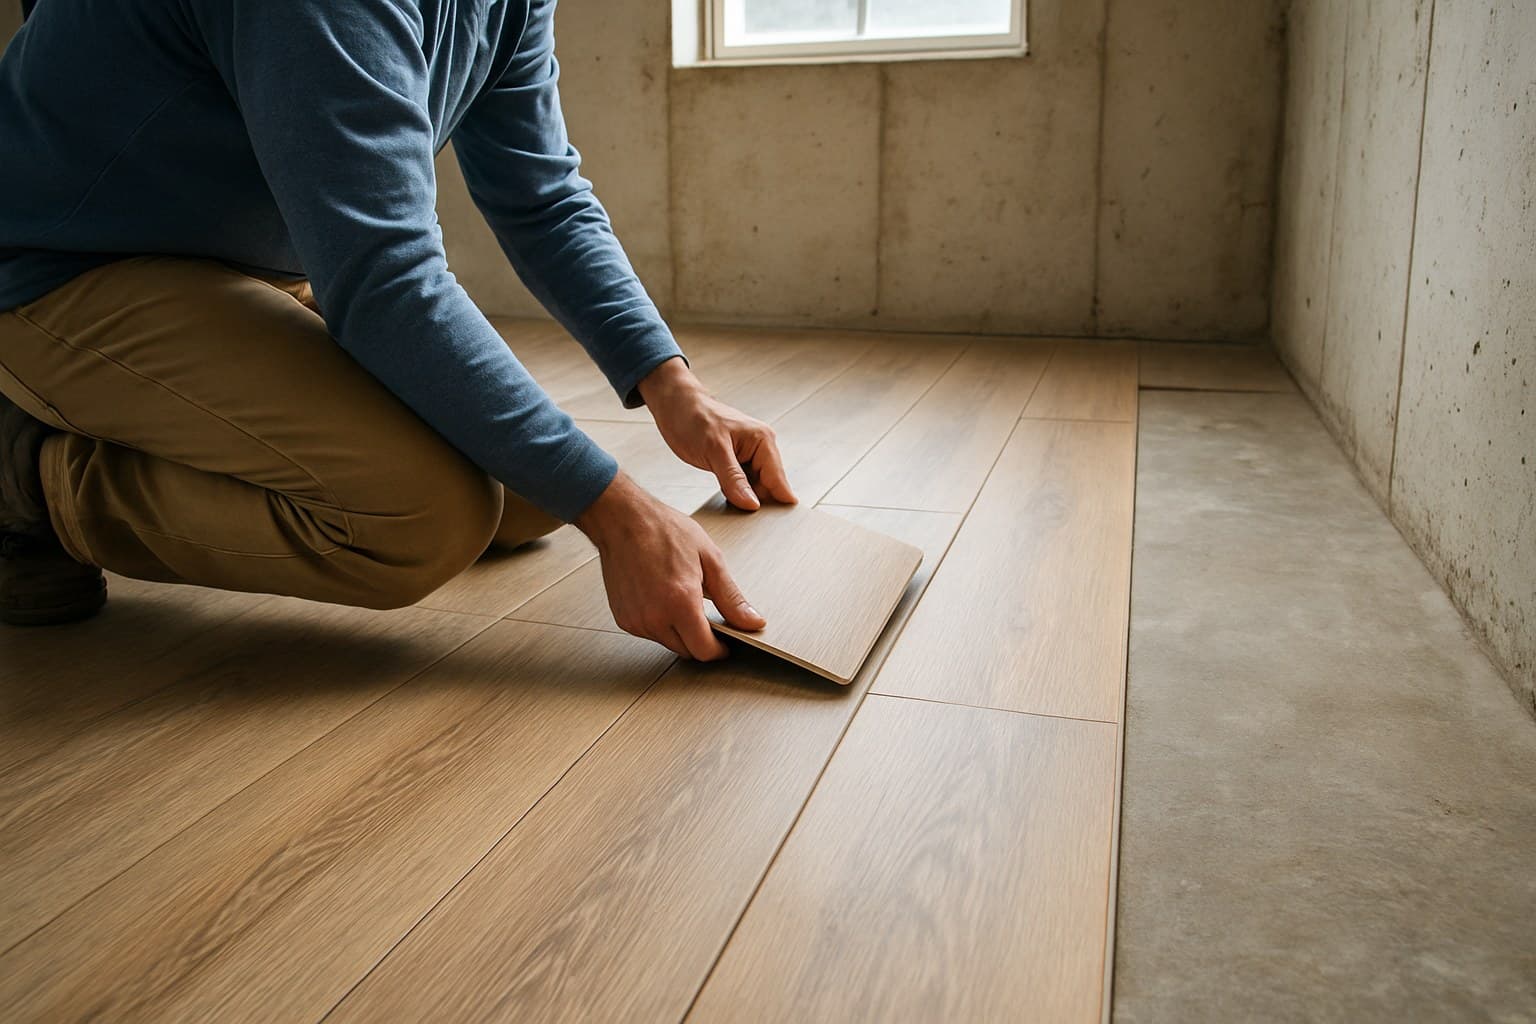
When Denise Ochoa called me out to her split-level in Aurora, she'd already torn up buckled laminate twice in the same basement corner. Both times she blamed the flooring. Both times the real culprit was the slab underneath, still pushing moisture up through spots nobody had tested.
Key takeaways
- Below-grade slabs push water vapor up all year, so most basement floor failures start under the floor, not with the material you picked.
- Run a real moisture test (calcium chloride per ASTM F1869 or an in-slab RH probe per ASTM F2170), plus a quick plastic-sheet screen, and match the reading to your flooring maker's own limit.
- Check flatness with an 8-10 ft straightedge; many floating floors want the slab flat within about 3/16 inch over 10 feet, or you fill the lows and grind the highs first.
- Match material to moisture: sheet vinyl, SPC vinyl plank, tile, rubber, and epoxy tolerate a damp slab; solid hardwood and most laminate do not.
- Budget more than an open room: roughly $2-17 per sq ft installed depending on material, plus subfloor panels or moisture mitigation if the slab reads wet.
What's Really Happening Under a Basement Slab
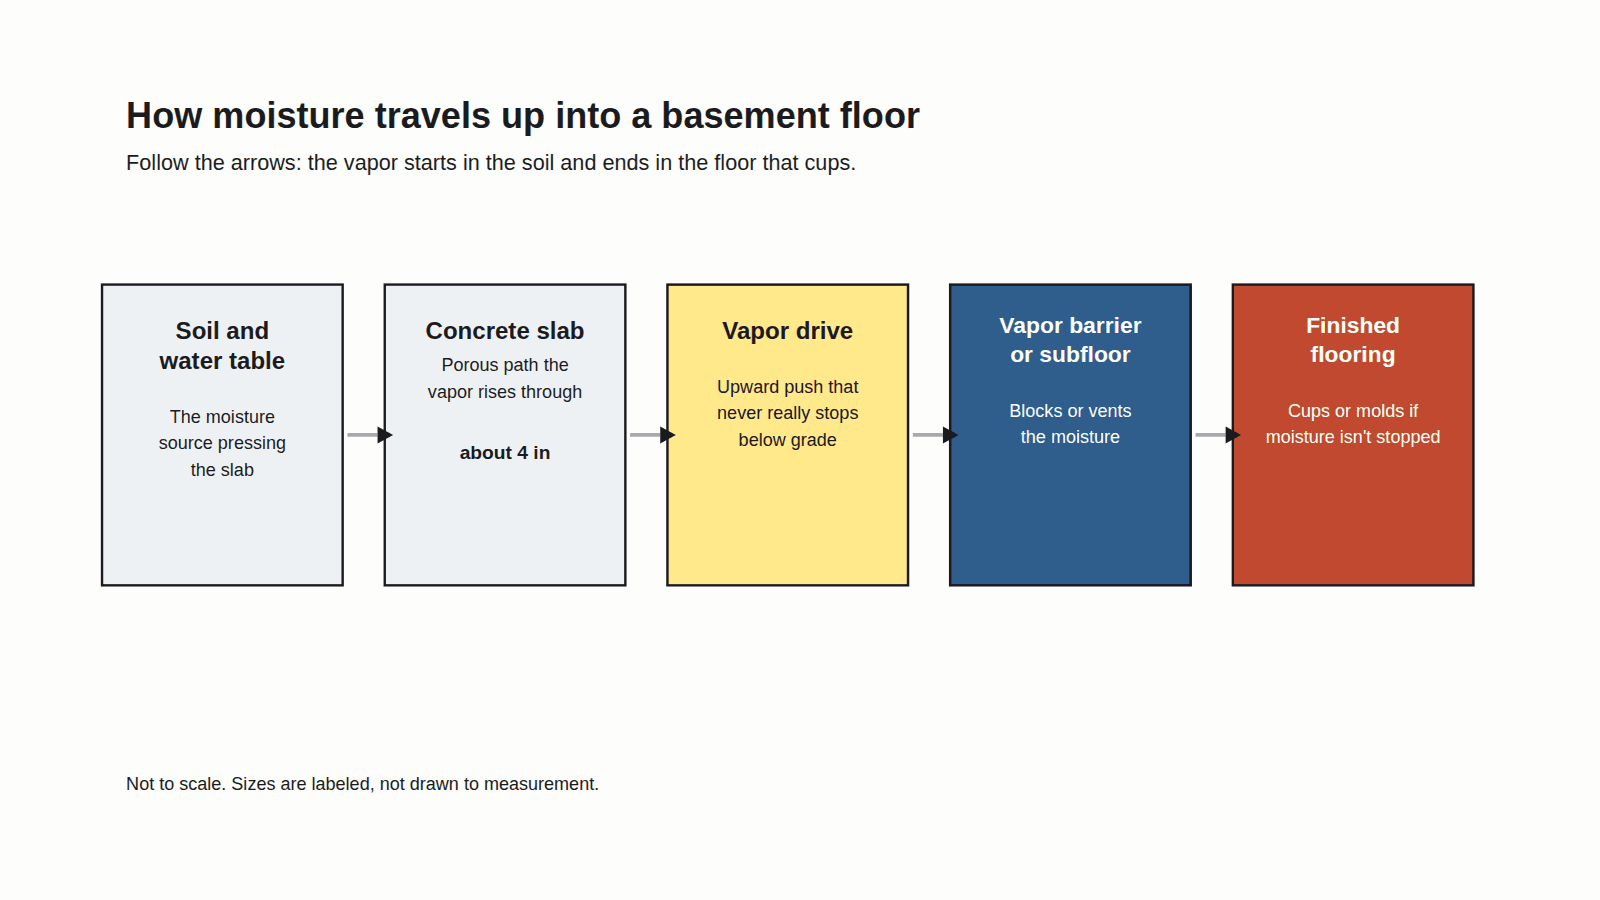
Your slab sits below grade, meaning it's below ground level, pressed right up against damp soil. That soil pushes water vapor up through the porous concrete all year, into whatever you lay down. That constant upward push is what turns a fine-looking plank into a warped one within a season.
I saw this play out on Denise's slab: it felt dry to the touch, but my pin-type moisture meter read 4.8% wood moisture equivalent at the corner where the laminate had buckled, and a calcium chloride test I ran a few days later came back at 6.1 lbs per 1,000 sq ft per 24 hours, more than double the roughly 3-lb ceiling most laminate makers set. The straightedge told its own story too: a 3/8 inch gap opened up under a 10-foot level right where the boards had humped, more than double the 3/16 inch tolerance her flooring called for. Finding both problems after the floor was already down cost her far more than the fifteen minutes either test would have taken.
So here's the order this guide follows, and the order your job should follow too: test the slab for moisture, check it for flatness, match the material to what you found, then install and finish it right.
One thing people mix up early. A "waterproof core" is not the same as waterproof seams. The plank itself can shrug off water while the seams and edges still let it creep in. This same confusion trips up plenty of bathroom remodels too, where guide to waterproof flooring for bathrooms walks through why sealing the seams matters as much as the core itself. The trouble usually starts underneath, out of sight, where mold grows and boards cup before you ever notice a problem up top.
Step 1: Test the Slab for Moisture Before You Buy Anything
Test the slab for moisture before you spend a dollar on flooring, because the reading decides which materials are even in the running. A slab can feel bone dry to your hand and still read wet on a moisture meter, the handheld tool that reads dampness. Trust the number, not the feel.
You've got three tests, from free to fussy.
Plastic sheet test (ASTM D4263, ASTM stands for American Society for Testing and Materials, the group that sets this check's standard). Tape a 2 by 2 foot square of plastic flat to the slab and leave it 24 to 72 hours. Pull it up and look for condensation on the underside or a darkened patch of concrete. It's a free DIY screen, not a pass or fail number, but if it fogs up you've learned something important for a scrap of poly.
Calcium chloride test (ASTM F1869). This kit measures the moisture vapor emission rate, which is how much water vapor comes off the slab per 1,000 square feet in 24 hours. Many products want that under about 3 pounds, but check the sheet for the exact floor you're buying, not a number off a forum.
In-slab RH probe (ASTM F2170). You drill into the concrete and read the relative humidity, the moisture level, deep inside the slab. Many makers cap this around 75 to 85% RH depending on the product. It's the priciest test, and it reads down where the vapor actually lives instead of just at the surface.
Whichever you use, match the reading to your flooring maker's own limit. A test kit costs a few dollars. A torn-out floor costs a weekend and the material twice.
| Test | What it measures | Cost | Reading | Note |
|---|---|---|---|---|
| Plastic sheet (ASTM D4263) | Surface dampness, condensation under plastic | Free, a scrap of poly and tape | Damp if condensation or a dark patch shows | Quick screen only, gives no number |
| Calcium chloride (ASTM F1869) | Vapor coming off the surface (lbs per 1,000 sq ft per 24 hr) | Kit roughly $10-30 each | Many products cap around 3 lbs | Reads the surface, not deep in the slab |
| RH probe (ASTM F2170) | Relative humidity inside the slab | Meter plus probes, the priciest option | Many makers cap around 75-85% RH | Reads deep where vapor lives |
Source: ASTM F1869, F2170 and D4263 test methods
Three common ways to check a basement slab for moisture, with what each one tells you and roughly what it costs.
Step 2: Check the Slab for Flatness
Once moisture checks out, check the slab for flatness, because a floating floor laid over dips and humps will flex, click, and gap no matter how good the plank is. Lay an 8 to 10 foot straightedge or a long level across the slab in several directions. Every spot where you see light under it is a low or high you'll need to deal with.
Many floating floors want the slab flat within about 3/16 inch over 10 feet. Look up your own product's exact tolerance though, because that figure is set by the maker, not a universal rule.
Fixing it is simple work, just don't skip it. Grind the high spots down. Fill the lows with self-leveling compound, a pourable cement that finds its own level as it sets. All of this happens before a single plank goes down.
One basement-specific catch: many slabs are pitched on purpose toward a floor drain to move water. Don't try to level out a slope that's there for a reason. Plan your transitions around it instead.
Step 3: Match the Floor to Your Moisture Reading and Budget
Now match the material to what your slab told you. If it reads wet or borderline, stay with floors that don't care about a damp slab: sheet vinyl, SPC vinyl plank (stone plastic composite, a mineral-based core; COREtec Pro Plus, for example, builds that core rigid and waterproof), porcelain tile, rubber, and epoxy all tolerate it. These same materials pull double duty in garages, and garage flooring guide covers how epoxy and rubber hold up under that kind of daily abuse.
If it reads dry and stable and you're adding a vapor barrier, more options come back on the table: engineered wood, cork, carpet tile, and laminate. Just know laminate is the first to swell if that slab ever gets damp, so it's the riskiest pick down there. That swelling risk only grows if a dog spends time down there too, which is exactly what best flooring for dogs guide digs into when weighing laminate against tougher alternatives.
One material won't show up on either list: solid hardwood. Even on a slab that tests bone dry, solid wood planks sit directly against below-grade concrete with no crawlspace or ventilated space to buffer seasonal humidity swings, and a solid board has no plywood core to hold it flat the way engineered wood does. That's why manufacturers exclude it from below-grade installs entirely rather than just cautioning against it, and it's why it's left off this comparison.
Here's the honest caveat again, because it's the one that bites people. A plank's waterproof core does not make the finished floor waterproof. Water still creeps in at the seams and edges. That's why a working floor drain or sump pump matters more for a basement than any label on the box.
| Material | Moisture tolerance | Comfort underfoot | DIY-friendly |
|---|---|---|---|
| Sheet vinyl (Armstrong Flooring Sundial) | High, sealed sheet resists standing water per Armstrong's spec sheet | Medium | Medium (glue-down) |
| SPC vinyl plank (COREtec Pro Plus) | High, waterproof core per COREtec's own spec sheet | Medium, warmer with underlay | High |
| Porcelain tile (Daltile Emerson Wood) | High, near-zero water absorption per Daltile's spec sheet | Low, hard and cold | Low, usually hire |
| Rubber (ECORE rubber flooring) | High, closed-cell surface sheds water per ECORE's spec sheet | High, soft and warm | Medium |
| Epoxy coating (Rust-Oleum EpoxyShield) | High once cured, per Rust-Oleum's product data sheet | Low, hard | Medium-low, prep heavy |
| Carpet tile | Medium, wants a dry-ish slab | High | High |
| Engineered wood | Low-medium, needs dry slab and barrier | Medium | Medium |
| Laminate | Low, avoid on a damp slab | Medium | High |
Source: my own basement install jobs
Basement flooring matched to moisture tolerance, comfort, and how realistic it is to install yourself.
What it costs, split out
Basement floors cost more than the same floor in an open upstairs room, and the extra isn't the flooring. Split every quote into materials and labor so you can see it.
Rough installed ranges I see, materials plus labor:
- Sheet vinyl: material about $1-3 per sq ft, labor about $1-3.
- SPC vinyl plank: material about $2-5, labor about $2-4.
- Rubber: material about $3-8, labor about $2-4.
- Porcelain tile: material about $2-7, labor about $6-12 (tile is where labor jumps).
- Epoxy: materials and labor swing widely with prep, often landing in the mid range.
- Engineered wood: material about $3-8, labor about $3-5.
The basement premium sits on top of all of that. A wet reading means moisture mitigation or subfloor panels, which is real money before any flooring goes down. A basement costs more than an open room to floor because of tight stairs to haul material down, cutting around posts and mechanicals, and those transitions at the base of the steps.
For material-by-material detail on the same water-tolerant floors, the same picks show up in my rundown of kitchen flooring options and the one catch to each, they're scored head to head in the ranked best flooring for a kitchen, and if you're starting that decision from scratch, the guide to choosing the right kitchen flooring covers the same ground from the kitchen side.
Step 4: Install and Finish So It Stays Put
With the slab tested, flat, and the material chosen, the install itself is mostly about respecting three things: the vapor barrier, the expansion gap, and the transitions.
Put down whatever moisture layer your product and your reading call for. That might be a poly vapor barrier under a floating floor, or a dimpled subfloor panel that lifts the finished floor off the concrete and lets any vapor vent underneath. On a borderline slab, that gap of air does a lot of quiet work.
Leave an expansion gap around the whole perimeter. Nearly every floating floor needs one, and the exact size is set by the maker's instructions, not a number you remember. Cover it with baseboard or quarter-round after.
Check whether your product wants acclimation. Some do, some say it's pointless, so the box's own sheet governs it, not a rule of thumb.
On DIY versus hiring out: click-lock SPC plank is realistic for most handy homeowners, and carpet tile is about as easy as it gets. Where I'd tell you to hire is glue-down sheet vinyl over a large floor, tile, epoxy, and any spot where you're transitioning between a wet-tolerant and a dry-only floor. Those are the jobs where a small mistake shows up as a callback months later.