
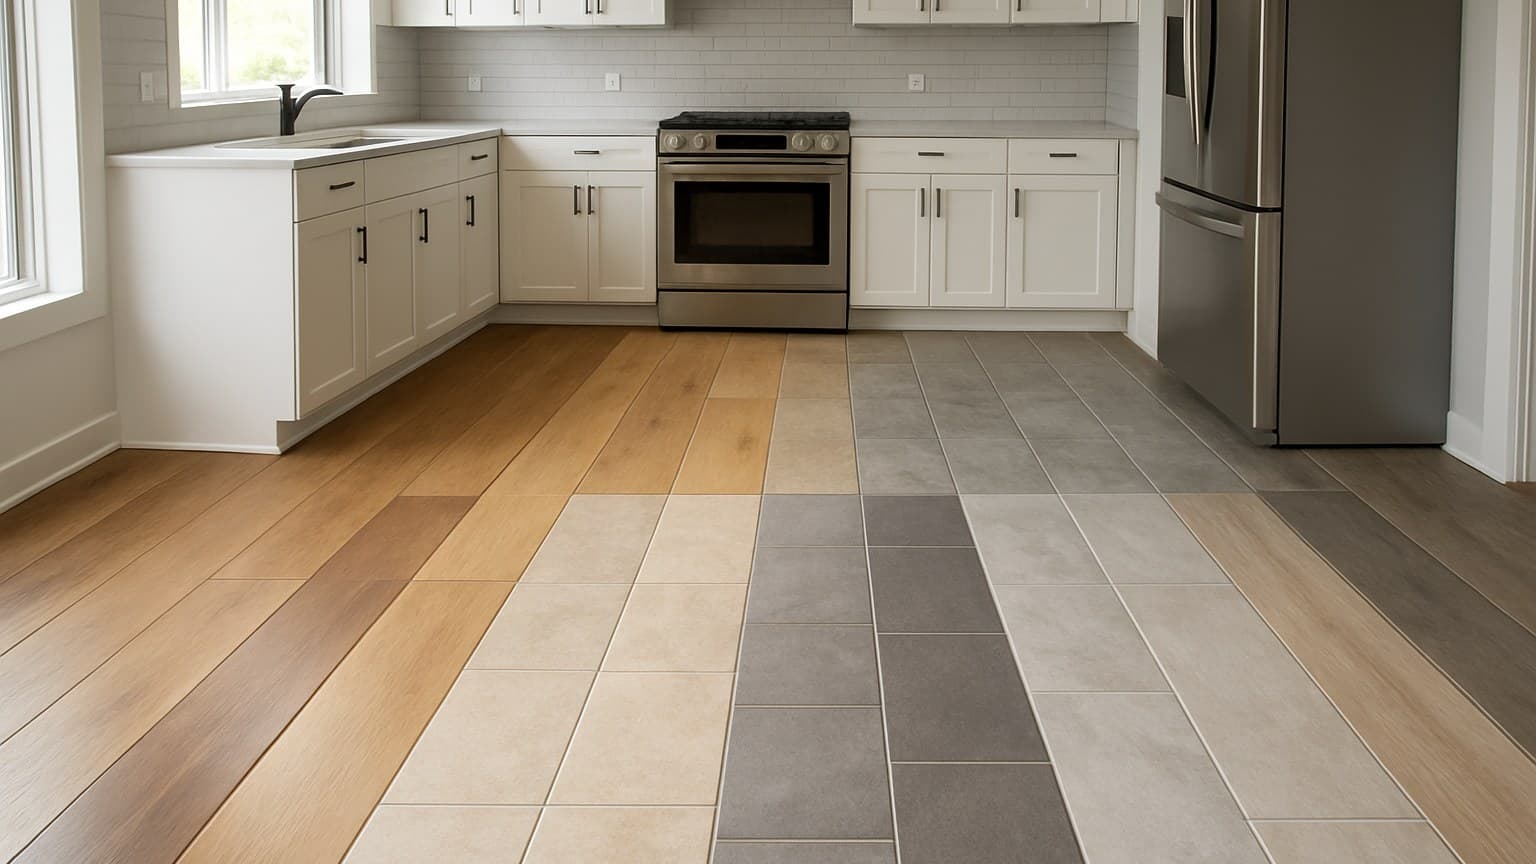
I ripped a two-year-old floating floor out of Renata Sokol's kitchen in Waco last month, and the plywood underneath had already gone soft along every seam. She'd been told the whole floor was waterproof, nobody mentioned the joints. It's not a one-off: the same seam-rot pattern turns up often enough across the kitchen jobs behind the cost and comparison numbers in this guide that I flag it before anything else. Each floor on this list carries one catch that rules it in or out of your room. Here's the whole menu, plainly.
Key takeaways
- LVP is the safe default for most kitchens: a waterproof core, click-lock planks most people can install themselves, and roughly $2-5 per sq ft in materials plus $2-4 in labor. The catch is the seams leak before the surface does, so wipe spills fast.
- Porcelain tile is the toughest and most water-tolerant floor you can put in a kitchen, but labor runs about $7-14 per sq ft, usually more than the tile itself, and it is cold and hard to stand on.
- Solid hardwood is a gamble near a sink; engineered wood or a well-sealed floor handles humidity better, and no real wood belongs in a below-grade basement kitchen.
- Sheet vinyl and laminate are the cheapest at roughly $1-3 per sq ft in materials, but laminate's fiberboard core swells if water sits in the seams.
- Compare installed cost, not sticker price: a cheap material like tile can carry the most expensive labor, and cut-heavy kitchens with islands and cabinets add install time.
The full kitchen flooring menu, at a glance
There is no single best kitchen floor. There is only the right fit for your water exposure, your traffic, your budget, and how it feels to stand at the counter. If you want a step-by-step way to work through those tradeoffs, how to choose the right kitchen flooring walks through the same factors in more depth. Ten materials show up on real kitchen jobs: luxury vinyl plank (LVP), laminate, porcelain and ceramic tile, natural stone and marble, sealed and engineered hardwood, cork, sheet vinyl, rubber, and polished concrete.
I judge every one of them by the same three questions. How does it handle water at the sink and dishwasher? How does it take daily traffic and a dropped cast-iron pan? And how does it feel underfoot when you're standing there washing dishes?
One guardrail before the table, because it decides half of these: when a floating floor gets called "waterproof," that almost always means the plank core, not the seams and edges where planks meet. Water fails a kitchen floor at the joints, not the surface. Keep that in mind for every clicked-together option below.
If you want a straight ranked verdict instead of the full menu, The Best Flooring for a Kitchen: 5 Materials Ranked settles it. This page is the wider tour, and you can browse pictures of real kitchen floors once you've narrowed it down.
| Option | Water | Feel underfoot | DIY? | Best for |
|---|---|---|---|---|
| LVP (luxury vinyl plank) | High core, seams are the weak spot | Firm, slight give | Yes (click-lock) | Most kitchens, families |
| Laminate | Low; core swells at wet seams | Firm | Yes (click-lock) | Budget, drier kitchens |
| Porcelain/ceramic tile | Highest; grout needs sealing | Hard, cold | Hire out | High traffic, wet zones |
| Natural stone/marble | Porous; must be sealed | Hard, cold | Hire out | Look-first budgets |
| Engineered hardwood | Moderate with a sealed finish | Warm, firm | Some | Open-plan wood look |
| Cork | Moderate; needs sealing | Soft, warm | Some | Comfort, standing |
| Sheet vinyl | High; few seams | Soft, warm | Yes | Budget, rentals |
| Rubber | High | Soft, grippy | Some | Comfort, easy clean |
| Polished concrete | High when sealed | Hard, cold | Hire out | Slab-on-grade, modern look |
Source: my own install jobs
How the ten kitchen floors compare on water, feel, DIY difficulty, and best fit.
One thing that table can't show: every floor here only lasts as long as the prep under it. Before anything gets laid, the subfloor has to be flat and dry. A high spot makes planks rock and pop apart, and trapped moisture is what quietly voids a maker's warranty. I check flatness with a straightedge and check moisture with a meter, a small tool that reads how wet the subfloor is. Skip that step and you'll be back on your knees within the year fixing gaps, cupping, or stains, no matter which material you picked.
Day-to-day cleaning is the other comparison that doesn't show up in a spec sheet. LVP, sheet vinyl, and sealed tile wipe clean with a damp mop and don't hold stains on the surface, sweeping and mopping is genuinely low-effort on all three. Laminate and hardwood want a dry or barely-damp mop instead, since standing water is exactly what damages them, so a quick sweep matters more than a deep mop on those two. Grout is the outlier: even sealed, it's the one surface on this list that will stain from spilled sauce or coffee if you don't wipe it up promptly. Cork and natural stone sit in between, both clean easily with a soft, barely-damp mop, but both punish neglect, cork with dents and stone with etching from acidic spills.
LVP and laminate: the wood-look floating floors
Both click together over your subfloor and print a wood look on top. They cost the least to install of any wood-look floor. The split between them comes down to one thing: water tolerance.
Luxury vinyl plank (LVP)
LVP is a rigid vinyl plank with a plastic core that shrugs off water, topped with a printed wood look and a clear wear layer. That's why it's the default I lay in most kitchens. The core doesn't care about a spill, and the click-lock version is realistic for most people to install themselves.
The honest catch is the seams. The core resists standing water, but water still wicks into the click joints between planks. A spill you wipe up is nothing. A puddle left overnight, or a slow dishwasher leak, is the real risk, because it works into the joints and reaches the subfloor.
Wear layers are printed per product, not per category. A "wear layer" is the clear top skin that takes the scuffs, measured in mils (thousandths of an inch), and a thicker one takes more abuse. If you're looking at a Lifeproof rigid core plank at Home Depot, the wear layer for that exact line is on its own spec sheet. Don't trust a number someone quoted for the whole brand. The same care applies if you're shopping the best waterproof vinyl for a bathroom, where the seam question matters even more.
Laminate
Laminate looks a lot like LVP but the core is different, and that difference is the whole story. Its core is fiberboard, which is compressed wood fibers. Laminate often gives a more realistic wood look for less money than LVP.
The tradeoff: that fiberboard core swells if water sits in the seams, and once it swells it doesn't shrink back. So laminate wants a drier kitchen than LVP. Laminate wins on looks and price, LVP wins on water. In a busy family kitchen near a dishwasher, I lean LVP. In a tidy, low-splash kitchen on a budget, laminate earns its place.
Here's the path a spill actually takes through a plank floor, and where each material stops it or doesn't:
The route a kitchen spill takes from the plank surface down to the subfloor, and what stops it at each stage.
Tile and stone: the hard, water-tolerant surfaces
Porcelain and ceramic tile are the hardest-wearing, most water-tolerant floor you can put in a kitchen. Stone is the most beautiful and the most demanding. Both share the same downside: cold and hard underfoot, and labor that usually costs more than the material.
Porcelain and ceramic tile
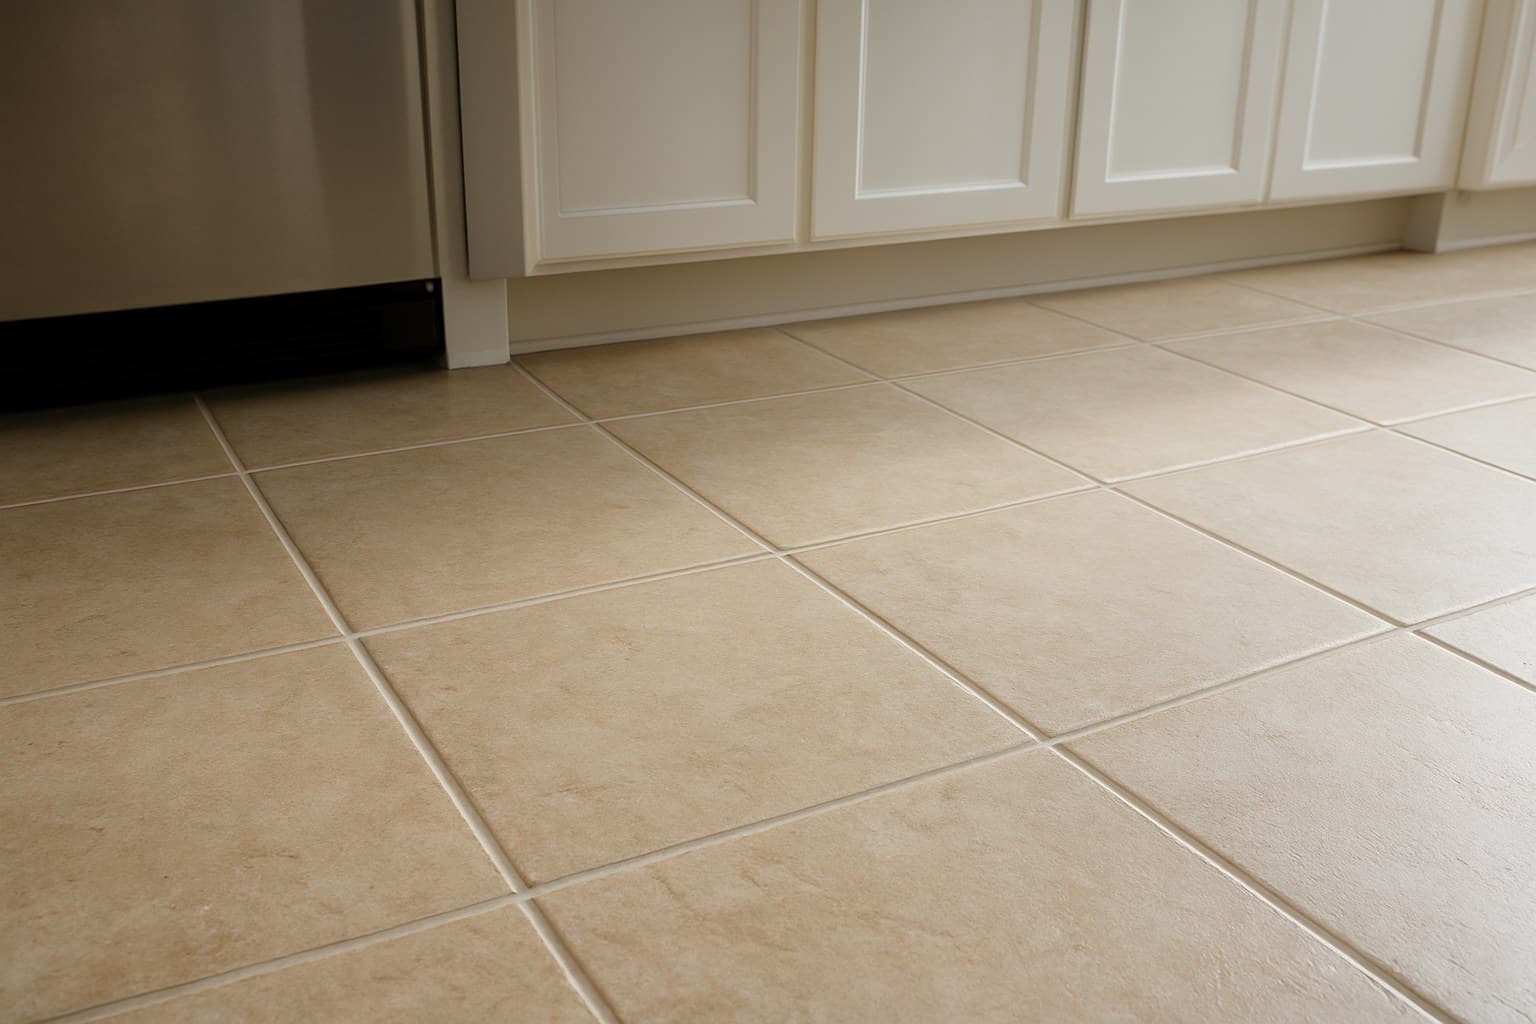
Tile handles water better than anything else on this list, and it takes dropped pans and heavy traffic without flinching. That toughness is exactly why it's harder to install, and why I tell most people to hire it out.
The catch is grout, the filler between the tiles, and it's tile's version of a seam. Grout stains and holds water unless it's sealed and re-sealed over time. That's the upkeep the glossy showroom photos never mention. Seal the grout, keep it sealed, and a tile floor outlasts almost everything.
One budget reality most people get backwards: with tile, the tile itself is often the cheap part. The labor to set it, level it, and grout it is what you actually pay for. A modest ceramic can carry the most expensive install on the whole menu.
Natural stone and marble
Stone and marble are real quarried rock, cut into tile. Gorgeous, and porous, meaning the surface has tiny holes that soak up liquid. So stone has to be sealed, and softer stones like marble and travertine etch, kitchen acids such as lemon juice and vinegar eat dull spots into the finish.
Stone is the priciest option in both material and labor, so it lands as a look-first choice, not a value one. If the look is the whole point and the budget allows, fine. If you want stone's toughness without the etching and the price, a stone-look porcelain gives you most of it.
Hardwood in a kitchen: yes, but with conditions
You can put wood in a kitchen, but only sealed, and only if you'll wipe spills before they sit. Standing water is what wrecks wood. So wood works only if a few things are true: the finish is sealed and you'll re-coat it as it wears, you'll actually wipe spills fast, the room is on or above grade, meaning at or above ground level, not a basement, rather than below it, and you chose engineered over solid in a humid house.
That last point matters. Engineered hardwood is real wood on top of a layered core, and that core handles a kitchen's humidity swings better than a solid plank, which can cup or gap as the air gets damp and dry. That's why I steer most kitchen wood jobs toward engineered.
There's a hard line I won't cross: no real wood floor belongs below grade. A basement kitchen, or a room over a damp crawlspace, is where I say pick LVP or tile instead. If that's your situation, start with flooring built for a basement rather than fighting the moisture.
The one upside wood has that stone and vinyl can't match: a solid or thick engineered floor can be sanded and refinished later. Scratches and dull spots aren't permanent the way they are on a printed plank.
The options people forget: cork, sheet vinyl, rubber, and polished concrete
Four floors get skipped in most kitchen conversations, and a couple of them deserve a real look.
Sheet vinyl is one big flexible sheet with almost no seams, which makes it one of the most water-resistant floors going. It's cheap, soft underfoot, and warmer than tile. It's also nowhere near as dated as its reputation. For a rental, a budget remodel, or a busy family kitchen, it's an easy, honest pick. That same seamless water resistance is why it also turns up constantly in wet rooms, and bathroom flooring ideas and vinyl picks covers how it holds up there.
Cork is made from tree bark, so it's warm and soft to stand on and easy on your back at the sink. The catch: it needs sealing, and it dents. Drop a heavy can or drag a chair leg and you'll leave a mark.
Rubber is soft, grippy, and wipes clean, closer to the surfaces you'd see in a gym or a garage. It's rare in home kitchens, but it's comfortable and safe underfoot. It reads utilitarian, so it fits a certain style and not others.
Polished concrete only makes sense if you already have a concrete slab, most often in a slab-on-grade home. It's hard and cold like tile, needs sealing to resist stains, and reads modern or industrial. For the right house it's a clean, low-cost surface. For a house with a wood subfloor, it's not on the table.
Want to see how these play out in real rooms? Some of the best kitchen flooring ideas lean on exactly these forgotten materials.
Read the installed cost, not the sticker price
The number that matters is materials plus labor, not the price per box. A cheap material can carry the most expensive install, and an expensive one can go down fast. Here are the rough installed ranges I see. They vary by region and by how cut-up your kitchen is, so treat them as a starting point.
| Floor | Materials (per sq ft) | Labor (per sq ft) |
|---|---|---|
| Sheet vinyl | $1-3 | $1-3 |
| Laminate | $1-3 | $2-4 |
| LVP | $2-5 | $2-4 |
| Porcelain/ceramic tile | $2-7 | $7-14 |
| Engineered hardwood | $4-9 | $3-7 |
| Natural stone/marble | $7-20 | $10-20 |
Source: my own install jobs
Approximate installed cost ranges, split into materials and labor, based on typical residential kitchen jobs.
Notice the tile line. The material can be cheaper than LVP, but the labor is often double, because setting and grouting tile is slow, skilled work. That's the whole point of pricing installed, not sticker.
Two things push labor up. A basement kitchen costs more than an open room, because moisture prep and getting materials down there add time and steps. And a cut-heavy kitchen, one full of an island, cabinet toe-kicks (the recessed strip under the base cabinets), and appliance cutouts, eats hours the open middle of the room never does. I used to quote flat by the square foot until a job full of tight cuts ate an extra day. Now I count the cut-heavy areas separately, because that's where the time actually goes.
Click-lock LVP and laminate are realistic DIY jobs for most people. Glue-down floors, tile, stone, and anything with tricky moisture transitions are where hiring out usually pays for itself. For the full breakdown by material and room, a full kitchen flooring cost breakdown runs the numbers deeper.
Once you've got a shortlist and a budget, The Best Flooring for a Kitchen: 5 Materials Ranked is the natural next read, it turns this menu into one clear pick for each type of homeowner.