
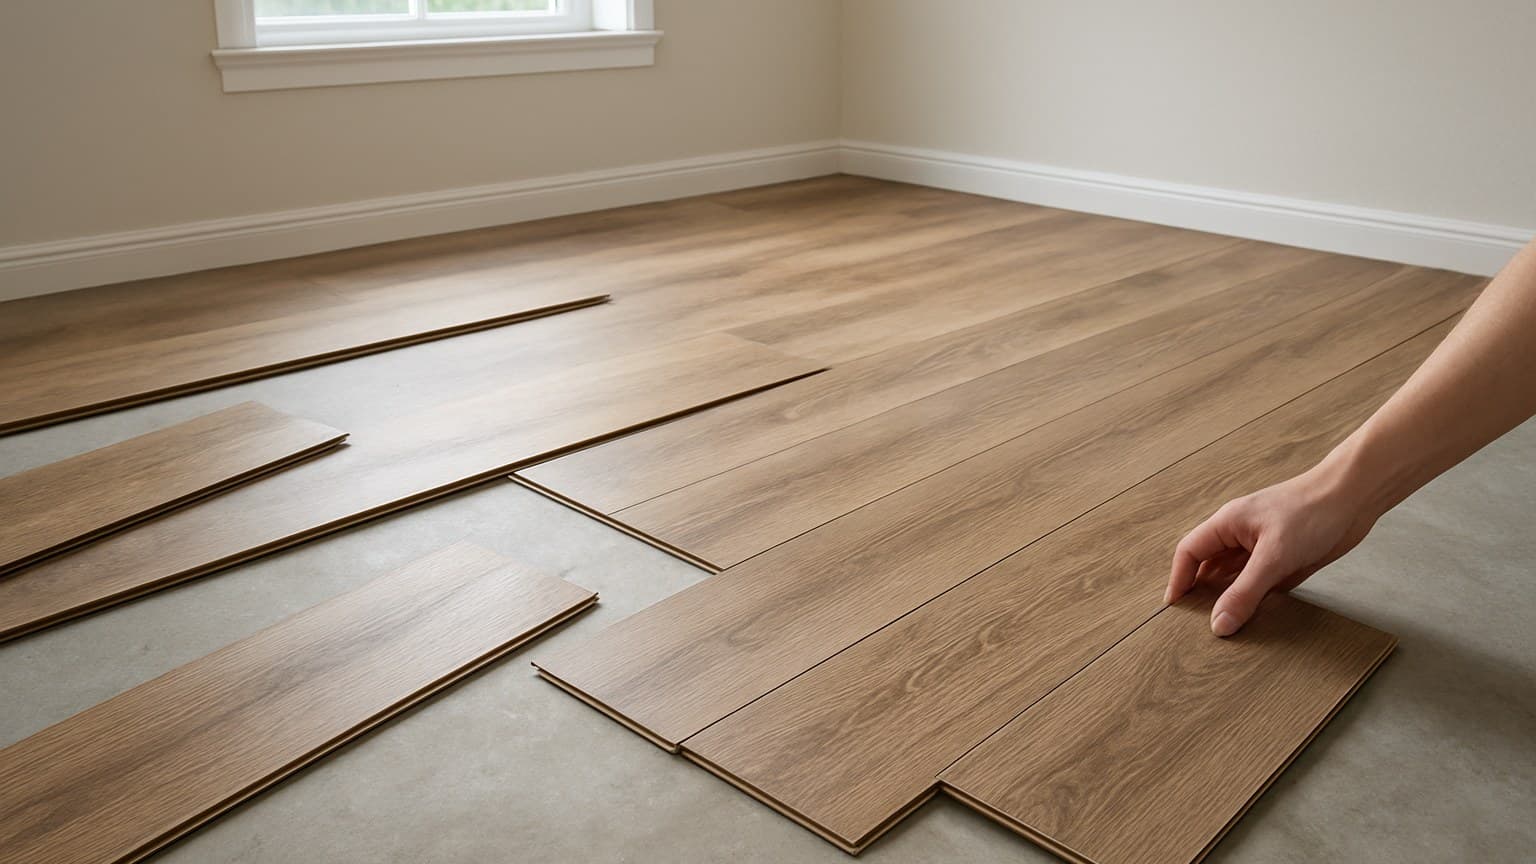
Yes, you can put click-lock LVP (luxury vinyl plank) over tile, but only if the tile passes one flatness check you can run in about ten minutes. The planks click together over almost anything, which is exactly why people lay LVP over tile that was never flat enough to hold it. Skip that check and the seams peak and gap a season later. That same question, whether to float LVP over what you already have or pull the tile and start fresh, is weighed out in LVP vs. tile long-term comparison.
Key takeaways
- Yes, you can float click-lock LVP over ceramic or porcelain tile if it is bonded tight, clean, and passes a flatness test: no gap over 1/16 in under a straightedge, and no more than 3/16 in of dip across 10 feet.
- Run the test with a 6-ft straightedge and a feeler gauge or stacked coins; a US dime is about 1/16 in thick, so if a dime slides under the edge, that spot needs prep.
- Gaps of 1/16-1/8 in mean fill the low spots; over 1/8 in means self-leveling compound or grinding before a single plank goes down.
- A vapor barrier and an underlayment are two different products; over a concrete slab you care most about moisture, and a second pad can void a rigid-core plank's warranty.
- Leaving the tile saves the demo labor (roughly $2-5 per sq ft) but adds height, so check door swing and transitions before you commit; bathrooms, stairs, and basements all run higher than an open room.
Can You Put LVP Over Tile? The Short Answer
Yes. You can float click-lock LVP over ceramic or porcelain tile as long as the tile is bonded tight, clean, and flat enough to pass one test. The Tile Council of North America's FAQ on flooring over existing tile backs up this baseline: sound, properly prepared existing tile can be built over rather than torn out. That's the whole decision in a sentence. That holds just as well when the porcelain underneath is made to mimic natural stone rather than plain ceramic, and those look-alike options are covered in limestone look porcelain tile options.
What decides it is flatness, not the tile itself. The uneven way tile edges sit next to each other has a name on the job: lippage. A floating floor doesn't bond to what's under it, so it reads every high lip and low dip through the plank. Porcelain, ceramic, big format, small mosaic, it doesn't matter which tile you have. What matters is how flat it sits, and I'll show you how to measure that in the next section. Hexagon tile throws its own curveballs here, since its angled edges and extra grout joints per square foot tend to telegraph lippage differently than a square format, and the decisions specific to that shape are broken down in 8 Hexagon Tile Decisions That Come Back as Callbacks.
A few things disqualify tile before you ever pull out a straightedge. Any tile that rocks, lifts, or sounds hollow when you tap it has to come up or get re-set first. Cracked tiles go too. And if the finished height would block a door from swinging, that's a reason to reconsider, not a thing you solve with trim.
One more line to keep straight: this guide is about floating click-lock planks, the kind most homeowners lay themselves. Glue-down LVP is a different job with different rules, and if that's the route you're weighing, the trade-offs by wear-layer tier are laid out in LVP Tile by Wear-Layer Tier: Real Costs and Which One Fits Your Room. There's also a click-together vinyl option built to mimic terrazzo instead of wood or stone, and what that costs and how it installs is covered in terrazzo-look vinyl click flooring.
Can LVP be installed over ceramic or porcelain tile?
Yes, over both. Click-lock LVP doesn't care whether the tile under it is ceramic or porcelain, because it never bonds to it. It only cares that the tile is tight, clean, and flat within spec. Run the test below and let the number make the call. The same goes if that porcelain or ceramic is actually made to look like wood planks rather than stone, and what separates that material from real hardwood is explained in wood tile flooring basics.
The Lippage Test: How to Check If Your Tile Is Flat Enough
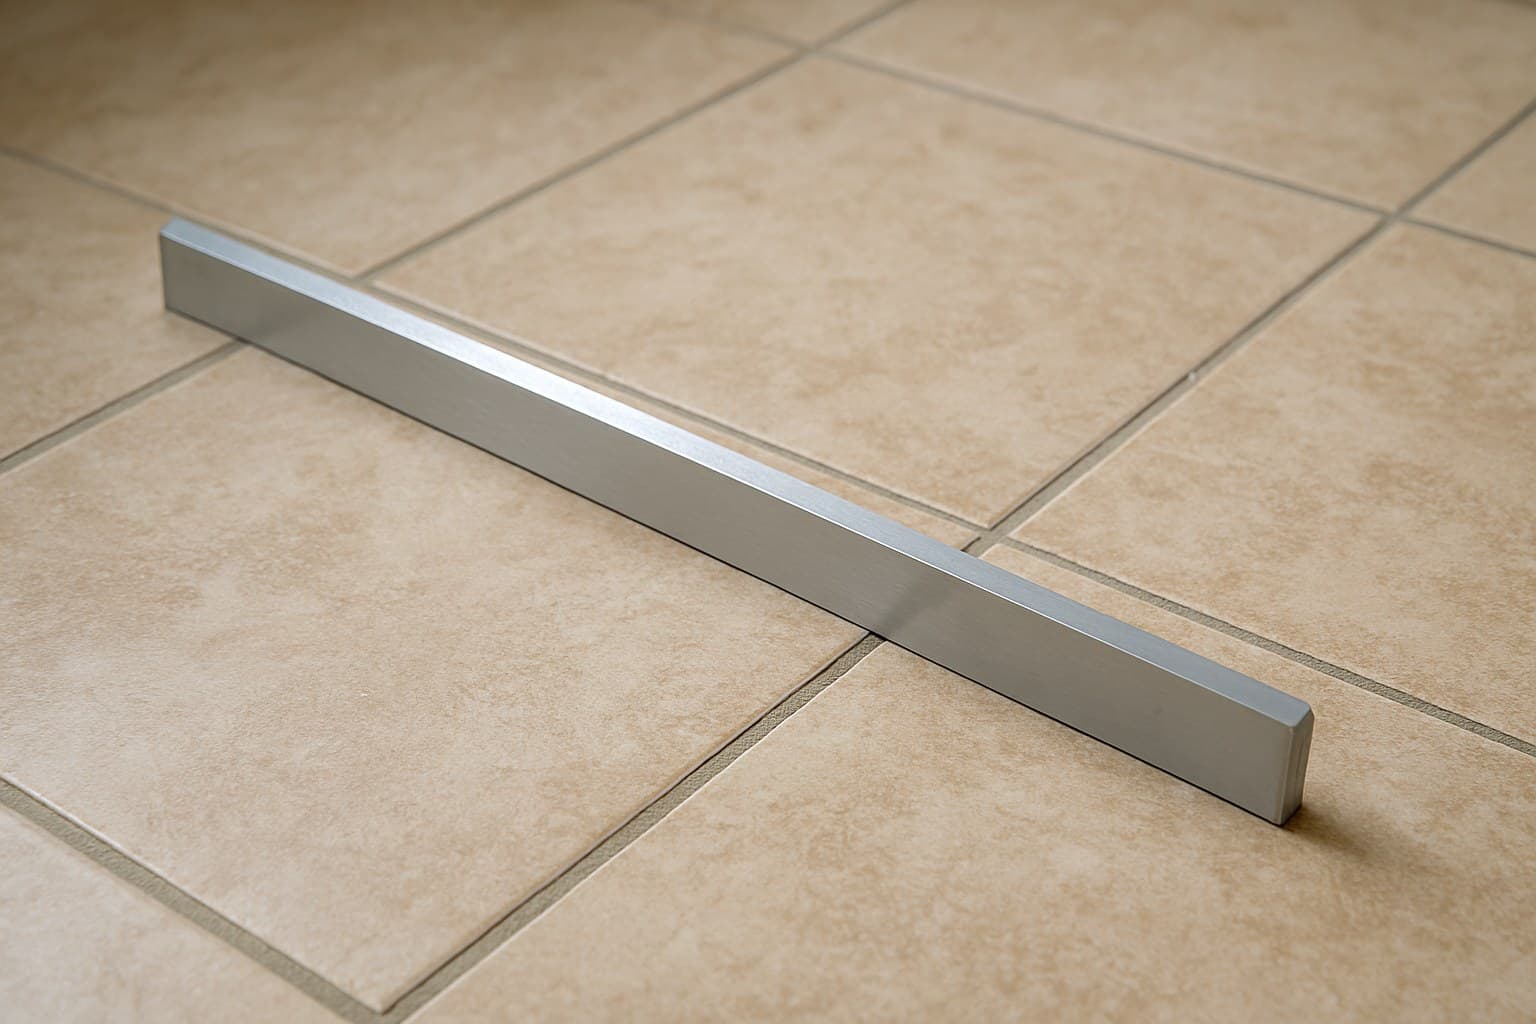
This test decides everything: you need a 6-ft straightedge or a long level, plus a feeler gauge or a few stacked coins to measure any gap you find. A US dime is about 1/16 inch thick, which happens to be the exact number you're checking against, so a dime works fine for this.
Lay the straightedge flat across three or four tiles and the grout lines between them. Get down low and shine a light at floor level, then look for daylight under the edge. Slide the straightedge around the room, pivoting it in different directions, because a floor can be flat one way and wavy the other.
For floating LVP, a gap under 1/16 inch passes. The floor overall should also not dip more than 3/16 inch across any 10 feet. If a dime slides under the edge, that spot fails and needs prep.
Write down the worst reading for each area of the room. That number is what routes you to the right prep in the next section, so don't eyeball it, measure it and note it.
The Lippage Self-Test, Step by Step
- Lay a 6-ft straightedge or long level across 3-4 tiles and the grout lines between them.
- Shine a light at floor level and look for daylight under the edge.
- Slide a feeler gauge or coins into any gap; a US dime is about 1/16 in thick.
- A gap under 1/16 in, with no dip over 3/16 in across 10 feet, passes for floating LVP.
- Mark and note every spot that fails so you know exactly where to prep.
Source: the flatness spec printed on most rigid-core LVP install sheets
A five-step flatness check you can run in under fifteen minutes with tools most homeowners already own.
Picture the straightedge bridging two slightly proud tile edges with the grout line dipping between them. The gap you can see and measure there is the lippage, that gap is exactly what you're checking for with the straightedge and feeler gauge.
Reading Your Result: Prep for Perfect, Moderate, and Severe Tile
Your worst reading sorts you into one of three buckets, and each one calls for a different amount of work before a plank goes down.
Under 1/16 inch is the minimal-prep case. Clean the tile hard, skim any grout lines wide enough that the plank edge can't bridge them, and lay directly.
Between 1/16 and 1/8 inch is moderate. Fill the low spots and grout lines with floor patch or an embossing leveler, a thin skim-coat compound made to smooth out texture and grout lines before new flooring goes down, then feather the edges so there's no ridge. A trowel and some patience get this done. Mosaic tile floors, with their dense grid of small tiles and extra grout lines, tend to land squarely in this bucket, and the layout and material choices behind that look are covered in mosaic tile flooring guide.
Over 1/8 inch is severe. Now you're spreading self-leveling compound across the field or grinding down the high spots. Self-leveler is messy and timing-sensitive, it goes off fast and doesn't wait for you to figure out your plan.
No matter which bucket you land in, tap every tile first with a knuckle or a screwdriver handle. A hollow, drummy sound means the tile isn't bonded, and a loose tile under a floating floor becomes a loose spot you'll feel underfoot. Re-set or pull those, then deep-clean before any filler touches the floor.
| Your reading | What it means | Prep | DIY or hire |
|---|---|---|---|
| Under 1/16 in | Flat enough | Clean, skim wide grout lines, lay planks | DIY |
| 1/16 - 1/8 in | Moderate dips | Patch low spots and grout lines, feather edges | DIY for most |
| Over 1/8 in | Severe / uneven | Self-leveling compound or grind high spots | Usually hire |
How each lippage reading maps to the prep it needs and whether that prep is realistic to DIY.
Does thicker LVP hide an uneven floor?
No. A thicker rigid-core plank resists flexing, but it doesn't fill a void under it. Over a low spot, a rigid plank bridges the dip and the locking seam takes the stress every time you step there, which is how you get seams that separate or crack. The fix is always flattening the floor, never a fatter plank.
Underlayment vs Vapor Barrier: What's Actually Required
These are two different products doing two different jobs, and most guides blur them into one. A vapor barrier, also called a moisture barrier, is a sheet that blocks dampness rising from below. Underlayment is a pad that adds cushion, sound control, and a little bit of smoothing. One keeps water vapor out; the other changes how the floor feels and sounds. They aren't interchangeable.
Which one you need depends on what's under the tile. Over a concrete slab, the moisture barrier is the one that matters, because concrete releases vapor for its whole life. Over a wood subfloor that was then tiled, the question is usually about quiet and feel, not moisture.
This is the part that trips up buyers at checkout: most rigid-core LVP ships with a pad already attached to the back. Adding a second underlayment on top of that can make the floor too spongy and can void that specific plank's warranty. Read the box before you buy another roll of anything.
Industry guidance lands in the same place. According to the Tile Council of North America (TCNA), whose FAQ on installing over existing ceramic tile addresses exactly this kind of renovation, existing tile has to be sound, clean, and properly prepared before anything new goes over it. The North American Laminate Flooring Association (NALFA), in its laminate flooring FAQ, points to the same two priorities for floating floors: a flat, stable subfloor and control of moisture from below. Both care about flatness and moisture control. Neither tells you to pile on extra padding.
| Question | Vapor barrier | Underlayment |
|---|---|---|
| Main job | Blocks moisture rising from the slab | Adds cushion, sound control, minor smoothing |
| When you need it | Over any concrete slab and damp-prone rooms | When the plank has no attached pad |
| Over existing tile | Often yes on slab-backed tile; follow the plank's sheet | Usually skip it; most rigid-core LVP has pad built in |
| Watch out | Not the same as a "waterproof" plank; seams can still leak | A second pad can void the plank warranty |
What each product does, when it's actually required over tile, and the catch to watch on each.
Moisture, Transitions, and the Height Nobody Checks
Tile doesn't stop vapor. Over a slab, pick an LVP rated for slab use and lay whatever barrier its install sheet calls for. In a bathroom, look for a waterproof core, and keep one thing straight: a waterproof core is not the same as waterproof seams. The core being waterproof means the plank material itself won't swell, but water still gets in at the edges where planks meet. That's where floor failures start, so sealed edges and a tight perimeter still matter.
Transitions are the detail people skip until the floor is down and the next room sits at the wrong height. Where the new LVP meets a floor you're not redoing, use a reducer to step down to a lower surface, or a T-molding to join a floor at equal height. If that meeting point is a kitchen running into a tiled or wood room, the height-and-movement choices are worked through in Kitchen Tile to Wood Floor Transitions: Ideas Matched to Height, Movement, and the Right Strip.
Now the one nobody checks until it's too late: height. Tile plus LVP stacks up, often 1/2 inch or more. Before you commit, measure door swing, appliance toe-kicks, and the gap under the dishwasher. A floor you can't slide the dishwasher out of, or an oven door that scrapes, is a real problem I've had to fix on other people's jobs, and by then the fix is pulling planks.
On the money side, leaving the tile down is what saves you. Skipping demo avoids a real chunk of labor cost, tearing out tile, hauling it off, and prepping the bare subfloor all add up, which is the whole reason floating over tile is popular. Mid-grade LVP material itself commonly runs in roughly the $2 to $7 per square foot range, with professional installation adding to that total on top of the material cost. Bathrooms, stairs, and basements run to the higher end, because the cuts are fussier and the prep is heavier than an open room.
One last gate: only float LVP over an in-floor heating system if that exact plank's install sheet allows it and names a temperature limit. Not all cores can take the heat, and guessing here warps a floor fast.
I'll say what I tell every customer. On a split-level I did outside Dayton, the homeowner, Rita, wanted to float straight over her entry tile to save the demo. The tile tested clean except for one proud run by the door, maybe 1/8 inch. We leveled that one strip first. The floor she walked on two years later was flat and tight, and that's the whole story: the prep under the plank is what you're really paying for, not the plank. If you're still deciding between floating LVP and other tile-look options for the room, LVP Tile by Wear-Layer Tier: Real Costs and Which One Fits Your Room breaks down which tier actually holds up by traffic and pets.