
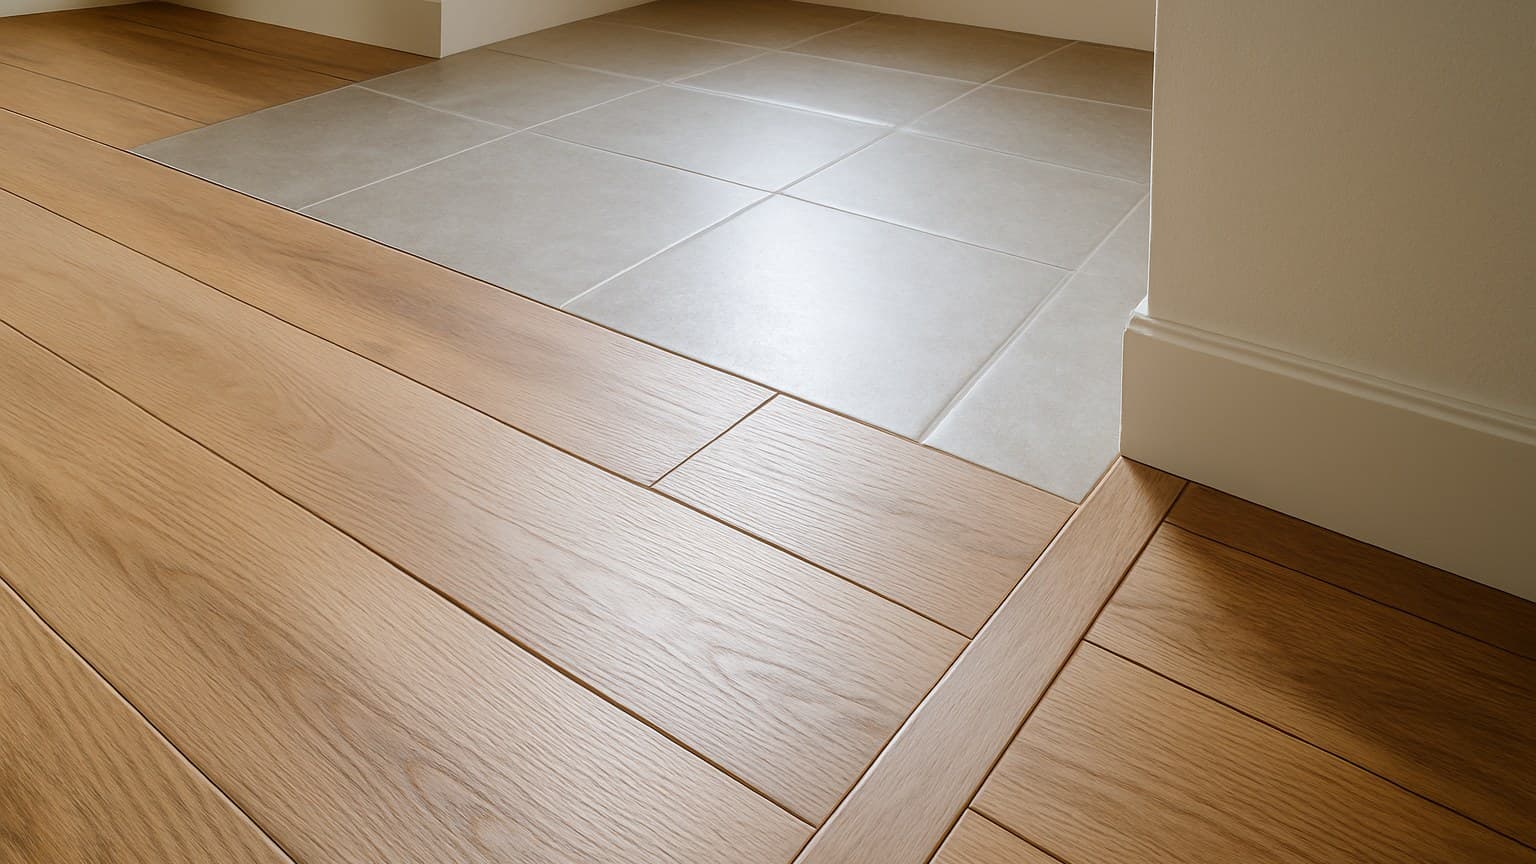
Run a real porcelain-and-hardwood combination when a room has a clear wet line and you plan to stay for years. Lay one click-lock LVP (luxury vinyl plank) or laminate floor wall-to-wall when the budget is tight or there's no clean place to break the floor. A tile and wood floor combination can look great, but the seam where the two meet is where most jobs fail, not the field.
Key takeaways
- Run a real porcelain-and-hardwood combo when a room has a clear wet line and you plan to stay; run one click-lock LVP or laminate floor wall-to-wall when the budget is tight or there's no clean place to break.
- Porcelain tile runs about 8-12mm thick and hardwood about 12-20mm, so almost every real combo needs leveling or a transition strip to meet flush.
- Figure tile installed near $7-20 per sq ft and hardwood near $7-20, versus one click-lock LVP floor around $3-8 per sq ft installed; basements and stairs run higher than open rooms.
- Most combo problems show up at the seam, not out in the field, so the transition and subfloor flatness decide whether it works.
- Click-lock LVP is realistic DIY; glue-down tile, the transition itself, and stairs are usually worth hiring out.
Why Put Tile and Wood in the Same Room
You mix tile and wood to zone an open-plan space. Tile's easy-clean toughness goes where the floor gets wet or dirty, and wood's warmth goes everywhere else. Homeowners who'd rather skip the mixed-material route entirely can look at this tile wood floor guide, which covers wood-look tile that handles both zones on its own.
That means tile earns its spot in short, hard-working strips: the entry by the door, the run under the kitchen sink, the mudroom where boots drop snow. Wood carries the living and sleeping zones, where you want something softer and warmer underfoot. Some homeowners dress up that entry strip with pattern work, turning it into a mosaic house entryway instead of a plain buffer zone, and this mosaic tile house guide shows how that's done.
The look itself isn't the risky part. The seam where the two materials meet is where jobs go wrong. So when you pick a layout, you're really picking a transition.
They can look good together. The trick is coordinating the undertones and the scale between plank and tile, which I'll get into further down.
Two Real Materials vs. One Floor That Fakes Both
A true porcelain-and-hardwood pairing earns its place in a room with a clear wet line, especially if you plan to stay for years. A single click-lock LVP or laminate floor makes more sense when the budget is tight or there's no natural spot to break the room. Below is how those two paths stack up against each other.
The factors break down side by side below.
| Factor | Real tile-and-wood combo | One imitation floor |
|---|---|---|
| Upfront cost (installed) | Higher: two materials, two install methods, a transition | Lower: one material, often DIY-able |
| Install difficulty | High: glue-down or mortar tile plus a flush transition | Low to moderate: click-lock LVP/laminate floats |
| Seam / transition risk | The main failure point; needs leveling and a strip | No material seam; one continuous run |
| Durability | Porcelain is near-indestructible; hardwood refinishable | Good wear layer, but no refinishing |
| Moisture tolerance | True porcelain handles wet zones; wood stays dry side | Some click-lock LVP planks list a waterproof core on their own spec sheet, but check the product label, seams and edges are usually only water-resistant |
| Repairability | Swap a tile or sand the wood; zones stay separate | Pop and replace a plank, but matching dye lots later is hit-or-miss |
Direct comparison of a two-material combo against one floor that imitates both.
Watch that moisture row. Check the actual product page before you trust a 'waterproof' label, some LVP lines list a waterproof core, but that rating covers the plank itself, not the seams and edges, which are usually only water-resistant. Real porcelain doesn't have that weak point.
Cost is the other deciding factor, split between materials and labor. The per-square-foot installed ranges look like this:
| Line | $ per sq ft, installed |
|---|---|
| Click-lock LVP - labor | $1-3 |
| Click-lock LVP - materials | $2-5 |
| Porcelain tile - materials | $2-7 |
| Hardwood - labor | $3-8 |
| Hardwood - materials | $4-12 |
| Porcelain tile - labor | $5-14 |
These per-square-foot ranges mirror the installed-cost data the NWFA/TCNA Life Cycle Cost Analysis gathered from contractor-reported jobs across the floor types it tracks, the same study cited later in this guide for long-term maintenance costs, not a single installer's quote.
Installed cost per square foot, split into materials (clay bars) and labor (blue bars), for the three floors in play.
Add it up and a real combo runs tile roughly $7-20 per sq ft installed and hardwood roughly $7-20, while one click-lock LVP floor lands around $3-8 installed. Basements and stairs cost more than open rooms, because the cuts, the moisture work, and the slow going all add labor hours.
The two-material job's real risk is the seam. One imitation floor has no seam, but it can't match real porcelain in a true wet zone. If you're leaning toward the one-floor route, compare the plank tiers in this LVP tile cost breakdown by wear-layer tier before you buy, because the wear layer is what the price really tracks.
On DIY: click-lock LVP suits most handy homeowners. The real combo's tile plus a flush transition is usually worth hiring out. That difficulty split tracks the same contractor-reported data behind the life-cycle cost analysis's (LCCA) installed-cost figures above: floating click-lock floors consistently show up as faster, lower-skill installs, while mortar- or adhesive-set tile takes more time and experience, which is exactly why its labor line runs higher in the table above.
Best Rooms and Zones for Mixing Tile and Wood
The combo pays off in rooms with a natural wet or dirty zone you can carve off: kitchen, bath, entry, mudroom, and hallway. A room with no wet line, like a plain bedroom, rarely needs two materials, and that's exactly where one floor wins.
The Living Room Combo
Most living rooms are an all-wood (or all-LVP) room with no real reason to break the floor. The exception is an open-plan living room that runs straight into a kitchen or a back door. There, the tile belongs on the wet or high-traffic side, and the wood holds the seating area. If your living room is a closed box with no water and no outside door, skip the combo and run one floor.
The Bathroom Combo
Bathrooms are the clearest case for real tile. Porcelain owns the wet floor around the tub, shower, and toilet. Wood, if you use it at all, stays at the dry doorway side or just outside the room. I'd keep real hardwood out of a full bath entirely and let porcelain carry the whole floor, with the wood starting past the threshold.
The Kitchen Combo
Kitchens split well. A tile band under the sink and in front of the range takes the drips and grease, and wood runs through the rest. If you'd rather keep one material for a cleaner look, porcelain planks can do the whole floor and still handle spills. A plank tile flooring walkthrough on cost and ordering shows how that one-material route prices out.
Choosing Materials That Work Together
Match thickness first. Porcelain tile typically runs roughly 8-12mm thick, while hardwood is usually thicker, around 12-20mm, so the two rarely sit flush without leveling or a transition strip. Plan for that gap before you fall in love with a pairing.
Then pick by zone. Put porcelain where it's wet, and check that tile's own water-absorption and use rating rather than trusting the word "porcelain" on the box. Use engineered or solid wood where the floor stays dry.
Think about cost over time, not just install day. According to the NWFA (National Wood Flooring Association) and Tile Council of North America's (TCNA) joint Life Cycle Cost Analysis, which compares 18 flooring types over a 75-year lifespan, ongoing maintenance and refinishing costs, not just the installed price, are what really decide what a floor costs you over its lifetime. Cheap to install isn't always cheap to own.
There's also a middle path. Wood-look porcelain gives you the wood look with tile's water tolerance, which can skip the two-material seam entirely. This wood tile flooring guide covers how that porcelain performs and what it costs.
Pattern and Color Pairing That Doesn't Fight
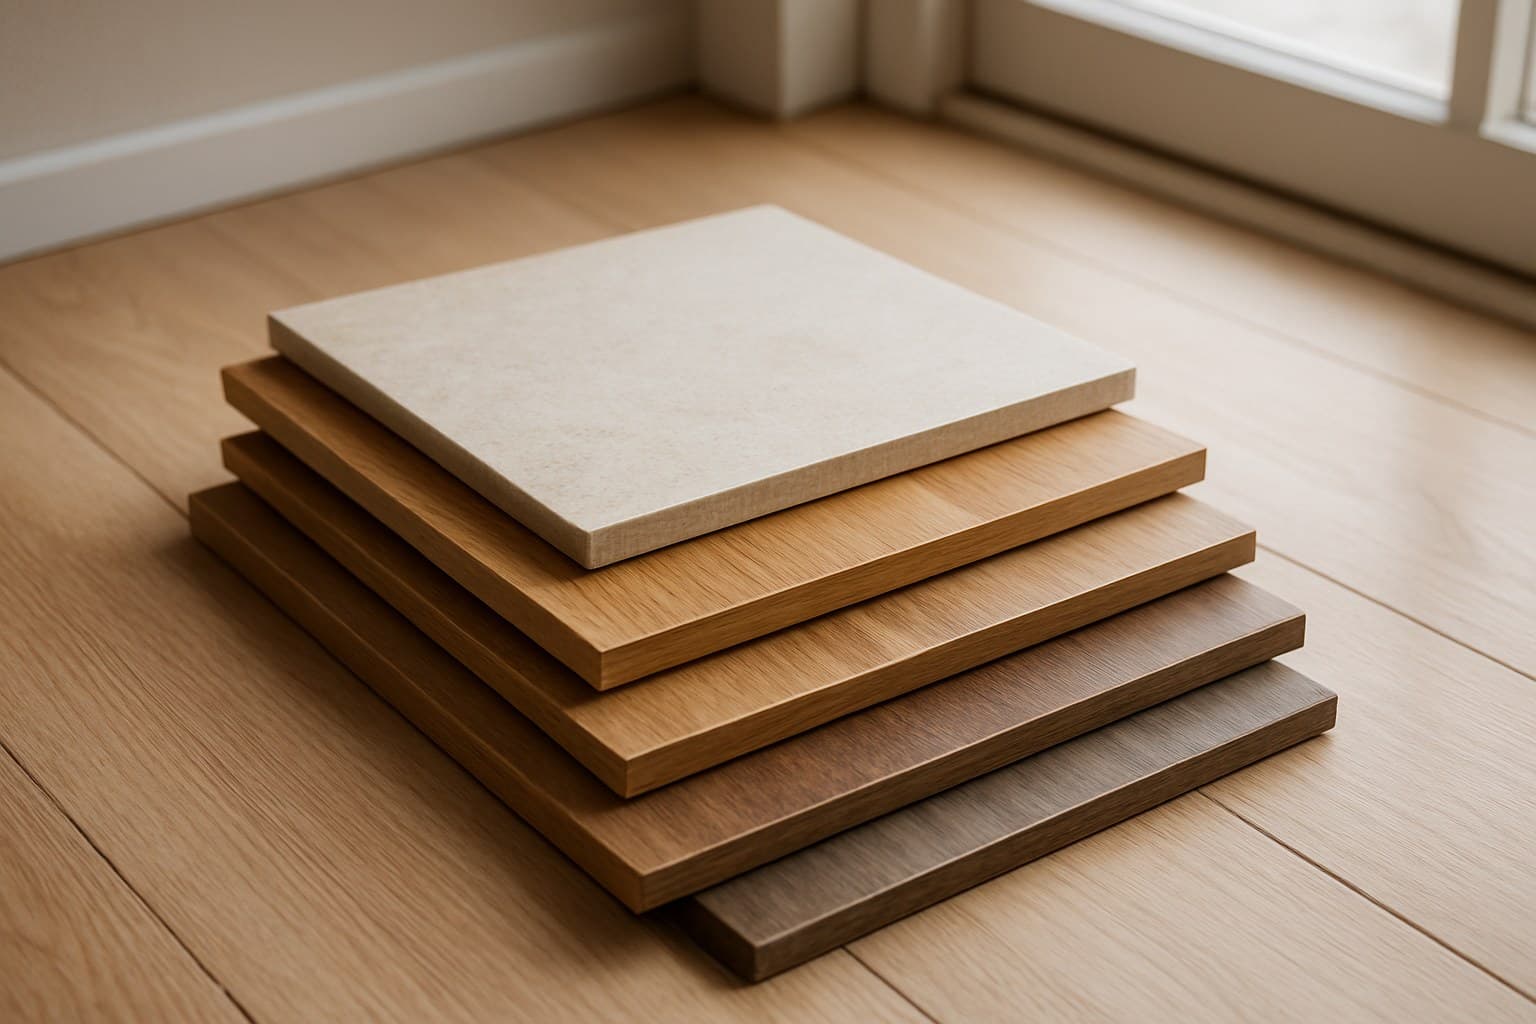
You can match undertones for a seamless blend or contrast on purpose. Both read well, as long as the scale and the color temperature agree.
A few pattern names worth knowing, since they come up fast when you shop: If hexagon shapes are on your shortlist, this hexagon tile flooring guide walks through the sizing and grout-line calls that trip people up most.
- Herringbone: planks set in a 45-degree zigzag. Works for the wood side or a tile landing.
- Chevron: planks cut so the ends meet in a continuous V. More formal than herringbone.
- Hexagon: six-sided tile, often used as a wet-zone break against straight planks.
- Basketweave: tiles or planks woven in an over-under look. Good for a small entry.
- Parquet: small wood squares in a repeating grid. A classic dry-zone pattern.
Keep warm woods with warm-toned tile and cool with cool. A hard mismatch in color temperature is what makes a combo look like an accident instead of a plan.
Flooring and interior designers also lean on a simple cap known as the "rule of three": keep a connected, sightline-visible space to no more than three distinct flooring materials or colors total, so the eye doesn't have to sort out a patchwork. For a tile-and-wood combo, that usually means one tile color plus one wood tone, full stop, if you want a third element, spend it on something like a contrasting grout line or a runner rug rather than adding a second wood species or a second tile. It's a design guideline, not a code, but it's the fastest gut-check for whether mixing tile and wood in a given space will read as one connected room or as a collection of competing floors.
Grout contrast is a maintenance commitment, not just a look. I had a customer near Dayton pick a dark grout with a light tile, and within months it lightened unevenly right where the mop hit most. Gorgeous on day one, upkeep forever. If you want high contrast, know you're signing up for resealing and careful cleaning.
For a stone look that pairs with wood without real stone's upkeep, this limestone-look porcelain tile guide covers the tiles that get the look right.
How to Combine Tile and Wood: Transitions, Leveling, and Tiling Over an Old Floor
Before anything else, check two things: subfloor flatness and moisture. On most floating-floor jobs the finished floor lasts only as long as the prep beneath it, and the maker's warranty quietly hinges on both of those, not on the plank you picked. Lay a long straightedge across the subfloor to find high and low spots, and test for moisture on any slab before you commit.
Then handle the height step. That roughly 8-12mm tile against roughly 12-20mm wood almost never meets flush on its own. You either level the low side with self-leveler or underlayment, or you bridge the step with a T-molding or transition strip. Either way, the wood side still needs its expansion gap around the edges, sized by the maker's own sheet, not a number you read online.
Tiling over a wood subfloor usually wants an anti-fracture mat, which is a layer that lets the subfloor move a little without cracking the grout above it. Confirm your mortar and grout are compatible with that mat before you spread anything.
If you're tiling over an existing floor, the Tile Council of North America's TR711 renovation guidelines spell out when you can tile over an existing surface and what has to be checked first, don't guess at it. The TCNA's own guidance on tiling over an existing ceramic floor likewise lays out the conditions (soundness, flatness, bond strength) that have to be met before you add a new layer on top.
On DIY: click-lock LVP is realistic for most handy homeowners. Glue-down tile, the transition seam itself, and stairs are where hiring out usually pays, because a bad transition is the one thing you'll trip over and look at every day.