
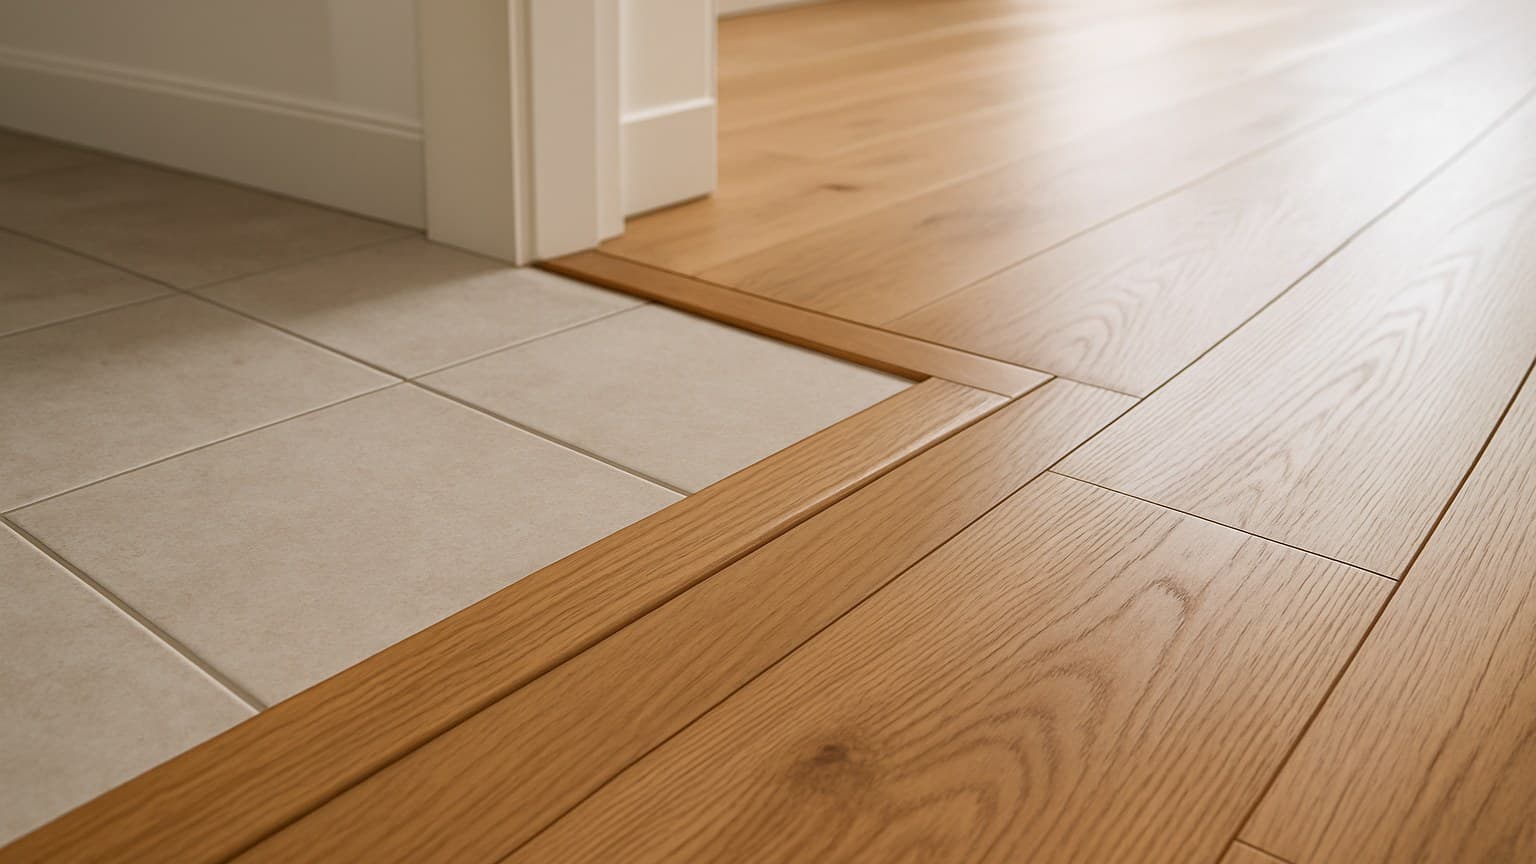
Most botched tile to hardwood transition jobs I get called back to weren't the wrong strip, they were the right strip bought before anyone measured. Two floors rarely finish level, so guessing that height gap is what leaves a lip you catch a toe on, or a wood plank pinned so tight it has no room to move. Below are six transitions, each matched to the gap you actually have, plus what they cost and when to hire out.
Key takeaways
- Measure the height difference between the tile and the wood before you buy anything; that one number picks the method.
- Dead-flush joints take a metal edge strip or a leveled seam, equal heights with a gap take T-molding, and tile sitting higher than the wood takes a reducer to ramp the drop.
- Always leave a small expansion gap at the seam and fill it with flexible filler, not rigid grout, so the wood can move with the seasons.
- Cost splits roughly as $15-150 in materials per doorway plus about $50-250 in labor, and leveling, stone saddles, and stair jobs push both higher.
- Snap-in T-molding and reducers on floors that already match are realistic DIY; flush leveling, stone saddles, and stair or open-plan transitions are usually worth hiring out.
Start With the Height Gap, Not the Strip
Measure the height difference first. That one number, not the look you want, decides which of these six methods is right.
I had a customer who kept clipping her toe on the same doorway every morning. Someone had screwed down a flat threshold across a spot where the tile stood a quarter inch proud of the wood. The strip was fine. It was just the wrong strip for that gap, picked off a shelf before anyone laid a level across the joint.
Here's how to get the number. Set a straightedge or a short level across the seam so it bridges both floors. Measure the drop from the top of the tile down to the top of the wood. Tile set over mortar or thinset (the cement-like glue that holds tile down) usually finishes higher than hardwood, so tile-higher is the common case you plan around.
Once you have that drop, match it to the table.
| Height gap | What it means | Best method | Why |
|---|---|---|---|
| Dead flush (0) | Tile and wood finish at the same height | Metal edge profile or a leveled flush seam | No lip to ramp; the strip protects the tile edge and hides the gap |
| Slight lip, up to ~1/8 in (3 mm) | You can just feel the edge with a toe | T-molding (if there's a gap) or a thin threshold | Small enough to bridge without a ramp |
| Step, ~1/8-1/4 in (3-6 mm) | A clear step you can catch on | Threshold or saddle, or level the low side | Needs a bridge with a gentle taper |
| Big step, over ~1/4 in (6 mm), tile higher | A real trip hazard | Reducer strip to ramp down, or build up the wood side | A reducer slopes the drop so no one catches a toe |
Source: my own install jobs Which transition to use, mapped to the height difference I measure at the doorway on my own install jobs.
If you want the wider view on joining these two floors, our tile to wood transition guide walks the same decision across more layouts.
1. Flush, Leveled Seam (Same Height, No Strip)
This is the best-looking option and the most work. The subfloor gets leveled so tile and wood meet dead flush, and the seam gets a flexible, color-matched filler instead of a hard strip.
Getting there usually means self-leveling underlayment. That's a pourable compound you mix and spread on the low side; it flows into the dips and sets hard and even, so both floors land at the same height. On the wood side you may instead build up with plywood layers. Either way, the goal is two surfaces that finish level to the touch.
Even with no visible strip, you still leave a small expansion gap at the seam and fill it with a flexible filler, never rigid grout. According to the Tile Council of North America (TCNA) Handbook, Method EJ171 (Expansion Joints), tile that meets a dissimilar material like wood needs a movement joint rather than a rigid, grouted seam, because the two materials expand and contract at different rates. Wood swells and shrinks with the seasons, and grout has no give, so a hard fill cracks or pushes the planks. A customer once talked me out of a moisture check to save an afternoon. The floor cupped before the season was out, and I relaid it on my own dime. That's the day I stopped treating the moisture test as optional.
Because it leans on real leveling work, a flush seam is usually hire-out work.
2. Metal Edge Profile for Same-Height Joints
A metal edge profile caps and protects the tile's edge on a dead-flush joint, so the corners don't chip under traffic. It's the simplest answer when both floors already finish level.
The catch: it goes in during the tile install, set into the thinset while the tile is being laid, not screwed on afterward. That means you plan for it before the tile goes down. Mosaic sheets raise the stakes further, since getting mosaic tile grout lines to run straight takes its own layout plan before the thinset goes down.
Aluminum, brass, and anodized (color-coated metal) finishes give a clean, modern line. Schluter-Jolly is a well-known example of this edge-protection profile if you're shopping by name rather than by description. Be clear on what this profile is, though. It assumes equal-height floors. It caps an edge; it does not ramp a height difference the way a reducer does. If your tile sits proud of the wood, this is the wrong tool.
3. T-Molding for Two Equal Floors With a Gap
T-molding is for two floors sitting at the same height with a small gap between them. The strip is shaped like a T: the stem drops into the gap and the top caps both floors, hiding the expansion space underneath.
It snaps or screws into a track you fasten to the subfloor, which makes it one of the friendlier transition strips for a DIYer. Snap-in T-molding on floors that already match is a realistic weekend job.
The common mistake is using T-molding where the tile is higher. The flat top then sits over a step, and you get a lip you catch on. It only works when the two sides are level. Match it to the wood stain, or pick a metal T for a more modern edge.
4. Reducer Strip When the Tile Sits Higher
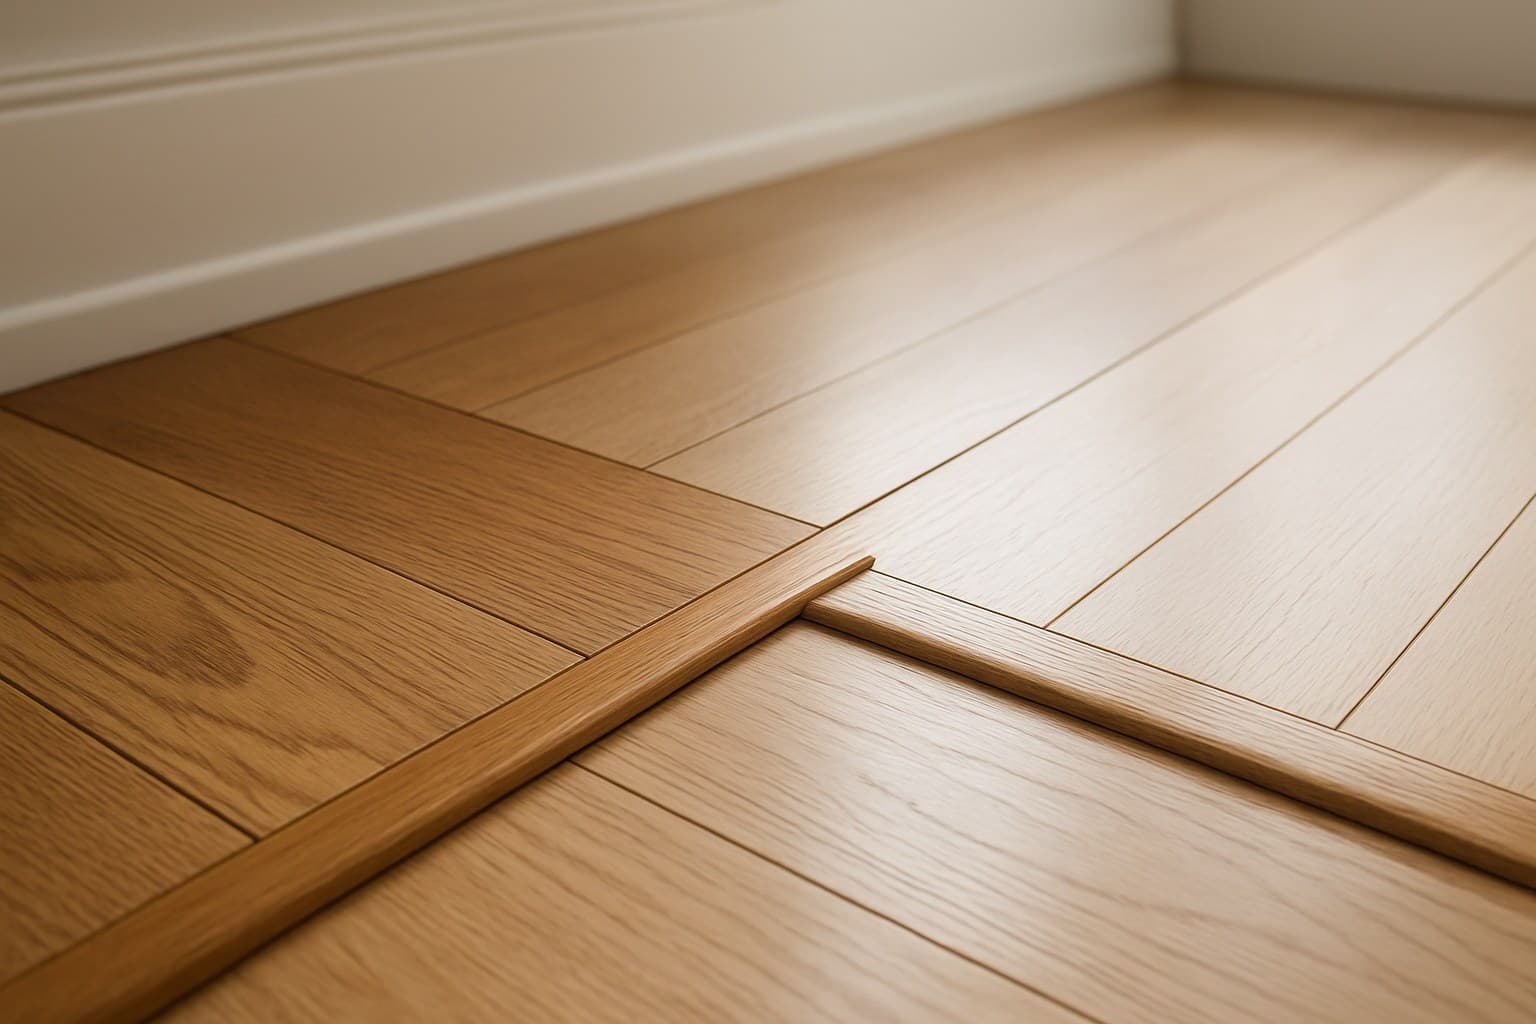
A reducer is the go-to when tile stands clearly higher than the wood. One edge is thick to meet the tile, the other tapers thin to land on the hardwood, so the strip ramps the drop and no toe catches.
Fasten a reducer to a track or the subfloor, never pinned tight into the hardwood itself. The wood needs to keep moving with the seasons; screw the strip through it and you fight that movement. A reducer comes in matching wood stains or in metal finishes, and the Schluter-RENO line (commonly sold as a Schluter-Reducer) is a widely recognized example if you want a specific product to search for.
Here's the shape you're building.
The high side meets the tile, the taper eats the drop, and the expansion gap under the strip lets the wood breathe.
5. Threshold or Saddle: Wood, Metal, or Stone
A threshold, also called a saddle, sits in the doorway and bridges a moderate step between rooms. Center it under the closed door so each room shows only its own floor when the door is shut. It's the classic doorway fix for a gap in that 1/8-1/4 in range.
The material you pick should match the room.
| Material | Look | Durability | Cost feel | Best where |
|---|---|---|---|---|
| Wood (stained to match) | Blends into the hardwood | Sands and refinishes with the floor | Mid | Living spaces, hallways |
| Metal (aluminum/brass profile) | Clean, modern edge | Very tough, protects tile corners | Low-mid | Same-height joints, high traffic |
| Stone/marble saddle | Classic, solid | Hard but can chip on impact | Higher | Bathroom and entry doorways |
Threshold materials compared on look, toughness, and where each one earns its place.
A wood threshold sands and refinishes right along with the floor. According to the National Wood Flooring Association (NWFA), solid hardwood can be sanded and refinished multiple times over its life, while engineered hardwood's thinner wear layer limits how many times it can be redone. How many times you can do that depends on whether you bought solid or engineered hardwood, since solid has thicker wood above the tongue to sand and engineered has only a thin top veneer. Porcelain tile edges are harder than wood but chip on a sharp hit, and if you're weighing porcelain against a stone saddle it helps to know porcelain is actually a manufactured material rather than quarried rock, which our guide on whether porcelain counts as natural stone breaks down. Stone or marble saddles hold up well in bathroom doorways where moisture is the real concern.
6. Creative Inlay Transitions: Mosaic, Hexagon, and Epoxy
You don't have to hide the seam. A straight, diagonal, or curved line, or a decorative band set right at the joint, can turn the transition into a feature instead of a patch. A herringbone pattern set right up to that joint makes an especially strong feature line, but pulling off the angled cuts without wasting tile takes a layout plan of its own, which this guide on laying herringbone tile without wasted cuts walks through.
A run of hexagon tile or a mosaic strip laid at the meeting point reads as a design line rather than a fix. Epoxy pours or metal inlay strips give a seamless custom finish where you want the tile and wood combination to look like one planned floor. If that speckled epoxy look appeals to you but the price tag doesn't, terrazzo-look vinyl flooring gets a similar finish near the seam for a fraction of the cost and effort.
Understand the trade-off before you commit. These flush details still need both floors dead level first, and they still need that expansion gap filled with something flexible. Skip either one and the pretty line is the first thing to crack, because it's sitting right where the wood wants to move. Level both surfaces so the band lands flush, leave the gap, and only then set the feature; a decorative line only works if the heights match before you start.
Kitchen, Bathroom, and Entryway Transitions
Where the seam sits changes how hard the job is, so plan the line before you tile, not after.
In a kitchen, tile usually goes by the range and sink where spills happen, with wood in the eating area. Decide where that line falls before the tile goes down so the seam lands clean along a cabinet run or a natural edge, not in a ragged diagonal across the room. Our kitchen tile to wood floor transition ideas cover where to place that break, and if you're still weighing whether to tile the whole floor or let the wood run through, this guide on tiling a kitchen floor next to hardwood walks through that call.
In a bathroom, tile handles the moisture and a saddle sits at the door. The doorway is the natural break, and a stone saddle there shrugs off water better than wood. Before you settle on that bathroom tile, it's worth sorting out whether large hexagon floor tile fits the room, since scale and shape change how that doorway transition reads.
In an entry or foyer, a tough tile landing takes the grit and wet shoes, then meets the wood a step in. That's a spot that gets abused, so a stone or solid wood threshold earns its keep. If that's your layout, the foyer tile to wood transition and the tile entryway transition to wood floor both dig into placement for that hard-working joint.
What a Tile-to-Hardwood Transition Costs
Materials run roughly $15-150 per doorway, and labor adds about $50-250 per transition. The wide spread comes down to the strip you pick and how much prep the gap needs.
A snap-in wood or metal T-molding or reducer sits at the low end of materials. A cut-to-fit stone or marble saddle sits at the top. On labor, a clean drop-in strip on two floors that already match is quick. But if the low side needs self-leveling compound or the wood side needs building up, you're paying for that prep on top.
Two things push both numbers higher. Stone saddles cost more in material and take longer to cut and set. Stair or basement transitions run above an open-room doorway, because stairs are cut-heavy detail work and basement slabs need a moisture check and often leveling before anything goes down. I learned to stop quoting flat rate by the square foot after a job full of closets and doorways ate an extra day; the cut-heavy spots, not the open middle, are where the hours go. For the tile side of the budget, the tile installation cost guide breaks the rest down.
DIY or Hire It Out
Snap-in T-molding and reducers on floors that already sit at the same height are a realistic DIY. You measure the gap, cut the track, cut the strip, and fasten it. If your two floors match and you just need to cap the seam, do it yourself.
Hire out the jobs where the floor itself has to change. Flush leveling with self-leveling compound, stone or marble saddles that need precise cuts, and stair or large open-plan transitions are where a pro is worth it. Those are the spots where a small mistake shows for years, and where the prep under the strip, not the strip, is the real work.
Whatever you pick, run a moisture check on the subfloor and confirm both sides are flat before you set anything. That five-minute check is what keeps you from redoing the same doorway twice in one year.