
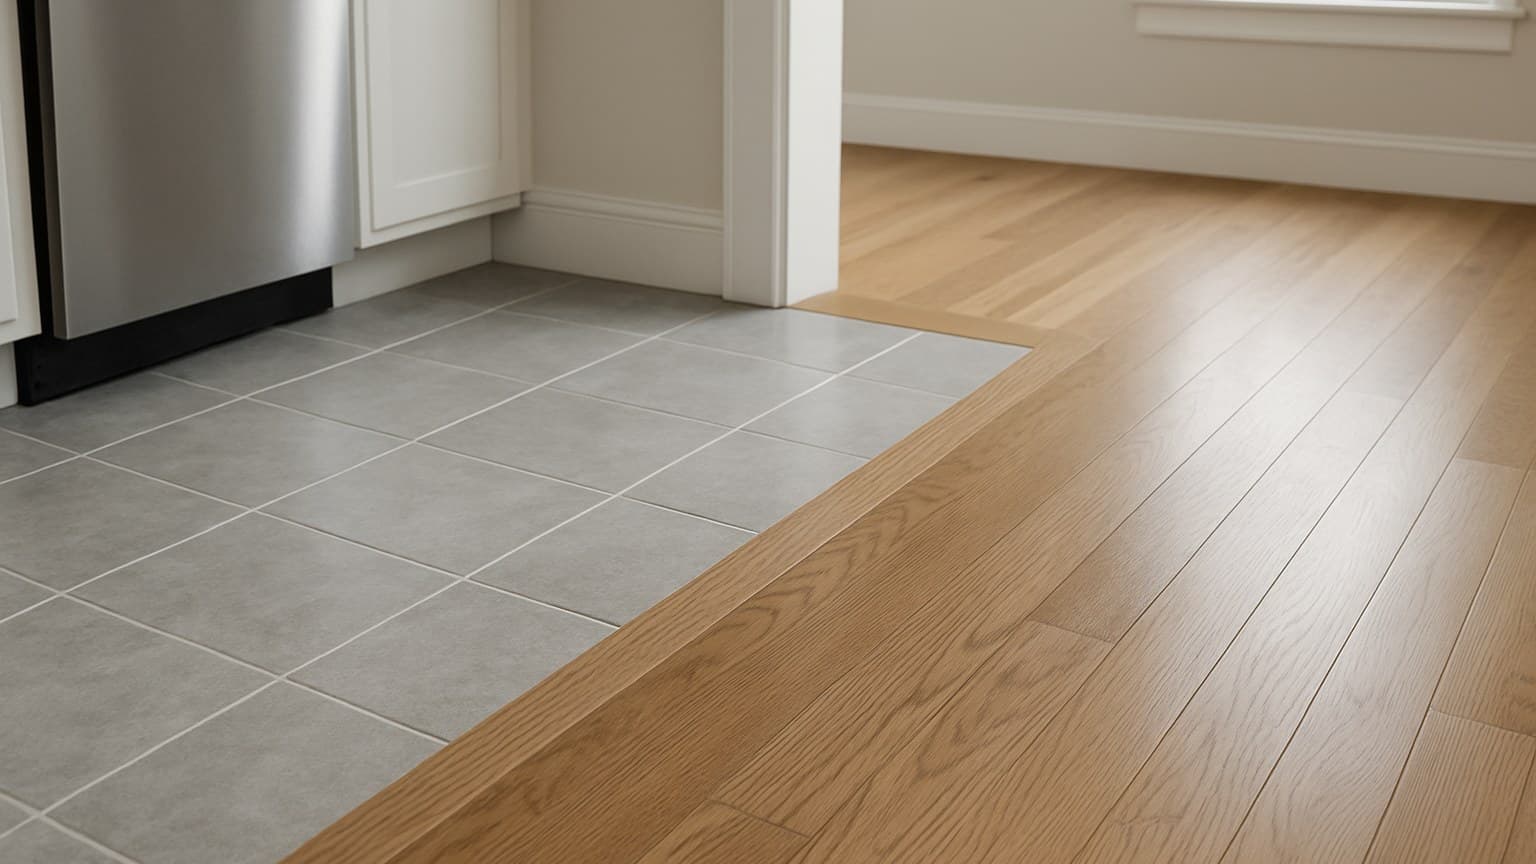
A tile kitchen floor next to hardwood sounds like a small call until you're standing at the seam, deciding whether to break a good wood floor or gamble it against a leaky dishwasher. Guess wrong and you either live with cold tile you regret or sand cupped boards two years later. Here's how the two really compare.
Key takeaways
- Run the hardwood straight through for open-plan flow and resale. Tile the kitchen only when you have a real water history, a heavy cooking household, or you want the toughest surface at the sink.
- Tile shrugs off dishwasher and sink leaks. Hardwood cups and stains at the board seams, and the seams are where wood fails, not the plank surface.
- Rough installed costs from my own jobs: tile lands around $9-21 per square foot (materials $2-7, labor $7-14); hardwood around $8-18 per square foot (materials $3-10, labor $3-8). Basements and stairs cost more than an open kitchen.
- Tile is hard and cold underfoot and drops more dishes; hardwood is warmer, quieter, and easier on your legs during a long cook.
- Wood-look porcelain tile is the real third option: it gives you tile's water tolerance with a wood look that blends into the next room.
The Real Choice When Your Kitchen Opens to a Wood Living Room
If the kitchen flows into a hardwood room with no wall between them, running the wood straight through usually wins on looks and resale. Tile only pulls ahead when water or heavy daily cooking is the real deciding factor.
I pulled up carpet for the Halvorsens outside Elgin this past January, and their whole first floor was one open sightline: kitchen, dining, living room, no doors between them. The question was never whether tile is a good floor. Tile is a great floor. The real question was whether to break a continuous wood floor with a hard line of a different material right where the eye travels farthest.
That's the decision on the table, and there are three honest ways to answer it:
- Tile the kitchen and set a clean transition at the edge.
- Run the hardwood straight through the kitchen and the living space.
- Split the difference with wood-look porcelain tile that reads as wood but behaves like tile.
Both real floors are good floors. This comes down to matching the room, the water risk, and the budget. Let me walk each factor and give you a clear pick at the end.
Moisture at the Sink and Dishwasher: Where Wood Actually Fails
Tile handles standing water and slow leaks far better than hardwood, and this is the single biggest reason people tile a kitchen. If your household has a water history, tile buys you peace of mind wood can't, and durable terrazzo floors offer a similar water-tough option if you want a different look.
Here's the part people get wrong: wood doesn't fail at the plank face. It fails at the seams and board edges. Water wicks into those joints, the wood swells, and the edges lift or cup, meaning they rise higher than the middle of the board. A dishwasher that weeps a little for months is the classic callback I get, and by the time anyone sees it, several boards are already gone.
Engineered hardwood, which is a real wood top layer over a plywood-style core, tolerates humidity swings better than solid wood. But neither one wants a puddle sitting on a seam. Site-finished floors, sanded and sealed after they're laid, close up the seams tighter than some click-together products where each edge is on its own.
If you keep wood, the fixes are simple: wipe spills fast, put a mat at the sink, and respect the two real threats, which are the dishwasher and the fridge water line. Everyday cooking splashes are not what ruins a wood kitchen.
Tile has its own weak spot, so I'll say it plainly. The grout lines and the perimeter are where tile lets water down. Bad grout or a missing bead of sealant can still send water to the subfloor over years. Going with a bigger format like large hexagon floor tile cuts down on the number of grout joints in the first place. Tile just gives you a lot more room for error.
Here's how a slow dishwasher leak actually reaches and ruins a wood floor. It starts at the toe-kick, the short recessed panel at the bottom of the cabinet right under the dishwasher, where drips collect before anyone notices:
Comfort, Warmth, and Noise Underfoot
Hardwood wins on comfort, plain and simple. It's warmer to bare feet, softer on your legs and back through a long cook, and quieter than tile.
Tile is hard and cold. On a January morning that difference is real, and it's the whole reason radiant heat under tile is so common in kitchens. Warm tile is wonderful, but the heating system adds real cost to the job, so budget for it if that's your plan.
Then there's the thing nobody thinks about until it happens: dropped dishes. A glass has a fighting chance on wood. On tile it has almost none. In a room where you're handling plates and glasses all day, that's a daily tax tile quietly charges.
Sound is the last piece. Tile clacks and echoes, while wood dampens footsteps. In an open plan where the kitchen shares its air with the living room, that quiet matters more than people expect, especially early mornings and late nights.
What Each One Costs, Split by Material and Labor
Neither floor has a single price, so ignore any flat national number you see. What matters is the split between material and labor, and tile labor runs high because of the thinset (the cement-based paste that bonds tile to the subfloor), the setting time, and the grout work. Wood goes down faster, so its labor is often lower, and if you're also pricing terrazzo, the terrazzo flooring cost breakdown runs on a different scale entirely.
Here's the range I quote off my own jobs, split so you can see where the money goes:
| Floor | Materials | Labor | Installed total |
|---|---|---|---|
| Porcelain tile | $2-7 | $7-14 | $9-21 |
| Engineered hardwood | $3-8 | $3-7 | $6-15 |
| Solid hardwood | $5-10 | $4-8 | $9-18 |
Source: my own install jobs
Installed cost per square foot, split into material and labor, for a standard kitchen.
Tile Cost, Material vs Labor
Porcelain is the workhorse here, and it sits at the affordable end of materials, roughly $2-7 per square foot. The money is in the labor, roughly $7-14, and it swings on tile size and layout. Big-format tiles need a dead-flat subfloor and go slower; small mosaics mean far more grout lines to set, and if a hex pattern is on your moodboard, the hexagon tile installation guide covers the layout and grout decisions that drive that labor number up. Add radiant heat and you're adding a real line item on top of both.
Hardwood Cost, Material vs Labor
Wood flips the split. Materials run wider, roughly $3-10, with engineered on the low end and solid or premium species climbing higher. Labor is often lighter, roughly $3-8 for prefinished planks that come sealed from the factory. Site-finished floors, sanded and coated in place, cost more because that's extra days of work. If you're not sure which wood suits your room, the guide on picking solid vs. engineered hardwood and the right species will help you price your actual floor before you commit.
One cost-killer hits both floors. A kitchen full of an island, closets, and a bay window eats labor hours the open middle of a room never does. I used to quote flat by the square foot until a job packed with doorways and a bay window ate an extra full day. Now I count the cut-heavy corners separately, because that's where the time goes, not the open field.
Resale and How Each One Ages
Continuous hardwood through the main floor is the safer resale bet in most homes. Buyers read it as open, updated, and premium, and a single flowing floor makes a space feel bigger than a kitchen chopped off in a different material.
Tile ages harder to date. A tile that looked current 15 years ago can read as old today, while a wood tone can be refinished or just accepted across styles. Wood you sand and refinish a few times over its life; tile you patch and match, and a discontinued tile turns one chipped corner into a whole-floor problem. Grout also yellows over the years, which is its own slow tell.
Resale isn't one-size-fits-all, though. In a hot, humid climate or a serious home-cook household, a tough tile kitchen reads as a smart, low-worry feature, not a dated one. Read your buyer pool and your climate before you assume wood always wins.
The Third Option: Wood-Look Tile in the Kitchen
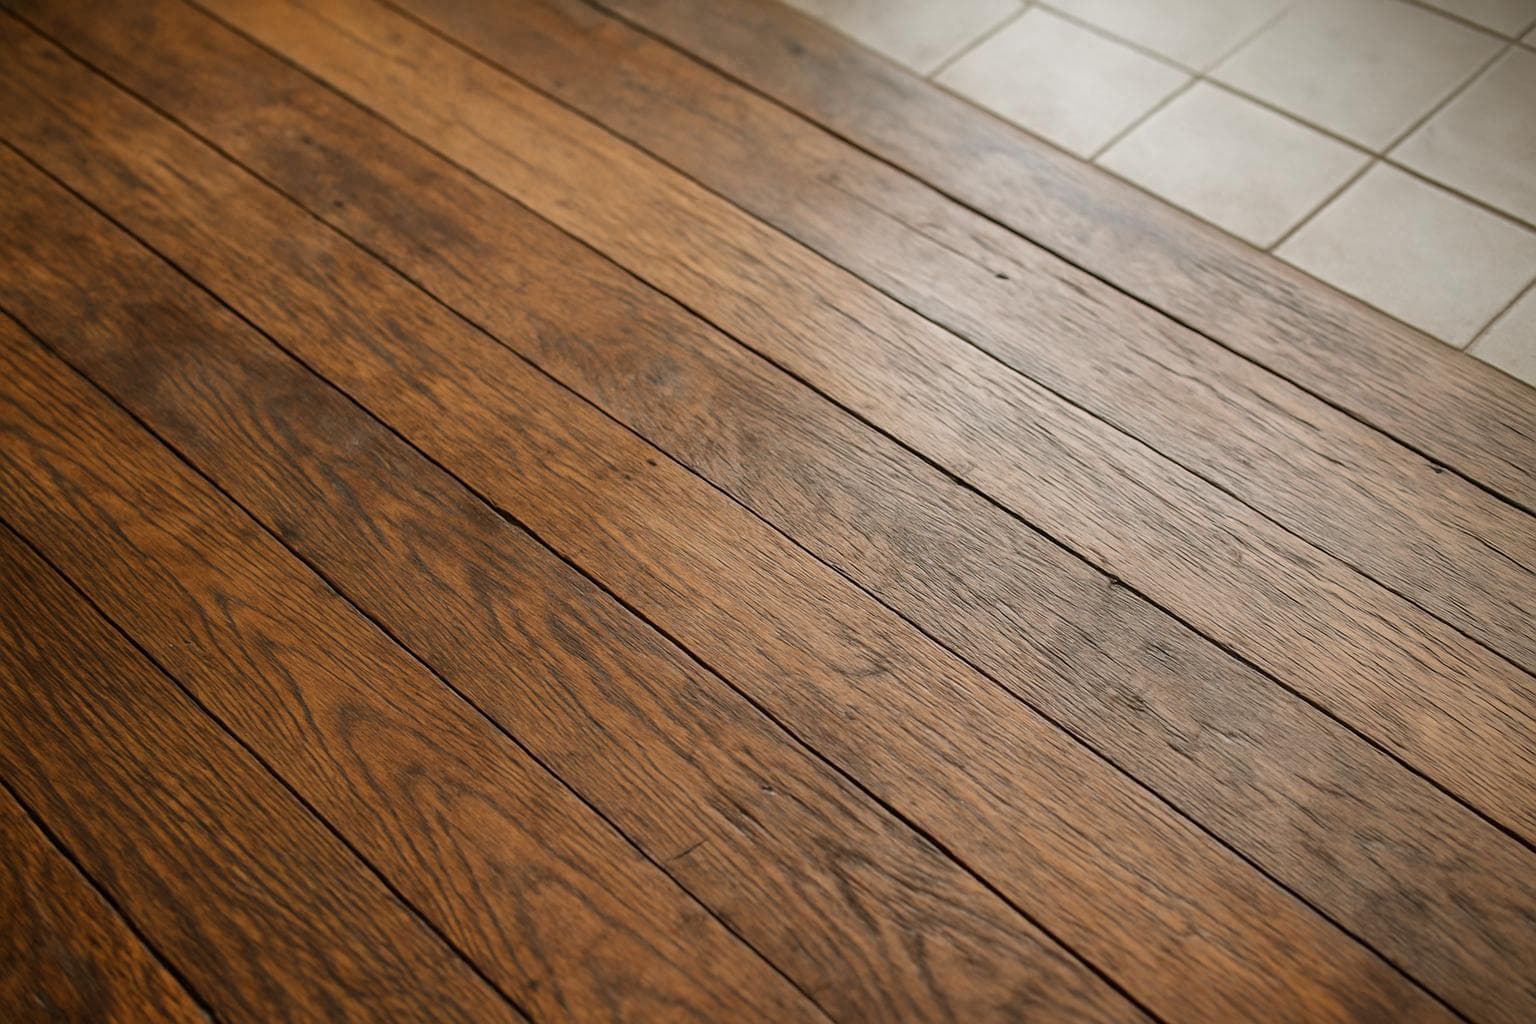
Wood-look porcelain is the real compromise, and it's the one I steer a lot of open-plan clients toward. It gives you tile's water tolerance in a plank that reads as wood, so the kitchen can visually continue the living-room floor without carrying the moisture risk of real hardwood at the sink.
Set your expectations honestly. A good wood-look plank fools most people from standing height, especially with a tight, matched grout line. Up close, the cooler, harder feel and the grout still give it away. It looks like wood; it does not feel like wood underfoot.
The trick is in the layout. Narrow grout joints, a wood-matched grout color, and a staggered plank pattern do most of the work of selling the look. If you want to see how the planks and patterns play out, the wood-plank tile flooring guide covers the format choices, and if you're leaning more toward a stone read instead of wood, the stone-look porcelain tile guide walks through those. Either way, you get one surface that shrugs off leaks while keeping the sightline calm.
Which Floor for Which Kitchen
Here's the straight verdict. Run the hardwood straight through when your kitchen opens to a wood room, resale matters, and your water history is clean. That flow and warmth are hard to beat, and it's what most buyers want to see.
Tile the kitchen when you have a real water history, a heavy daily cooking household, or you simply want the toughest surface standing at the sink. Just plan for the cold and the hard feel, and price in radiant heat if that trade-off bothers you.
Choose wood-look porcelain when you want the open, continuous wood look but can't stomach the leak risk. It's the honest middle path, and it's the one that saves the most callbacks in a busy kitchen.
Whichever you pick, the seam between the two floors is its own decision, and getting the height and strip right is what keeps it from lifting later. My walkthrough on tile-to-hardwood transitions matched to the height gap is the useful next read, because it shows exactly how to finish that joint cleanly for the height difference you're actually dealing with.