Most wood to tile transition ideas online sell you a look first and worry about the height gap second. That backward order is what chips tile edges and works strips loose within weeks. Get the one measurement right and nearly any look you want is safe.
Key takeaways
- Measure the height gap before anything else: within about 1/16 in can go flush, up to ~1/4 in takes a T-molding, 1/4 to 1/2 in needs a reducer, and over 1/2 in needs a sloped reducer or a built-up threshold.
- T-molding only works when the wood and tile sit at the same height; using it to bridge a real step is the top cause of cracked edges and stubbed toes.
- The wood still needs its expansion gap at the tile edge (size set by the maker's own sheet); the strip hides that gap and should never pin the planks down.
- Budget roughly $10-90 in materials per doorway depending on strip type, plus about $50-150 in pro labor per transition, and confirm against local quotes.
- In bathrooms and over heated floors, follow TCNA movement-joint guidance and keep a soft, sealed joint so tile and wood can move on their own.
The Callback That Taught Me to Measure First
Denise, a homeowner in Fair Oaks, called me out to fix a hallway-to-kitchen doorway another crew had "finished." They had snapped a flat T-molding across the opening where the kitchen tile stood a full 1/2 inch above the hallway wood. Within a few weeks the tile edge chipped and the strip rocked underfoot every time someone crossed it.
Here's the whole lesson in one line: the measured height difference between the two surfaces, not the look you picked, decides which transition is safe. A flat strip needs two floors at the same height. Bridge a real step with one and it becomes a little seesaw that grinds the fragile tile edge until it breaks.
A transition strip does three things. It gives you a safe walking edge so nobody stubs a toe. It caps and protects the tile edge, which is the most fragile part of any tile floor. And it leaves the wood room to swell and shrink with the seasons without buckling. Some species swell and shrink more aggressively than others, which is exactly why I dig into how much wide plank hickory flooring moves before it ever reaches a doorway like this.
So here's what I'll walk you through: a decision chart that matches your gap to the right strip, 12 design ideas laid on top of that, real costs split into materials and labor, and the wet-room and heated-floor cases most guides skip. If you haven't settled on the wood itself yet, my broader wood flooring guide covers the material choices before you ever get to the doorway detail.
Measure the Height Difference First (The Decision Chart)
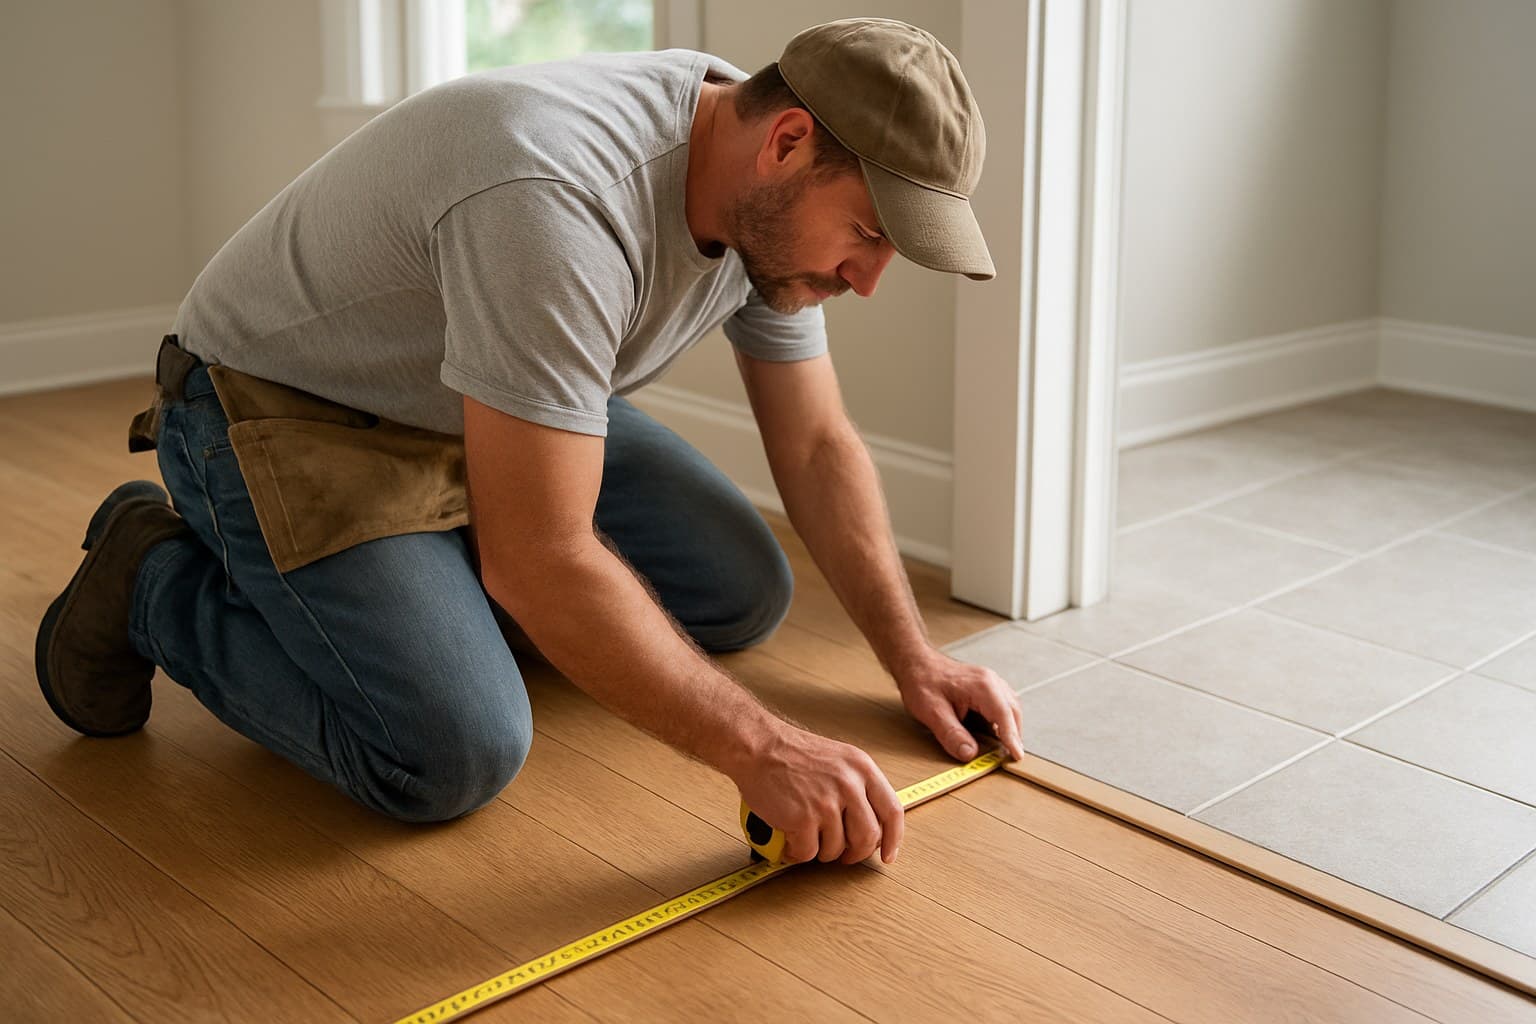
Start by laying a short straightedge, a level or even a stiff ruler, flat across both floors right at the doorway. Look at the lip where one surface sits proud of the other and read that gap. Check it in two or three spots along the opening, because tile and subfloor are almost never dead flat, and the gap on the left can be different from the gap on the right.
Tile is nearly always the taller, harder surface. That means a good transition ramps down toward the wood and never leaves a hard tile edge sticking up where a shoe can catch it. That protection matters even more when the wood side is a naturally soft species, which is why I walk through the tradeoffs of wide plank pine flooring before anyone installs it flush against a hard tile line.
Once you know the number, match it to a band:
| Height difference | What it means | Transition that fits | Watch out |
|---|---|---|---|
| Level, within ~1/16 in | Both floors truly flush | Flush seam or a thin metal edge/Schluter profile for a clean line | Only if it's flat in every spot; a hidden lip still trips |
| Up to ~1/4 in | Small lip, floors roughly equal height | Overlap T-molding on a track | T-molding is for equal heights, not for bridging a real step |
| 1/4 to 1/2 in | Tile sits noticeably higher than wood | Reducer strip that ramps tile height down to the wood | Match the reducer to which floor is higher |
| Over 1/2 in | A true step | Sloped/self-leveling reducer or a built-up threshold; often level the subfloor first | A flat strip over this rocks and cracks the tile edge |
Source: The bands I sort doorway jobs into, set after the hallway T-molding I had to reset over a half-inch step
Match your own measured gap to one of these bands before you pick a strip, skipping that step is exactly how a flat molding ends up bridging a real step.
Flush only works when both floors are genuinely level in every spot you checked, not just the middle. Once you're over about 1/2 inch, you're usually better off leveling the subfloor first than trying to hide a real step under a strip, the Tile Council of North America's (TCNA) mortar-bed guidance covers building up a thicker mortar bed specifically to correct height differences like this before tile is ever set. A step that big is a framing or subfloor problem, and no molding fixes it. I've found engineered flooring's factory-milled consistency often narrows that gap before you ever touch a trowel.
Transition Strip Types and the Gap Each One Fits
Five strip families cover almost every doorway. Pick by the gap you measured, not by the one that looks nice in the store bin.
- T-molding sits in a track and overlaps both floors with a small raised bar down the middle. It's only for near-equal heights, and it hides both the small lip and the wood's expansion gap.
- Reducer ramps a taller floor down to a lower one. This is the workhorse when tile stands 1/4 inch or more above the wood.
- Flush or square-nose gives you the thinnest possible line, but only over floors that are truly level.
- Schluter or metal profile protects the fragile tile edge and gives a crisp, modern line. You set it into the thin-set, the cement-based adhesive that beds the tile to the floor, as the tile goes down, so it has to be planned before the tile is laid.
- Threshold or saddle, often cut from stone or hardwood, is the classic solid bar at a doorway or a larger step, and the traditional look at a bathroom door.
| Strip | Best height gap | Look | Watch out |
|---|---|---|---|
| T-molding | Equal height, lip up to ~1/4 in | Small raised center bar | Needs a track; wrong for a real step |
| Reducer | 1/4 to 1/2 in | Gentle ramp down to the wood | Buy the version for the higher floor |
| Flush / square-nose | Level within ~1/16 in | Thinnest, near-seamless line | Only over truly flat, level floors |
| Schluter / metal profile | Varies by profile chosen | Crisp modern edge, protects tile | Set into thin-set as the tile goes in |
| Threshold / saddle | Over 1/2 in or doorways | Solid bar, stone or wood | Heavier cut; measure the opening exactly |
Source: The Schluter profiles and wood moldings I keep on the truck and the openings they've actually solved
Match the row to your measured gap before you buy, picking the wrong one here is what leads to a cracked tile edge down the line.
12 Creative Wood-to-Tile Transition Ideas
Here's where you get to have fun, but every one of these still rides on the gap you measured. A pattern over a lip is still a lip. Flush ideas need level floors; a metal accent line can ride over a small step because the metal itself becomes the ramp. If you're picking a finish for the wood side of that transition, it's worth checking whether blonde floors are still in style before you commit to a color that has to live next to tile for the next decade.
- Straight line seam. The cleanest, calmest option. Hides the seam. Needs level floors or a reducer tucked underneath.
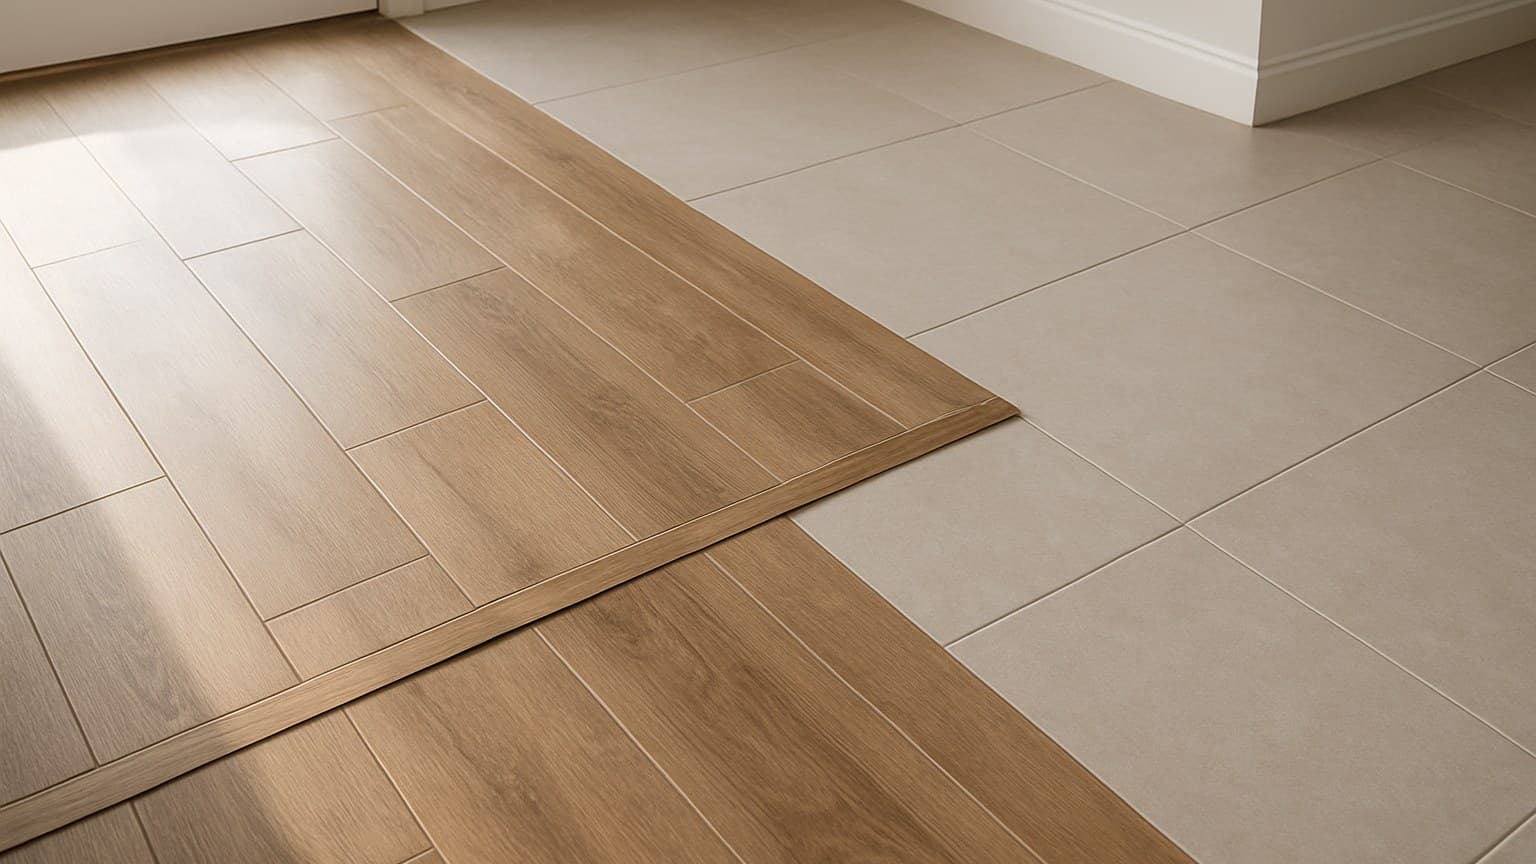
- Diagonal line. Runs the seam at an angle to soften an open-plan edge. Works with a reducer hidden below it.
- Curved seam. A sweeping S or arc that makes the break a feature. Needs flush floors or a flexible metal profile that bends.
- Herringbone border. A band of tile laid in a zig-zag before the wood starts. A designed break that dresses up the tile side.
- Chevron run-off. Angled planks or tiles that point into the wood. Highlights the seam on purpose.
- Checkerboard fade. Alternating tiles that thin out toward the wood. A playful, deliberate edge; keep it flush.
- Terrazzo band. A strip of terrazzo, which is small stone chips set in cement, as a buffer zone between the two floors.
- Mosaic inlay. A ribbon of tiny tiles reads best when the tile edge is protected and set dead flush. If you're going with small-format tile, my 8 hexagon tile decisions that come back as callbacks covers the tile side so the inlay doesn't crack at the seam.
- Patterned encaustic-look inlay. Encaustic-look tile is printed to copy old cement floor tiles with painted patterns. A short band of it makes a bold feature seam.
- Mixed-material "melting" inlay. Planks and tiles interlock like puzzle teeth so one floor seems to dissolve into the other. It looks great and hides nothing about height, so it needs a real transition underneath if there's any step.
- Tone-on-tone blend. Wood and tile in the same color family so the seam nearly disappears. The subtle choice.
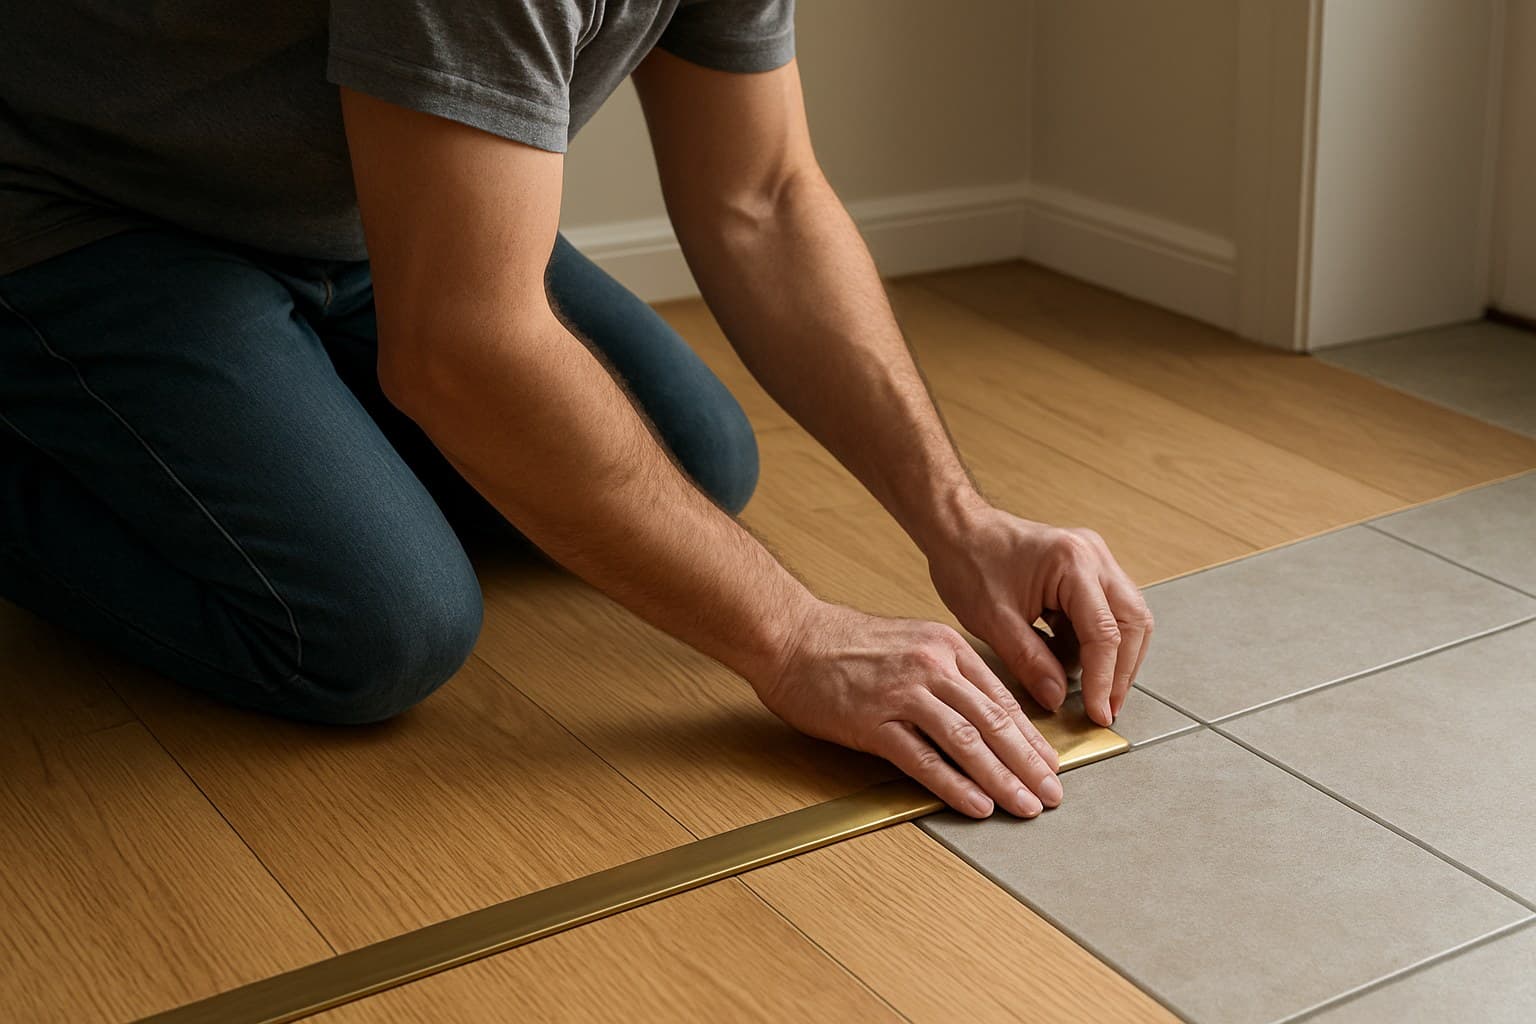
- Metal accent line. A slim brass or black strip that draws a crisp edge and, because it's a profile, can still work with a small height change.
The trap with the busy ones is thinking the pattern replaces the transition. It doesn't. If there's a height change, you still need a strip or a set-in profile doing the structural work below all that pretty tile.
Expansion Gaps and the TCNA/NWFA Standards Behind Them
Wood moves. It swells in humid months and shrinks in dry ones, and if the transition pins the planks down, the floor buckles or gaps somewhere else. The strip has to hide a gap, never clamp the wood shut. If you're still deciding what to put down in the first place, weighing solid vs. engineered hardwood floors and the right species for the room can save you this movement headache later.
The exact expansion gap isn't a universal number. It's set by your flooring maker's own install sheet, and it changes with the product and the width of the plank. Wider boards move more, which is worth knowing before you fall for wide plank walnut flooring right up against a tile line. Leave the gap the sheet calls for at the tile edge, then let the strip cover it.
On the tile side, the Tile Council of North America (TCNA) addresses this directly in its movement-joint placement guidance (see detail TR711): tile installations should include a movement joint wherever tile meets a dissimilar material. In plain terms: don't grout tile hard into the wood or the strip. Leave a soft, filled joint so the two materials can shift on their own. The National Wood Flooring Association (NWFA) gives matching guidance on the wood side, noting that transition moldings need to be installed in a way that allows for the wood's normal expansion and contraction rather than pinning it in place.
None of this shows on the finished floor. But it's the difference between a seam that stays tight for years and one that opens a hairline crack the first dry January.
What a Wood-to-Tile Transition Actually Costs
Split it into two numbers: the strip itself, and the labor to fit it. Anyone quoting you one flat price is hiding which is which.
Materials run roughly $10 to $90 per doorway depending on the strip. A basic vinyl or laminate T-molding sits at the low end; a stone saddle or a set-in metal profile sits at the top. Pro labor usually runs about $50 to $150 per transition, more if the subfloor needs leveling first or the opening needs a custom cut.
| Strip type | Materials per doorway | Typical pro labor per transition |
|---|---|---|
| Vinyl / laminate T-molding | $10 - $30 | $50 - $100 |
| Wood reducer or T-molding | $15 - $45 | $50 - $120 |
| Schluter / metal profile | $20 - $60 | $75 - $150 (set during tile work) |
| Stone or hardwood threshold | $25 - $90 | $75 - $150 |
Estimated ranges for a single interior doorway; confirm against local quotes.
Two things push these up. Leveling a subfloor to kill a step over 1/2 inch adds material and hours before any strip goes down. And a wide open-plan opening, or a run of several doorways in a row, multiplies the labor line even when each strip is cheap. Get two quotes and ask them to itemize the leveling separately so you can see it.
Bathrooms and Heated Floors Play by Different Rules
In wet rooms and over radiant heat, the joint has to move more, so keep it soft and sealed. Follow the TCNA movement-joint guidance and don't lock tile and wood together with hard grout or glue at the seam. Before you seal anything, it's worth checking the wood's actual moisture level with a reliable moisture meter for hardwood so you're not sealing in a problem.
At a bathroom door, a stone or hardwood saddle is the classic answer, and it does double duty by giving you a clean spot to seal against water creeping toward the wood. Run a bead of flexible sealant in that joint, not grout, so it flexes instead of cracking.
Over a heated floor, the wood and tile expand at different rates every time the system cycles on and off. That constant movement is exactly why the soft joint matters. A rigid seam there will telegraph a crack within a heating season or two, and no strip on top fixes a joint that was filled solid underneath.
DIY or Hire It Out
An overlap T-molding on a track is a realistic weekend job for most people. You cut the track to length, screw or glue it down inside the wood's expansion gap, and snap the molding in. Simple hand tools, an honest afternoon.
Where I'd hire out: any set-in metal profile like a Schluter, because it goes into the thin-set while the tile is being laid and can't be added cleanly after. Same for a stone saddle that needs a precise cut, and for any opening where the subfloor has to be leveled first. Those are the jobs where a wrong cut or a skipped leveling step turns into a cracked edge you pay to redo. If you're finishing raw boards yourself right up to a tile line, my guide on how to sand and finish unfinished hardwood on site walks through keeping that edge clean where it meets the strip.