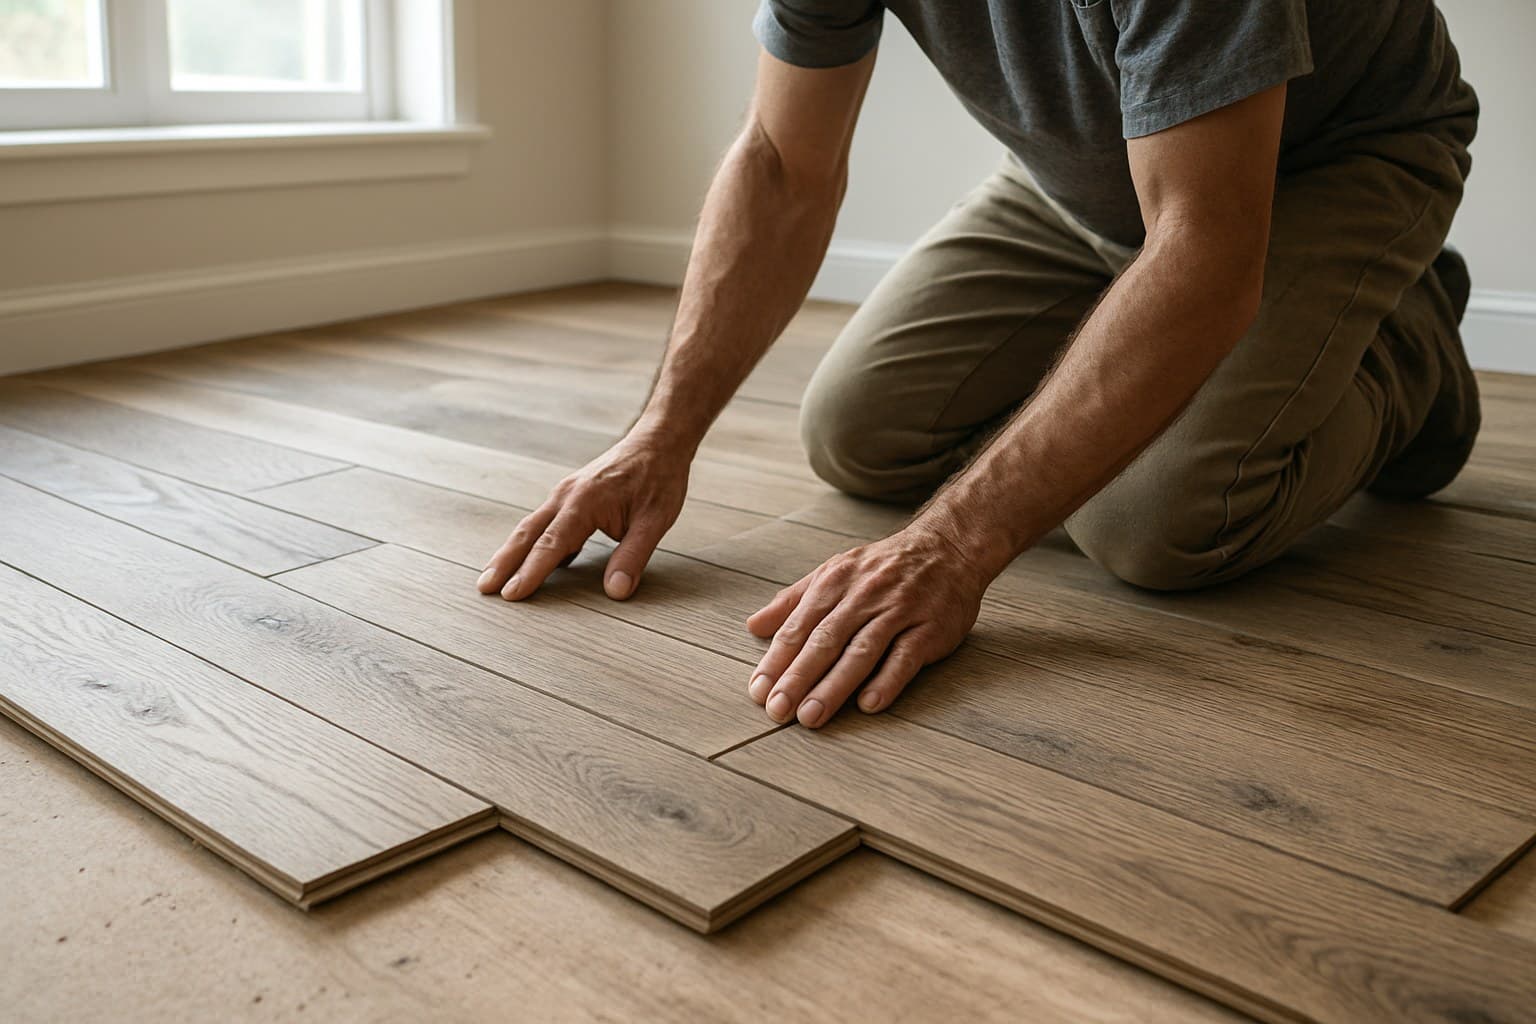
A homeowner in Hillsboro handed me two sample boxes, both labeled driftwood oak flooring, and asked why her contractor quoted such different prices for the same floor. The boxes looked alike, but one was laminate and one was engineered hardwood, three different builds hide under that same gray label. Here's how to match the build to your room the first time. If you're still comparing wood options broadly before narrowing in on driftwood oak, the wood flooring guide is a useful starting point for weighing species and builds side by side.
Key takeaways
- Driftwood oak is a gray, weathered color, not a wood grade; the same look sells as laminate, engineered, and solid, and they behave nothing alike in a wet room.
- Kitchens, baths, and basements want a waterproof-core laminate or engineered plank; living rooms and bedrooms can take engineered or solid over the right subfloor.
- Check subfloor flatness and moisture before you buy, because most floating-floor failures I get called back for start under the plank, not on it.
- Plan on roughly $4.69-$8.25 per sq ft for materials before labor, and expect basements and stairs to cost more than an open room.
- A 'waterproof core' is not a waterproof floor; water sneaks in at the seams and edges, so read the claim by build type, not by the brand slogan.
Start Here: "Driftwood Oak" Is a Color, Not a Build
Driftwood oak names a look, not a floor. It's the gray, weathered, sun-bleached color you see on old dock boards, and it gets printed or stained onto planks that are built in totally different ways. The words on the box tell you the shade, not what the plank is made of. If you want the fundamentals of the species itself, grain, hardness, and grading, separate from any finish, the oak flooring guide covers that ground before color ever enters the picture.
That same gray look sells three ways: as laminate, as engineered hardwood, and as solid hardwood. Those three handle water, subfloors, and refinishing differently, which is why picking by color alone gets people in trouble. Solid hardwood species vary just as much in hardness and price as builds do, and hickory is one of the toughest alternatives worth comparing if oak isn't a must, as the hickory flooring guide lays out.
One more warning before you buy. Driftwood shades drift plank to plank and worse from batch to batch, the same way acacia flooring swings across a box. Buy all the material for a room in one order, from one batch, or you'll end up with a light corner and a dark corner in the same floor.
The rest of this is a six-step path: check the subfloor first, then pick the build, then read the waterproof claim, then price it, then choose width and shade, then decide who installs it. Do them in that order and you skip most of the callbacks I get.
Step 1: Check Your Subfloor and Moisture Before You Choose Anything
On a floating floor, the finished job only lasts as long as the prep under it. The maker's warranty hinges on two things you check before you ever open a box: how flat the subfloor is, and how much moisture is in it.
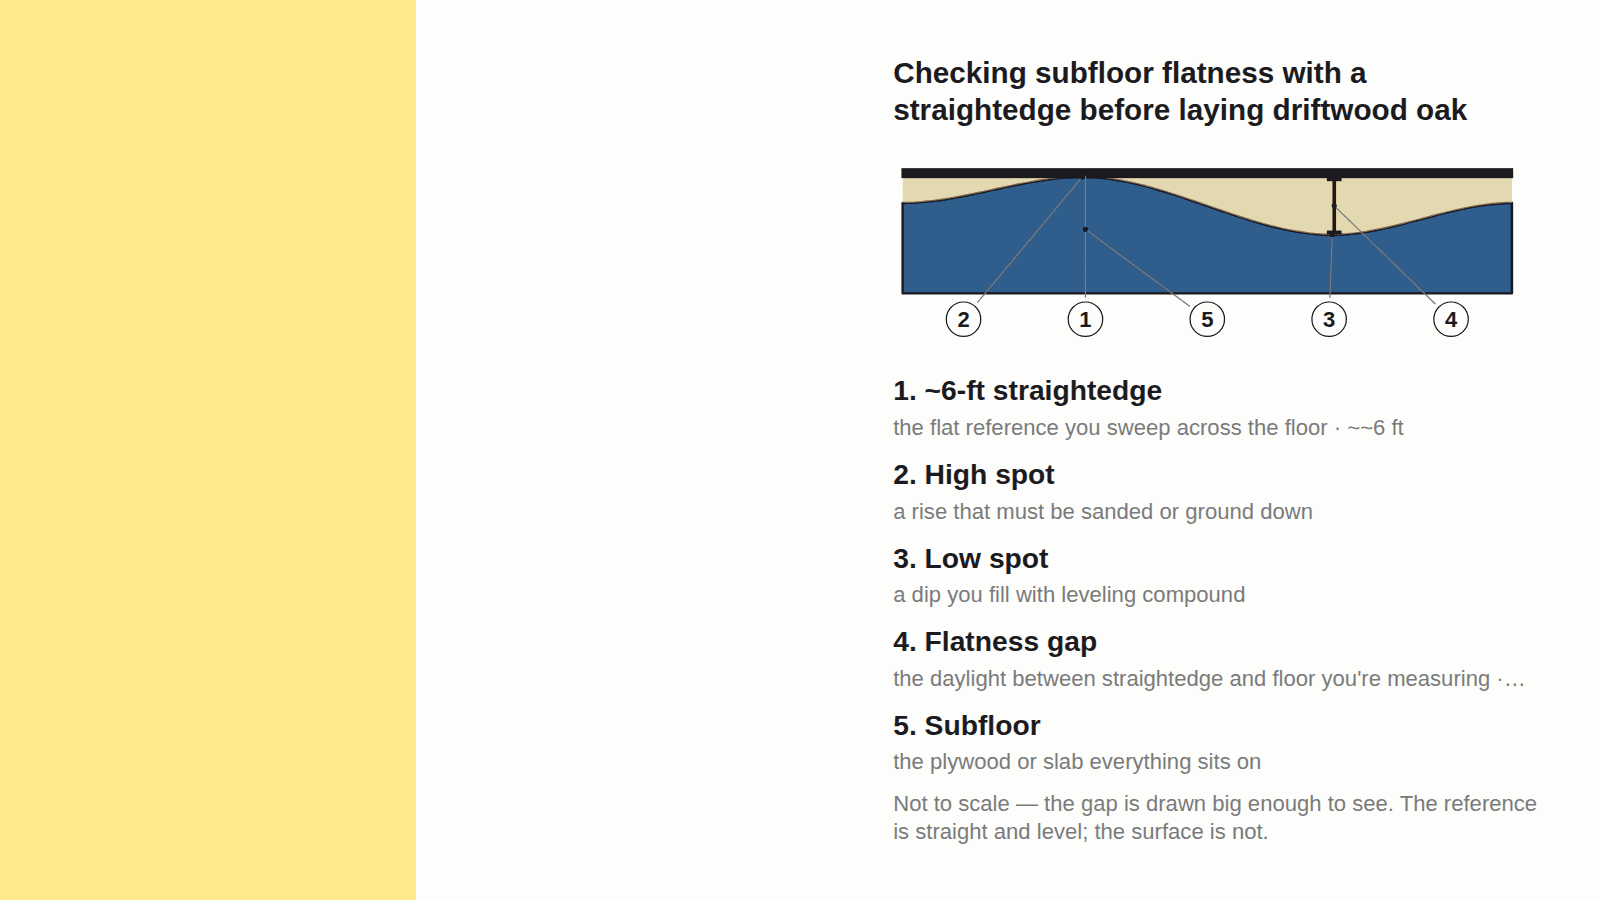
The flatness check is simple. Lay a long straightedge, a 6-foot level works, flat across the floor and slide it around. Watch for daylight under the middle (a low spot) and for the straightedge rocking on a rise (a high spot). Grind or sand down the high spots and fill the low ones with leveling compound until the floor meets the tolerance printed in that product's install guide. Many products want no more than about 3/16 inch of dip over 10 feet, but read your own sheet, because the number is set by the maker, not by me.
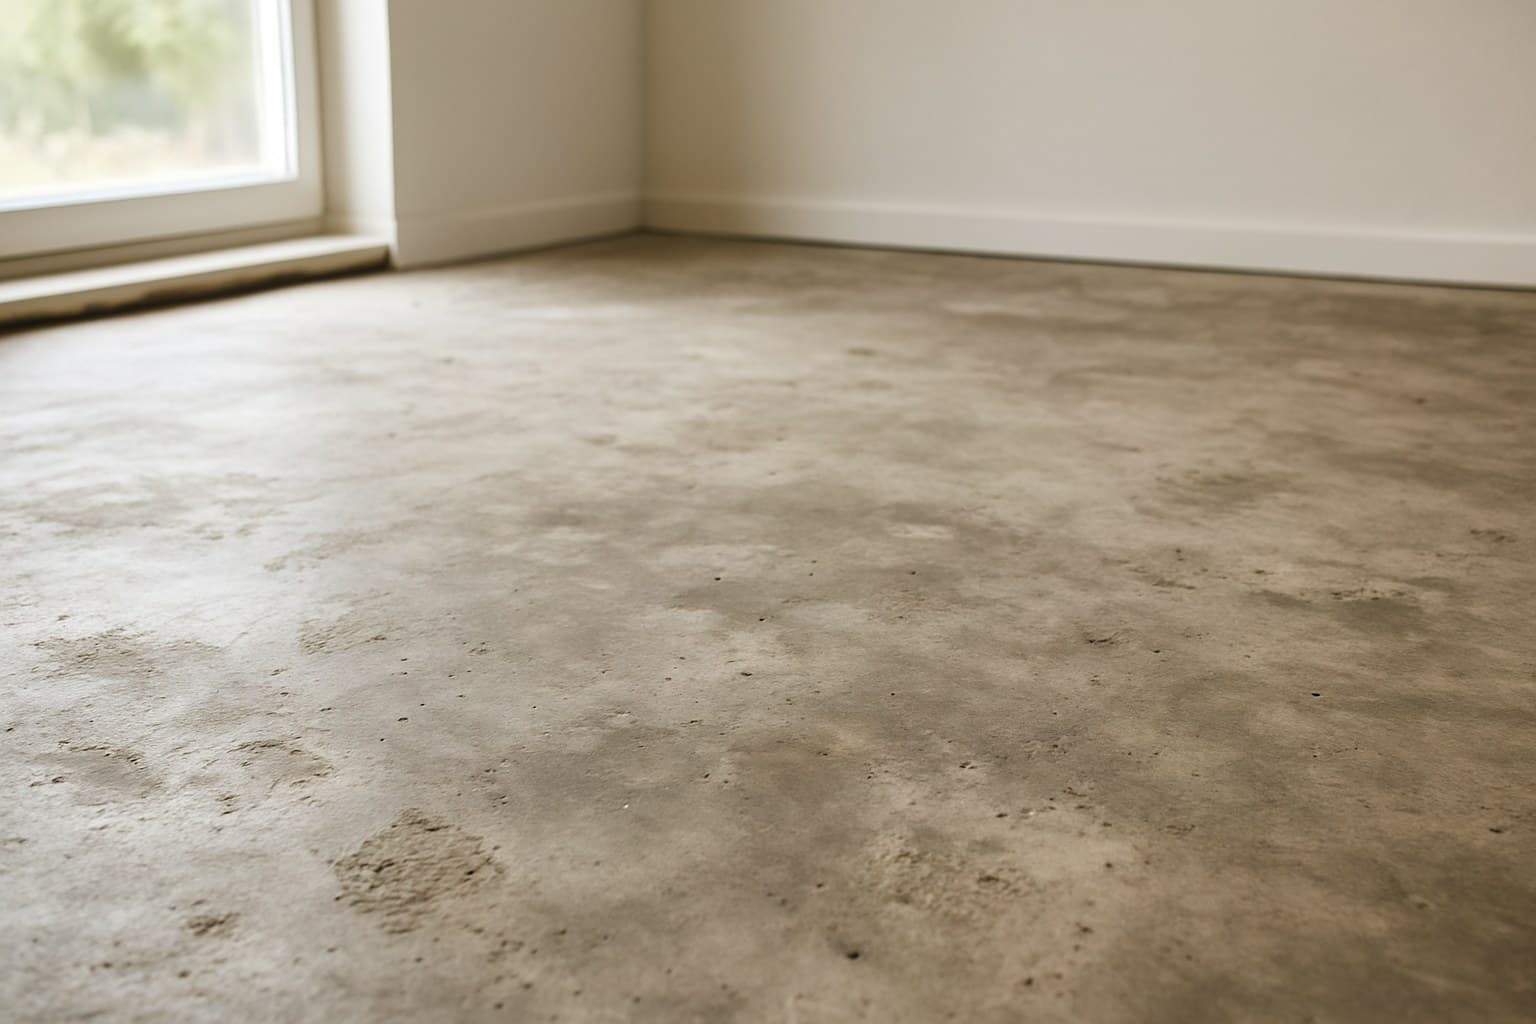
Moisture is the other half. A moisture meter is a small handheld tool with two pins or a flat pad that reads how wet the subfloor is. Concrete slabs and any below-grade room, meaning a basement or anything partly underground, need a moisture test the way the product sheet spells out. Concrete can push water vapor up into a floor for years, and that's what wrecks the wrong build.
Do this first because the subfloor decides what you're even allowed to install. A concrete slab, a plywood subfloor, and a below-grade room each rule some builds out before you get to color. Sort the subfloor, then shop.
Step 2: Match the Build Type to the Room (Where My Callbacks Come From)
Here's the short version: kitchens, baths, laundry rooms, and basements want a waterproof-core laminate or an engineered plank. Living rooms and bedrooms can take engineered or solid over the right subfloor. Match the build to the room and most problems never start. For a closer look at why engineered holds up so well in those wetter rooms, the engineered flooring guide breaks down what's actually inside that core.
I got called back to a house in Beaverton where a homeowner had run a driftwood laminate straight into a half-bath. Within a year the planks had puffed and lifted at every edge around the toilet and tub. The core had wicked up water at the seams and swelled. It wasn't a bad-looking floor, it was the wrong build for a wet room. I pulled it and put down a waterproof-core engineered plank with sealed transitions, and it's held.
Solid oak is the one to keep out of those rooms. Solid isn't recommended below grade or over concrete, because it moves too much with moisture and has nothing stable underneath to fight it. Engineered oak has a plywood-style core, so it stays put over slab and in basements far better. That core is the whole reason engineered exists. If you're still weighing solid against engineered for a room that isn't wet or below grade, the solid vs. engineered hardwood guide walks through picking the right build and species room by room.
Watch the doorways too. Where a wet room meets a dry one, that threshold has to allow both floors to move and keep water from creeping under. Getting that edge right matters as much as the field of the floor, and the wood-to-tile transition options walk through how to pick the strip that fits.
| Build | Best rooms | Moisture | Subfloor | Refinish? |
|---|---|---|---|---|
| Laminate (wood-core) | Living rooms, bedrooms, halls; some water-resistant lines suit kitchens | Low to moderate; core can swell if water sits at seams | Plywood or slab, floating | No, replace planks instead |
| Engineered hardwood | Kitchens, living areas, basements, over concrete | Moderate; most stable choice over slab and below grade | Plywood or slab, floating or glue-down | Sometimes, capped by veneer thickness |
| Solid hardwood | Living rooms, bedrooms, above-grade only | Low; not for baths, basements, or over concrete | Plywood, nail-down | Yes, usually several times |
Source: moisture calls here come from the wet-room driftwood floors I've torn out and refit
Which driftwood oak build fits which room, based on how each core handles moisture.
Radiant Heat: The Subfloor Scenario the Room Table Doesn't Cover
Heated subfloors are their own category, and driftwood oak's build type matters here just as much as it does over concrete or in a wet room. Engineered hardwood is the most forgiving choice over radiant heat: its plywood-style core resists the expansion and contraction that heat cycles cause, provided the manufacturer confirms the specific SKU is radiant-rated and you stay under their maximum surface temperature (most cap it around 80-85°F). Laminate can also work over radiant heat, but only when the product line is explicitly rated for it, the fiberboard core in a non-rated laminate can dry out, gap, or bow under sustained heat. Solid oak is the build to avoid here: it moves too much with temperature swings, and most manufacturers won't warranty solid hardwood over a radiant system at all. If you're chasing the driftwood look for a heated bathroom or kitchen floor, start with a radiant-rated engineered line and confirm the temperature limit with the maker before you buy.
Step 3: Read the Waterproof Claim by Build, Not the Brand Slogan
A "waterproof core" is not a waterproof floor. The claim means the plank body won't swell if it gets wet. It says nothing about the seams and edges where the planks meet, and the seams are exactly where water gets in. That's where I see failures, not in the middle of a plank.
Read the fine print by the exact product, not the category. If a line like Mohawk's RevWood or an allen+roth laminate carries a waterproof or water-resistant rating, that rating belongs to that named line and that SKU (the store's product code for that exact item, not the whole line), not to laminate as a whole. Two floors that look the same can carry very different claims. Never assume a rating you read for one line covers the driftwood box next to it.
The warranty is where the carve-outs hide. Standing water, the install method, and pet or scratch claims are often excluded, and the number of years differs by SKU. A floor sold as waterproof may still void the warranty if water sits on it, or if it was floated when the sheet called for glue-down. Read the actual terms for the product you're holding.
The plain rule for a true wet room: back up any core claim with sealed seams and the right transition at the door, and don't treat the whole floor as waterproof. The core buys you time. The seams are what you have to protect.
Step 4: Price It Out, Materials vs Labor, With a Worked Example
There's no single national price for this floor, so ignore any flat per-foot number. Split it into materials and labor, and price your own room. For driftwood oak, plan on roughly $4.69-$8.25 per square foot for the material itself, with laminate at the low end and engineered at the high end. Labor sits on top of that and swings by how the floor goes down.
Click-lock floating floors are the cheapest to install, usually about $2-$4 per square foot in labor. Glue-down and nail-down cost more, often $3-$6 per square foot, because they're slower and messier. Stairs cost more still, priced per step, not per square foot.
The open middle of a room is never where the time goes. I used to quote a flat rate by the square foot until a job full of closets, doorways, and a bay window ate a whole extra day. Now I count the cut-heavy areas separately. Basements, stairs, and rooms broken up by closets and doorways all cost more than a plain open room of the same size.
Here's how it adds up on real rooms.
| Job | Material | Labor | Installed total |
|---|---|---|---|
| 200 sq ft living room, click-lock laminate | $4.69-$6.00/sq ft = ~$940-$1,200 | $2-$4/sq ft = ~$400-$800 | ~$1,340-$2,000 |
| 120 sq ft kitchen, floating engineered | $5.50-$8.25/sq ft = ~$660-$990 | $3-$6/sq ft = ~$360-$720 | ~$1,020-$1,710 |
| Set of 13 stairs, driftwood oak treads | priced per tread, not per sq ft | higher per step than open floor | budget a premium over the open-room rate |
Source: labor is what I charge to install each build
Worked example costs for two common driftwood oak rooms, split into materials and labor.
Step 5: Pick the Width, Shade, and Finish That Match the Look
Once the build and budget are settled, chase the exact driftwood look. Width sets the feel of the room more than most people expect. Narrow strips read busy and traditional, while a wide plank spreads that weathered gray across fewer seams and looks calmer. Wide planks also move more with moisture, so the flatter and drier your subfloor, the happier they'll be. The tradeoffs I cover for wide plank walnut apply to a wide driftwood oak plank too.
Finish matters as much as color. Driftwood almost always looks best in a matte or low-sheen finish, often wire-brushed, meaning the soft grain is scrubbed out to leave a raised, textured surface. A glossy driftwood plank looks fake fast. Gray, weathered tones are still moving through homes right now, and if you're weighing pale versus warm you'll find the same debate in whether blonde floors are still in style and in which LVP colors are trending.
Pairing Driftwood Oak with Cabinets and Paint
The gray in driftwood oak reads differently depending on what's around it, and cabinet finish is the biggest lever in a kitchen or bath. Here's how the common pairings actually look in a room, from holding samples up against cabinet doors on site:
| Cabinet finish | How it reads with driftwood oak | Wall paint that works |
|---|---|---|
| White or off-white shaker | Clean, brightens the gray; the most forgiving pairing | Soft white, light greige |
| Navy or charcoal | Cool-on-cool; makes the driftwood look more silvery | Warm white, to balance the cool cabinet-floor combo |
| Natural or honey wood | Warm cabinet against a cool floor; needs a bridging color | Warm greige or soft taupe |
| Matte black | High contrast, modern; driftwood reads lighter next to it | Light gray or warm white |
| Sage or muted green | A common current pairing; the green picks up the floor's gray undertone | Cream or warm white trim |
Keep the undertones talking to each other: a driftwood floor with a strong cool-gray cast wants a cabinet and wall color that either matches that coolness or brings in enough warmth to balance it, not a warm-beige or yellow-gray that fights it. Bring an actual plank sample to the cabinet showroom or paint counter rather than trusting a photo on a screen, driftwood's undertone shifts too much under different light to judge from an image alone.
When you shop the shade, open a few boxes in daylight and lay planks out before you commit. Match across boxes, not one plank at a time, and again, buy the whole room from one batch so the gray stays consistent.
Step 6: Decide Whether to DIY or Hire It Out
Be honest about the install method, because that's what decides this, not the color. Click-lock laminate or engineered driftwood oak, floating over a flat, dry subfloor in a plain room, is realistic for a careful DIYer with a weekend and a few tools. That's the one job I'd tell most homeowners to try.
Hire out the harder ones. Glue-down and nail-down installs need the right adhesive or nailer and leave little room to fix a mistake. Stairs are slow, exacting work where a bad cut shows on every step. And a large open-plan floor that crosses from a wet room to a dry one, with a real moisture transition at the doorway, is where I earn my rate. Those are the jobs where paying a pro costs less than redoing your own.
Before you buy driftwood oak, go back to Step 1: run a straightedge across the subfloor and check it with a moisture meter. That two-part check, done before any box gets opened, is what keeps a driftwood floor flat and tight at the seams five years out. Skip it, and no build or brand will save the install.
If your driftwood floor is going in unfinished so you can control the gray on site, the sanding and finishing walk-through in how to finish unfinished hardwood on site is the next thing to read, since a driftwood tone lives or dies on how the finish goes down.