
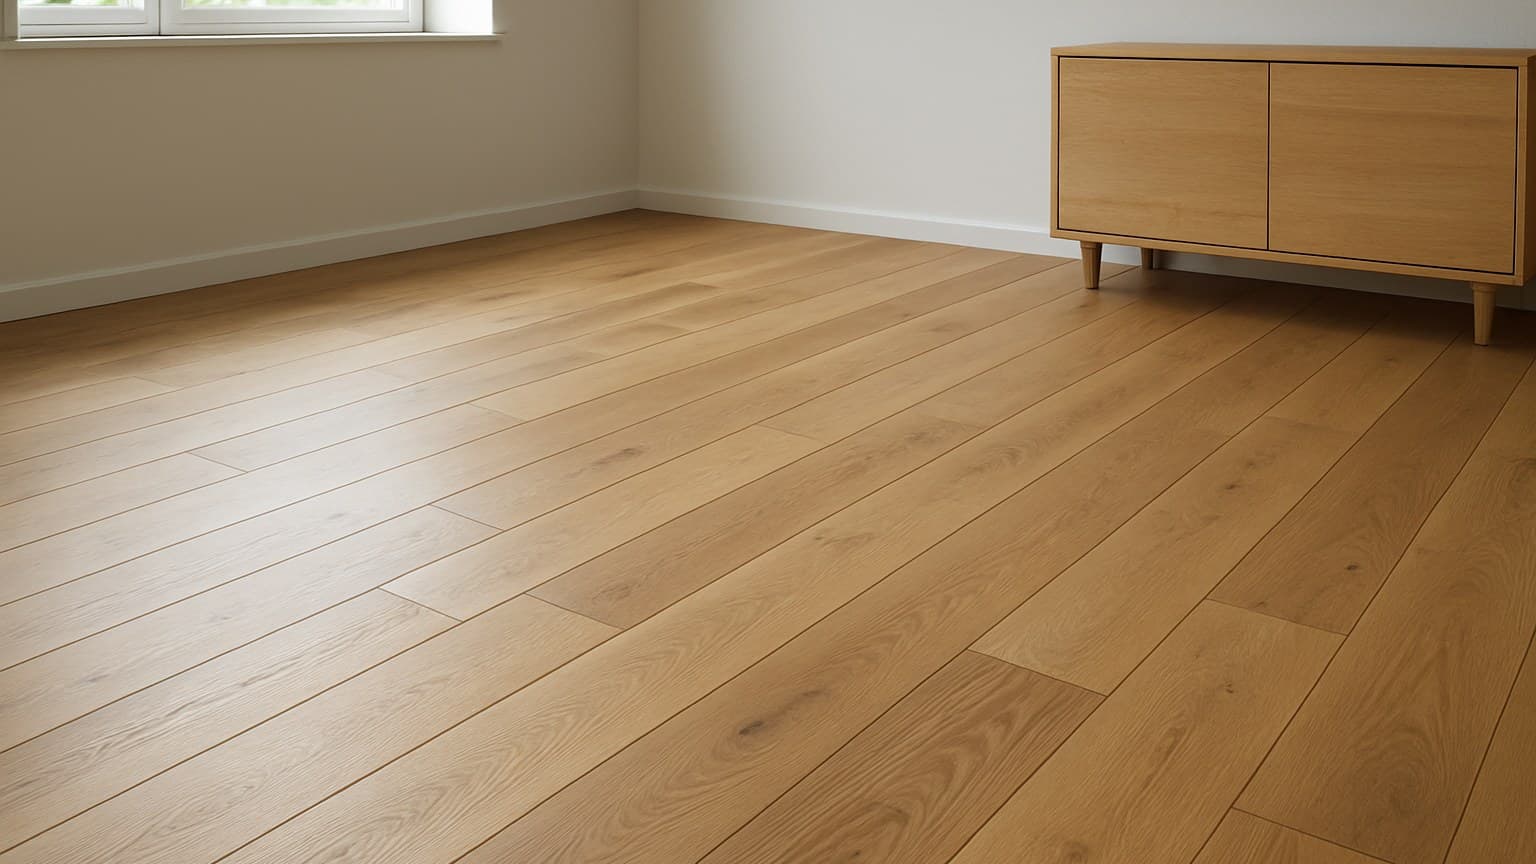
When Denise in Rockford, Illinois asked me to match her upstairs oak to a floor that could survive her walk-out basement, the flooring salesperson told her engineered wood was "waterproof and refinishable" and left it at that. That's marketing talk, not a spec. Engineered flooring is a thin layer of real hardwood glued to a stable plywood or HDF core, and whether it can be sanded again or survive a damp slab comes down to two numbers on the spec sheet: the wear-layer thickness and the moisture rating for that exact product. Here's how to check both before you spend a cent. If matching an existing floor like Denise's is where you're starting, my guide to choosing the right oak flooring walks through how to get a close match.
Key takeaways
- Engineered flooring is a real hardwood veneer bonded to a plywood or HDF core, so the surface is real wood, not a printed photo like laminate.
- Expect materials around $3-14/sq ft and install labor around $3-8/sq ft; basement and stair jobs cost more per foot than open rooms.
- Only the wear layer decides if you can refinish; veneers around 0.6-1mm can't be sanded, while roughly 3mm and up can usually take at least one refinish.
- The NWFA Refinishable Program is the one certification that tells you a specific product's wear layer is thick enough to sand, instead of taking the salesperson's word.
- Click-lock floating floors are realistic DIY; glue-down, nail-down, and stairs are usually worth hiring out.
What Is Engineered Flooring? The Short Answer
According to the National Wood Flooring Association's (NWFA) Homeowner's Handbook to Real Wood Floors, engineered flooring is a thin layer of real hardwood glued on top of a stable plywood or HDF core, so the surface you walk on is genuine wood, not a printed photo like laminate. HDF just means high-density fiberboard, a pressed wood core that barely moves when the humidity swings. If you want the fuller picture of how wood flooring in general is built and categorized before narrowing to engineered specifically, my wood flooring buying guide is a good place to start.
That stability is the whole reason it exists. A solid plank swells and shrinks with the seasons, which is why solid wood is usually a no over concrete or below ground. The layered core in engineered wood cross-stacks its plies so it stays put, and that lets it go into basements and onto slabs where solid can cup or gap. That same stability is why wide-plank engineered formats have gotten so popular, and my white oak engineered flooring guide covers how much wider you can safely go before that logic breaks down.
The rest of this guide turns every marketing word, waterproof, refinishable, eco-friendly, into a spec you can look up yourself before you buy.
Construction: What's Actually Under Your Feet
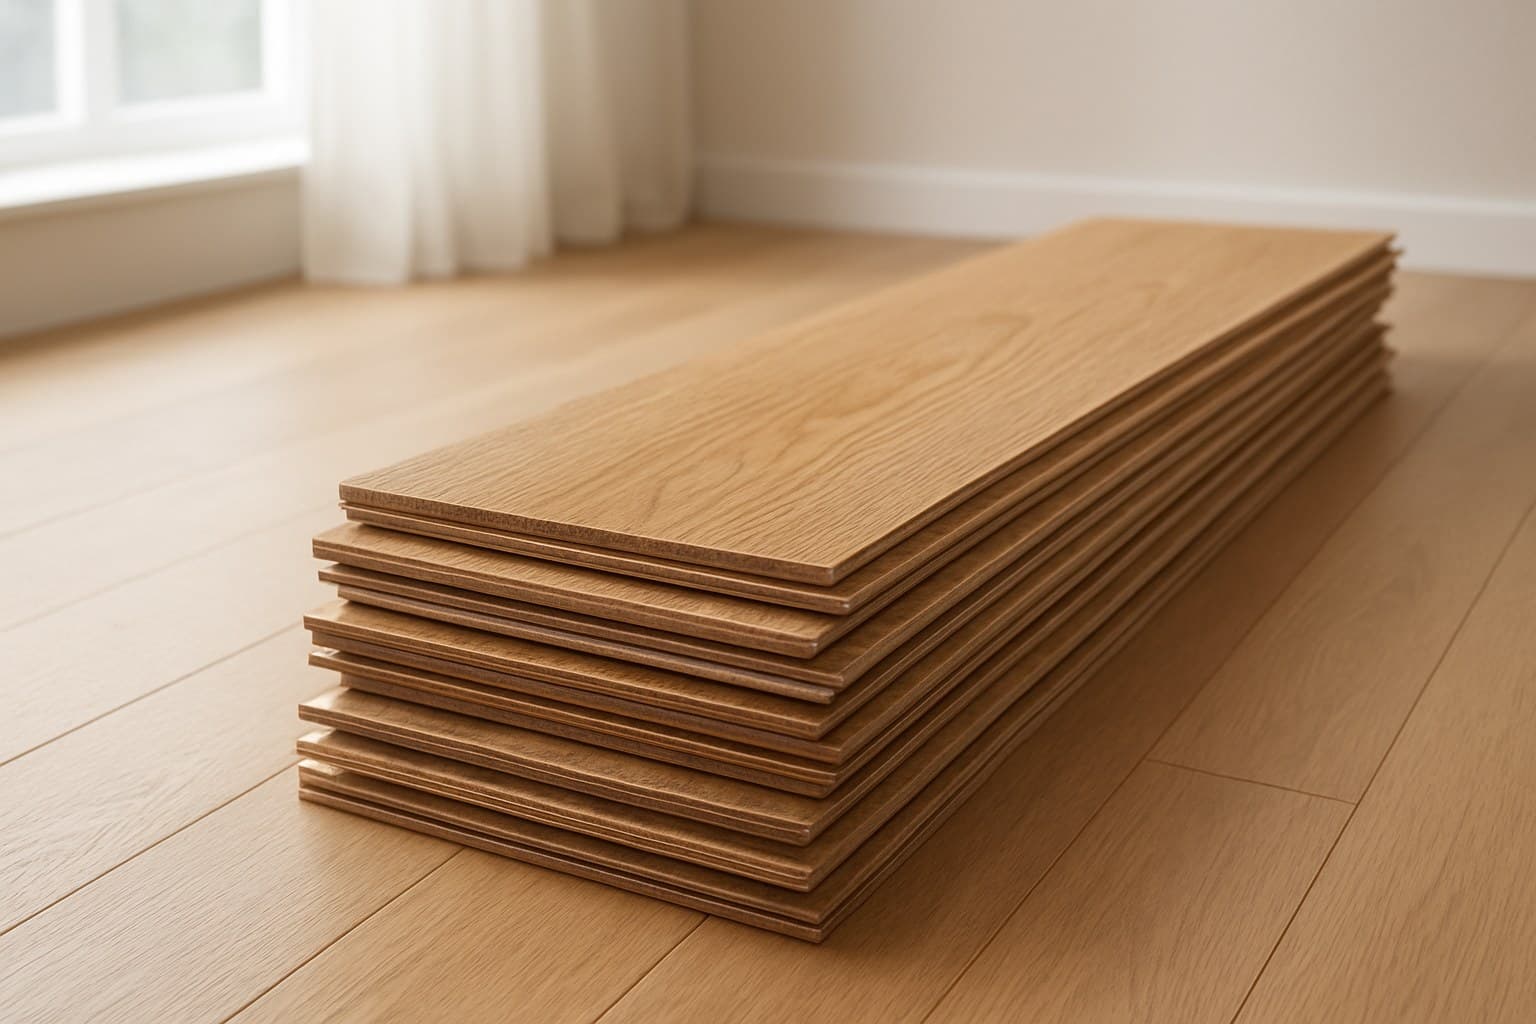
Every engineered plank is four parts stacked top to bottom, and only one of them decides whether you can ever sand the floor. If you'd rather skip the spec-sheet homework and just see which products get all four layers right, my best engineered hardwood flooring picks round up the ones worth considering.
On top is a clear finish coat, often aluminum oxide, a hard mineral coating pressed into the surface layer to fight scratches and daily scuffing. Under that sits the wear layer, the real hardwood veneer, and this is the part that matters most. It's measured in millimeters and varies by product: builder-grade lines typically run a paper-thin 0.6 mm or so, while premium products can run 6 mm or more. Below the veneer is the core, either plywood (roughly 3 to 10-plus thin wood plies cross-stacked) or HDF. More clean, tightly stacked plies usually mean better stability. Last is a backing layer that balances the plank so it stays flat instead of cupping. If that top-tier 6 mm number is what you're weighing against the price difference, my 6mm wear layer engineered flooring guide breaks down whether the extra cost is actually worth it.
Two things people forget. First, the species on top still behaves like that species. An engineered maple floor dents like maple, not like its core, so hardness still matters, and if you like maple's clean look you should know how much it actually moves before you commit. Second, a real-wood veneer still ages like real wood. A species like Brazilian cherry keeps shifting color in sunlight, engineered or not, which is why you check how these floors darken before you build a room around them. French oak sits at the other end of that aging spectrum, holding its tone far more evenly over time, which is one reason my guide to choosing French oak flooring gets asked about so often.
Solid vs. Engineered: Which Belongs in Your Room
The short version: engineered wins on stability over concrete and below grade and usually costs less per square foot, while solid wins on thickness and how many times you can sand it back to fresh. Both are real wood on the surface, so the difference is the core underneath, not the look. And if that surface look is what's driving your decision, it's worth checking whether blonde floors are still trending or already on their way out before you commit to a finish.
Here's the room logic I used on a basement remodel for a customer in Aurora, Colorado: for basements, concrete slabs, and radiant heat, engineered is the safe call because the core shrugs off humidity swings that would wreck solid. For a main-floor room you plan to keep and refinish for decades, solid gives you more wood to sand over its life. Over concrete or below grade, engineered is yes and solid is usually no. On refinishes, solid takes many, engineered takes anywhere from zero to a few depending entirely on that wear layer. Laminate sits on a different part of that same spectrum, and which rooms laminate flooring actually works in runs through that same room-by-room logic for a tighter budget.
That's the summary. If you want the full breakdown by species and core, I go deep in how to pick solid vs. engineered and the right species for your room.
What Engineered Flooring Really Costs (Materials vs. Labor)
There is no honest single flat number. Materials run roughly $3-14 per square foot and install labor runs roughly $3-8 per square foot, and the two move for different reasons.
The material price tracks the wear layer more than anything else. Cheap builder-grade planks with a 0.6-1 mm veneer land at the bottom; premium floors with a thick veneer you can sand two or three times sit at the top.
| Tier | Wear layer | Materials/sq ft | Refinishes |
|---|---|---|---|
| Budget / builder-grade | ~0.6-1 mm (e.g. Mohawk's entry engineered lines) | $3-5 | None |
| Mid-range | ~2-3 mm (e.g. Bruce's mid-tier engineered oak) | $5-9 | Usually 1 |
| Premium | ~4-6 mm (e.g. Shaw's Reflections collection) | $9-14+ | 2-3+ |
| Install labor (any tier) | n/a | $3-8 labor/sq ft | Higher for basements/stairs |
Source: labor figures from engineered floors I've fitted and quoted
Cost tiers by wear-layer thickness; the material figures are before any labor.
Labor swings with the install method and the room. Floating click-lock in an open room is the cheapest to fit. Glue-down and nail-down cost more because they take more time and skill. Basement and stair jobs cost more per foot than open rooms, because of the extra moisture prep, the transitions, and all the cuts. Stairs in particular eat labor hours fast.
| Room Type | Labor ($/sq ft) | Why It Costs More |
|---|---|---|
| Open room, floating click-lock | $3-5 | Baseline install, no extra prep |
| Basement (below grade) | $5-8 | Moisture barrier and extra prep time |
| Stairs | $6-8+ | Extra cuts, nosing, more labor hours |
Cheap, Sale, and Wholesale Engineered Flooring: What's the Catch?
The catch is almost always the wear layer. A $3 per square foot clearance or wholesale deal is usually a 0.6-1 mm veneer, which looks fine on day one and can never be sanded when it wears through. That's a floor you replace instead of refinish. Sale pricing is real and worth chasing, just flip the plank over and confirm the veneer thickness before the price sells you.
Where You Can (and Can't) Put It
That test is not optional. I've walked into more than one basement job in Aurora, Colorado where the slab felt dry to the hand but read wet on the moisture meter, a handheld tool that measures how much water is trapped in concrete or wood before you cover it. Skip that check and the plank pays for it later.
Radiant heat is fine only if that specific product is rated for it. Never assume, check the box.
Now the part the ads gloss over. A "waterproof core" is not the same as a waterproof floor. A product like Shaw's Repel HydroLock line advertises a core that can sit in standing water without swelling, but water still sneaks in at the seams and edges, and that is where most floors actually fail, waterproof core or not. So full bathrooms and laundry rooms stay risky no matter what any single product's core claims. If you are putting wood next to a wet zone, plan a clean transition where it meets tile, and my wood-to-tile transition guide walks through the one measurement that decides which transition works.
Where engineered flooring belongs by grade level, with the verdict for each spot.
Installation Methods: Which One You Can DIY
Engineered flooring goes down four ways, and the method decides whether this is a job you can do yourself or one worth hiring out. Click-lock floating is realistic for most homeowners. Glue-down, nail-down, and anything on stairs are usually worth paying a pro for, because the mistakes there are expensive and hard to undo.
| Method | Attaches to | DIY? | Best for |
|---|---|---|---|
| Nail / staple down | Wood subfloor | Hire (tools + skill) | Thicker planks over plywood |
| Glue-down | Concrete or wood | Hire (messy, unforgiving) | Slabs, quiet feel |
| Floating click-lock | Nothing (locks to itself) | Yes, DIY-friendly | Most rooms, over slab or wood |
| Floating glue-seam | Plank edges only | Moderate | Older tongue-and-groove products |
Source: the four methods as the product install guides I follow spell them out
The four common install methods and which ones a homeowner can realistically DIY.
Whichever method you pick, do not skip the prep. Per the NWFA's published installation guidelines, check the subfloor for flatness and run a moisture reading on the slab or wood below before a single plank goes down. This is the step that decides whether the floor stays flat and whether the warranty holds, and it is the step people skip because it is boring. A hump you talk yourself into ignoring becomes a bounce or a gap you cannot fix later.
And leave the expansion gap around the perimeter that the manufacturer's own sheet calls for, not a number you found online. Floating floors need room to move, and the exact gap changes by product.
Acclimation Mistakes That Actually Cause Problems
Acclimation means letting the unopened flooring cartons sit in the room where they'll be installed long enough for the wood to match that room's temperature and humidity, before a single plank goes down. Skipping it, or doing it halfway, is one of the most common causes of gaps, cupping, and squeaks that show up weeks after a "perfect" install, after the crew is long gone and it reads as a bad floor instead of a skipped step.
The mistakes I see most on real jobs:
- Assuming engineered floors don't need acclimation because the core is "stable." Stability reduces movement, it doesn't eliminate it, the wear layer on top is still solid wood. Every manufacturer's own spec sheet lists an acclimation window for that specific product; check it instead of guessing, since it varies from as little as a day or two on some floating floors to a week or more on thicker nail-down products.
- Not running the HVAC at normal living conditions during acclimation. A house sitting at construction-site humidity with no heat or AC running acclimates the wood to the wrong number, then the floor moves again once you actually move in and start living normally.
- Stacking cartons flat and sealed tight against a wall instead of spacing them so air can reach the planks on all sides, which slows or blocks the wood from equalizing at all.
- Storing the flooring in a garage or an unconditioned space right up until install day, then carrying it straight into the living room. That's a shock to the wood, not acclimation.
- Skipping the moisture reading after the wait is over. The point of acclimating is to reach a target moisture content that's close to the subfloor's; if nobody checks with a meter at the end, you're hoping the time was enough instead of confirming it.
Get this step right and the expansion gap above does its quiet job for years. Get it wrong, and no gap width fixes it after the fact.
How Many Times Can You Refinish It? Check the NWFA Program
The only thing that decides whether you can refinish an engineered floor is the wear layer, the real-wood veneer on top. A thin 0.6-1 mm veneer cannot be sanded at all, because there is not enough wood above the core to remove without hitting it. A veneer around 3 mm and up can usually take at least one refinish, and the thickest premium floors can handle two or three.
The problem is that salespeople round up. This is where the NWFA Refinishable Program comes in. NWFA is the National Wood Flooring Association, and its published Refinishable Program certification confirms that a specific product's wear layer is genuinely thick enough to be sanded and recoated. It's the one stamp that lets you stop taking a salesperson's word and check the actual product instead.
So before you buy a floor you hope to refinish someday, do two things: find the veneer thickness on the spec sheet, and look for that Refinishable certification on the exact product line. If you want to understand what refinishing on site actually involves, sanding, staining, and sealing raw wood, my guide to sanding and finishing unfinished hardwood on site shows the process a pro follows and why a thin veneer can't survive it.
What the EPD Actually Certifies (Sustainability, Carbon, and Indoor Air)
The two NWFA Environmental Product Declarations in the sources below aren't just paperwork to link to, they're the actual data behind any "eco-friendly" claim a salesperson makes about engineered flooring. An Environmental Product Declaration is an independently verified, standardized report that quantifies a product's environmental footprint across its full life cycle, from harvesting and milling the wood, through manufacturing the panel and finish, to years of use and eventual disposal, rather than a one-line marketing claim.
Two things in that kind of report matter most to a homeowner. First, it's built on a functional unit: the study defines a specific quantity of flooring over a stated service life and reports impact against that baseline, so a claim can be checked against a number instead of trusted on an adjective. Second, it reports specific impact categories rather than a vague "green" score, including the product's carbon footprint (its global warming potential from harvesting through manufacturing and transport) and indoor air quality data such as VOC (volatile organic compound) emissions from the finish and adhesives, the numbers that actually affect the air in your house after the floor goes down, not just the forest it came from.
NWFA reissued the engineered wood flooring EPD in 2025 after an earlier 2023 version, which is normal for this kind of study; the industry-average data behind it gets updated as manufacturing and sourcing shift, so the 2025 version is the one to check for current figures. If you want the exact carbon and VOC figures for the industry-average engineered floor rather than my summary of what the report covers, read the declaration itself, that's what it's there for. And if a specific product you're considering isn't backed by an EPD from its manufacturer, ask for one before you take "responsibly sourced" or "low-VOC" at face value, the same way you'd ask for the wear-layer number instead of taking "refinishable" at face value.