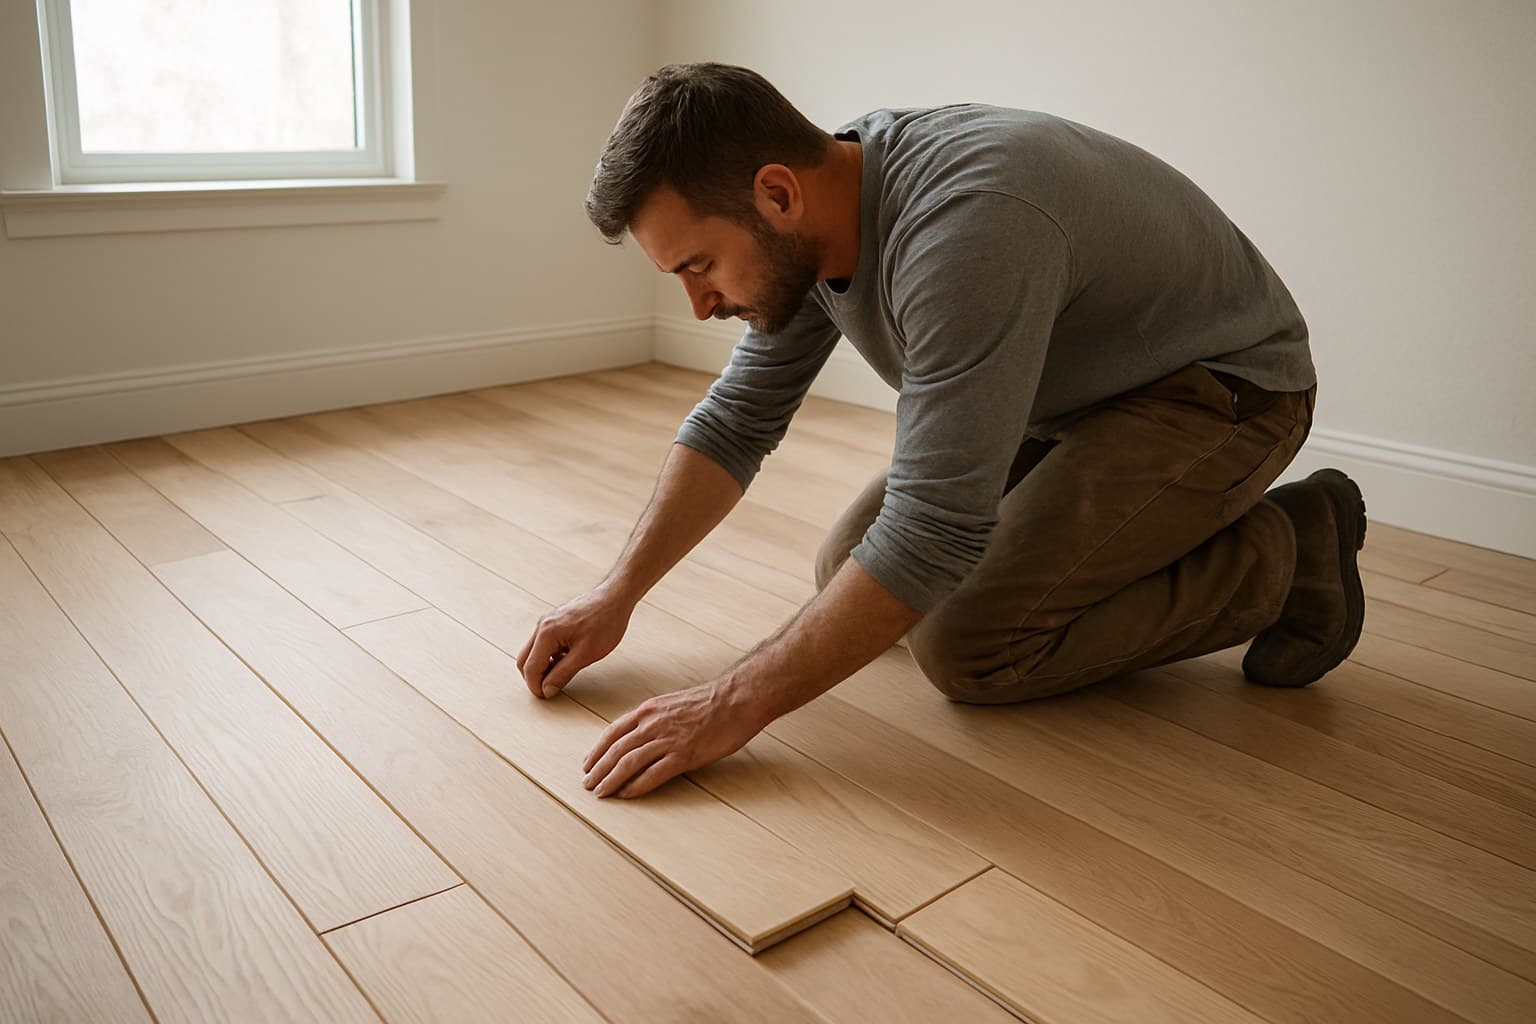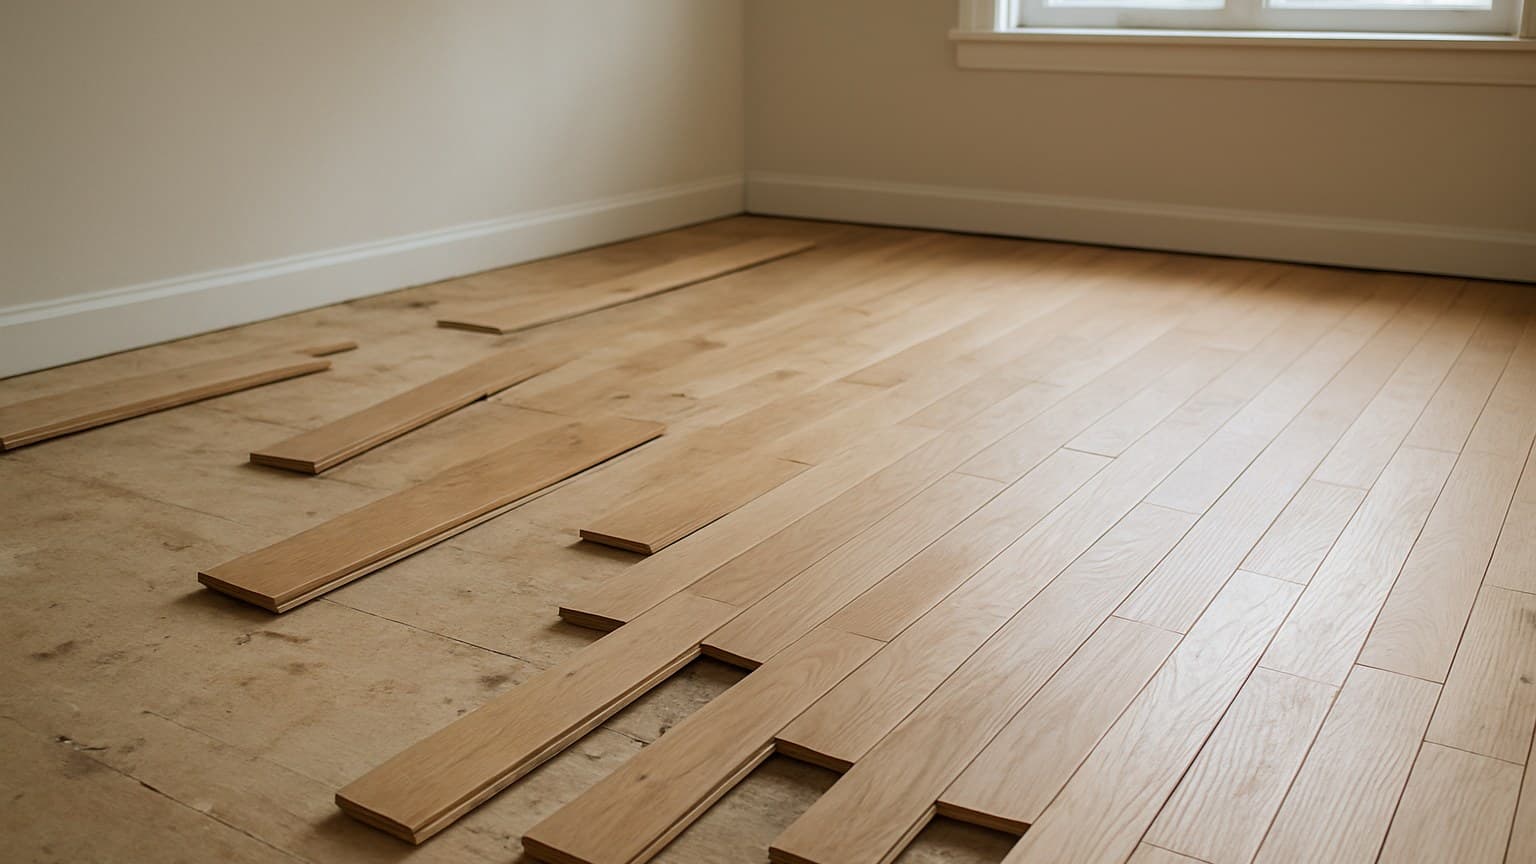
Bare boards, no finish, sanded and coated right in the room where they live. That's unfinished hardwood flooring, and people choose it for one big reason: it's the only way to match an existing floor exactly or hit a custom stain no prefinished box sells. The catch is time. Between sanding, staining, and two or three coats of poly, the room can be out of use for the better part of a week, and on every DIY job I've walked into, that's the part they underestimate.
I've laid and finished plenty of these floors, including matching an addition into a floor that was already 40 years old. Below is the whole process in order, plus the checks that decide whether the floor lasts, and an honest material-versus-labor cost split.
Key takeaways
- Unfinished flooring is the right call when you need to match an existing floor or hit an exact custom stain, but you pay for it in days: sanding, staining, and 2-3 poly coats can put a room out of use for the better part of a week.
- Check moisture and flatness before anything else. Kiln-dried boards land around 6-9% moisture content and the room should sit near 35-55% relative humidity; skip the check on a slab and the floor cups or gaps on you.
- Sand in a grit sequence (roughly 36 to 60 to 80-100) and never skip grits, or the scratch pattern shows through the stain forever.
- Split your budget: unfinished material runs about $2.70-$8.49 per square foot (Stonewood Products pricing), then add separate sanding and finishing labor on top; prefinished skips the finishing labor and the downtime.
- Solid vs engineered comes down to what's under the floor: over a dry wood subfloor above grade, solid 3/4-inch is fine; over a concrete slab or in a basement, engineered usually wins.
What You Actually Get With Unfinished Hardwood (and Who Should Buy It)
Unfinished means you're buying raw wood and doing the finishing yourself, or paying someone to. You sand the boards flat after they're nailed down, then you stain and seal them in place. That's the whole point of it: total control over the color and a surface with no factory micro-bevels between boards.
The tradeoff is real. You buy a match with no visible seam and a custom color, but you also buy days of downtime, a lot of fine dust, and finish fumes that prefinished flooring skips completely.
From what I see on jobs, unfinished is the right call in a few clear cases. You're matching an addition into a 1950s red oak floor and need the seams to disappear. A client already picked a stain that no manufacturer sells prefinished. Or you want a wide custom width with a filled, glass-flat surface — though before you commit to going that wide, it's worth checking when extra wide planks start to cup so the width doesn't work against the finish. It's the wrong call for someone who wants to walk on the floor this weekend.
Species and format are just choices within that. Solid unfinished, unfinished oak, unfinished red oak, and white oak unfinished aren't different products. They're the same idea in different wood. That kind of naming confusion isn't unique to hardwood, either — shoppers run into the same mismatch with products marketed as bamboo vinyl flooring, where the name on the box doesn't always match what's actually underfoot.
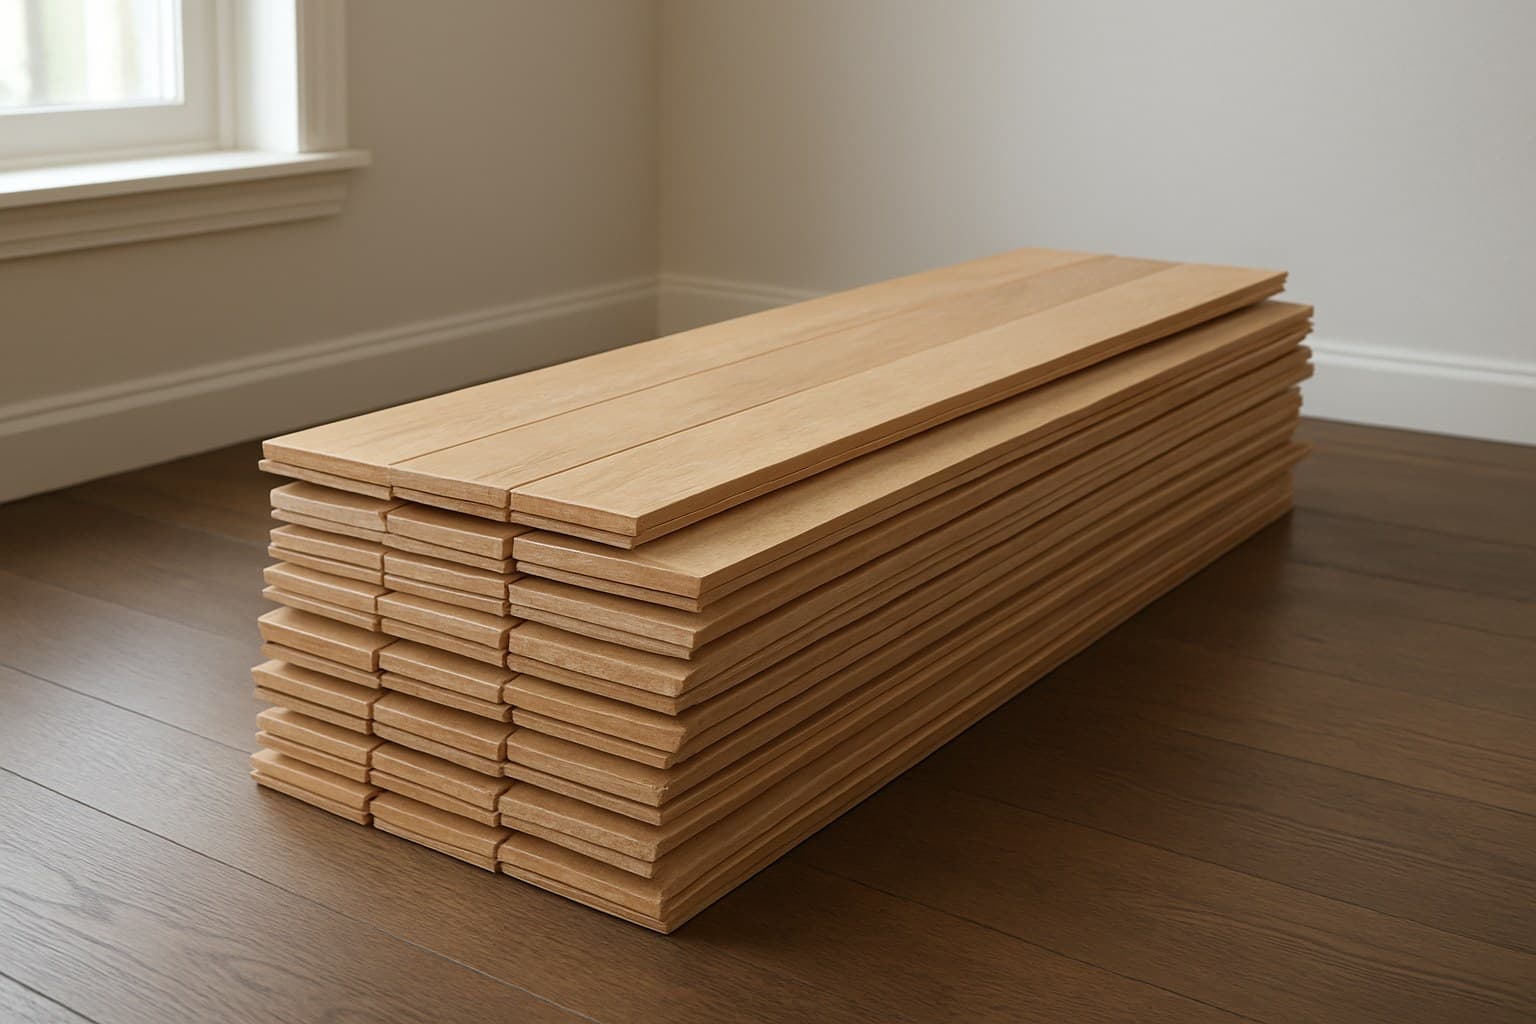
Solid vs. Engineered Unfinished: Let the Subfloor and Humidity Decide
What's under the floor makes this call, not the price tag. Over a dry wood subfloor above grade, solid 3/4-inch is fine. Over a concrete slab or anywhere below grade, engineered handles moisture swings better and is the safer bet.
And yes, you can buy engineered unfinished. It has a bare real-wood top layer that gets sanded and finished on site, so a custom match isn't a solid-wood-only option. That surprises a lot of people.
The difference that matters over the life of the floor: solid can be sanded and refinished many times, while engineered has a thin real-wood wear layer that limits how many sandings it takes. The maker states that wear-layer depth per product, so check the spec sheet before you assume you can sand it twice. For the full breakdown, see our guide on how to pick solid versus engineered hardwood and the right species for your room.
Where each unfinished floor belongs, by location.
Picking a Species: Janka Hardness for the Room It's Going In
Start with dent resistance. The Janka rating measures how well a wood resists dents and dings, so for a busy kitchen or a house with dogs you want a harder species. But harder wood cuts two ways. It's tougher to sand, and some hard species take stain blotchier — maple is a classic example, prized for that pale, blonde look but notoriously uneven when stained darker. If that light color is really what you're after, it's worth comparing how blonde maple stacks up against blonde oak in vinyl plank before committing to real wood and the sanding headaches that come with it.
Here are the Janka numbers for the common unfinished choices:
| Species | Janka rating |
|---|---|
| Heart pine | 870 |
| Black walnut | 1010 |
| Red oak | 1290 |
| White oak | 1350 |
| Hard maple | 1450 |
| Hickory | 1820 |
| Brazilian cherry | 2350 |
Janka hardness ratings for common unfinished hardwood species; higher resists dents better.
Now the staining reality, because this is where color surprises people. Maple and pine drink stain unevenly and can blotch. Oak, both red and white, takes stain evenly across the grain. That even uptake is a big reason oak is such a popular unfinished choice, especially with clients chasing that light, natural look now that blonde floors are back in style and want to know how to keep them from yellowing. If you're set on a dark, uniform stain, oak makes your life easier than maple.
For a very hard exotic, look at why Brazilian cherry floors keep getting darker after install. At Janka 2350 it's dent-tough, but it keeps deepening in color for months, so your sample won't match the floor in a year.
Grades Explained: Select, Common, and Character
Grade is about looks, not strength. It describes how much color variation, knots, and streaking the boards show. Every grade is structurally sound, so a lower grade isn't a weaker floor.
Here is how the grades run:
- Select and Better: clean, uniform color, few knots. The calmest look and the most expensive.
- #1 Common: some knots, more color change board to board. A middle price and a lively look.
- #2, #3 Common, and Character grades: heavy knots, streaks, and swings in tone. Rustic, and the cheapest.
Here's a tip that trips people up. When you're matching an old floor, you usually want a lower, more varied grade, not the cleanest one. Old floors have color movement baked in from decades of sun and wear, and a flawless Select board next to them looks like a patch.
The grade names on a supplier's site aren't marketing invention. The hardwood industry uses standardized grading rules (long known under NOFMA), so "Select" and "#1 Common" mean roughly the same thing from one mill to the next.
Width, Length, and Cut: Where Wide Planks Go Wrong
The wider the board, the more it moves. A 5-inch-plus plank expands and contracts more across its face than a 2 1/4-inch strip, so wide planks are more likely to gap in winter and cup in summer — if you want the full list of what can go wrong, our breakdown of the real downsides of wide plank flooring covers it. That's why wide solid boards often need glue-assist on top of nailing.
Standard unfinished widths are 2 1/4-inch and 3-inch strip flooring. Wide plank generally starts around 5 inches and goes up, and if you're wondering whether that look has staying power, current trends in wide plank flooring show it's more popular than ever. Mixed lengths, rather than every board the same, look the most natural once the floor is down.
The cut of the wood changes how it moves:
- Plainsawn: the cheapest and most common, with the classic cathedral grain. It moves the most.
- Rift and quartersawn: straighter, tighter grain that stays more stable. It costs more.
- Live sawn: a single log cut to show a mix of all those grain patterns.
My own install rule on wide solid boards over a wood subfloor: I nail and run a bead of adhesive under them. Nails alone let wide planks lift at the edges over time, and a glued-and-nailed wide floor stays put where a nailed-only one starts talking back underfoot. This matters even more once you get into the 12-inch range, where our guide on whether 12-inch wide plank floors stay flat walks through why those extra-wide boards are more prone to cupping and gapping if they're not secured this way.
Before Any Finish: Acclimation, Moisture, and a Flat Subfloor
Do this before the boards go down and before you sand: check moisture and check flatness. This is the step that decides whether the floor lasts 5 years or 20, more than the species you picked.
Real targets to work to. Kiln-dried boards usually sit around 6-9% moisture content, and they should land within a few points of the subfloor's reading. Keep the room near 35-55% relative humidity while the wood settles. Acclimation time follows the maker's install sheet for that product, not a generic "leave it a day or two," because a damp basement and a dry winter house aren't the same room.
For flatness, I get down with a long straightedge and put a light behind it. On one job, that light showed a hump right where a support beam sat underneath, and no amount of sanding was going to fix that without grinding the subfloor itself first. A high spot makes a board rock and the seams open; a low spot shows a gap of light and needs filling before anything else.
The check I've stopped skipping is the slab moisture test. Years back I let a client talk me into skipping it to save a day. That was the one time the floor cupped, and I ate the callback. Now it happens on every slab, no exceptions.
How a straightedge and a light reveal high and low spots before you lay or sand.
The On-Site Finishing Process, Step by Step
Here's the part no other guide walks through: what happens after the bare boards are nailed down. Do these in order.
- Rough sand to cut the floor flat. Start with a coarse grit, roughly 36-grit, on a drum or belt sander to level the boards and knock down any lippage, that's the small ridge where the edge of one board sits a hair higher than the board next to it, between planks. This pass makes the floor flat, not pretty.
- Sand up through the grits. Follow with about 60-grit, then 80 to 100-grit to refine the scratch pattern. Never skip a grit. Jumping from 36 straight to 80 leaves deeper scratches the finer paper can't erase, and those show through the stain forever.
- Edge and screen. Sand the borders the big machine cannot reach with an edger at matching grits, then screen (a light buff) the whole floor so the field and the edges blend.
- Vacuum and tack. Vacuum every bit of dust, then wipe with a barely damp cloth or tack cloth. Dust left on the floor lands in your finish as bumps.
- Water-pop if you are staining dark. Wiping the raw floor with a little water opens the grain so it takes stain more evenly and deeper. This is optional but helps on oak.
- Apply stain, then wipe. Work in sections, spread the stain, and wipe the excess before it sets. Let it dry per the can, often overnight, before any topcoat.
- Apply the finish coats. Roll or pad on your poly. Most floors get 2-3 coats, with a light screen and a vacuum between coats so the next one grips.
That grit sequence and the between-coat cleanup are where DIYers lose the whole job. A skipped grit or dust in the finish isn't something you buff out later; you sand back and start again.
How Many Days Is Your Room Off-Limits?
Plan on the better part of a week for a stained floor, not a weekend. Sanding a normal room takes a day. Staining plus dry time is often another day. Then each poly coat needs to dry before the next, and 2-3 coats stretch across two or three more days.
The bigger wait is cure, not dry. A finish can feel dry to the touch in hours but isn't fully cured for days. As a working rule I tell clients: wait about 24 hours before walking in socks, several days before moving furniture back, and a couple of weeks before laying down rugs so the finish can breathe and harden.
Oil-based poly smells stronger and cures slower than water-based. Water-based finishes dry faster and let you recoat sooner, which can shave a day off the room being closed. Either way, this downtime is the true cost of unfinished, and it's what prefinished flooring skips. If even prefinished still sounds like too much hassle, it's worth seeing how convincingly hickory-look vinyl plank flooring can pass for the real grain without any sanding, staining, or cure time at all.
What Unfinished Hardwood Actually Costs
Split it into two buckets, because a single number hides where the money goes. First the material, then the labor to sand and finish it. Basement and stair jobs run higher than an open room, since they're slower and more cut-heavy. To see those two buckets applied to an actual space, the line-by-line cost math for a 12x12 room walks through all 144 square feet.
According to pricing data from Stonewood Products, unfinished hardwood material typically runs $2.70 to $8.49 per square foot depending on species, grade, and width, here's how that stacks up against the labor to finish it:
| Cost piece | Typical range (per sq ft) | Notes |
|---|---|---|
| Unfinished material | $2.70 - $8.49 | Varies by species, grade, and width |
| Sanding labor | roughly $2 - $4 | More on stairs and small rooms |
| Staining + finishing labor | roughly $2 - $5 | Rises with extra coats and custom color |
Labor figures are typical installer ranges and vary by region, get local quotes to confirm.
Material vs. labor cost pieces for unfinished hardwood, per square foot.
Two things to notice. Prefinished costs more per plank but skips the sanding and finishing labor and the downtime, so the totals can land closer than they first look. And any per-foot labor number is a starting point to confirm with local quotes, not a fixed rate. For the full picture on what the install itself runs, our hardwood floor installation cost guide breaks it down further. If you already have an old floor to save rather than replace, the math shifts toward refinishing instead.
Unfinished vs. Prefinished: Which Should You Buy?
Buy unfinished when you need an exact match or a custom color, and buy prefinished when you want the floor usable fast with less mess. Neither is universally better; they solve different problems.
Unfinished wins on a filled surface with no seams and no micro-bevels, a color you control completely, and a match into an existing floor that prefinished simply can't fake. It costs you days and dust to get there.
Prefinished wins on speed and predictability. The finish is factory-applied and often tougher out of the box, there are no fumes in your house, and you walk on it the day it goes down. The tradeoff is the small beveled edge between boards and a color chosen from a catalog, not mixed to your wall.
My honest steer: if you're matching an old floor or you have a specific stain in mind, unfinished is worth the downtime. If you just want a solid wood floor down quickly, prefinished saves you the hardest, dustiest part of the job.
DIY or Hire a Pro?
Be honest with yourself about the sanding. Laying and nailing unfinished boards is within reach for a patient DIYer, but the drum sander is where jobs go wrong. That machine cuts fast, and if you let it sit in one spot or tip it, it digs a dish into the floor that shows through every coat of finish.
Hire out the sanding and finishing when the floor is large, when it's stained a dark or custom color that punishes uneven sanding, or when it's over a slab with any moisture question. Stairs are their own pro job. So is a big open-plan floor where the color has to stay dead even across a wide room.
Where DIY makes sense: a small, above-grade room, a natural or light finish that forgives minor unevenness, and time to go slow. Bedrooms often fit that exact profile, and since flooring choices there can affect resale down the line, it's worth checking whether hardwood in bedrooms boosts home value before you commit to a finish. Rent a good machine, practice your grit sequence in a closet first, and keep the sander moving.
If you're still weighing wood species and construction before you even get to finishing, our cornerstone guide to picking solid versus engineered hardwood and the right species is the right next read, because those choices decide how the floor sands and stains later.