
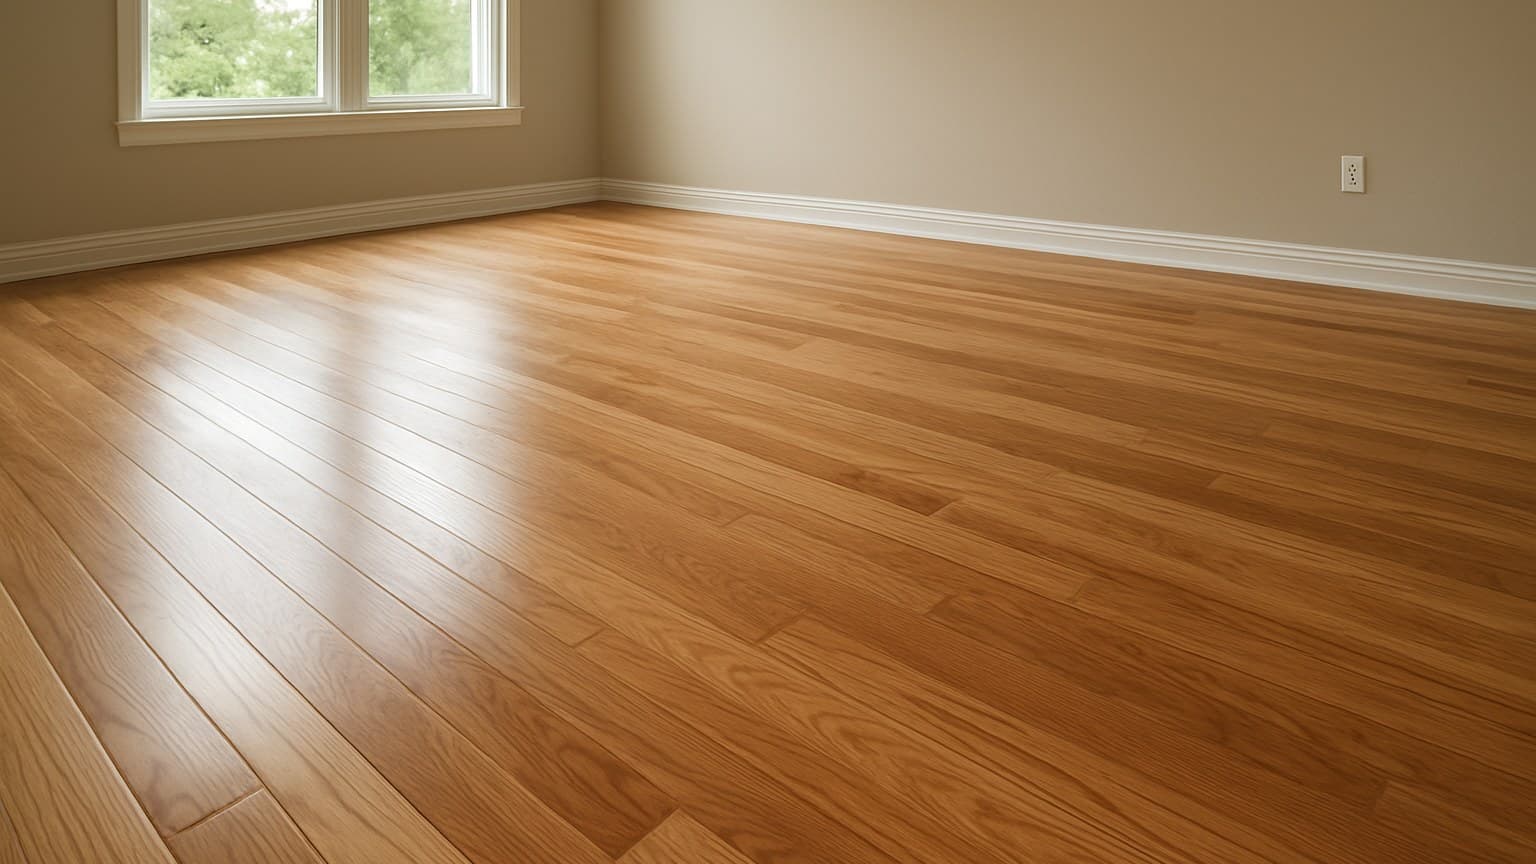
In Aurora, Colorado, I tore out a prefinished floor for a homeowner named Dana that had buckled within a year because she'd bought the wrong core for her walkout basement slab. Prefinished hardwood hides its biggest decisions inside a spec sheet, and skipping them is what causes calls like hers. Ignore the veneer thickness or the core, and no warranty saves you. Settle these nine calls before you order a single box.
Key takeaways
- Settle solid vs engineered first: engineered handles concrete and below-grade slabs where solid wood usually should not go.
- The factory aluminum oxide finish is harder than any coat brushed on at the jobsite, but warranties cover the finish wearing through, not scratches or dents.
- You can only refinish down to the veneer. A solid floor sands many times; a thin-veneer engineered floor may sand once or not at all, so check the wear layer before you buy.
- Wood has to acclimate to a stable room. NOFMA targets 6-10% moisture content, and skipping that step is the top cause of gaps and cupping I see on callbacks.
- Budget materials and labor separately. Prefinished oak often runs about $4-9 per square foot in material plus $3-6 for standard install labor, with stairs and basements costing more.
1. Prefinished or Unfinished: Settle This First
Decide this before anything else. It changes your timeline, your budget, and your dust. Prefinished planks show up already sanded, stained, and sealed at the factory, so you nail or glue them down and walk on the floor the same day. Unfinished wood is bare; it gets sanded and coated after it's fastened in your house, which means days of drying and a fair amount of mess.
The tradeoff is speed and toughness versus custom looks. Prefinished wins on a fast, low-fume install and a factory finish that's harder than anything a crew brushes on at the jobsite. Unfinished wins when you want an exact stain color you can't buy off a shelf, or a dead-flat surface with no seams.
One detail people miss: prefinished boards have a micro-bevel, a tiny grooved edge where two planks meet. It hides small height differences between boards, but it also collects grit and needs vacuuming out. Unfinished floors sand flat with no bevel at all.
| Factor | Prefinished | Unfinished |
|---|---|---|
| Install time | Walk on it same day | Days for sand, stain, coats to cure |
| Dust and fumes | Minimal | Heavy sanding dust and finish odor |
| Finish hardness | Factory aluminum oxide, very hard | Site coat, softer but seamless |
| Edges | Micro-bevel between boards | Flat, no seams |
| Color control | Pick from stock colors | Any custom stain |
| Surface flatness | Boards must be flat already | Sanded dead flat on site |
Source: from running both a prefinished and a sand-on-site floor in the same remodel
How the two options compare on the things that actually change your install day and budget.
If you want the long version of that call, read the deeper breakdown on finished vs unfinished wood and then come back to the rest of this list.
2. Solid vs Engineered: Let Your Subfloor Decide
Your subfloor and grade level pick this, not the look. Solid is one thick piece of wood. Engineered is a real wood veneer over a cross-layered plywood or high-density fiberboard core, and those crossed layers are what let it hold still when moisture moves.
That stability is why engineered is the right call over concrete, and in basements and other below-grade rooms where solid wood usually should not go. Solid belongs on wood-framed floors at or above grade, where its extra thickness buys you more sandings down the road. If you're still weighing the two options against each other, the solid vs. engineered hardwood guide walks through matching each type to the right room and species.
Watch the wording on moisture claims. A "waterproof core" line is about the plank body, not the joints. Water still finds its way in at the seams and edges, so if moisture is a real risk in your room, check that specific product's own rating rather than trusting the headline. If a wet-prone room is genuinely in play, it's worth stepping back and looking at waterproof engineered hardwood options built specifically for that exposure instead of chasing a marketing claim.
3. Species and Janka Hardness for Your Traffic
Janka is a lab test of how hard a wood is to dent. Higher numbers dent less under dog nails, dropped pans, and dragged chairs, so match the number to how rough the room gets.
Busy entries, kitchens, and dog households want oak, hickory, or maple. A quiet bedroom can carry softer woods like walnut or heart pine without much worry. Prefinished red oak and prefinished white oak are widely stocked species, which also makes them easy to match if you add a room or swap a damaged board years later.
One warning from experience: exotics like Brazilian cherry shift color a lot in sunlight. I've pulled area rugs off floors like that and found a bright patch underneath that no refinish ever evens out. Now I tell every customer before they fall for the photo. If true cherry tones are what you're after, the cherry hardwood flooring guide covers how to get that look without the surprise fading.
And remember, hardness is only dent resistance. The factory finish, not the wood, is what fights surface scratches.
| Species | Janka rating (lbf) |
|---|---|
| Heart Pine | 870 |
| Walnut | 1010 |
| Red Oak | 1290 |
| White Oak | 1360 |
| Hard Maple | 1450 |
| Hickory | 1820 |
| Brazilian Cherry | 2350 |
Janka dent-resistance ratings for common prefinished species, low to high.
4. Plank Width and Edge Look
Width sets both the look and how forgiving the floor is. Strips run about 2.25 inches, the classic prefinished oak size. Standard planks land at 3-5 inches. Wide planks start at 6 inches and go up from there.
Wide boards show more grain and fewer seams, which most people love. The catch is that a wider board moves more with humidity, so if acclimation or moisture is even a little off, gaps and edge lift show up faster than they would on a narrow strip. Narrow strips are the most forgiving; 3-5 inch planks are the safe middle for most homes; 6 inches and up gives the best look but needs near-perfect prep.
The micro-bevel matters here too. That shadow line between boards is deeper and more visible on wide planks, so decide whether you want that look before you order. If you're leaning wide, the wide plank hardwood flooring guide walks through the tradeoffs in more detail.
5. Wear Layer: Can You Refinish It Later?
You can only sand a wood floor down to its veneer, so "can I refinish this" is a spec question, not a yes or no. Solid wood has a thick top that takes several full sandings over its life. Engineered is capped by its veneer thickness, which the maker publishes on the cut sheet.
Here are the working thresholds I go by. A veneer in the 2 mm-and-up range can usually take at least one light sanding, some premium engineered lines advertise veneers around 3 mm. Some budget floating floors run a much thinner wear layer, sometimes well under 1 mm, that's a one-shot floor at best, and often a no-sand floor. Ask for the exact veneer thickness in writing before you buy, because a salesperson's "oh, you can refinish it" means nothing without a number.
There's a twist with prefinished floors. That factory aluminum oxide coat is genuinely hard to sand through, so many prefinished floors get screened and recoated (lightly scuffed and given a fresh top coat) instead of fully sanded to bare wood.
| Type | Wear layer | Refinishes |
|---|---|---|
| Solid hardwood (3/4 in) | Thick sandable top | Several full sandings |
| Engineered, thick veneer (premium lines, ~3 mm) | ~2-4 mm | 1-2 light sandings |
| Engineered, thin veneer (budget lines, under 1 mm) | ~0.6-1 mm | Screen and recoat only |
Source: from the veneer specs I check on maker cut sheets before quoting a sand job
How much refinishing life you get by floor type and veneer thickness.
6. The Finish and What the Warranty Really Covers
Most prefinished floors wear a coat of aluminum oxide cured by UV light. It's harder and more even than anything a crew can brush on in your living room, and that's a big part of why prefinished holds up so well day to day.
Read the warranty honestly, though. A long finish warranty covers the coat wearing through, not scratches, dents, pet stains, or water damage. It also hinges on you following the maker's care rules, so the fine print does real work here. Treat headline lifespan claims the same way, advertised finish warranties on prefinished floors vary widely from brand to brand and even product line to product line, with some pegged to a set number of years and others marketed as "lifetime." Read that specific product's warranty document before you trust the headline number, because it's marketing, not a guarantee.
Ask two plain questions before you buy: does the warranty cover finish wear-through only or actual damage, and what do you have to do to keep it valid? If indoor air quality matters to you, look for a FloorScore or low-VOC label on the box.
7. Acclimation and a Flat, Dry Subfloor
This is the step that decides whether your floor stays flat, and it's the one people rush. Wood has to sit in the room where it's going, at normal living temperature and humidity, until its moisture content settles into the target range. According to the NWFA/NOFMA Factory-Finished Wood Flooring Standards, the oak flooring trade standard for moisture content is 6-10%, and the gap between the wood and the subfloor should stay within the allowance the standard sets.
On a slab job in Lakewood, Colorado, the floor failed because of a slab that felt fine to the hand but read wet on a moisture meter, the tool that measures how much water is trapped in wood or concrete. On another job, it was a hump I talked myself into ignoring. Skipping the subfloor check costs you far more after the floor is down than the check itself ever would.
So before a single board goes down, do three things. Check the subfloor is flat, usually within the maker's stated tolerance over a set distance. Check the subfloor's moisture with a meter, especially on concrete. And follow the box's own acclimation instructions, the NWFA's installation guidelines note that acclimation needs vary by product, with some floors requiring days on site and others needing little to none, so the manufacturer's sheet governs, not a rule of thumb from a forum.
8. Installation Method and Whether to DIY
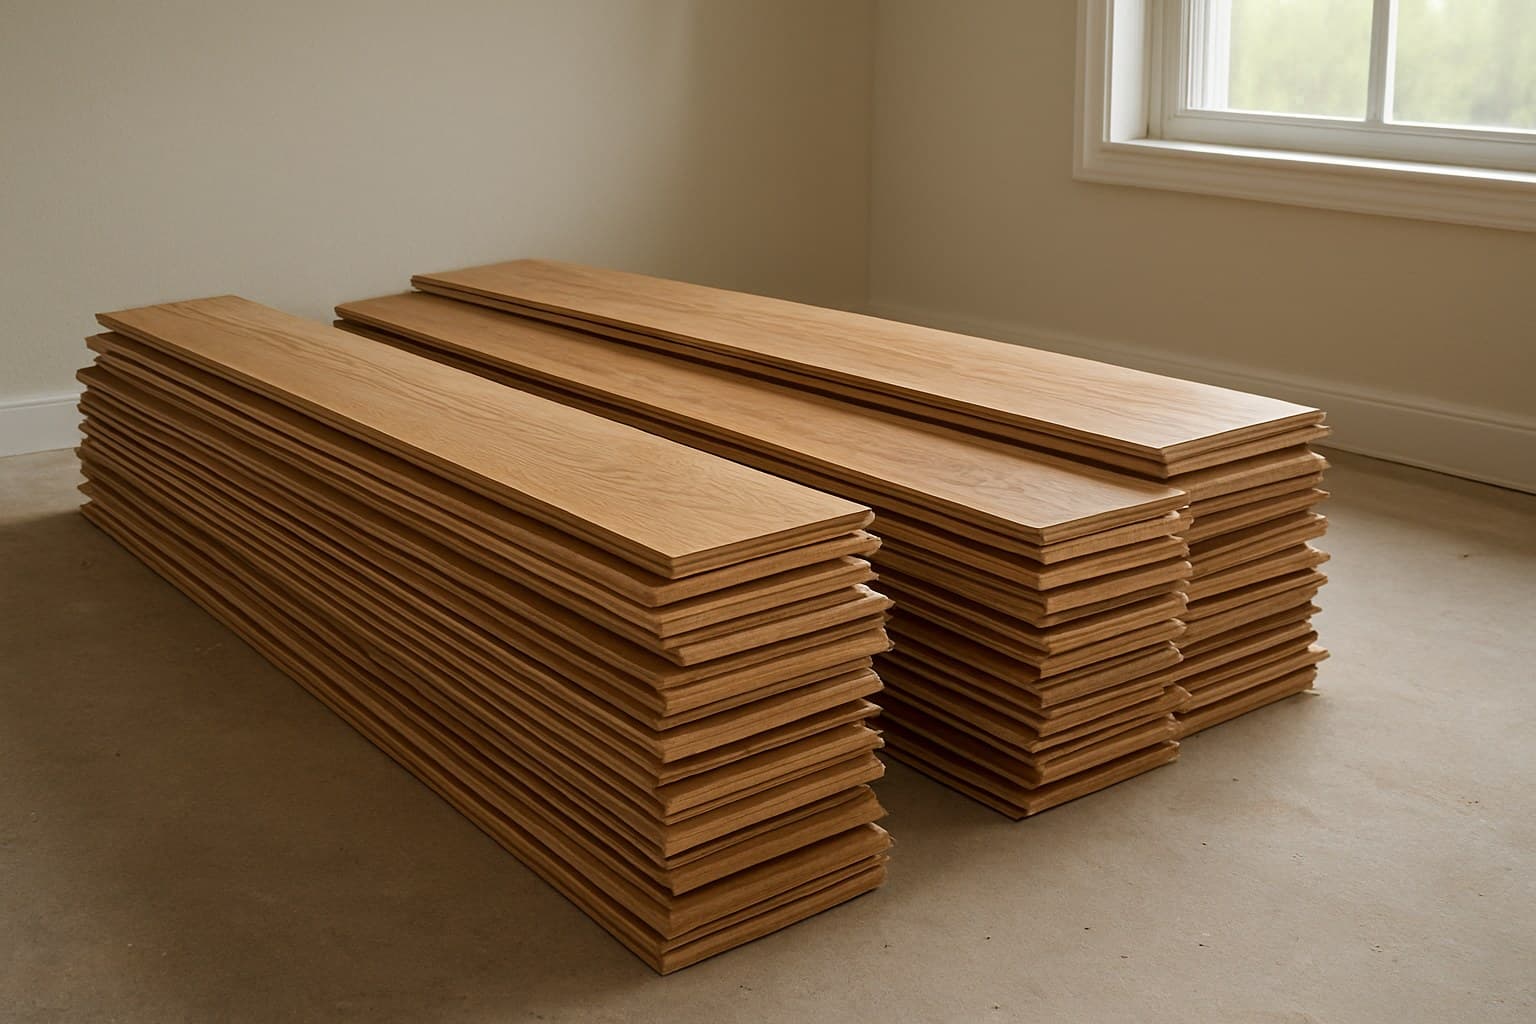
Prefinished hardwood goes down one of three ways, and the method sets how hard the job is. Solid boards are nailed or stapled to a wood subfloor. Engineered can be nailed, glued to concrete, or floated as click-lock over an underlayment. That method, more than the wood itself, tells you whether this is a weekend project.
Be honest with yourself here. A straightforward click-lock engineered floor in a square room is realistic for a careful DIYer with a saw and patience. Glue-down over concrete, stairs, and big open-plan runs with moisture transitions between rooms are where I'd hire out every time. Glue is unforgiving, stairs are all detail work, and a long run that crosses from a slab to a wood-framed area needs the transitions handled right.
If you want the full step-by-step, the hardwood floor installation guide covers nail-down, glue-down, and floating in order.
9. What Prefinished Hardwood Actually Costs
Budget materials and labor as two separate numbers, because they move for different reasons. Prefinished oak often runs about $4-9 per square foot for material, plus roughly $3-6 per square foot for a standard install in an open room. Wider planks and specialty species push the material side up; tricky layouts push the labor side up.
The prices below are ranges, not a fixed quote. Species, region, and how much prep your subfloor needs all swing the final figure, so get local numbers before you commit.
| Job | Materials (per sq ft) | Labor (per sq ft) |
|---|---|---|
| Prefinished red or white oak strip | $4-7 | $3-5 |
| Hickory or hard maple plank | $6-10 | $3-6 |
| Wide-plank engineered | $6-12 | $4-6 |
Two things cost more than an open room. Stairs are priced per step, often $40-75 each in labor, because every tread and riser is cut and fit by hand. Basements and below-grade rooms cost more too, since they usually need a moisture barrier and more subfloor prep before the floor even starts. For a fuller picture, see the hardwood flooring cost guide and the best prefinished hardwood flooring rundown to match a product to your budget.