
On a 1950s ranch rehab outside Columbus, I watched a homeowner named Paula pick a gorgeous hand-scraped floor for her whole main level. Two years later, a hallway lane wore through to bare wood, and we found out the veneer was too thin to sand out, even though the scrape looked perfect under the showroom lights. These 13 checks tell you which one you're actually buying before that happens to your floor.
Key takeaways
- Refinish life is set by the veneer (top wood layer) thickness: under about 2mm usually can't be sanded, 2-3mm gets 1-2 light passes, and 4mm+ gets 2-3.
- Verify a brand is on the NWFA Engineered Wood Flooring Refinishable Program certified list before buying, so 'refinishable' isn't just a showroom word.
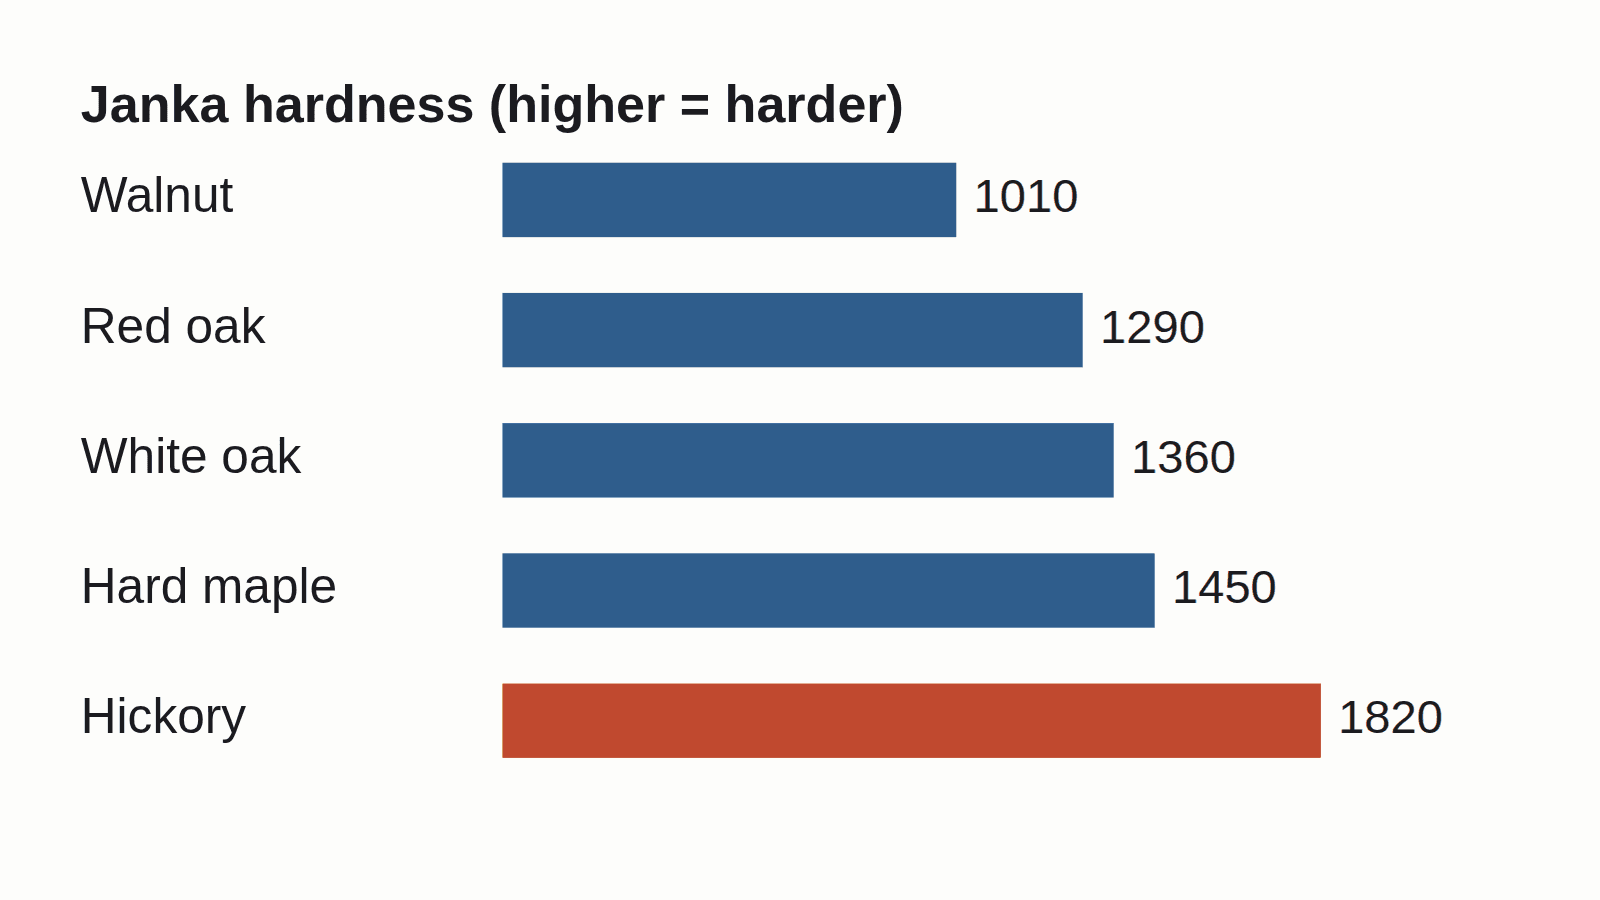
- Hickory is the hardest common hand-scraped species at about 1820 on the Janka hardness scale, which is why it hides dents better than oak or maple.
- Plan on materials around $4-9 per square foot and labor around $3-6 per square foot, with basement and stair jobs costing more than open rooms.
- Engineered plank can go over concrete, in basements, and over radiant heat when the moisture test passes, which is where solid hardwood usually can't follow.
1. Answer the Refinish Question Before You Fall for the Look
The refinish life of a hand-scraped engineered floor comes down to one thing: how thick the real wood layer on top is, and whether an outside group has certified it as refinishable. Not the price. Not how good the scrape looks under the store lights.
I learned that on a rehab in a 1950s ranch outside Columbus. The homeowner, Paula, picked a gorgeous hand-scraped floor for the whole main level. Two years in, a hallway lane wore down to a dull patch. She wanted it sanded and re-stained, and that's when we found out the top wood layer was too thin to sand at all. All we could do was scuff and re-coat the finish, which doesn't fix worn-through wood.
Most guides tell you what hand-scraping is. That part's easy, and if you want the plain definition plus the basics, what engineered hardwood actually is covers it. What they skip is how to confirm your exact floor can be refinished before you hand over a deposit. The scrape you fall for in the showroom is only skin deep. The wood under it decides what the floor costs you later.
So work these 13 checks like a pre-purchase list, in order. The first three are the ones that save you from Paula's mistake.
2. Check the Veneer (Wear Layer) Thickness First
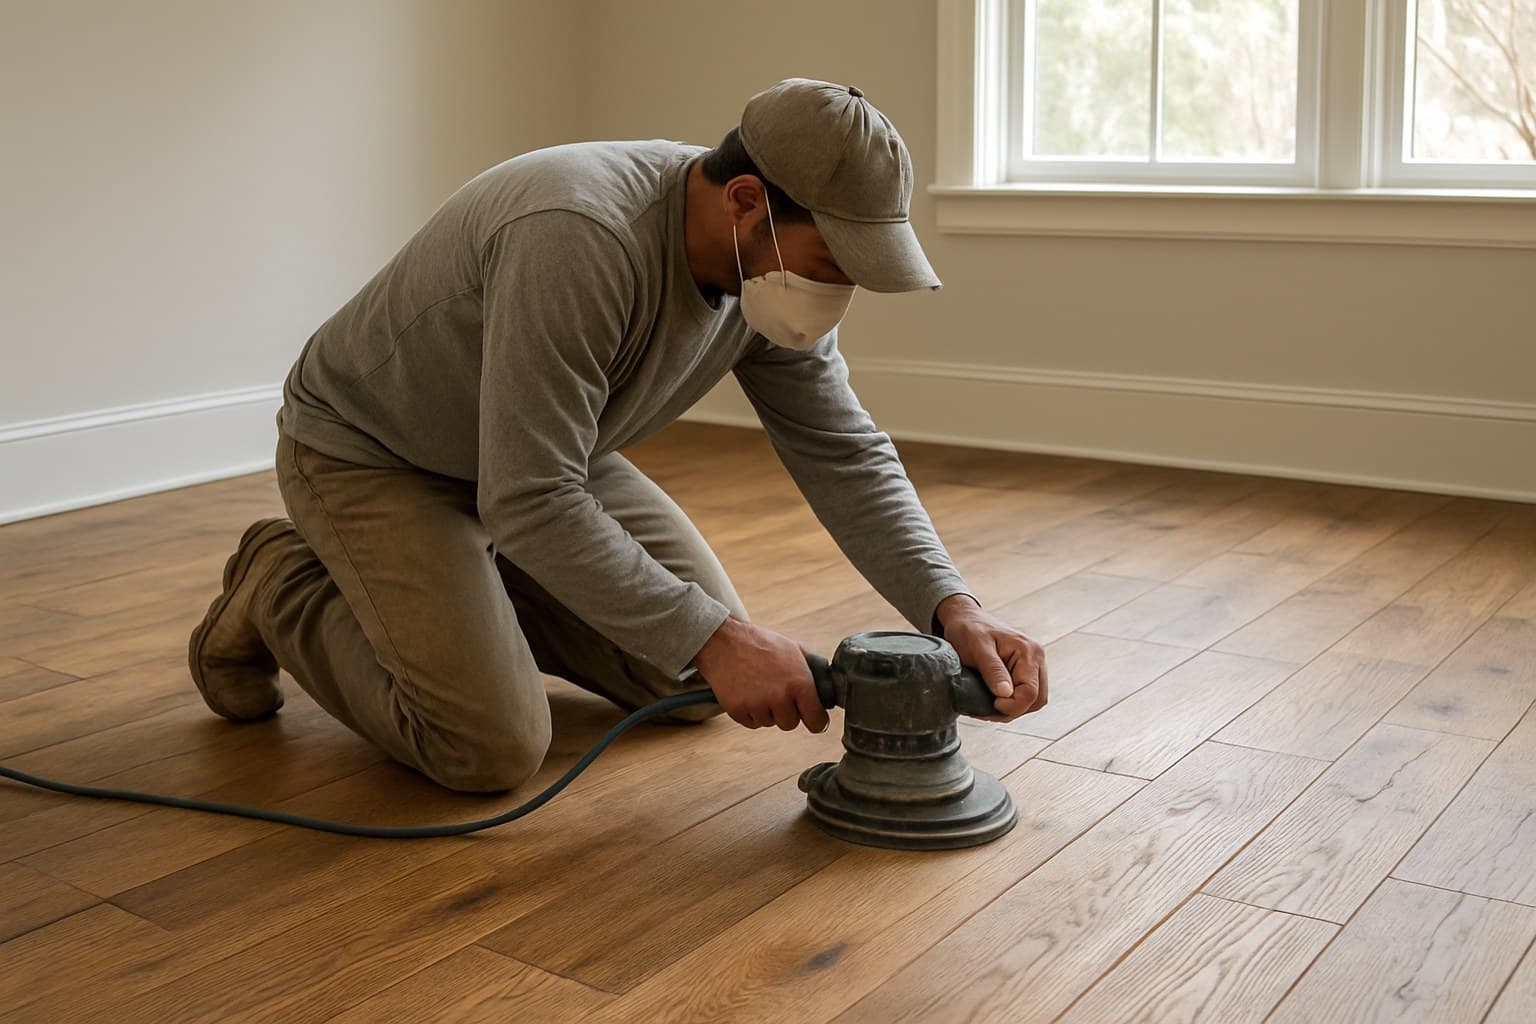
The veneer, also called the wear layer, is the layer of real hardwood glued on top of the plywood-style core. It's the only part a sander can ever touch. Below it is core, and once you hit core, the floor is done.
Here's the breakdown I see on spec sheets:
On the spec sheets I pull for hand-scraped hardwood jobs, the pattern holds: the less real wood sitting on top, the fewer times you'll ever get to sand it. Drop under about 2mm and you're stuck re-coating the finish forever, never sanding to bare wood. Push past roughly 4mm and the floor starts acting like solid hardwood for refinish life. The table below ties those numbers to general product tiers so you know what you're actually ordering, always confirm the exact figure on your specific product's own spec sheet, since it varies by manufacturer and even by line.
Find this number on the manufacturer's spec sheet or cut sheet, listed as wear-layer or veneer thickness in millimeters. Never guess it from the plank's total thickness. A 1/2-inch plank can carry a 2mm veneer or a 4mm veneer, and the price often looks the same.
One extra wrinkle for scraped floors: hand-scraping shaves off some surface wood to create the texture. So a scraped plank can have a hair less sandable wood than a smooth plank with the same listed spec.
| Veneer thickness | How many refinishes | Notes |
|---|---|---|
| Under ~2mm | 0 (screen and re-coat only, no sanding) | Common on budget engineered lines; recoat the finish, never sand to bare wood |
| 2-3mm | 1-2 light sandings | Most mid-range hand-scraped floors land here |
| 4mm and up | 2-3 sandings | Found on premium lines; closest thing to solid-floor refinish life |
Source: The NWFA Refinishable Program veneer tiers, lined up with what I've actually sanded back on engineered floors
Veneer thickness lined up against realistic refinish counts for engineered wood floors.
3. Cross-Check the Brand Against the NWFA Refinishable Program List
Before you order, look up the exact product on the National Wood Flooring Association (NWFA) Engineered Wood Flooring Refinishable Program list. It certifies which engineered products can genuinely be sanded and refinished, not just re-coated.
This beats a salesperson's word because it's independent, third-party verification, not a claim the brand wrote about its own floor. According to the NWFA Engineered Wood Flooring Refinishable Program, more than 23 manufacturers are currently certified, including names like AHF Products, Mirage, Vintage Hardwood Flooring, and Preverco.
The catch is that certification covers a specific product line, not the whole brand. A company can have one line on the list and three others that aren't. So match the exact product line and SKU, not just the logo.
Do it in this order. Pull the product's spec sheet and read the veneer thickness in millimeters. Search that exact product line on the NWFA program list. Confirm the finish type, because a floor finished with aluminum oxide, a hard, factory-baked coating that resists scratches, needs to be abraded, meaning lightly sanded or scuffed, before it will take a fresh coat. Then match the certified SKU to the one on your order sheet. If a brand won't give you a spec sheet, treat that as your answer and walk. If you're already wary of certain makers, our take on engineered hardwood brands worth skipping is a useful gut-check here.
4. Tell Real Hand-Scraping From Machine-Rolled Texture
True hand-scraping is done by a person dragging a tool across each board, so no two planks are quite alike. Machine texture, including a lot of what gets called wire-brushed, is pressed or rolled in during manufacturing, so the same pattern repeats.
Here's the eye test: lay six or eight planks out on the floor. If the same dips and gouges show up every few boards, it's machine-made. If the marks wander and never quite match, it's the real thing.
Neither one is wrong. Hand-scraped costs more, and it hides scratches and dents better because the surface is already irregular, so a new ding just blends in. That's the point of the rustic, worn look a lot of buyers are chasing. If you love that beat-up character, the distressed engineered hardwood options walk through the broader style. And before you commit to a full order, get real engineered hardwood samples in hand so you can run the plank-comparison test at your own kitchen table.
5. Match the Species to Your Room by Janka Hardness
Janka hardness is a lab test of how well a wood resists denting. Higher number, harder floor. It matters more on a hand-scraped floor with a thin veneer, because if you can't sand out damage later, you want a species that resists it in the first place. If you're still weighing solid hardwood against engineered before you even get to species, choosing solid vs engineered hardwood species is worth reading first.
Here's how the common hand-scraped species stack up:
| Species | Janka rating | Best for |
|---|---|---|
| Hickory | ~1820 | High traffic, pets, kids; hides dents best |
| Hard maple | ~1450 | Clean look, moderate traffic |
| White oak | ~1360 | Balanced all-rounder, takes stain evenly |
| Red oak | ~1290 | Warm tone, widely available, budget-friendly |
| Walnut | ~1010 | Rich dark color, lower-traffic rooms |
Source: The published Janka hardness scale
Common hand-scraped species ranked by Janka dent resistance, with the room each suits.
The room call is simple. Go hickory for kids, dogs, and busy kitchens, since it hides dents best. Oak is a balanced all-rounder and takes stain evenly. Save maple and walnut for rooms where looks lead and foot traffic is lighter, like a formal dining room or a main bedroom. If you're still weighing species against a solid floor, how solid and engineered hardwood really differ breaks down the tradeoff.
6. Confirm It Can Go Where You Actually Want It
Engineered plank's real advantage is stability. The plywood-style core holds its shape over concrete, in basements, and over radiant heat, where a solid hardwood floor usually isn't recommended. That's the main reason to reach for engineered in the first place, and it's often the deciding factor over engineered hardwood versus luxury vinyl plank in a basement.
But stability doesn't beat moisture. Run a slab moisture test before any basement or on-grade job, following the maker's install guide. I say that because I once let a customer talk me out of a moisture test to save an afternoon. The floor cupped before the season was out, and I relaid it on my own dime. I don't skip that test anymore, for anyone.
For radiant heat, confirm the specific product is rated for it, then follow the temperature ramp-up in the instructions so you don't shock the wood. Treat full bathrooms and other wet areas as the hard limit. Even when the core stays stable, the seams and edges take on standing water, and that's where these floors fail. If wet areas are non-negotiable for your project, waterproof engineered hardwood flooring is built to handle that standing water instead.
Four common spots and the verdict for each. Not to scale.
7. Look at the Core Under the Veneer
The core is the layered base that gives engineered plank its stability, and not all cores are equal. A true plywood core, with several thin wood layers cross-stacked, is what handles humidity swings and concrete best. That's the core doing the work when you install below grade.
Some cheaper engineered floors use a high-density fiberboard core instead, which is denser and can be less forgiving with moisture at the edges. Ask which one you're getting, because the spec sheet doesn't always shout it.
Core thickness also affects how the floor feels and how it locks together. Thicker isn't automatically better, but a very thin plank over an uneven subfloor can feel hollow and click underfoot. If the difference between core types is new to you, what sits under an engineered plank lays out the construction layer by layer.
8. Get the Cost Split Right: Materials vs. Labor
Never trust a single flat "per square foot installed" number. Split it. For hand-scraped engineered hardwood, materials run roughly $4-9 per square foot, and labor typically adds about $3-6 per square foot. The wide material range reflects veneer thickness and species, so a thin-veneer hickory and a 4mm walnut can sit at opposite ends.
Here's how labor shifts by job type:
| Job type | Materials ($/sq ft) | Labor ($/sq ft) |
|---|---|---|
| Open room, click-lock float | $4-9 | $3-5 |
| Glue-down over slab | $4-9 | $4-6 |
| Basement (with prep) | $4-9 | $5-7 plus subfloor prep |
| Stairs | $4-9 | Priced per step, well above room rate |
Source: Bids I wrote for hand-scraped jobs across three houses this past year
Costs by job type, based on typical residential jobs, not commercial work.
Basement and stair jobs cost more than open rooms. Basements need moisture testing and often leveling before anything goes down, and stairs are slow, cut-heavy work priced per step.
Quick math on a 200-square-foot open room: materials at $6 come to $1,200, labor at $4 comes to $800, so about $2,000 before trim and underlayment. For a full breakdown by region and species, see what engineered hardwood flooring costs, and for a labor-only view, the cost to install engineered hardwood drills into the install line.
9. Decide DIY vs. Hire by the Install Method
Be honest about the install method before you decide to DIY. A click-lock floating floor is realistic for a patient DIYer in an open room. The planks snap together and float over an underlayment, no glue or nails. If that's your product, how a floating engineered floor goes down covers the method.
Glue-down and nail-down are a different animal. Glue-down over a slab is messy, unforgiving, and hard to correct once boards are set. Stairs demand precise cuts and nosing work. Large open-plan layouts need proper expansion breaks at doorways and moisture transitions, and getting those wrong shows up as buckling later.
My honest line: float in an open room, DIY it if you're handy. Glue-down, stairs, and big open-plan moisture transitions are where hiring a pro usually pays for itself. If you want to see the full process before you decide, the step-by-step engineered hardwood install shows what you'd be taking on.
10. Read the Finish and What a Recoat Really Needs
Most prefinished engineered floors, hand-scraped included, come with a tough factory finish, often aluminum oxide. That finish is what fights daily scratches, and it's usually backed by a wear warranty tied to that specific product, not the industry as a whole.
The thing buyers miss: that hard finish is why you can't just wipe on a fresh coat later. To re-coat, the surface has to be abraded, or lightly roughed up, first, or the new coat won't stick. On a floor with a thin veneer, a screen-and-recoat is often your only refresh option, so knowing the finish type up front tells you what maintenance will look like.
Ask for the finish type and the wear warranty terms in writing, and read what voids it. Steam mops and standing water usually do.
11. Check Plank Width, Length, and Bevel
Width changes both the look and the install. Wide planks, say 7 inches and up, show off the hand-scraped character and read more rustic, but they can be less forgiving over an uneven subfloor and sometimes call for glue assist even on a floating install. If you're drawn to broad boards, wide-plank engineered hardwood gets into how they behave.
Longer planks make a room feel bigger and cut down on end joints. Mixed-length boxes are common and look natural once laid.
Then check the bevel, the little groove between planks. A deep beveled edge deepens the rustic look but also catches dust and grit, which you'll be cleaning out. A micro-bevel keeps things cleaner. On a hand-scraped floor, a heavier bevel usually suits the style, just know what you're signing up for with cleaning.
12. Confirm the Color and Pattern You Want Exists
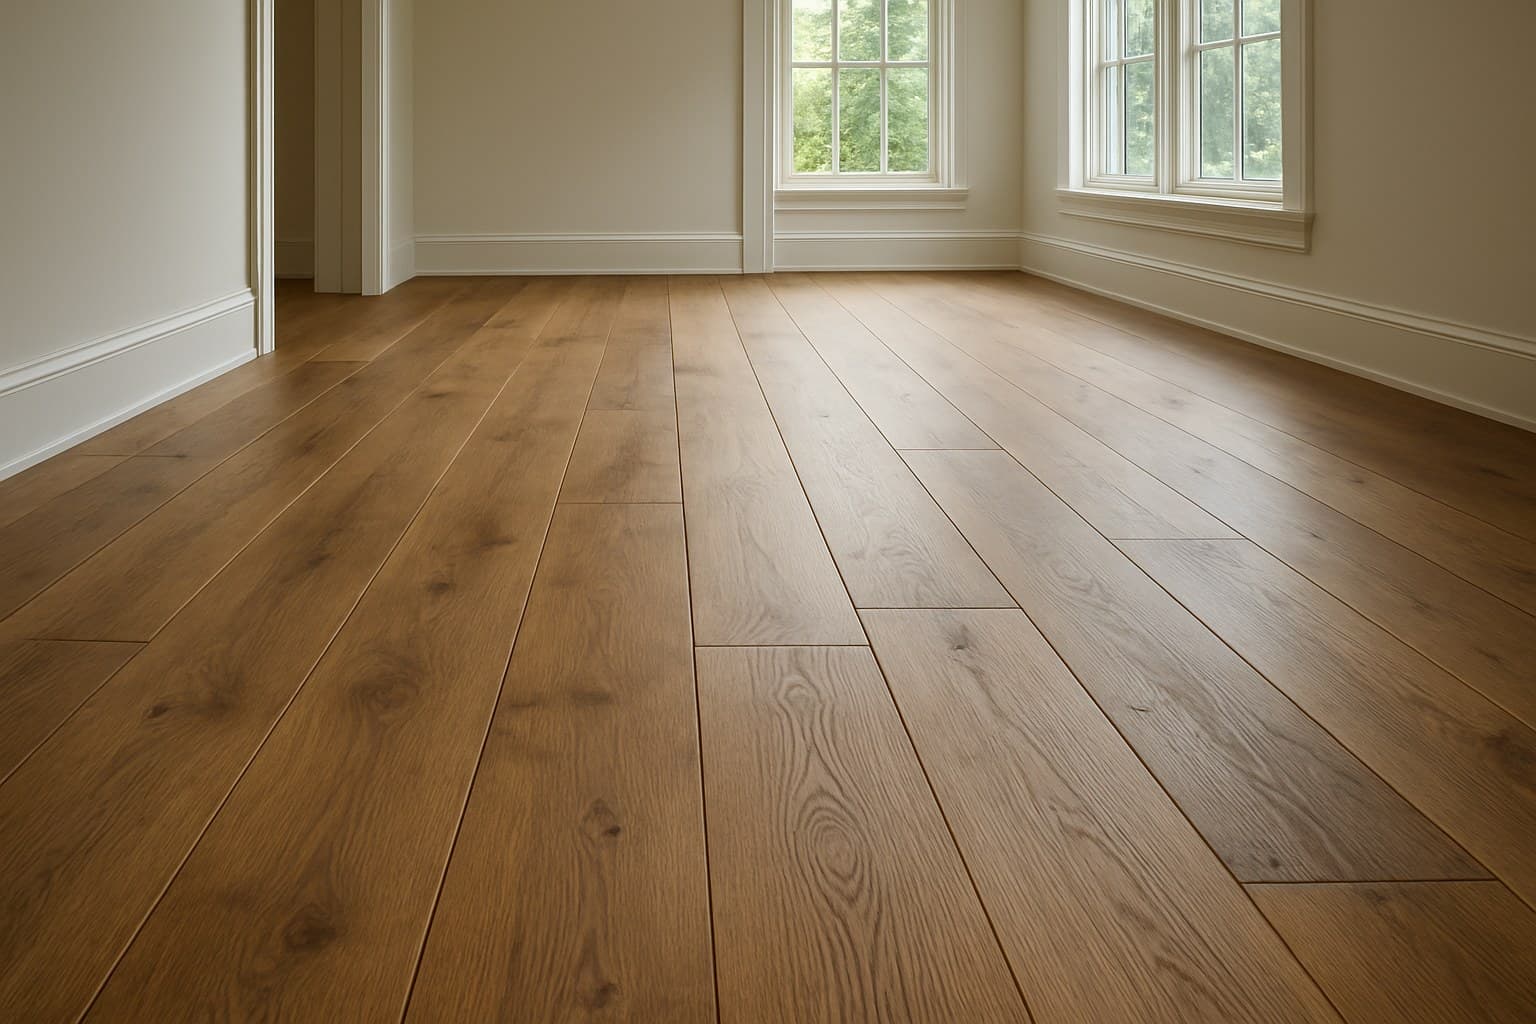
Don't assume the color or pattern you have in mind comes in a certified, thick-veneer version. It's a real constraint, not a given.
Grey hand-scraped engineered hardwood does exist, from weathered driftwood tones to deep charcoals, but grey is more often a stained or reactive finish, so confirm the exact color is current and not a discontinued run. Ordering a discontinued color means no matching boards later if you need a repair.
Herringbone and chevron patterns are also available in hand-scraped engineered, but they're a smaller slice of the market, they cost more per square foot, and they're a slower, more skilled install. If you want a specific species-and-pattern combo, verify the SKU is in stock before you fall for it, and order a little extra for cuts and future repairs.
13. Nail Down Acclimation and the Expansion Gap Before Install
Before a single plank goes down, sort out the subfloor, acclimation, and the expansion gap. Skip these and even a great floor fails.
Check the subfloor for flatness first, then run the moisture test I keep hammering on. Acclimation rules vary by product. Some makers want the boxes sitting in the room for a few days, some say it's unnecessary. The box's own sheet governs it, not a rule of thumb off a forum.
Every floating floor needs an expansion gap around the room's edge so the floor can move with the seasons without buckling. The exact size comes from the manufacturer's instructions, so look it up for your product rather than guessing. Cover the gap with baseboard or trim once you're done.
Once you've cleared all 13 checks, the full engineered hardwood installation walkthrough is the next read, since it turns these buying decisions into the actual order of operations on the floor.