
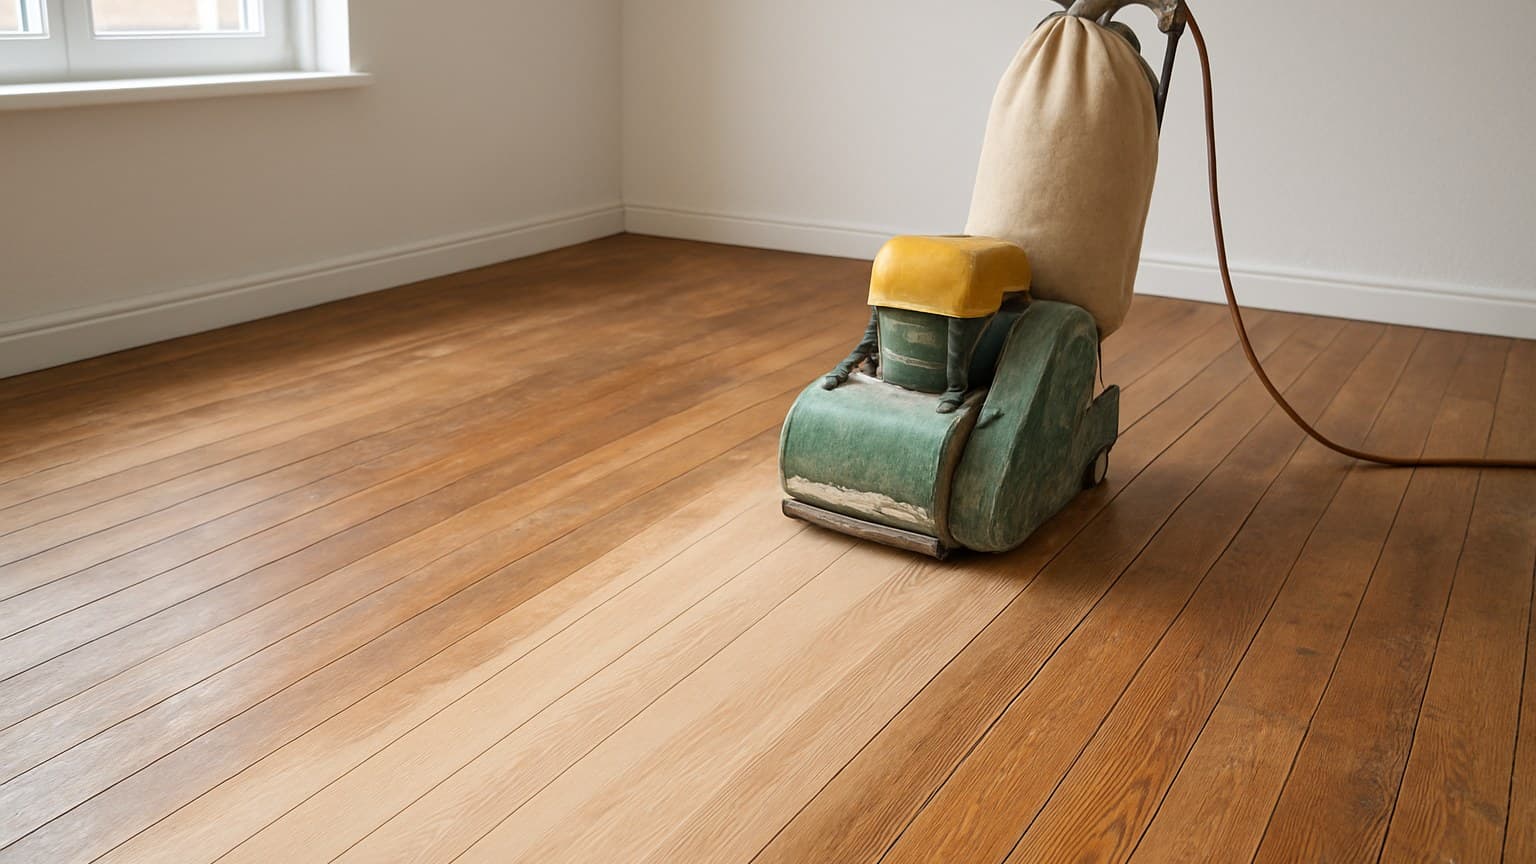
Last winter I stood in a dining room in Aurora, Colorado, with a homeowner named Trish who wanted a full sand-and-refinish quote on oak floors that were really just dull under the finish. A $500 recoat fixed it, not a $2,000 sand job. The damage itself tells you which path you're on, and these seven checks read it for you. Trish's floors were red oak, still the most common species homeowners refinish, and our guide to red oak prefinished hardwood flooring breaks down what makes it worth choosing in the first place.
Key takeaways
- A full sand-to-bare-wood refinish runs about $5-$9 per square foot, or roughly $1,099-$2,660 for a typical room per HomeAdvisor; a recoat or light repair runs about $478-$1,636.
- The wax test settles it fast: rub mineral spirits on a worn spot, and if it smears white and gummy there's old wax, which means no poly recoat until it's sanded off.
- Deep scratches that catch your fingernail, gray or black water stains, and cupped or crowned boards all point to a full sand; dull, hazy, lightly scuffed finish just needs a recoat.
- Solid wood can be sanded many times, but engineered and prefinished floors only take as many sandings as their thin top veneer allows, sometimes zero.
- The NWFA says a properly refinished solid wood floor can be redone for generations, which is why refinishing usually beats replacing on cost.
First, Know Your Three Outcomes: Refinish, Recoat, or Resurface
Before you check anything, get the three outcomes straight, because most people use them interchangeably and then pay for the wrong one.
A full refinish means sanding the floor down to bare wood and putting on new stain and finish. A recoat (installers call it a screen-and-recoat) just scuffs up the old finish and adds a fresh top coat over it. A resurface means replacing damaged boards, or the whole floor, when sanding can't save it, which is really a hardwood install job at that point. If you're staring down that install-job price tag, our breakdown of hardwood floor installation cost shows exactly what drives the number up or down.
Here's the tradeoff every check below is trying to settle. A recoat is cheaper and faster, but it only fixes finish that's gone dull or lightly scuffed. A full refinish is the only thing that removes real scratches, stains, and a color you're sick of. I had a customer named Diane in Tulsa sand out her Brazilian cherry floor just because years of sunlight had shifted it two shades darker in the traffic lanes. Brazilian cherry is notorious for that kind of dramatic sun-darkening, and our guide on why Brazilian cherry floors keep getting darker explains why it happens and how to slow it down.
If you searched "resurface hardwood flooring," you probably mean one of these three. The damage depth tells you which.
| Outcome | What it fixes | What it won't fix | Typical downtime |
|---|---|---|---|
| Full refinish (sand to bare wood) | Deep scratches, stains, worn traffic lanes, and lets you change the color | Rotten or split boards | About 2-5 days start to finish |
| Recoat / screen-and-recoat | Dull, hazy, lightly scuffed finish | Scratches through the finish, gray/black stains, bare spots | About 1-2 days |
| Resurface / replace boards | Water-damaged, cupped-beyond-sanding, or split boards | Nothing sanding could have saved cheaper | Varies by how many boards |
What each of the three fixes and what it can't, so you match the job to the damage.
Run the seven checks below. Each ends with a plain verdict. If two or more point to a full sand, that's your answer.
Check 1: The Mineral Spirits Wax Test
This one test decides whether a recoat is even physically possible. Dampen a white rag with mineral spirits (a common paint-thinner solvent from any hardware store), rub a hidden worn spot hard, and look at the rag.
If the rag comes up with a white, gummy smear, your floor has an old wax finish. Polyurethane won't stick over wax, full stop. There's no recoat until every bit of that wax is sanded off.
Run the water test alongside it. Drop a little water on a worn walking lane. If it beads up and sits there, the finish is still intact and you've got a recoat candidate. If it soaks in and darkens the wood fast, the finish is worn clean through.
This is how I vet a floor before I quote it, because a recoat over wax fails within weeks.
Verdict: clean rag plus beading water means a recoat is fine. A gummy wax smear, or water that soaks straight in, means you're headed for a full sand.
Check 2: Scratch Depth vs. Finish Depth
Drag a fingernail across the worst scratch. If your nail catches and you feel a groove, that scratch is cut into the wood, and a recoat will only seal it in, not erase it.
Scuffs that live only in the finish are different. They wipe out with a damp rag, or vanish when you rub mineral spirits over them. That kind of light surface wear is what a recoat is built for.
Only sanding down to bare wood removes scratches that reach the wood. According to the National Wood Flooring Association's (NWFA) installation and sand-and-finish guidance, refinishing has to cut below the depth of the damage, a top coat alone can't do that.
Verdict: scratches you can't feel means recoat. Scratches your nail catches means full sand.
Check 3: Gray or Black Water Stains
Color tells you how deep the water went. Gray means water and sunlight have broken down the finish and the very top of the wood. Black usually means water soaked into the wood and reacted with its natural tannins, sometimes several cell layers deep.
No recoat hides gray or black. And even a light sanding often won't reach black that has gone deep.
In the field, gray almost always sands out during a full refinish. Deep black is the gamble. It may need a board swapped out, an oxalic acid treatment (a wood bleach), or you just live with the mark. That's a call to make before you commit, not halfway through the job.
Verdict: gray means full sand. Black that survives sanding means bring in a pro to assess replacing boards.
Check 4: How Much Wear Layer Is Left
The wear layer is the wood sitting above the tongue-and-groove joint, the little interlock along each board's edge. That's all a sander can safely remove. Cut past it and you hit the joint and wreck the board. Buying from one of the best engineered hardwood flooring brands up front usually means a thicker wear layer and more refinishing life to work with later.
Solid wood has a thick sandable layer, good for many refinishes over its life. Engineered wood has only a thin top veneer of real wood over a plywood core, and some are too thin to sand even once. A factory prefinished hardwood floor has the same hard ceiling, set by its veneer. If you're installing new and haven't settled the bigger question yet, our comparison of prefinished vs. unfinished hardwood lays out why that ceiling exists in the first place.
To check, pull up a floor vent or look at the board edge in a doorway threshold. See how much wood sits above the groove. If you honestly can't tell, assume it's engineered or prefinished and confirm the veneer spec before anyone sands.
As a rough benchmark for what you're looking at, engineered veneers generally run about 1mm to 6mm or more of sandable wood above the core. A veneer at the thin end of that range (around 1-2mm) is often a one-shot deal, if it can be sanded at all, many manufacturers rate it as recoat-only. A veneer in the 4-6mm range typically tolerates one, and sometimes two, light sandings over its life. Anything you measure below roughly 1mm should be treated as not sandable; that's finish-and-recoat territory only.
Verdict: thick solid wood means refinish freely. A thin engineered or prefinished veneer means recoat only, or you'll sand right through it.
Check 5: How Many Times It's Already Been Done
Every full refinish removes wood, so even a solid floor sanded several times over the decades can be running low. An old floor isn't automatically a safe sand.
Look for the tells of a floor that's already been done. Nail heads or filler starting to peek through the surface. Board edges feeling thin. The floor sitting noticeably low against the baseboards and thresholds, like it's dropped.
This is also why recoats matter. Floors generally need attention every 7 to 10 years, but slipping a recoat in every few years stretches the gap between full sands and saves wood you can't replace.
Verdict: plenty of wood left means a full sand is fine. Already sanded thin means recoat to protect what's there, or have a pro measure before another pass.
Check 6: Cupping, Crowning, and Gaps
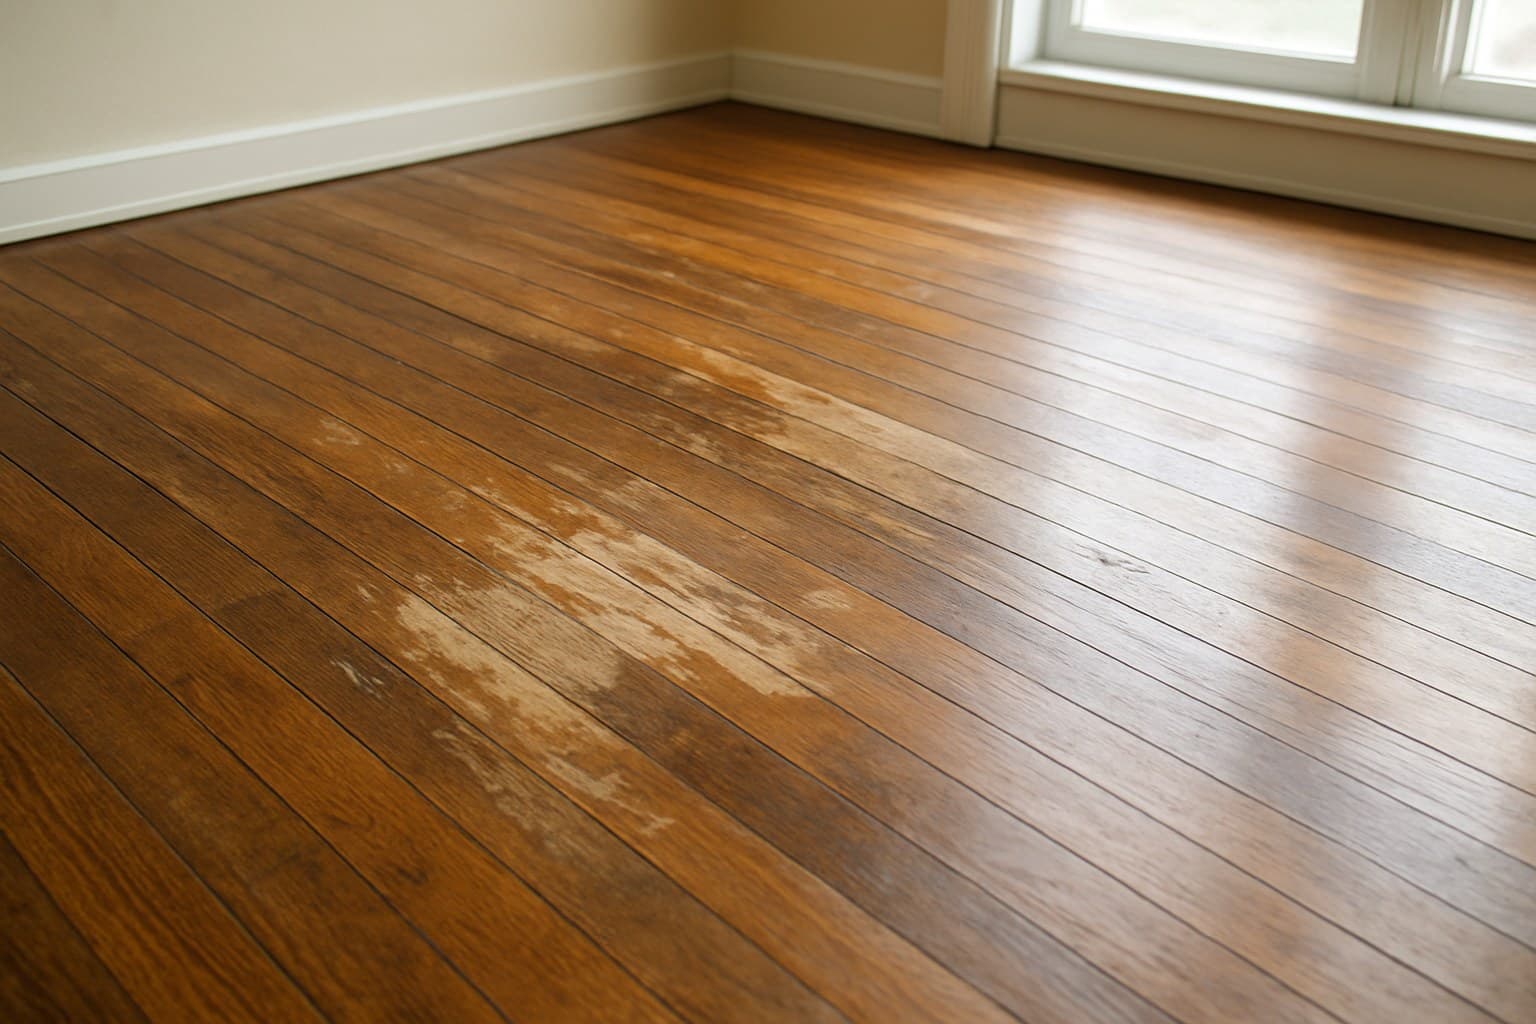
These shapes are moisture talking, and you fix the moisture before you touch the sander. Cupping is board edges sitting higher than the center. Crowning is the center higher than the edges. Gaps are boards pulled apart, usually from dry winter air.
The classic mistake is sanding a cupped floor flat while it's still wet. When it finally dries, it crowns, and now you've sanded the edges too thin. The water source has to be found and dealt with first, whether it's a leak, a damp crawlspace, or a humidity swing.
Check the wood with a moisture meter, a handheld tool that reads how wet the wood is, and let it dry back to normal before deciding anything. On a job in Spokane, a cupped floor turned out to be a slow leak behind the dishwasher, not bad wood, so trace the water source first before you ever pick up a sander.
Verdict: flat, stable boards are ready to sand. Cupping or crowning means fix the moisture and let it dry first, then re-check.
Check 7: Should You DIY or Hire It Out?
Be honest about the room, not just your confidence. A drum sander (the big upright sander you rent) is powerful, and one tilted pause in an open room leaves a dip you'll see under every light for years.
An open, single-level room of solid wood is a realistic DIY refinish if you rent an orbital sander (gentler and harder to gouge than a drum) and take your time. Stairs are where I tell people to stop. So are floors with deep black stains, cupping you're unsure about, or a color match against an adjoining room you can't afford to get wrong.
If you do go the DIY route, the grit sequence is what separates a floor that looks refinished from one that looks sanded. Don't skip steps in the progression, and don't jump straight to a fine grit hoping to save time, each grit's job is to erase the scratch pattern left by the one before it. A typical pass-by-pass sequence runs 36-60-80-100-120:
- 36-grit (first pass): Strips the old finish and levels out major unevenness between boards. This is the aggressive cut, and it's also the one that leaves the deepest scratch pattern, so don't linger in one spot.
- 60-grit (second pass): Removes the coarse scratches the 36-grit left behind. You're not leveling anymore, you're erasing the previous pass's marks.
- 80-grit (third pass): Refines further and starts smoothing the surface. Scratches should be getting noticeably finer and shallower with each pass by now.
- 100-grit (fourth pass): Smooths the wood ahead of finishing. Most of the visible scratch pattern from the coarser grits should be gone.
- 120-grit (final pass): The finish-ready pass. This is what leaves the surface smooth enough to take stain evenly and accept finish without telegraphing sanding marks.
Vacuum thoroughly between every single pass, any grit left behind gets dragged around by the next paper and puts new scratches in a floor you just smoothed out.
Verdict: flat open room, solid wood, patient hands means DIY is fair game. Stairs, tricky stains, or moisture questions means hire it out.
What Refinishing Hardwood Floors Actually Costs (Split by Materials and Labor)
Hiring a pro to sand to bare wood and refinish runs about $5 to $9 per square foot, or roughly $1,099 to $2,660 for a typical room, per HomeAdvisor. A recoat or a light repair is far cheaper, around $478 to $1,636.
Of that pro price, materials (sandpaper, stain, and finish) are usually the small part, roughly $1 to $2 per square foot. The rest is labor, because the skill and the sanding time are what you're really paying for.
Going DIY flips it to almost all materials. Figure a sander rental around $60 to $100 a day, plus sandpaper, stain, and polyurethane, which lands most single rooms near $200 to $500 in materials. Stairs and basements both cost more than open rooms either way, stairs because each tread is slow hand work, and basements because you're dealing with extra moisture checks and prep before the floor is even safe to sand.
If you're weighing refinishing against tearing it out for new wood, our breakdown of what hardwood flooring costs by room size shows the replacement side of that math.