
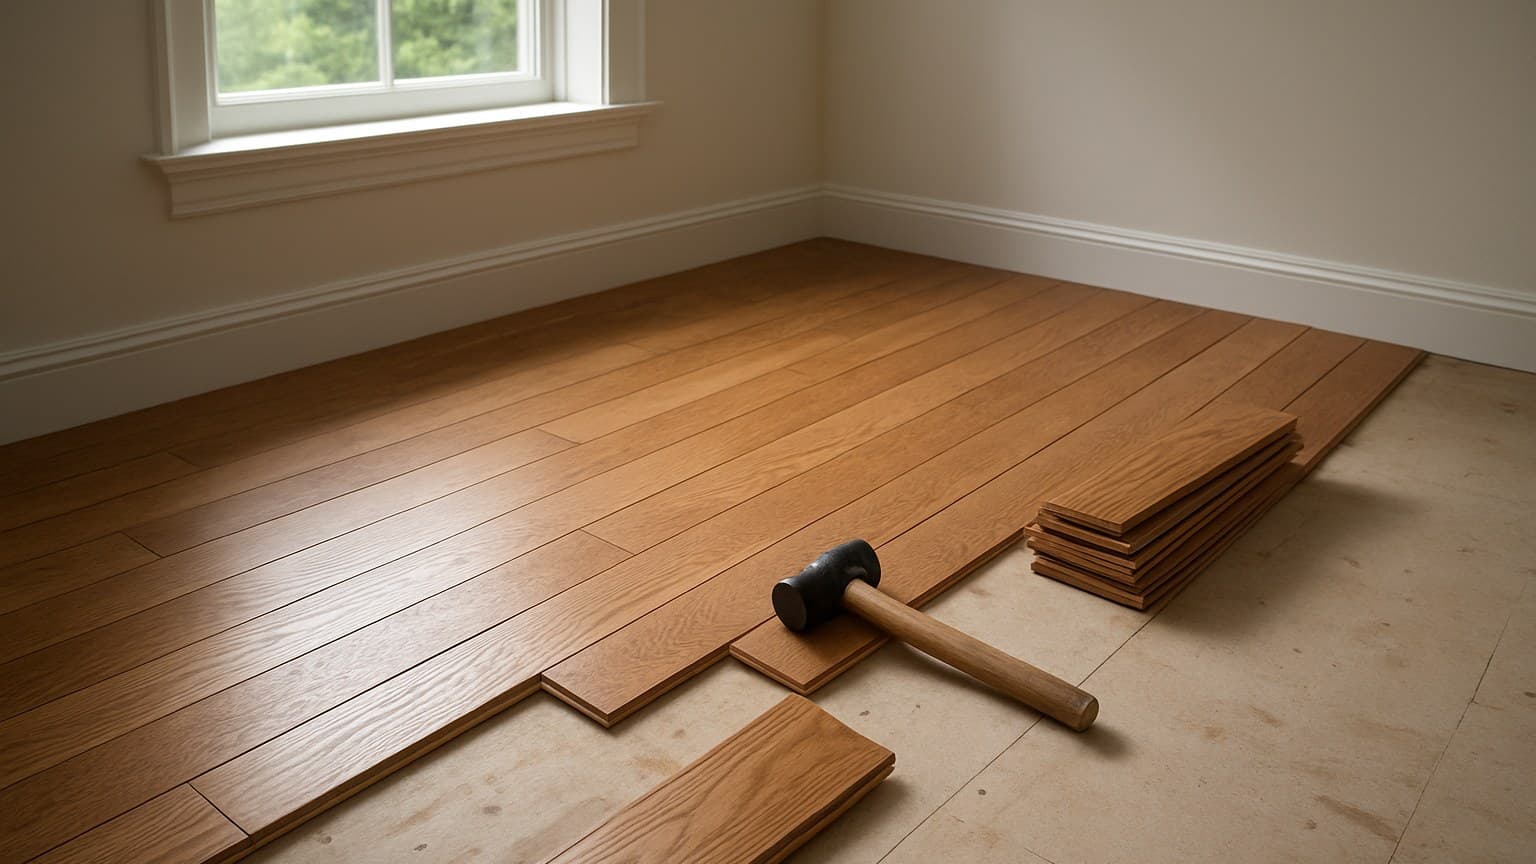
Most of the hardwood repair calls I get start the same way: nobody checked what the subfloor was doing before the boards ever came out of the box. I saw it again on a walkout-basement job for Diane in Columbus, Ohio. Installing hardwood flooring is less about swinging a nailer than reading what sits under it. Get that part wrong and you pay for the floor twice. Knowing what boards actually cost going in makes that second bill sting even more, which is why I always point clients to a solid hardwood flooring prices guide before they buy.
Key takeaways
- Test the subfloor first: NWFA benchmarks put a calcium-chloride reading at no more than about 3 lbs per 1,000 sq ft per 24 hours, or an in-situ relative humidity probe at roughly 75% or below, before wood goes over concrete.
- Nail-down needs a wood subfloor; over a concrete slab you glue down or float. Never nail solid strip straight into a slab.
- Acclimate until the wood and subfloor moisture readings sit within tolerance (about 2% apart for narrow strip, up to 4% for wider plank), not a fixed 72 hours off a blog.
- Leave a roughly 3/4 inch expansion gap at every wall; skipping it is the number one cause of a buckled floor.
- Budget about $3-9 per sq ft for materials and $3-8 per sq ft for labor, with basement and stair jobs costing more than open rooms.
Step 1: Test the Subfloor Moisture, Because It Picks Your Method
The moisture reading in your subfloor decides nail, glue, or float before you touch a board. On that walkout-basement job for Diane in Columbus, Ohio, she had her heart set on nailed-down oak. The slab read too wet, so we glued engineered plank instead. The number made the call, not the wish. She'd originally wanted a red oak prefinished floor for that exact room, so we found a way to give her the look with a system the moisture would actually allow, and my red oak prefinished hardwood flooring guide covers how to make that swap work.
Three tests do the work. Calcium chloride is a small dish of salt that weighs how much water vapor rises out of concrete over 24 hours. An in-situ relative humidity (RH) probe is a sensor you drop into a drilled hole to read moisture deep inside the slab, and it's the one I trust most. For a wood subfloor, a pin or pinless meter is a handheld reader you press to the surface. According to the National Wood Flooring Association's installation guidelines, these three tests and their pass/fail thresholds are the industry benchmark for deciding whether a subfloor is dry enough to install over.
| Test | Benchmark | What it tells you |
|---|---|---|
| Calcium chloride (concrete) | No more than ~3 lbs / 1,000 sq ft / 24 hr | How much vapor the slab still gives off |
| In-situ RH probe (concrete) | ~75% or below (confirm your product's spec) | Moisture deep inside the slab, most reliable test |
| Pin/pinless meter (wood) | Wood within ~2-4% of subfloor reading | Whether board and subfloor are in balance |
Source: NWFA's moisture-testing thresholds for wood over concrete
I run all three checks before I quote a job, because relying on just one test can miss a wet spot the others would have caught.
A failing number isn't a small thing. It means you wait, you dry the slab, or you switch to a method the moisture allows. A passing number is your permission slip for everything after this.
Step 2: Nail, Glue, or Float, Matched to What's Under You
Your subfloor sets your method, full stop. Nail-down needs a wood subfloor over joists. Over a concrete slab you glue down or float. Never drive nails through solid strip into a slab.
Floating means the boards lock edge to edge and sit loose on a pad, fastened to nothing. Glue-down bonds each board to the slab with adhesive. Nail-down fires cleats, which are L-shaped fasteners, through the board's tongue into wood below.
Engineered wood earns its keep here. Its plywood-style core stays more stable over concrete and below grade, where solid hardwood usually isn't recommended. If you're still choosing between the two boards, my guide to solid vs. engineered hardwood walks through where each one belongs.
The NWFA's installation guidelines spell out which method belongs on which subfloor, and the breakdown below follows that framework:
| Method | Subfloor | Best for | Watch out |
|---|---|---|---|
| Nail-down | Plywood/OSB over joists | Solid strip, above grade | Needs a flooring nailer; won't work on slab |
| Glue-down | Concrete slab (passing moisture) | Engineered plank | Right adhesive and trowel; messy, harder DIY |
| Floating | Slab or existing flat floor | Engineered click-lock | Can feel hollow; strict flatness needed |
Source: NWFA installation guidelines for nail, glue, and float methods
I match the subfloor to one of these three methods on every quote, before board species ever comes up. Once the method is locked in, the species conversation usually turns into prefinished versus unfinished, and my prefinished hardwood vs. unfinished guide is where I send clients who aren't sure which way to go.
Step 3: The Tools and Materials You Actually Need
Have the real kit staged before day one so you're not making hardware runs mid-install. You want a moisture meter, a flooring nailer or mallet, a miter saw and a jamb saw (a flat blade that trims door casing at floor height), a pry bar, a tapping block, 3/4 inch spacers, and a chalk line.
For materials, buy the boards plus 5-10% extra for waste and bad cuts, underlayment, cleats or adhesive, and transition strips for doorways. A pneumatic nailer and a big compressor are worth renting for a weekend rather than buying. When you price the boards, a good breakdown of hardwood flooring cost helps you size the material budget before you commit.
Don't skip safety gear. Eye and ear protection, knee pads, and a dust mask for cutting matter when you're on the floor for eight hours straight.
Step 4: Acclimate the Wood to the Room, Not the Calendar
Acclimation ends when the readings match, not when a clock runs out. Forget the "72 hours versus 5 days" arguments online. Stack the boards in the actual room where they'll live, at normal living temperature and humidity, with the box ends open so air reaches the wood.
The target is balance. Per NWFA installation guidelines, narrow strip flooring should acclimate to within about 2% of the subfloor's moisture content, while wider plank can be off by up to about 4%. The box's own instruction sheet governs the exact figure for your specific product.
I learned this the hard way. A homeowner named Teresa in Dayton, Ohio talked me out of a moisture check to save an afternoon, and I let her. The floor cupped before the season turned, and I relaid it on my own dime. That's the day I stopped treating this step as optional.
Step 5: Prep and Level the Subfloor
A flat, dry, quiet subfloor is what makes the finished floor last. Run a straight edge across the surface, then sand down the high spots and fill the low ones with leveler until the whole area sits flat.
Clean the subfloor, confirm it's dry, and screw down any loose sheets to kill squeaks before boards ever cover them. On a plywood subfloor, check that the CDX (a common exterior-grade plywood) is sound and well fastened.
The manufacturer's warranty depends on this step more than most homeowners realize. Not the plank you picked, the prep beneath it.
Step 6: Lay the Underlayment or Vapor Barrier
The subfloor decides which underlayment you use. Over a wood subfloor for nail-down, rosin paper or 15-lb felt is standard. Over concrete, you need a rated vapor retarder, and there it isn't optional.
If you have radiant heat below, use a product and method rated for it and confirm it on the box. The layers stack in a set order, top down: the hardwood you walk on, the underlayment that cushions and slows moisture, the subfloor or slab you fasten or glue to, and the joists or grade carrying it all.
Step 7: Snap Chalk Lines and Set Expansion Gaps
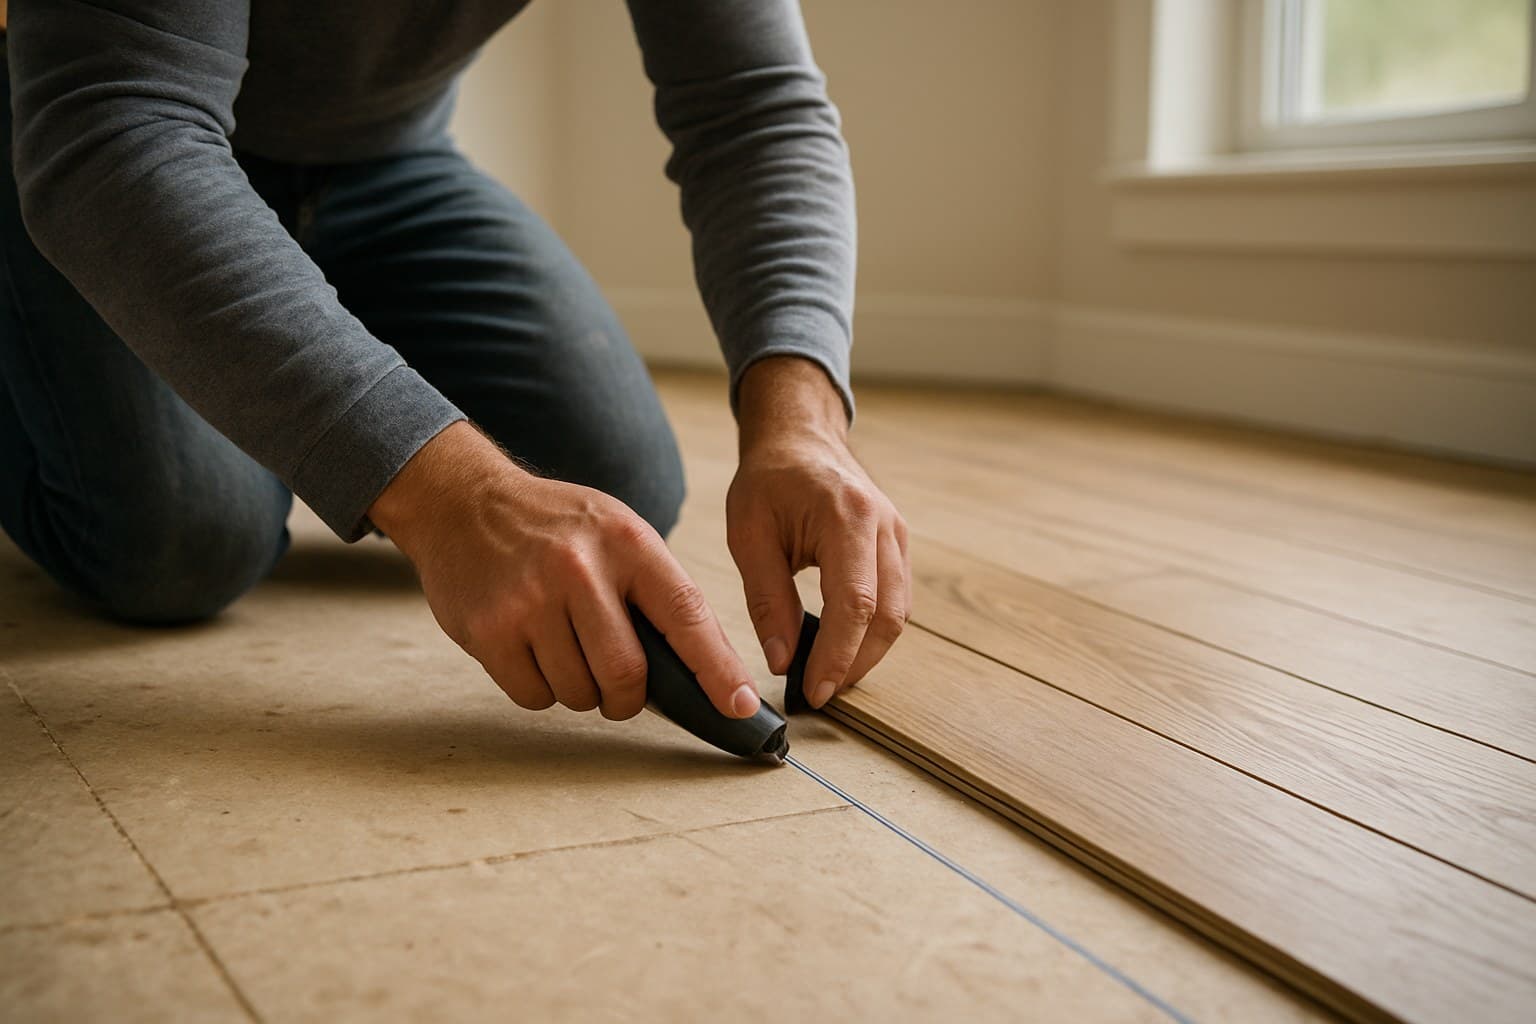
Start square or the whole floor drifts. Find the straightest wall, measure out, and snap a chalk line so your first row runs true. Every row after keys off that line.
Set spacers for a roughly 3/4 inch expansion gap at every wall, the allowance the NWFA's installation guidelines call for to let wood move with humidity swings. Wood moves with the seasons, and that gap is what saves you from a buckled floor. The gap disappears later under baseboard and shoe molding, so it never shows.
Dry-lay a few rows first to plan the stagger of board ends and make sure your last row isn't a skinny sliver.
Step 8: Nail the Field and Cut Around Doorways
Start and finish by hand where the machine can't reach. Hand-nail or face-nail the first and last rows, then switch to the pneumatic nailer for the open field in between.
Using the pneumatic flooring nailer
Following NWFA-recommended nail spacing, space cleats every 6-8 inches and within a couple inches of each board end. The nailer drives through the tongue at an angle, called blind-nailing, so the fastener hides under the next board's groove. Keep the tongue facing out into the room so the next row locks in clean.
Cutting around jambs and obstacles
Undercut door jambs with the jamb saw so a board slides underneath instead of butting against the casing. Scribe boards around pipes and odd corners rather than forcing them. If you bought pre-finished hardwood flooring, you skip sanding and finishing once the last board is down.
Step 9: Installing Over Concrete, and Settling the Plywood Fight
Over a slab, the moisture number decides your options, not a retailer's opinion or a forum thread. Once the slab passes the test from Step 1, you have three honest routes: glue engineered plank straight to the concrete, float a click-lock floor over a pad, or build a plywood subfloor on top of the slab and nail into that.
The plywood-over-concrete route makes sense when you want solid strip on a slab that reads dry, or you want a nailed feel underfoot. You fasten sleepers or floated plywood down first, add the vapor barrier, then nail as if you were over joists. It costs more in height, material, and labor, so it's a choice, not a default.
For a basement, I steer people toward engineered, and off solid entirely, because the slab readings usually settle it before we even talk looks. If you're narrowing down which engineered line to buy for that space, our Johnson Hardwood flooring reviews break down how their planks and vinyl options hold up over concrete.