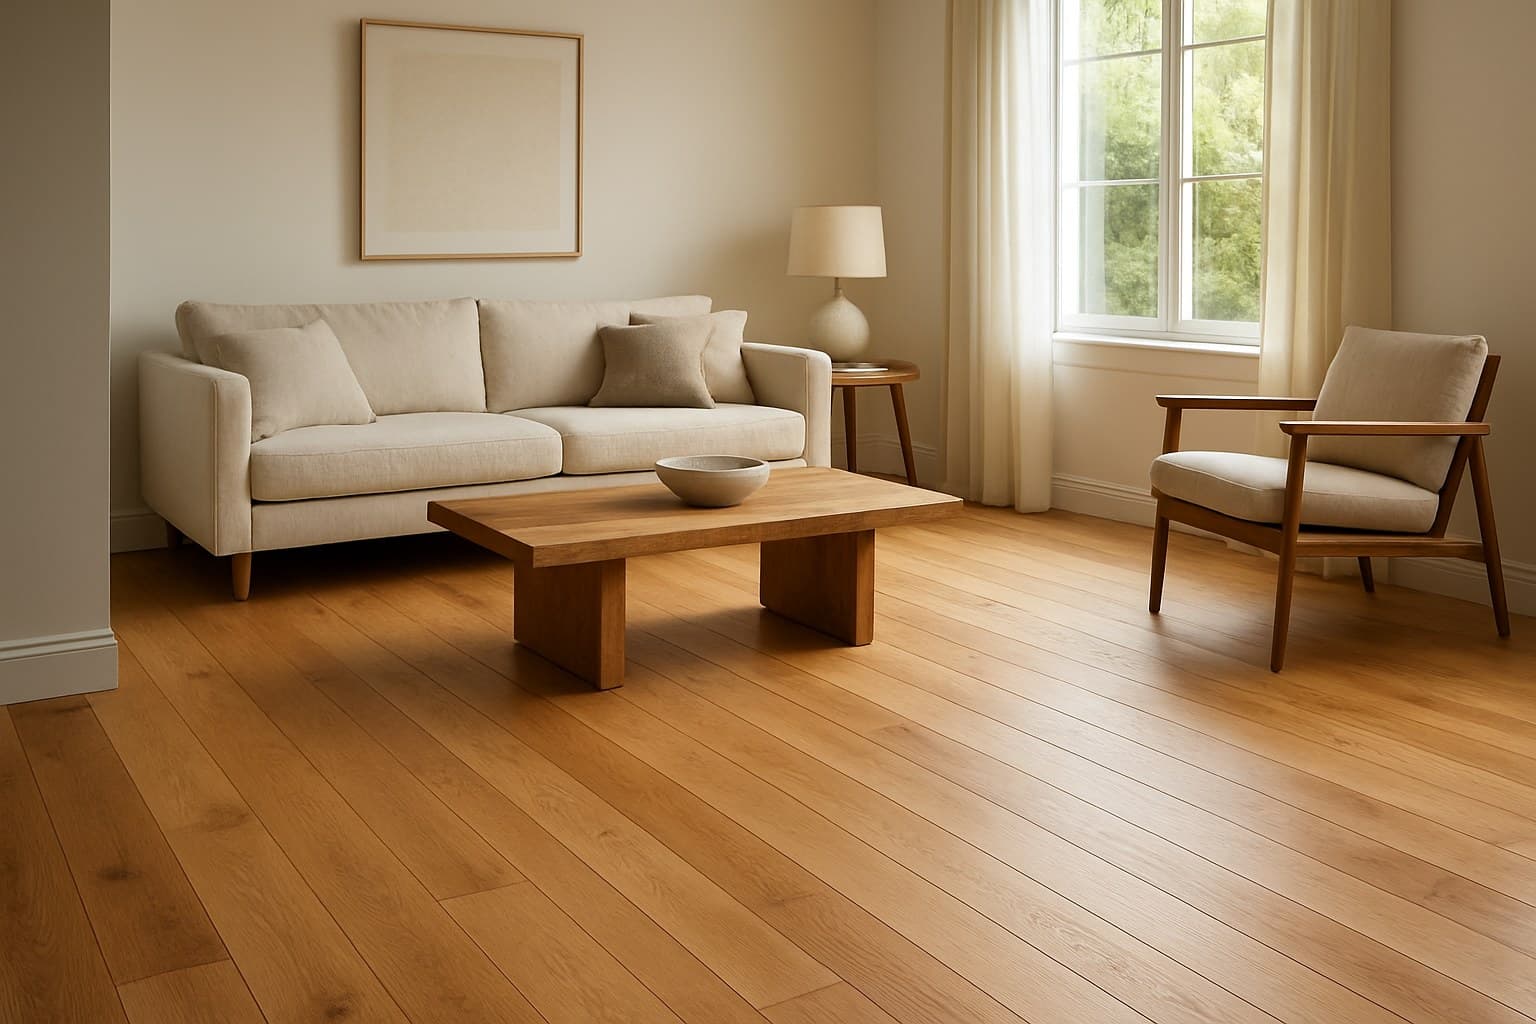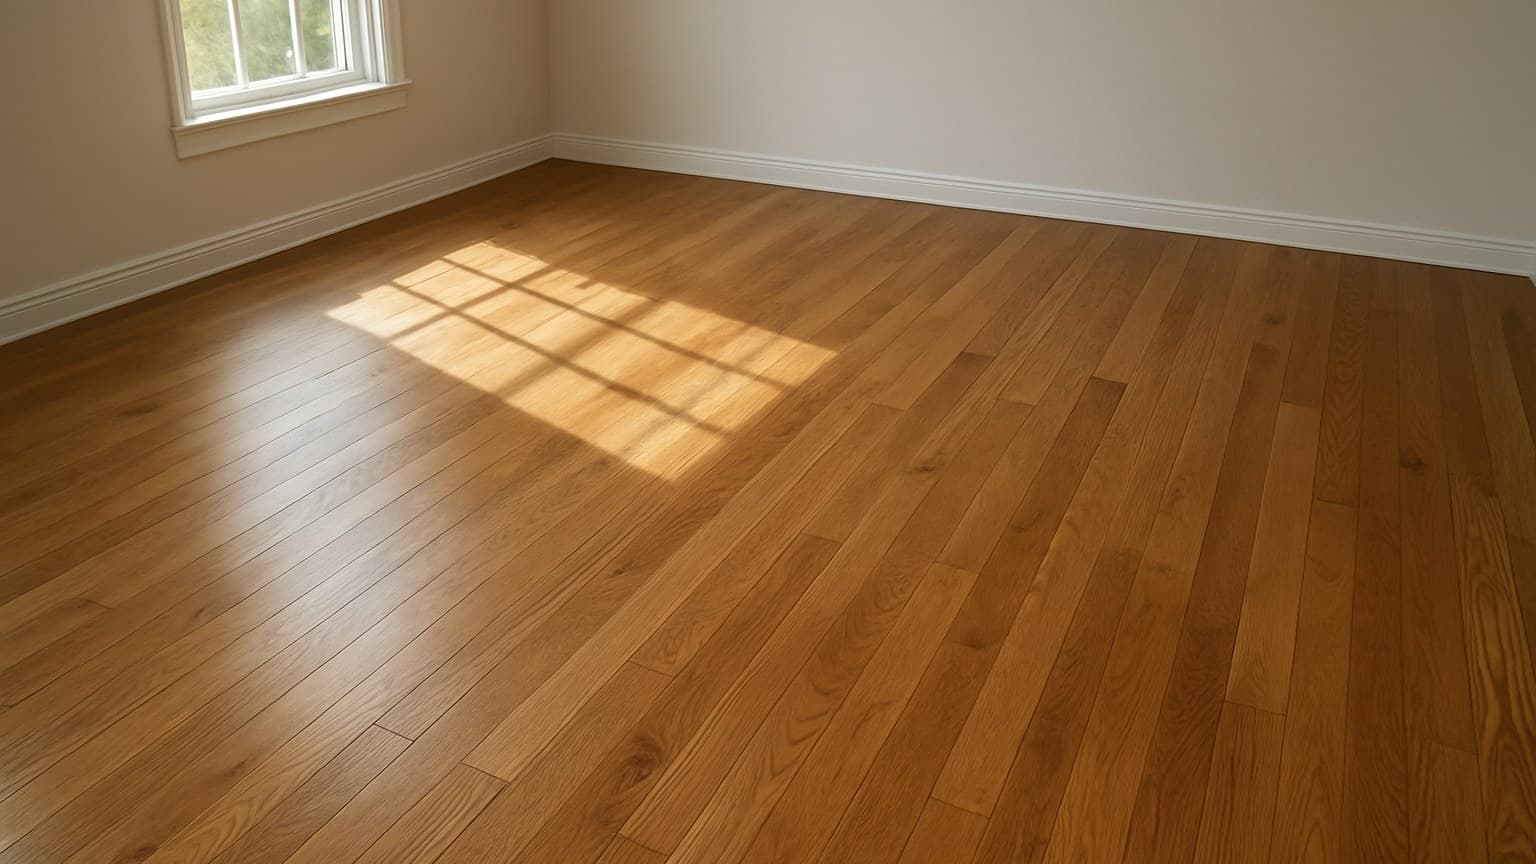
When I walked into Maria Delgado's 1948 ranch in Tulsa last month, she'd already picked a hardwood color off a mood board and wanted it down by the weekend. I stopped her, because the real decision comes down to three numbers: the wood's Janka hardness rating, whether solid or engineered fits the room's moisture, and the material-versus-labor cost split. Get those three right first and color is the easy part. Skip them and a pretty floor dents, gaps, or cups within a year, long after the crew has left.
, Dale Whitfield, owner of a Tulsa-based hardwood flooring installation and refinishing company, with 17 years in the trade and hands-on experience on jobs like Maria's, including the subfloor, refinish, and cost calls referenced throughout this guide. Before-and-after photos from these projects are available on request.
Key takeaways
- Pick construction by where the floor goes: engineered handles concrete, basements, and moisture-prone rooms; solid is safest at or above grade over wood subfloor.
- Match hardness to traffic using Janka numbers: American walnut sits near 1010 and dents easily, red oak 1290, white oak 1360, hard maple 1450, hickory 1820, Brazilian cherry around 2350.
- The trade target for wood moisture content is 6-10% (NWFA/NOFMA), and acclimation time is set by the product's own sheet, not a rule of thumb.
- Solid hardwood can usually be sanded several times over its life; an engineered floor's refinish count is capped by its published veneer, which you confirm on the spec sheet.
- Budget as two lines: materials commonly run about $3-14 per sq ft and labor about $3-8 per sq ft, with stairs and basements costing more than open rooms.
The Whole Choice Comes Down to Three Numbers
Three numbers settle most of this decision: hardness (the Janka rating), moisture fit (solid vs engineered plus the 6-10% wood moisture standard), and cost split into material and labor. Get those three right and the rest is just taste.
You are not picking a look first. You are matching a wood to a room's traffic and its moisture, and only then choosing a color and finish from what will actually survive there. Designers often work the opposite way, which is part of why pretty floors dent, gap, or cup within a year.
Every section below trades a vague trend claim for a real figure you can read straight off a table. The mistake never announces itself in the showroom. It waits for winter dryness, summer humidity, a dog's nails, and low afternoon light to show up all at once, long after the crew has left.
Decide in this order: where does the floor go, how hard does it need to be, what can you refinish later, and what is the budget. Color, width, and finish come last.
Solid vs Engineered: Where Each One Can Actually Go
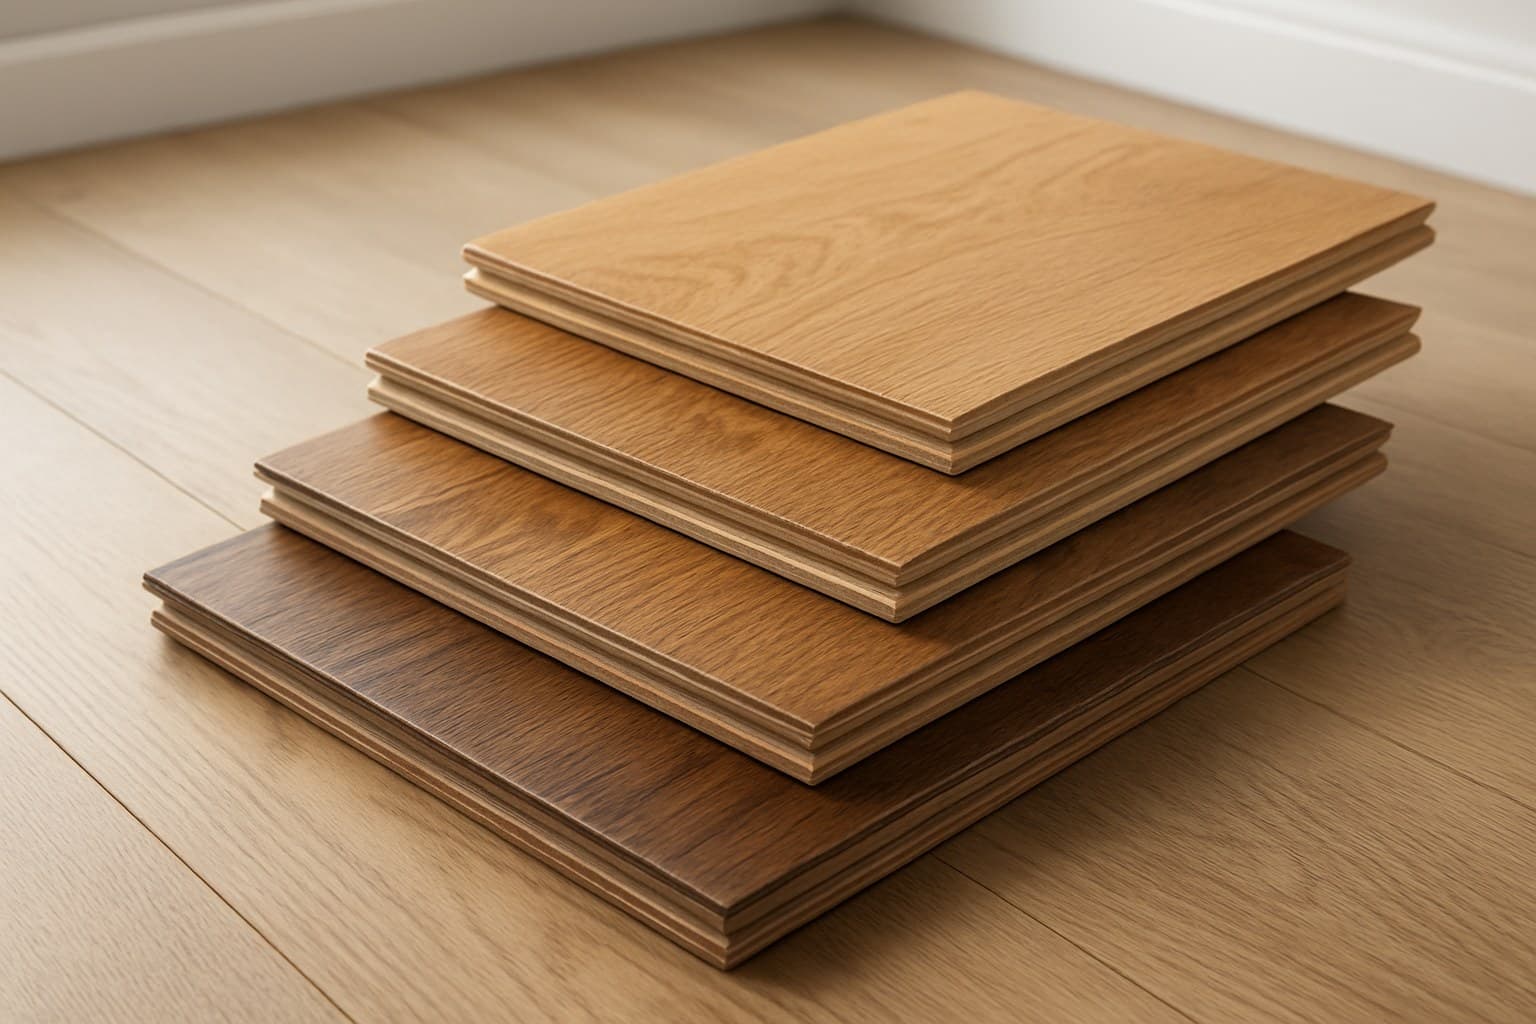
Start with location, not looks. According to NWFA installation guidelines, engineered hardwood has a plywood-style core, which makes it more stable over concrete and below grade. Solid hardwood generally is not recommended in a basement or straight over a slab. If you're weighing a branded product like Pergo instead of a standard engineered plank, it's worth checking whether Pergo hardwood is actually real wood before you commit to a room.
Solid is the right call at or above grade over a wood subfloor. It is also the one you can sand the most times over its life. If your floor sits on the main level or upstairs over joists, solid is on the table and so is engineered.
A solid oak plank and a quality engineered oak plank can look identical on top. The core is what decides where each one belongs. Over a concrete slab, engineered glues down or floats; solid would need a full subfloor built up first. For a fuller walkthrough of the choice, including how to match species to your room, see the guide on picking solid vs engineered hardwood floors.
One more thing people miss: radiant heat. Engineered is usually the compatible choice because the layered core moves less with heat swings. Solid usually is not recommended over radiant, but always confirm on that exact product's install guide, since a few solid lines are rated for it.
| Factor | Solid | Engineered |
|---|---|---|
| Below grade (basement) | Not recommended | Yes, with moisture check |
| Over concrete slab | Rarely, needs subfloor buildup | Glue-down or float |
| At/above grade over wood | Yes | Yes |
| Radiant heat | Usually no | Often yes, check product sheet |
| Refinishing over life | Several sandings | Capped by published veneer |
Source: NWFA guidance on where solid and engineered can each be installed
Where the floor goes, and what you can refinish later, drives this table more than any brand does.
Janka Hardness by Species: The Real Dent Numbers
Janka is a lab test of how hard a wood is to dent. It presses a small steel ball into the wood and reports the force as a number. Higher means harder to dent, and the numbers are published for every common species.
Here is where the popular woods land. American cherry sits around 950 and American walnut near 1010, both soft for a busy floor. Red oak is 1290, the trade baseline. White oak is 1360, hard maple 1450, hickory 1820, and Brazilian cherry (jatoba) around 2350.
Harder is not automatically the right call. A hard wood like Brazilian cherry or an exotic species resists dents, but it also fights the saw, dulls blades, and can telegraph any bump left in the subfloor. Softer woods like American walnut look rich but need a lower-traffic room to stay nice.
If dents are your main worry, read the number and match it to your traffic. A hallway with big dogs wants oak, hickory, or harder. A quiet bedroom can carry walnut just fine. For a deeper look at what holds up, see the guide on durable hardwood that won't dent or warp.
| Species | Janka | Note |
|---|---|---|
| American cherry | 950 | Softer; better in low-traffic rooms |
| American walnut | 1010 | Soft for a floor; dents in busy rooms |
| Red oak | 1290 | The trade baseline |
| White oak | 1360 | Slightly harder, tighter grain |
| Hard maple | 1450 | Hard, smooth grain shows scratches |
| Hickory | 1820 | Very hard, strong grain |
| Brazilian cherry (jatoba) | 2350 | Extremely hard, tough to cut |
Source: the published Janka hardness ratings used across the flooring trade
Moisture Content and the 6-10% Standard
Wood needs to hit the right moisture level before it goes down. According to the National Wood Flooring Association (NWFA), the industry target for wood moisture content at install is 6-10%, a standard reinforced by NOFMA's factory-finished grading rules, which NWFA now administers. Above or below that band and the boards will move once they are in your home.
Acclimation means letting the wood sit in the room until it matches the home's air, and it is not one rule for everything. Some products ask for days of acclimation. Some engineered lines say it is unnecessary. The box's own sheet governs this, not a rule of thumb passed around online. Follow the sheet or you risk the warranty.
Skipping moisture control is exactly what causes the problems people blame on the wood. Boards that go in too wet shrink and leave gaps in dry winter air. Boards that go in too dry swell and cup in a humid summer. Neither is the plank's fault.
Before any wood goes down, confirm the wood itself reads in that 6-10% range, the subfloor is within the product's stated moisture limit, acclimation is done exactly as the sheet says, and the house is already at normal living temperature and humidity. That last one matters: acclimating a floor in an unheated, unfinished house tells you nothing about how it will sit once you move in.
The warranty depends on moisture and flatness, not on which species you picked. Get either one wrong and you're the one paying for a new floor, not the manufacturer.
Subfloor Flatness and Moisture Checks Before You Buy
On most nailed and floating jobs, the finished floor only lasts as long as the prep under it. I have pulled up beautiful oak that failed because nobody flattened the subfloor first. The wood was fine. The base was not.
Check flatness with a long straightedge, which is just a stiff, dead-flat bar 6 to 10 feet long. Lay it across the floor in several directions and watch for daylight under it. Per NWFA installation guidelines, a common tolerance is about 3/16 inch of dip over 10 feet. Grind down the high spots and fill the low spots before a single board goes down.
Then check moisture with a meter. A moisture meter is a small handheld tool with two pins or a flat sensor that reads how wet the subfloor or slab is. You want to catch a wet slab before the floor ruins over it, not after. On concrete especially, a reading outside the product's limit means you stop and fix it first.
This is also the stage to plan what sits between the wood and the base. The right underlayment and moisture barrier depend on your subfloor, so read up on what to put under hardwood flooring before you order anything.
Finish: Site-Finished vs Factory-Finished, Oil vs Poly, Gloss vs Matte
Finish decides how the floor wears and how much dust and downtime the install brings. Site-finished means the boards go down raw and get sanded and coated in your home. Factory-finished (prefinished) arrives sealed and cured from the plant.
Site-finished gives you a smooth, seamless surface and lets you pick any stain and sheen on the spot. The trade-off is dust, fumes, and days of drying while you stay off the floor. Prefinished skips all that and usually carries a tougher factory coating, but the boards have small beveled edges where they meet, and you live with the color the plant chose.
On the coating itself: an oil finish soaks into the wood for a natural, matte look that is easy to spot-fix but needs re-oiling over time. A polyurethane (poly) finish sits on top as a hard shell that resists water and scuffs better and needs less upkeep. Oil suits people who want a raw look and will maintain it; poly suits busy homes that want low fuss.
Sheen matters beyond looks. Gloss reflects light and shows every scratch and dust bunny. Matte and satin scatter light and hide fine scratches and pet nails better. In a busy house with kids or dogs, matte or satin is the easier floor to live with. If scratches are your top fear, the guide on scratch-resistant hardwood goes deeper.
Prefinished or Unfinished: Which One to Order
Order prefinished if you want speed, a tougher coating, and no dust. Order unfinished if you want a perfectly flush surface, a custom stain, or you are matching an existing floor.
Prefinished boards are ready to walk on the day they go down. The factory coating is usually cured harder than anything I can lay in your living room, and there is no sanding mess. The cost is those tiny beveled seams and the fixed color range.
Unfinished (site-finished) wins when you need something specific. Matching a 40-year-old oak floor in an addition, chasing an exact stain, or getting a dead-flat surface with no micro-bevels all point to unfinished. Just plan for the dust and the days off the floor while coats cure.
For most homeowners in a normal remodel, prefinished is the practical pick. Unfinished earns its extra hassle when the look has to be exact.
Wood Grade: What "Select" and "Rustic" Actually Change
Grade is about how much knot, color streak, and character the boards show, not how strong they are. A clear or select grade is uniform and calm. A common, character, or rustic grade shows more knots, mineral streaks, and color swing.
This is the cheapest way to change both look and price. Lower grades cost less because the mill accepts more natural marks, not because the wood is weaker. A cabin or tavern grade can look great in the right room and off in the wrong one, so it pays to know what you are buying.
Grade also hides wear differently. A busy, knotty floor swallows scuffs and crumbs. A clean select floor shows every mark. If you want the full breakdown of what each label means, the grades of hardwood flooring guide lays it out.
Plank Width and Layout: How Boards Change a Room
Width changes the whole feel of a room. Narrow strips around 2 to 3 inches read traditional and busy. Wide planks of 5 inches and up feel modern and calm and make a small room look bigger.
Width also affects movement. Wider boards show seasonal gaps and cupping more than narrow strips, so moisture control matters even more with wide planks. If you are drawn to the wide, relaxed look, plan the prep carefully.
You are not locked into one width either. A random width floor mixes several board sizes for an old-house look, and mixed width layouts let you design the pattern on purpose. If you prefer the classic middle ground, a 3-inch board is a safe, timeless width.
Light or Dark: What Each Color Really Hides
Neither light nor dark hides everything. They hide different things. Light floors hide dust, pet hair, and fine scratches. Dark floors hide stains and deep grain, but show every speck of dust and every scratch that cuts through the stain.
Light woods and stains, like natural oak or pale finishes, are a low-maintenance choice for a busy home with pets. The floor still gets dirty; it just does not broadcast it. That is why I steer families with big dogs toward lighter, matte oak.
Dark floors look rich and dramatic, and they hide spills and water spots well. The trade is upkeep. You will see dust and lint a day after cleaning, and a scratch through a dark stain shows the raw pale wood underneath. In strong afternoon light, a dark floor is a less forgiving surface.
How Many Times Can You Actually Refinish It?
The honest answer is a spec question, not a yes or no. Solid hardwood can usually be sanded 3 to 5 times over its life, the range most commonly cited across the trade for standard 3/4-inch tongue-and-groove boards, because there is thick wood above the tongue. An engineered floor can be refinished only as many times as its published veneer allows, and some thin veneers cannot be sanded at all.
With engineered, read the wear layer thickness on the spec sheet before you buy. A thick veneer might take one or two light sandings. A thin one is a wear-through waiting to happen, and once you hit the plywood core there is no going back.
Even solid has a limit, and it is not the middle of the board that fails first. I once had a customer who wanted a solid oak floor refinished for the fourth or fifth time. In one corner the sander took it right down to the tongue before I caught it. The floor looked fine on top with almost nothing left to take off. Now I check the remaining thickness at the edges first, because the boards are always thinnest where the tongue was milled.
So if you plan to refinish more than once or twice, solid gives you more runway, roughly 3 to 5 sandings if the boards are full thickness and each pass is light. If you go engineered, let the published veneer number, not the salesperson, tell you what is possible.
What It Costs, Split by Material and Labor
Budget hardwood as two separate lines, never one flat number. Materials typically fall somewhere in the range of roughly $3 to $14 per square foot depending on species and grade, and labor typically runs roughly $3 to $8 per square foot depending on the install method and your area. Treat these as ballpark figures rather than a quote, get pricing from local installers to confirm what your project will actually run.
Those ranges move with real choices. A basic red oak in a common grade sits near the bottom of both lines. An exotic species or a wide, character-grade plank pushes materials up, and a glue-down or nail-down install with lots of cuts pushes labor up.
Basements and stairs both cost more than an open room. Basements add moisture testing, often a subfloor buildup, and usually engineered material, so the whole job runs higher. Stairs are slow, cut-heavy hand work, priced per step, and they add up fast. I learned to count closets, doorways, and stairs separately after a cut-heavy job ate an extra full day, because the open middle of a room is never where the time goes.
Species swings the material line hard. If you are pricing a premium wood, the real numbers in what walnut hardwood actually costs show how far it moves. For a full room-by-room breakdown by square footage, the hardwood flooring cost guide splits every line out.
DIY or Hire: Where the Line Really Is
Be honest about the install type before you rent a nailer. Some hardwood jobs are realistic for a careful DIYer. Others go wrong fast and cost far more to fix than they would have cost to hire out right the first time.
A floating click-lock engineered floor over a flat, dry subfloor is the most DIY-friendly hardwood there is. No glue, no nails, boards snap together. If your prep is right, most homeowners can do it.
Nail-down and glue-down are where I lean toward hiring out. Nailing down solid hardwood takes a flooring nailer, tight racking, and clean cuts around every obstacle, and mistakes show. Glue-down over concrete is messy and unforgiving. Stairs are their own skill, and a large open-plan floor with a moisture transition between rooms is exactly the kind of job worth paying a pro for. The pros and cons of hardwood guide is a good gut check before you commit.
If you are on the fence, match the risk to the room. A spare bedroom in click-lock is a fine first project. Your main open living space in glue-down is not.
Room by Room: Matching the Wood to the Space
The right floor changes by room, because grade, subfloor, and moisture change by room. Here is how the three numbers land in the spots people ask about most.
Basements and any room over a slab: engineered, full stop, with a moisture check first. Solid does not belong below grade. This is the room where construction, not color, makes the call.
Kitchens and entries: pick harder and matte. Oak or harder in a satin or matte finish takes the traffic and grit, and matte hides the scratches that busy rooms create. Keep a mat at the sink and door.
Bedrooms and formal rooms: this is where softer, prettier woods like walnut or cherry earn their place, since the traffic is light. Living rooms with kids and pets want oak or hickory in a mid-tone, matte finish, which is a forgiving combination I install often.
Before you fall for a photo, run the room through a visualizer to see the color and width in your own space; the hardwood flooring visualizer comparison shows which tools are worth the time. Once you have a species and grade in mind, the hardwood flooring cost guide is the natural next read, because it turns your choice into a real material-plus-labor number for your square footage.