
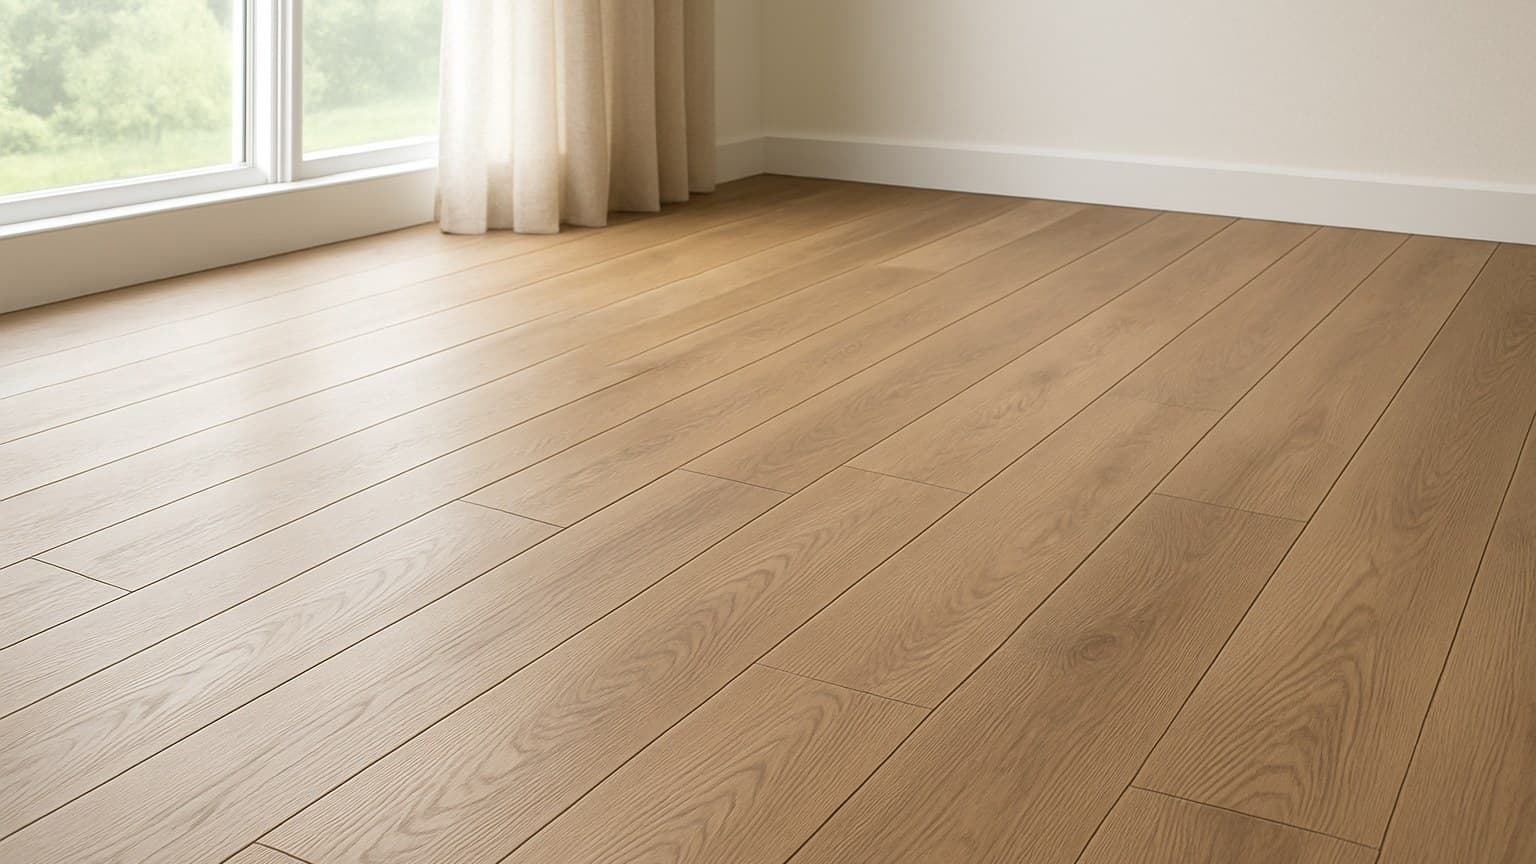
In Aurora, Colorado, a homeowner named Derek called me to quote a floor he'd already bought online, tagged "6mm engineered." When I pulled the spec sheet, the real sandable wear layer was only 2mm, he'd nearly paid near solid-floor money for veneer he could never sand down. Here's how to check the spec, run the sanding math, and decide if the 6mm upcharge earns its keep.
Key takeaways
- A true 6mm veneer supports roughly 4-5 professional sandings, since each sand-and-refinish removes about 0.5-1mm.
- NWFA's Refinishable Program treats about 3.2mm of wear layer as the twice-refinishable line; thinner is once or none.
- 6mm can rival many solid floors for refinish life, but only if the 6mm is the veneer above the core, not the total board thickness.
- The upcharge pays off if you plan to stay 20-plus years or want solid-like life; skip it if you'll move soon or the slab moisture readings are shaky.
What a 6mm Wear Layer Actually Buys You
Take Mullican's Ridgemont European Oak line, one of the 6mm boards I've quoted most: its spec sheet lists a true 6mm wear layer, the thick, premium tier. Run that number through the refinish-capacity math the NWFA uses (more on that in Step 2), and it's good for roughly 4-5 professional sandings over the floor's life. That gets close to many solid hardwood floors, which is why people pay up for it. European oak isn't the only wide-format option worth a look, either, and white oak wide plank flooring guide walks through how those boards compare on cost and stability.
Here's what the term means in plain words. The wear layer is the real hardwood on top, the part you actually walk on and can sand back. Everything under it is plywood core you never touch. On a 6mm board, only that top 6mm of oak or whatever species decides how many times you can refinish. Hickory is one of the toughest species you'll find in that top layer, and engineered hickory flooring guide covers how its density changes the sanding math.
The part that trips buyers up: "wear layer" and "total plank thickness" are two different numbers, and plenty of listings blur them. A 3/4-inch board sounds thick, but the sandable veneer on top might be 2mm. If you're cross-shopping cheap engineered hardwood flooring against pricier tiers, engineered flooring guide walks through exactly this kind of spec-sheet confusion.
So this guide does three things in order: read the spec sheet right, do the sanding-loss math, then compare the cost across the 3mm, 4mm, and 6mm tiers.
Step 1: Read the Spec Sheet, Not the Marketing
Start by finding the wear layer stated in millimeters, on its own, separate from total board thickness. That single number is the one that sets your refinish count. A 3/4-inch total plank can still hide a thin 2mm veneer above the core.
Watch for these red flags in a listing:
- It says "top layer" or "total thickness" instead of "wear layer."
- It gives no mm figure at all.
- It sells 6mm as a special-order upgrade over a standard 4mm, with a fat price jump.
To verify, ask for the spec sheet and a cut sample. Then measure the solid hardwood above the first glue line yourself. That glue line is where the veneer stops and the plywood core starts.
Total thickness still matters, just not for refinishing. It decides your install method, whether you nail, glue, or float the floor, and how the board feels underfoot. Each of those methods comes with its own subfloor prep and cost, and installing hardwood flooring guide walks through how to pick the right one.
One more gut check: price the wear layer, not the plank. If a "6mm" listing costs barely more than the same store's 4mm line, that gap is too small for a real veneer jump, and the tag is probably describing total thickness, not the sandable layer. That same instinct for distrusting a vague label applies just as much to reclaimed barnwood, where our reclaimed barnwood flooring authenticity guide shows how sellers dress up new-cut boards to pass as the real, weathered thing.
Source: the veneer check I run on every cut sample before I quote a job
Step 2: Do the Sanding-Loss Math (Refinishes by mm)
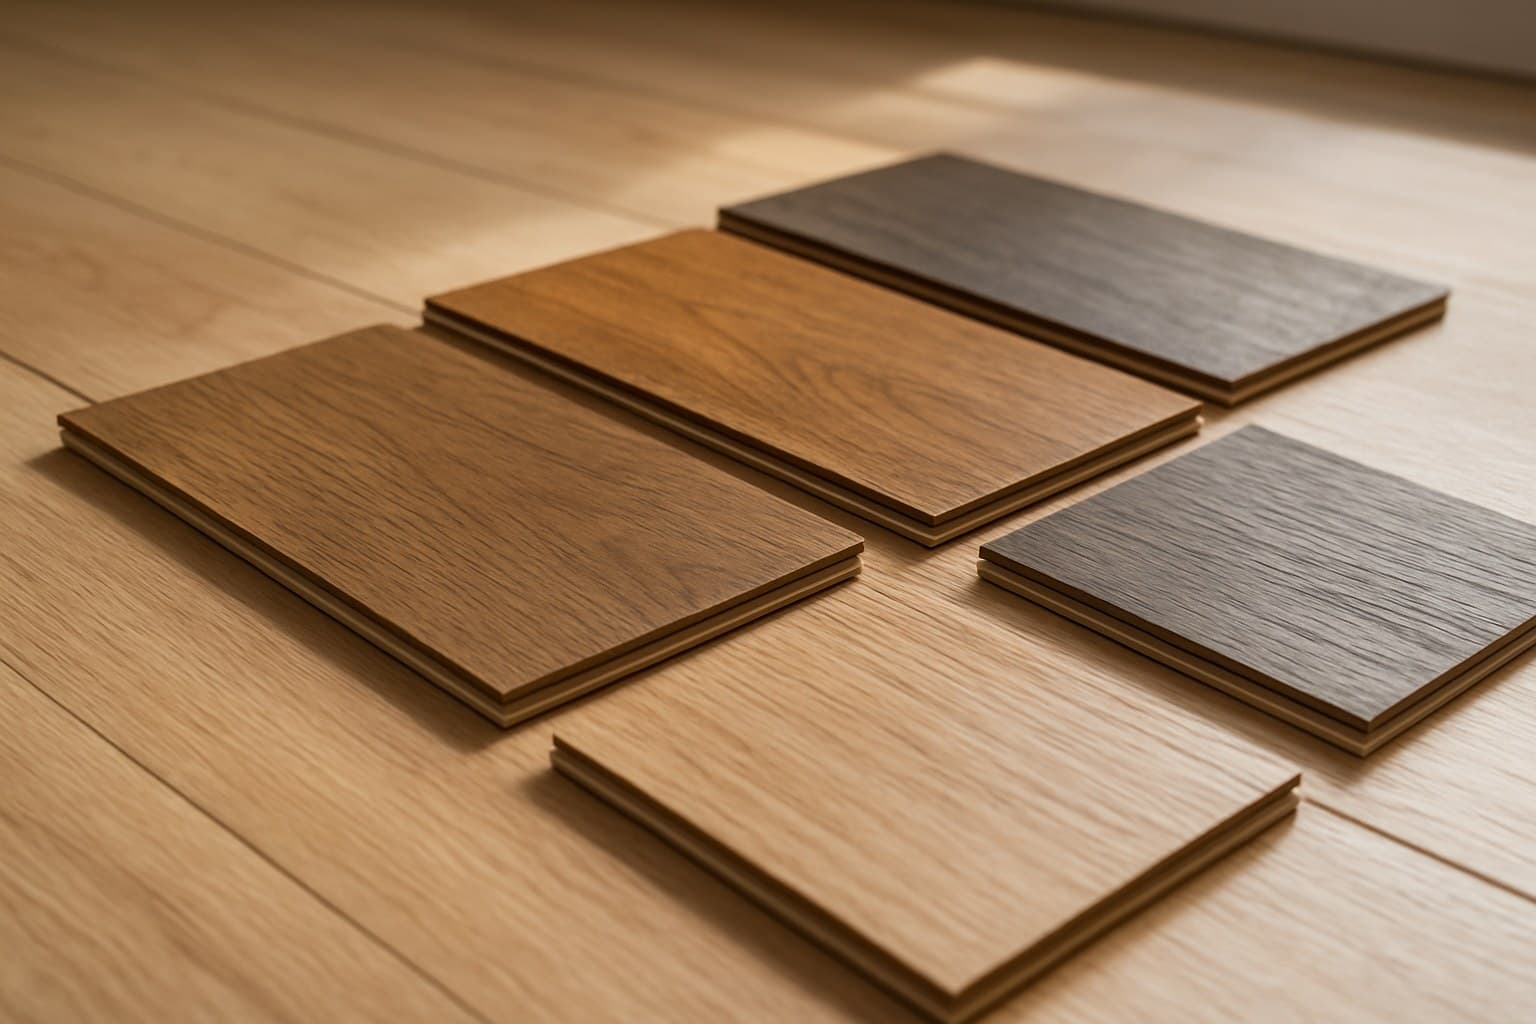
Each professional sand-and-refinish removes roughly 0.5-1mm of veneer, and you can never sand all the way to the core. So you leave a safety margin above the plywood, then divide what's left by the loss per sand.
According to the NWFA Refinishable Program, which certifies engineered wood flooring based on how many times it can be sanded and refinished, roughly 3.2mm of remaining wear layer is the benchmark for a "twice-refinishable" rating. Thinner than that drops you to once or none.
Worked example using that Mullican Ridgemont spec: take its 6mm wear layer, subtract about 1mm of safety margin, then divide by roughly 1mm lost per sand. That lands around 4-5 refinishes. Run the same math on other spec sheets and a 4mm board gets about 3, a 3mm board about 2, and a 2mm board about 1.
For scale, a solid 3/4-inch floor typically sands 5-7 times. A genuine 6mm veneer gets close to that, which is the pitch you're paying for. If you're still weighing the two constructions against each other from scratch, our guide to solid vs. engineered hardwood floors covers picking the right one and species for your room.
| Wear layer | Safe refinishes | NWFA note |
|---|---|---|
| 2mm | 0-1 | below the once-refinishable comfort zone |
| 3mm | 1-2 | near the once-refinishable line |
| 3.2mm | about 2 | cited twice-refinishable threshold |
| 4mm | 2-3 | comfortably twice-refinishable |
| 6mm | 4-5 | approaches solid hardwood refinish life |
| Solid 3/4 in | 5-7 | for comparison, not engineered |
Source: the NWFA Refinishable Program wear-layer thresholds
Realistic refinish counts by wear layer thickness, using the NWFA twice-refinishable threshold as the anchor point.
Step 3: Compare Cost per Refinish Across Tiers
Split the money honestly before you decide. A 6mm European oak board costs more per square foot in materials than a 3-4mm board. Refinish labor and install labor are separate line items stacked on top of that material cost, not baked into it.
Now do the cost-per-refinish math. Take the material premium for stepping up to 6mm, divide it by the extra sandings that premium buys, and you see what each future refinish really costs you in today's dollars.
| Step | Figure |
|---|---|
| Material premium for 6mm over 4mm | about $2-4 per sq ft more in materials |
| Extra refinishes that premium buys | roughly 1-2 more sandings |
| Premium divided by extra refinishes | about $1-4 per sq ft per added refinish |
| Compare to a fresh sand later | refinish labor runs about $3-5 per sq ft each time |
Cost-per-refinish comparison between 4mm and 6mm oak, splitting material premium from refinish labor.
The chart below shows the raw ranges those figures come from, kept as materials versus labor so you can see which line is which.
Use the chart above for the exact per-square-foot ranges. For a 200 sq ft room, that puts 6mm oak with install labor at roughly $1,800-$3,600 before basement or stair premiums, versus about $1,400-$2,800 for 3-4mm oak. That gap is the upcharge you're weighing against the extra sandings from Step 2.
Estimated total cost for a 200 sq ft room, built from the per-square-foot ranges in the chart above, before basement or stair premiums.
Two premiums to flag. Basement jobs run higher than open rooms because of moisture prep and the extra cutting, and stairs cost more per step for the same reason. The same 6mm board costs more to lay in those spots than across a flat living room.
The upcharge pays off if you'll stay 20-plus years or you genuinely want solid-like refinish life. Skip it if you're moving soon, or if the slab moisture readings are shaky. On a basement, I've talked people off both 6mm engineered and vinyl once the engineered hardwood versus LVP question came down to the slab, not the plank. If you want to sanity-check every line against local quotes, our hardwood flooring prices breakdown splits materials from labor the same way.
Construction Check: Core, Sawing, and Finish
Total thickness sets the feel and the install, not the refinish count. A 3/4-inch board carrying a real 6mm veneer is the sweet spot, thick enough to nail and stiff enough to feel solid, with the sandable life to match.
The core matters most over concrete. A 9-11 ply Baltic birch core, thin wood layers cross-stacked and glued, stays flatter below grade than a dense fiberboard core. That flatness is what most manufacturer warranties actually require you to hit before they'll pay out a claim.
The sawing pattern moves the board too. Rift and quartered oak, cut so the grain runs straight up and down, shifts less with humidity than plain-sawn, where the grain arches across the face. That stability helps over radiant heat. Cherry swaps out even more of that math, since it's a softer wood that visibly darkens with sunlight, so matching it to a room's light and foot traffic deserves its own look at the cherry flooring room fit guide.
Finish changes how you refinish. An oiled surface takes spot repairs on one worn patch. A UV-cured aluminum oxide or lacquer finish, baked hard at the factory, usually needs a full sand to redo the whole floor.
Where 3/4-Inch Engineered Fits
If you want the refinish life of solid but you're going over concrete or below grade, a 3/4-inch engineered board with a true 6mm veneer is the right tool. You get the sandings and the plywood core's stability at once. I learned to respect the prep the hard way on a job for Priya, a homeowner in Columbus, Ohio. She talked me out of a moisture test to save an afternoon, and the floor cupped before the season was out. I relaid it on my own dime, and I haven't skipped a moisture reading since.