
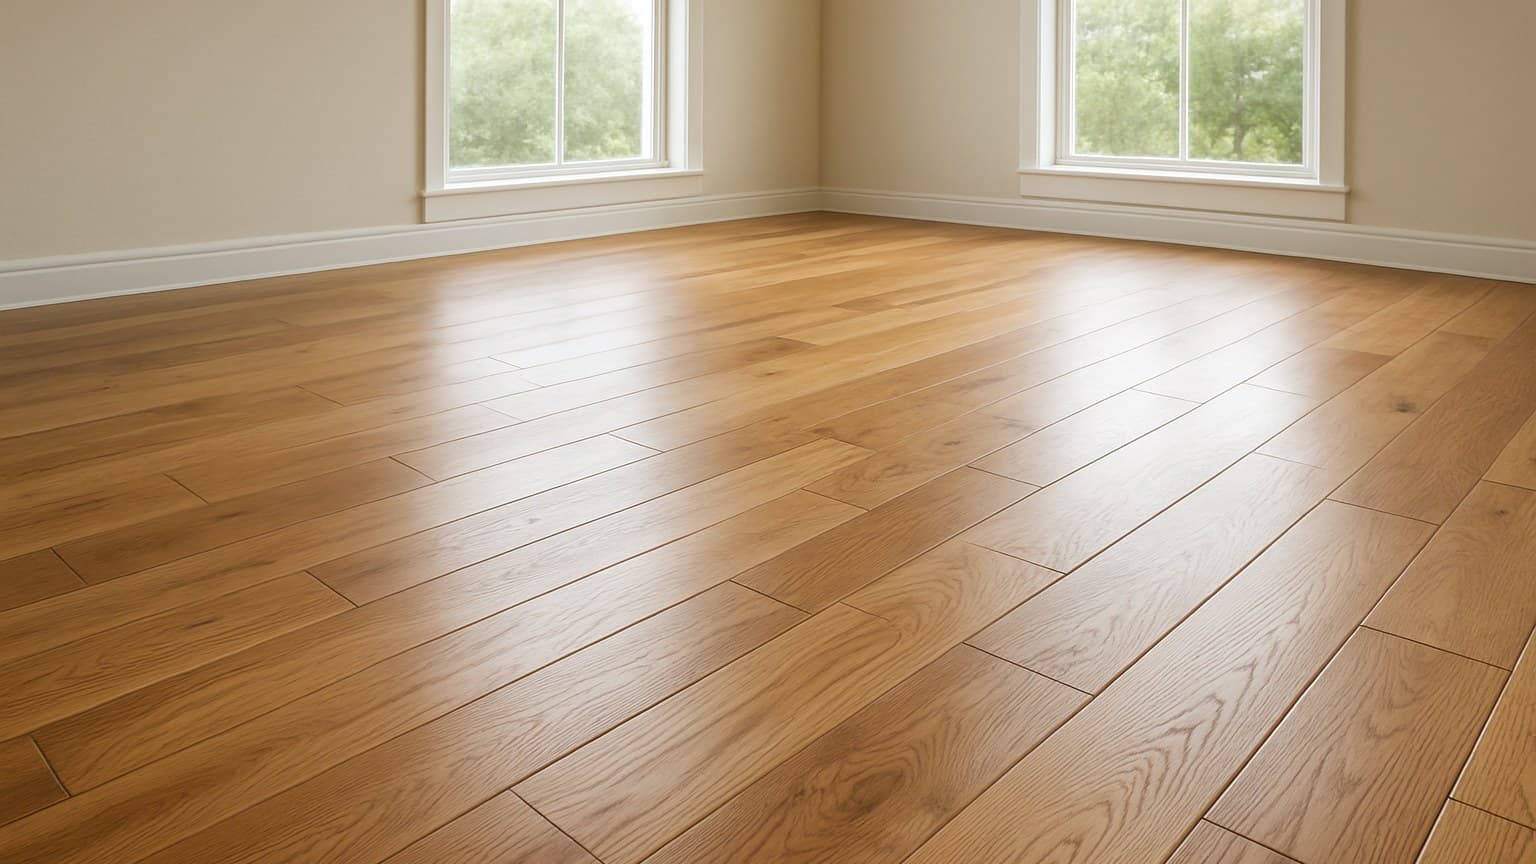
When Maria in Columbus, Ohio called me back eight months after I'd installed her engineered hickory floor, the finish had already worn through at the mudroom doorway. It wasn't a defect, her box just carried a thinner veneer than the sample I'd shown her. Two boxes both labeled "hickory" can behave nothing alike, and running the six checks below in order will tell you which one actually fits your room.
Key takeaways
- Veneer thickness decides refinishing: a 0.6mm-2mm veneer can't be fully sanded, while a 3mm-6mm veneer may take one to two sandings, so match it to how long you want the floor to last.
- Hickory has the widest color swing of any common domestic wood, so pick the grade (clear, character, or rustic) by how much light-to-dark variation you can live with, not by price alone.
- Over concrete or below grade (like a basement), engineered hickory's cross-layered core is the right call where solid hickory usually isn't.
- Engineered hickory materials typically run about $4-9 per square foot and pro install about $3-6, with basement and stair jobs costing more than open rooms.
- Check subfloor flatness with a long straightedge and moisture with a meter before you buy, because the maker's warranty quietly depends on that prep, not the plank.
What Makes Engineered Hickory Different Before You Buy
Two facts drive every choice on this page. Hickory is the hardest common domestic wood, and it has the widest natural color swing of any of them. Everything below comes back to managing those two things. Brazilian cherry takes that color swing in a different direction entirely, starting light and then continuing to darken for months after installation, a shift I cover in why Brazilian cherry floors darken over time.
Hickory's Janka rating (a standard test that presses a steel ball into the wood to measure how much it resists denting) sits around 1820. That's well above red oak at 1290. Hickory shrugs off dropped pans, dog claws, and chair legs better than most floors. Pine sits at the opposite end of that same scale, which is exactly the tradeoff I weigh in my wide plank pine flooring guide.
The flip side: that same hardness makes it stubborn to nail and slow to sand. On an engineered plank that mostly stops mattering, because you're not sanding a thin veneer often anyway. What you feel instead is the dent resistance, which is the whole reason people pick it.
The color swing is the part buyers regret when they don't plan for it. In one box you can pull near-white sapwood boards and deep brown heartwood boards, side by side. That's not a defect, it's hickory. If you want a calm, even floor, you have to choose for it on purpose. If it's really those near-white boards you're drawn to, it's worth looking at species built around that pale tone from the start, which I cover in my light wood flooring guide.
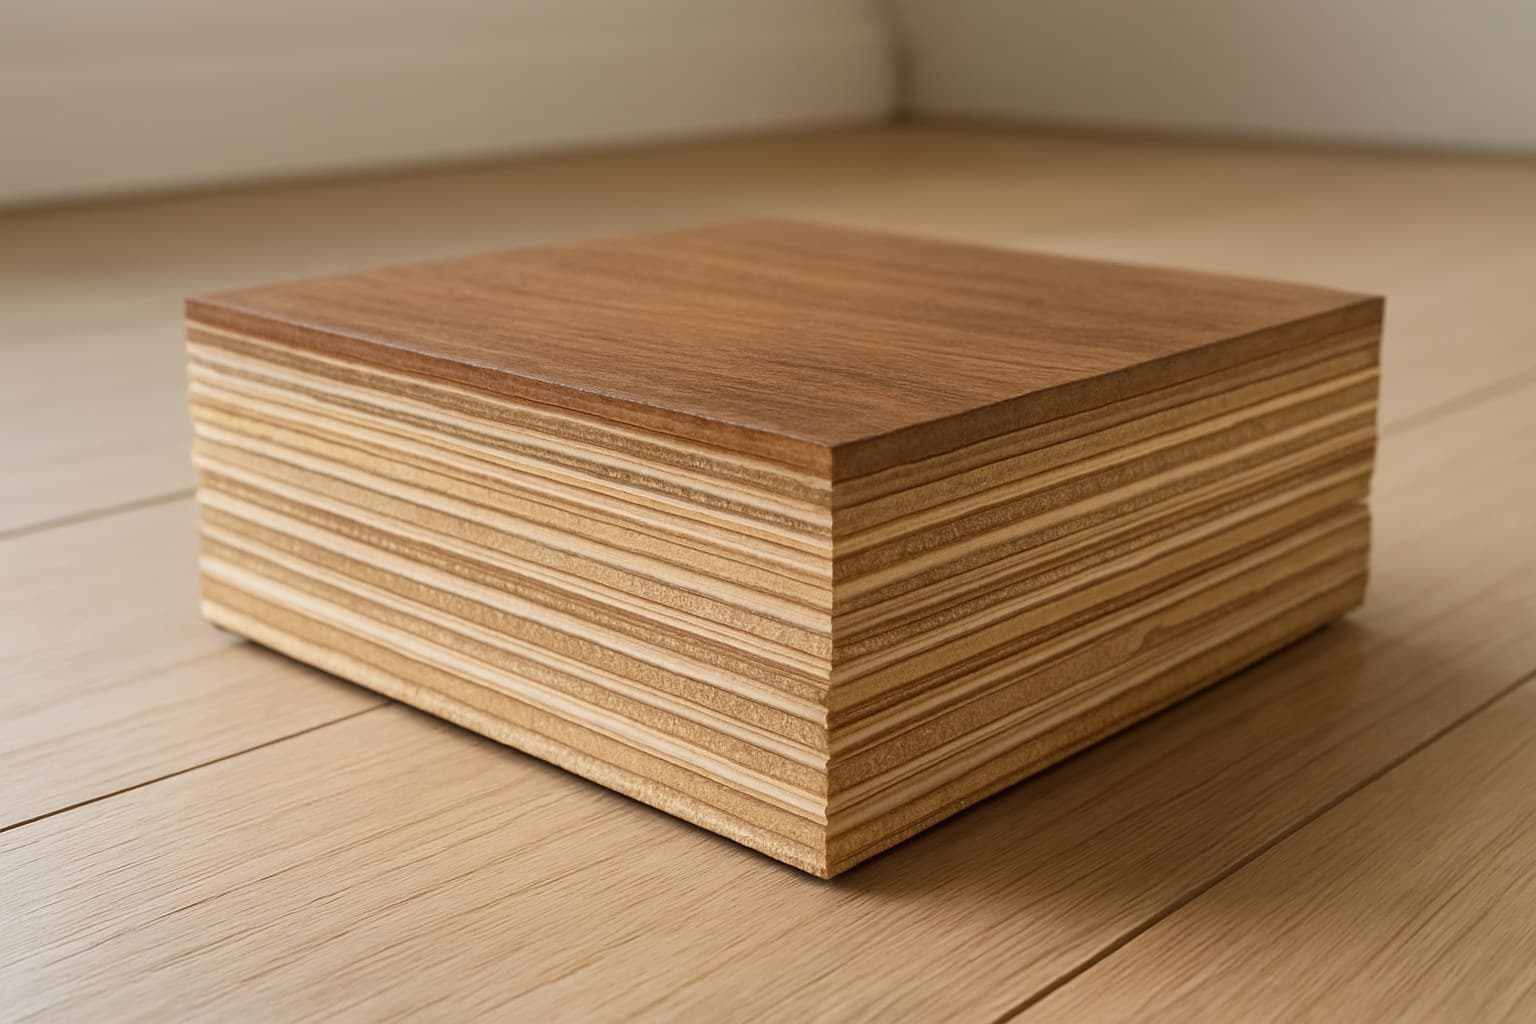
An engineered hickory plank is only real hickory on the very top. Under that veneer sits a stable, layered core. That core is what lets hickory go over concrete and into basements where solid hickory usually can't. Brazilian cherry gets built the same way for the same reason, and I break down what that construction changes in my brazilian cherry engineered hardwood flooring guide.
| Species | Janka hardness |
|---|---|
| Red oak | 1290 |
| White oak | 1360 |
| Hard maple | 1450 |
| Hickory | 1820 |
Janka hardness ratings for four common domestic species, showing hickory as the hardest.
If you're still deciding whether hickory is even the species for you, my rundown of the best engineered hardwood flooring walks through where each wood earns its keep.
Step 1: Match the Veneer Thickness to Whether You'll Ever Refinish
The veneer is the real-wood top layer, and its thickness decides whether the floor can ever be sanded and refinished, or never at all. That number is on the maker's spec sheet, and it's a spec most buyers never look at.
Here's the plain version. On thinner lines, spec sheets I've checked from mills like Mullican and Mohawk show veneers running about 0.6mm to 2mm, you can't get a real sanding. The most you get is a screen-and-recoat, where a light buff and a fresh top coat freshen the finish without cutting into the wood. Their thicker lines list veneers from 3mm to 6mm, which may allow one or even two full sandings, putting the floor much closer to solid wood in lifespan.
So the decision is really about how long you want this floor to live. Buy thin if it's a starter floor, a rental, or a room you'll redo in a few years. Buy thick if you want it to outlast at least one refinish and stay in the house for decades.
On a tear-out for the Hendersons in Westerville, Ohio, I found a thin veneer that had worn clean through right at the kitchen doorway. I ran a caliper on the exposed edge before we pulled the boards, and it read 0.6mm, the thinnest end of what those mill spec sheets list. There was nothing left to sand, so the only fix was replacement. On a thicker veneer that same worn spot would have sanded out in an afternoon.
| Veneer thickness (per mill spec sheets, e.g. Mullican, Mohawk) | What you can do later | What it means for you |
|---|---|---|
| 0.6mm (paper-thin) | No sanding, recoat only | Cheapest; treat as a wear-and-replace floor |
| 2mm | Light screen-and-recoat at most | Mid-budget; won't survive a real sanding |
| 3mm | Possibly one full sanding | Buys you one true refinish if done carefully |
| 4-6mm | One to two full sandings | Closest to solid; priciest and longest-lived |
Source: checking how much veneer was left at the plank edges when I pulled up worn engineered floors
Veneer thickness tiers and the refinishing each one allows, based on floors I've torn out.
Step 2: Read the Grade Against How Much Color Swing You Can Live With
Grade sorts boards by how much color variation, knots, and streaks they show. With hickory that swing is dramatic, going from near-white sapwood to deep brown heartwood inside the same box. Grade is how you dial that up or down.
In plain words: clear or select grade is the calmest hickory gets, with fewer knots and tighter color. Character or #1 common shows a strong light-to-dark swing plus some knots and mineral streaks (thin dark lines left by minerals in the tree), and it's the classic hickory look most people picture. Rustic or cabin grade goes heavy, with big color swings, open knots, and filled splits.
The decision rule is simple. Pick a calmer grade for a uniform, modern room where you want the floor to read as one steady tone. Pick a busier grade for a hard-working entry or hallway, because all that variation hides scuffs, crumbs, and dirt between cleanings.
One warning from experience: a 6-inch sample never shows the real range. Before you commit, have the store open several boxes and dry-lay a few square feet on the floor. That's the only honest way to see how wild or calm your actual batch runs.
| Grade | The look | Who it suits |
|---|---|---|
| Clear / Select | Most uniform hickory gets, fewer knots, tighter color | Calm, modern rooms; buyers who dislike variation |
| Character / #1 Common | Strong light-to-dark swing, some knots and mineral streaks | The classic hickory look most people picture |
| Rustic / Cabin | Heavy color swing, knots and filled splits | Busy, high-traffic floors that need to hide wear |
Common hickory grades and the amount of color variation to expect from each.
Step 3: Check the Core Type for Your Subfloor and Grade Level
The core is what sits under the veneer, and it decides where the floor can go. A cross-layered, plywood-style core stays stable over concrete and below grade, which is exactly where solid hickory usually isn't recommended. That stability is the whole reason engineered exists.
Not all cores are the same, though. A plywood or multi-ply core (thin wood layers glued in crossing directions) tends to be more stable and can often be nailed or glued down. An HDF core (high-density fiberboard, a dense compressed-wood board) is heavier and usually meant to float as a click-lock floor, where planks snap together and rest loose over a pad. Match the core to how you plan to install.
Grade level points the way. A basement or a slab-on-grade room (concrete poured right on the ground) calls for engineered with a real moisture plan, which I cover in Step 6. An upper floor over a wood subfloor is more forgiving and opens up more core and install options.
Radiant heat is the other room-suitability question worth settling before you buy. Engineered hickory generally tolerates a properly installed radiant system better than solid hickory, because the cross-layered core resists the cupping that a single thick slab of solid wood would show under sustained heat, but only within the core maker's stated ceiling, which is commonly around 80-85°F at the floor surface, and only if the system is brought up and down gradually rather than switched straight from cold to full heat. Confirm both that maximum surface temperature and the recommended ramp-up schedule on the product's spec sheet before installing over radiant, since exceeding either is one of the more common ways to void the warranty on an otherwise well-chosen floor.
One honest caveat: for a bathroom or laundry that gets standing water, no wood floor is truly the safe pick. If that's your room, weigh the tradeoffs in my engineered hardwood against LVP comparison before you spend on hickory.
Step 4: Size the Board Width to How Much the Floor Will Move
Wider boards show more gapping and seasonal movement, because each plank expands and shrinks across its full face. Hickory already moves a lot with humidity, so width and wood species stack on each other here. That interaction between board width and species movement is really its own topic, and I lay it out in more general terms in my wide plank hardwood flooring guide.
The practical split works like this. Narrower boards, around 3 to 5 inches, are the safer bet in dry climates or homes where indoor humidity swings hard between seasons, since each plank simply has less width to move. Boards in the 6 to 7 inch range are a middle ground that still want steady indoor humidity. Wide planks of 8 inches and up read the most upscale, but they carry the most gapping risk with a wood that moves as much as hickory. Whatever width you choose, every floating floor needs an expansion gap around the room, and the exact size comes from the maker's instructions, not a number someone repeats online.
If you've got your heart set on a broad board, the movement math is worth understanding first. My guide to 12 inch wide plank flooring lays out what the widest boards demand from your room.
Step 5: Confirm the Finish and Wear Layer on a Named Spec Sheet
Stop trusting showroom talk and pull the actual product's spec sheet. A wear layer number, a "waterproof" claim, or a warranty term only means something tied to that one named product, and it never applies to the whole category. If a salesperson can't hand you the sheet, that's your answer.
On that sheet, confirm three things. First, the finish type, which on most prefinished hickory is an aluminum-oxide UV coat (a tough factory topcoat cured under ultraviolet light). Second, the warranty length and, more importantly, what voids it, since a lot of those fine-print voids come down to subfloor prep and humidity, not the plank. Third, whether that product requires acclimation, meaning letting the boxes sit in the room to adjust before install, because some makers require it and some say skip it.
Prefinished versus site-finished is a quick call for most people. Prefinished hickory comes sealed from the factory, installs faster, and skips the dust and fumes of finishing in your home. Site-finished gives a smoother, seamless surface and lets you pick the exact sheen, but it's a bigger, messier job. For a hard, swing-prone wood like hickory, I lean prefinished for most homes.
Also watch that "waterproof core" is not the same as a waterproof floor. Even where the core resists water, the seams and edges between planks are where spills get in and cause trouble. If you want to understand what a thicker top layer buys you, my notes on 6mm wear layer engineered flooring go deeper on that spec.
Step 6: Check Subfloor Flatness and Moisture Before You Order
Do this before you buy anything, because on a floating floor the finished product only lasts as long as the prep beneath it. The maker's warranty depends on flatness and moisture, not on the plank you picked. Skip this step and even a great hickory floor can cup, squeak, or void its coverage.
Flatness comes first. Lay a long straightedge (a 6 to 10 foot level or a straight board) across the subfloor and look for gaps underneath. Most makers spell out a tolerance like a fraction of an inch over a set distance, so check their number. High spots get ground down, low spots get filled with leveling compound before a single plank goes down.
Moisture is the other half. On concrete, that means testing with a moisture meter, a handheld tool that reads how wet the slab is, before you commit. Concrete can look bone dry on top and still push moisture up from below, which is what warps floors months after install. On a slab job in Grove City, Ohio, my meter read 4.8% on the first pass, above the roughly 4% ceiling most engineered hickory makers list as their cutoff, so we held the pallets in the garage for another ten days and retested at 3.6% before a single board went down. If the reading is high, you add a moisture barrier or wait, you don't just start laying boards.
If you're installing this yourself, my step-by-step on installing hardwood flooring covers the prep, tools, and expansion gaps in order.
What Engineered Hickory Costs
Engineered hickory materials typically run about $4 to $9 per square foot, and professional installation about $3 to $6 per square foot, so plan on roughly $7 to $15 all in for a straightforward room. I split those numbers on purpose, because a single flat figure hides where your money actually goes.
Material price climbs with veneer thickness and grade. A thin-veneer, mid-grade floor lands at the low end, while a 4 to 6mm veneer in a name-brand line pushes the top. Labor climbs with the room, not the wood. An open living room is the cheap kind of square footage. A basement adds moisture prep and often leveling, and stairs are slow, cut-heavy work that costs far more per step than flat floor.
| Cost piece | Typical range (per sq ft) | What moves it |
|---|---|---|
| Materials | $4 - $9 | Veneer thickness, grade, brand |
| Pro install, open room | $3 - $6 | Room size and layout |
| Basement premium | Add $1 - $3 | Moisture barrier, floor leveling |
| Stairs | Priced per step, higher | Slow, cut-heavy custom work |
Cost ranges split into materials and labor, with basement and stair premiums noted separately.
I used to quote a flat rate per square foot until a remodel for a customer in Dublin, Ohio, a job full of closets, doorways, and a bay window, ate a whole extra day. Now I count the cut-heavy areas on their own, because the open middle of a room is never where the time goes. For a fuller breakdown by species and region, see my hardwood flooring cost guide before you get quotes.