
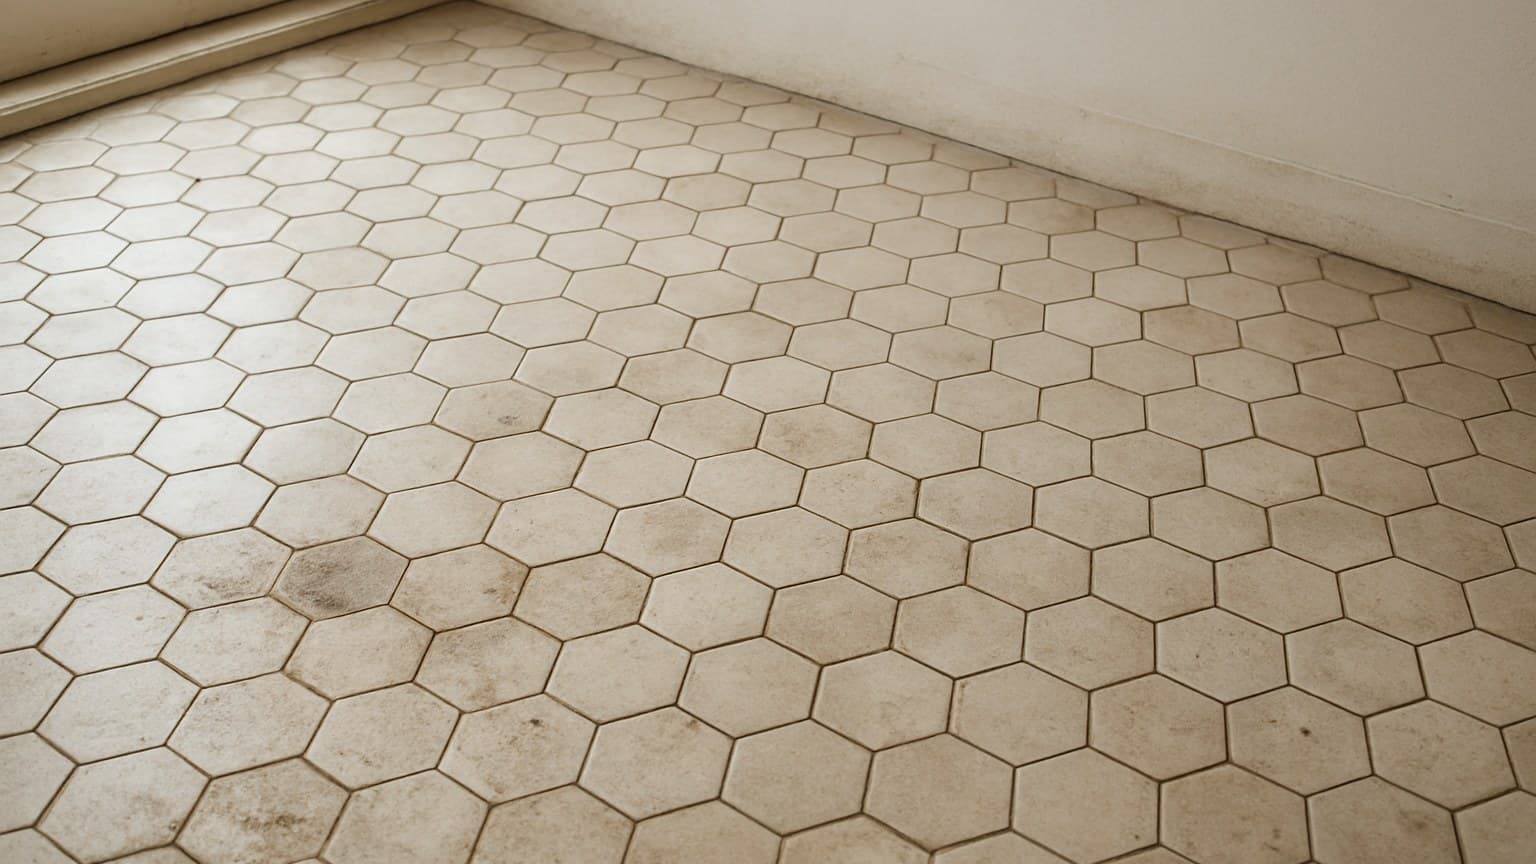
I re-did a hex floor in a 1920s bungalow bathroom in Dayton last spring, my second trip to that house in six months. The first installer had set glossy hex over a subfloor with a quarter-inch dip nobody checked, and by month four the grout at that low spot had cracked and the whole strip was already looking dingy. The choices that decide whether a hex floor stays sharp, or turns slick, stained, and dated, get made at the sample table, not on install day. Here are the eight I watch most closely.
Key takeaways
- Small 1-inch and 2-inch hex means more grout lines and more scrubbing; large-format hex (8 inch and up) hides seams but demands a flatter subfloor.
- Porcelain hex is the low-maintenance pick; marble and travertine look richer but must be sealed and re-sealed or they stain.
- Materials run roughly $2-8 per square foot for porcelain and $7-20+ for stone; labor for hex often lands higher than square tile because of the cuts and layout.
- Put matte on any hex floor that gets wet and save glossy for walls and backsplashes, or slip and scuff callbacks follow.
- Check subfloor flatness and moisture before a single sheet goes down; nearly every tile callback I've had started under the tile, not on it.
1. Size: The Hex Scale Sets How Much You Scrub
Pick your hex size for the room and the cleaning you're willing to do, not for the photo. Smaller hex means more grout lines, which gives more grip underfoot but more scrubbing. Bigger hex reads clean and modern, but every high spot in your subfloor shows through. Since hex comes mesh-mounted in sheets, getting those grout lines to stay straight sheet to sheet is its own skill, and it's the focus of this walkthrough on installing mosaic tile without crooked grout lines.
The 1-inch and 2-inch penny-style hex is the classic vintage-bath look. All those joints are on purpose in a shower, where the extra grout gives your feet grip and lets the tile follow the drain slope. Mid-size 3-4 inch hex is the easy all-rounder for kitchens, entries, and backsplashes, and if that kitchen hex will eventually meet a wood floor in the next room, it's worth browsing kitchen tile to wood floor transition ideas before you commit to a layout. Getting that honeycomb grid to land evenly at the walls, instead of stopping on a sliced-off sliver of tile, comes down to where you snap your first row, a planning step covered in this guide to laying out hexagon tile without bad cuts.
Large-format hex, eight inches and up, is what most people ask for now. It looks great in an open room, but it is unforgiving. A big flat tile can't bend over a hump, so if the floor isn't level, the corners lift and the tile rocks. That's not a better tile, just a pickier one. Herringbone runs into its own version of that precision problem, since every cut has to line up just right or the zigzag drifts crooked across the room, and that layout math is covered in this herringbone tile installation guide.
| Size | Grout lines | Best use | Grip | Watch for |
|---|---|---|---|---|
| 1 in (penny/mini hex) | Most | Shower floors, vintage bath floors | High | Lots of grout to seal and scrub |
| 2 in | Many | Bathroom floors, classic black & white | High | Same trade-off, slightly less |
| 3-4 in | Moderate | Kitchen, entry, backsplash | Medium | Good all-rounder, few downsides |
| 8 in and up (large-format) | Fewest | Open floors, modern rooms | Lower on floors | Needs a very flat subfloor or it rocks |
Source: my own install jobs Hex sizes and where each one fits best, from my own install jobs.
2. Material: Porcelain, Ceramic, Marble, Cement or Travertine
Porcelain is the workhorse and the pick I steer most floors toward: hard, low-maintenance, and no sealing. Ceramic costs less and is fine on walls, but it's softer and can chip underfoot. Marble and travertine look the richest and cost the most, and they need sealing to survive — and if you've ever wondered why porcelain skips that upkeep, it comes down to the fact that it's a manufactured material rather than quarried rock, which this porcelain versus natural stone comparison breaks down in more detail. Cement and encaustic hex bring bold pattern but stain fast.
Here's the part people miss: the tile body and the seams are two different things. A porcelain hex face shrugs off water, but the grout joints between the tiles are where water actually gets through. On any wet floor, your grout and your sealing matter more than the tile's own waterproof rating. That same porcelain body shows up in other shapes too, including the wood-plank style covered in this guide on choosing and installing wood plank porcelain tile.
If you love the veined look of Bianco Carrara or Calacatta Gold marble but don't want to babysit it, get a porcelain that prints a convincing stone look. You keep the look and skip the re-sealing. If it's the speckled terrazzo look you're chasing instead of veining, a terrazzo-look vinyl flooring option holds up far better than you'd expect and skips the stone maintenance entirely. Real stone is beautiful, but budget for the upkeep before you fall for the slab.
| Material | Cost tier | Maintenance | Best room | Note |
|---|---|---|---|---|
| Porcelain | $-$$ | Low (no sealing) | Any floor, wet areas | Hardest, most forgiving |
| Ceramic | $ | Low | Walls, backsplash, light floors | Softer, can chip underfoot |
| Marble (Carrara, Calacatta) | $$$ | High (seal + re-seal) | Feature floors, walls | Etches with acids, stains if unsealed |
| Travertine | $$ | High (seal + fill pits) | Floors, entries | Porous, needs sealing |
| Cement / encaustic | $$$ | High (seal, no acids) | Accent floors | Bold pattern, stains easily |
Source: my own install jobs How the common hex materials compare on cost and upkeep, from my own install jobs.
3. Finish: Matte or Glossy Decides Slip and Scuff
The rule I install by is simple: matte or honed on any hex floor that gets wet, glossy saved for walls and backsplashes. Honed just means the surface is ground smooth but not shiny, so it still gives your feet something to hold. That same honed-versus-polished tradeoff gets more complicated once you move past ceramic hex into natural stone, where some stones handle standing water far better than others, a comparison I break down in stone bathroom tiles ranked by water resistance.
The callback here is predictable. Glossy hex on a bathroom floor turns slick the second it's wet, and it shows every footprint and water spot under the light. I've been called back to pull perfectly good glossy tile off a floor for that reason. That same slip-and-stain risk sits at the center of a wider look at bathroom tile choices that hold up over time.
Glossy is genuinely right on a wall or backsplash, though. There's no slip risk on a vertical surface, and the shine reads as a choice instead of a hazard. Same tile, different job.
Matte and glossy hex, sorted by where each one actually belongs.
4. Grout Color: The Choice That Changes the Whole Floor
Grout color is the cheapest decision you'll make and the one that swings the look the most. Matched grout, close to the tile color, mutes the honeycomb and lets the floor read calm and larger. Contrast grout, like dark lines around white hex, makes the pattern pop and turns the floor graphic and busy.
There's a maintenance side too. Bright white grout on a floor greys out fast and needs the most scrubbing to stay bright. A mid-tone grey or greige hides dirt and is the safest floor pick if you don't want to be down on your knees every week.
Don't trust the little color chip. Get a real grout sample, let it dry, and hold it against the actual tile in the room's own light, because wet grout and dry grout are two different colors. And remember the grout joints are also the water path on a wet floor, so pick a color you'll be happy sealing and re-sealing. Hex is just one pattern in a bigger family, and that same grout-first logic is exactly why mosaic floor tile grout line choices make or break the finished look.
5. Room Fit: Where Hex Works and Where It Fights You
Match the hex to the room and it lasts; force it where it doesn't belong and it fights you. Small matte hex is made for a bathroom floor, and 1-inch penny hex is the right call on a shower floor because it grips and follows the drain slope. A kitchen backsplash can take any finish, gloss included, since it's a wall. For a family room or entry accent, reach for durable porcelain or large-format for a cleaner, modern read, or if you want the honeycomb look without the grout lines, a wood-look plank tile flooring option can give a similar feel with easier upkeep.
The "will it look dated" worry is really about era, not shape. Black-and-white hex reads classic in a period home and has for roughly a century. All-black or big large-format hex reads modern. Trouble starts when you mix a look that fights the age of the house. Marble basketweave is another shape rooted in that same period, and two basketweave floors priced the same can still end up looking nothing alike, a gap this marble basketweave tile comparison guide breaks down.
If trendy scares you, natural stone tones age the softest. Warm travertine or a muted marble tone doesn't chase a year, so it doesn't fall out of fashion with one either. And if your hex meets wood at a doorway, plan that transition from tile to wood before you set the last row, not after. When that doorway happens to be the kitchen, the decision gets trickier since you're also weighing sightlines and appliance runs, which is exactly what this guide on tiling a kitchen floor next to hardwood walks through.
The size and finish I'd set in each room, and the sizes that fit each.
6. Seal or Not: The Stone Callback Nobody Budgets For
Porcelain and glazed ceramic need no sealing, ever. Marble, travertine, cement, and encaustic hex all do, and not once but on a schedule: sealed before you grout, then re-sealed over time as it wears off. That same split between tough, low-maintenance tile and the porous kinds that need babying is exactly what separates the top and bottom of this breakdown of tile types ranked by what fails first.
Skip it and the floor pays for it. Coffee, wine, cooking oil, and even plain water spots soak into porous stone and leave a mark you can't scrub out. I've seen a brand-new travertine entry stained by a dropped grocery bag inside the first month because nobody sealed it. That sealing chore is exactly the kind of upkeep peel-and-stick tile is built to avoid, though it trades one set of water-resistance tradeoffs for another, as this peel-and-stick tile versus LVP comparison breaks down.
One thing sealing won't fix: acids etch marble no matter how well it's sealed. Vinegar, lemon, and a lot of common bathroom cleaners will leave a dull spot on the surface. On any marble hex, use a pH-neutral stone cleaner and keep the acids away. If that upkeep sounds like a chore, that's your sign to buy a porcelain hex that only asks for a mop. Not every tile sold as porcelain actually is, so it's worth knowing how to verify real porcelain tile before you count on that low-maintenance promise.
7. Cost: Split the Tile From the Labor Before You Budget
The tile is usually the smaller number. In my experience, porcelain hex runs roughly $2-8 per square foot for materials, while marble, travertine, and cement hex jump to roughly $7-20 and up. That spread is why the same floor plan can cost wildly different amounts, and it's worth getting a few local quotes rather than budgeting off any single number. Porcelain hex pricing actually lands close to other wood-look tile options, so homeowners weighing a hex floor against an adjacent room often end up comparing it directly to a wood-look tile versus hardwood comparison before settling on a material.
Labor is where hex earns its reputation. A hex layout has more cuts and more fitting than square tile, so installers charge more per square foot for it, often in the range of $8-16 per square foot in my experience, with small mosaic-sheet hex and stone landing at the top. That mosaic-sheet hex costs more partly because of the mesh backing itself, and if you've never worked with it, it's worth understanding how the mesh sheet backing works before you price out a small-hex floor. Get local quotes, because rates swing by region, but budget hex labor above what you'd pay for a plain square-tile floor.
A few things drive the price up fast. Cut-heavy rooms, closets, doorways, a bay window, eat labor hours that an open floor never touches. A bathroom or entry full of edges costs more per foot than the same footage in one clean rectangle. And a basement floor costs more than an open main-floor room too, since it usually needs extra moisture prep and sometimes a leveling layer before the tile ever goes down; stairs run even higher, since each hex tread and riser gets cut and set one piece at a time. If you want to see how the full material-plus-labor math breaks down, a dedicated tile installation cost breakdown is the place to run your own numbers.
8. Subfloor and Install: The Callback Starts Under the Tile
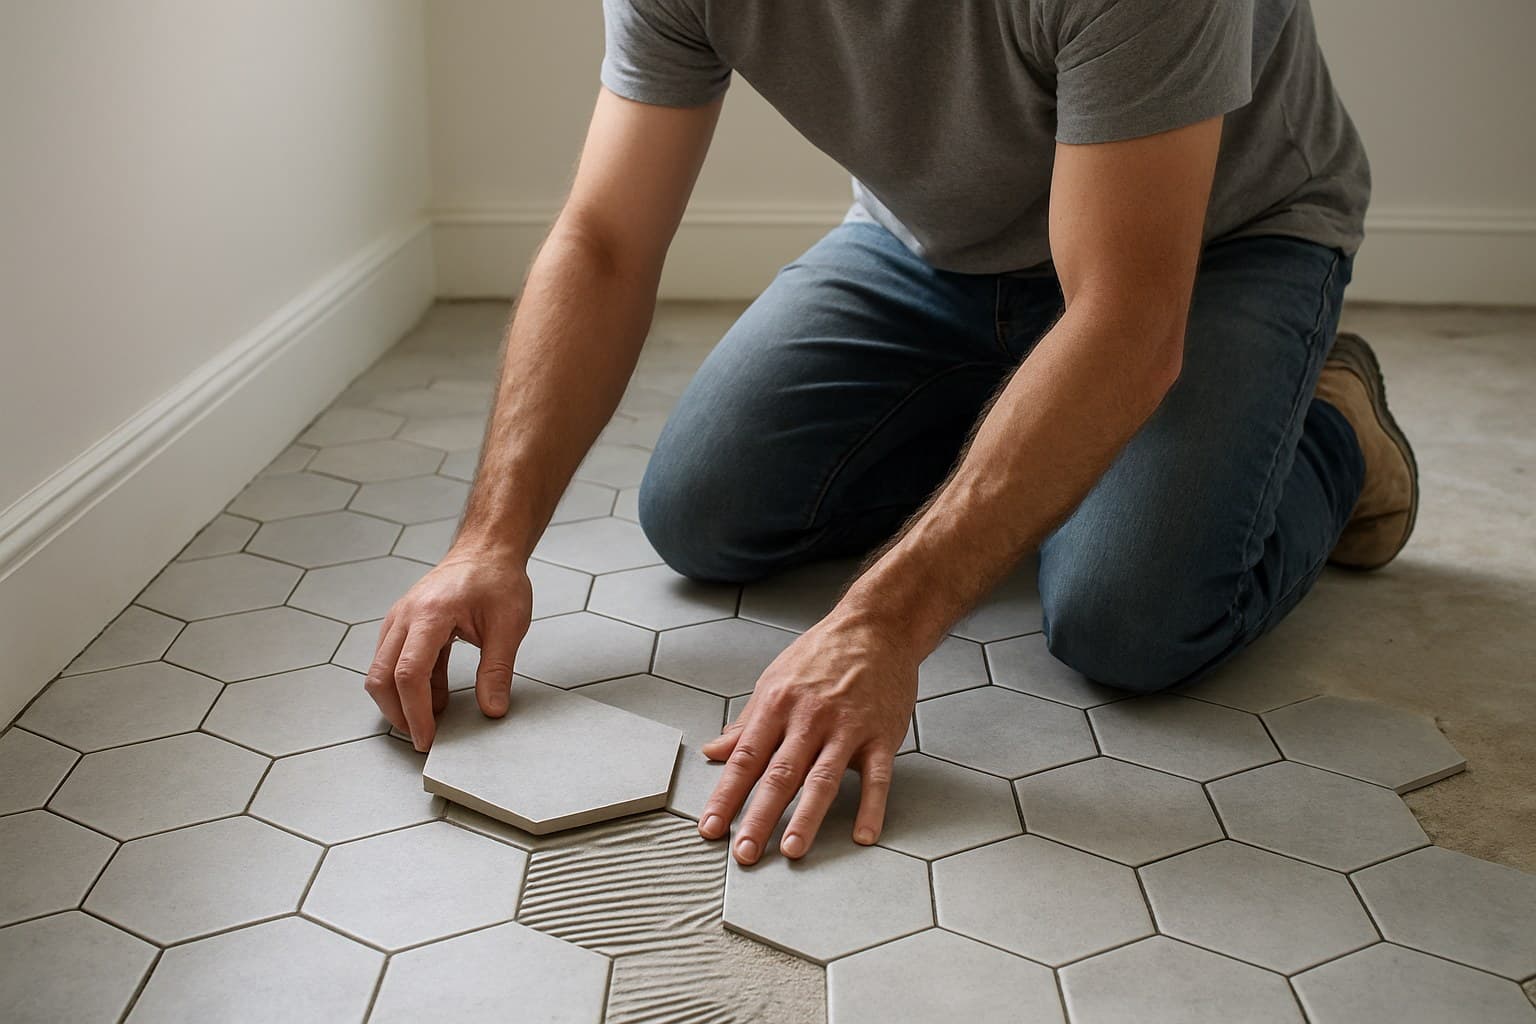
Before a single hex sheet goes down, check two things: is the subfloor flat, and is it dry. In my experience, subfloor prep is the single biggest predictor of whether a tile job holds up or comes back as a callback, and hex is less forgiving than most because those small, hard tiles show every low or high spot in the floor instead of hiding it. That same flatness-and-moisture check is also what decides whether tiling directly over existing vinyl flooring is a safe shortcut or a problem waiting to surface.
Check flatness by sliding a long straightedge across the floor in several directions and watching for light under it; a low spot the tool reveals gets filled before you tile. On concrete, run a moisture meter, a small tool that reads how much water is in the slab, and don't tile over a slab that reads wet. I once let a customer talk me out of a moisture test to save an afternoon, the floor cupped by the end of the season, and I relaid it on my own dime. That test is not optional anymore. That same straightedge check is also what eventually tells you whether this finished tile floor is flat enough to let you skip a full tear-out, which is the exact question answered by this guide on putting LVP flooring over existing tile.
This is also the honest DIY line. A mid-size click-together or straightforward porcelain hex on a small, flat, dry bathroom floor is doable for a patient DIYer. But large-format hex over a questionable subfloor, a mud-set shower pan with slope, or a big open floor with a moisture question is where a pro is worth every dollar. Getting the layout centered and the tiles sitting flat is a skill, and it's cheaper to buy it than to redo it. That click-together system is just one option in a broader room-by-room choice between click lock tile versus glue-down flooring, vinyl, laminate, and ceramic.