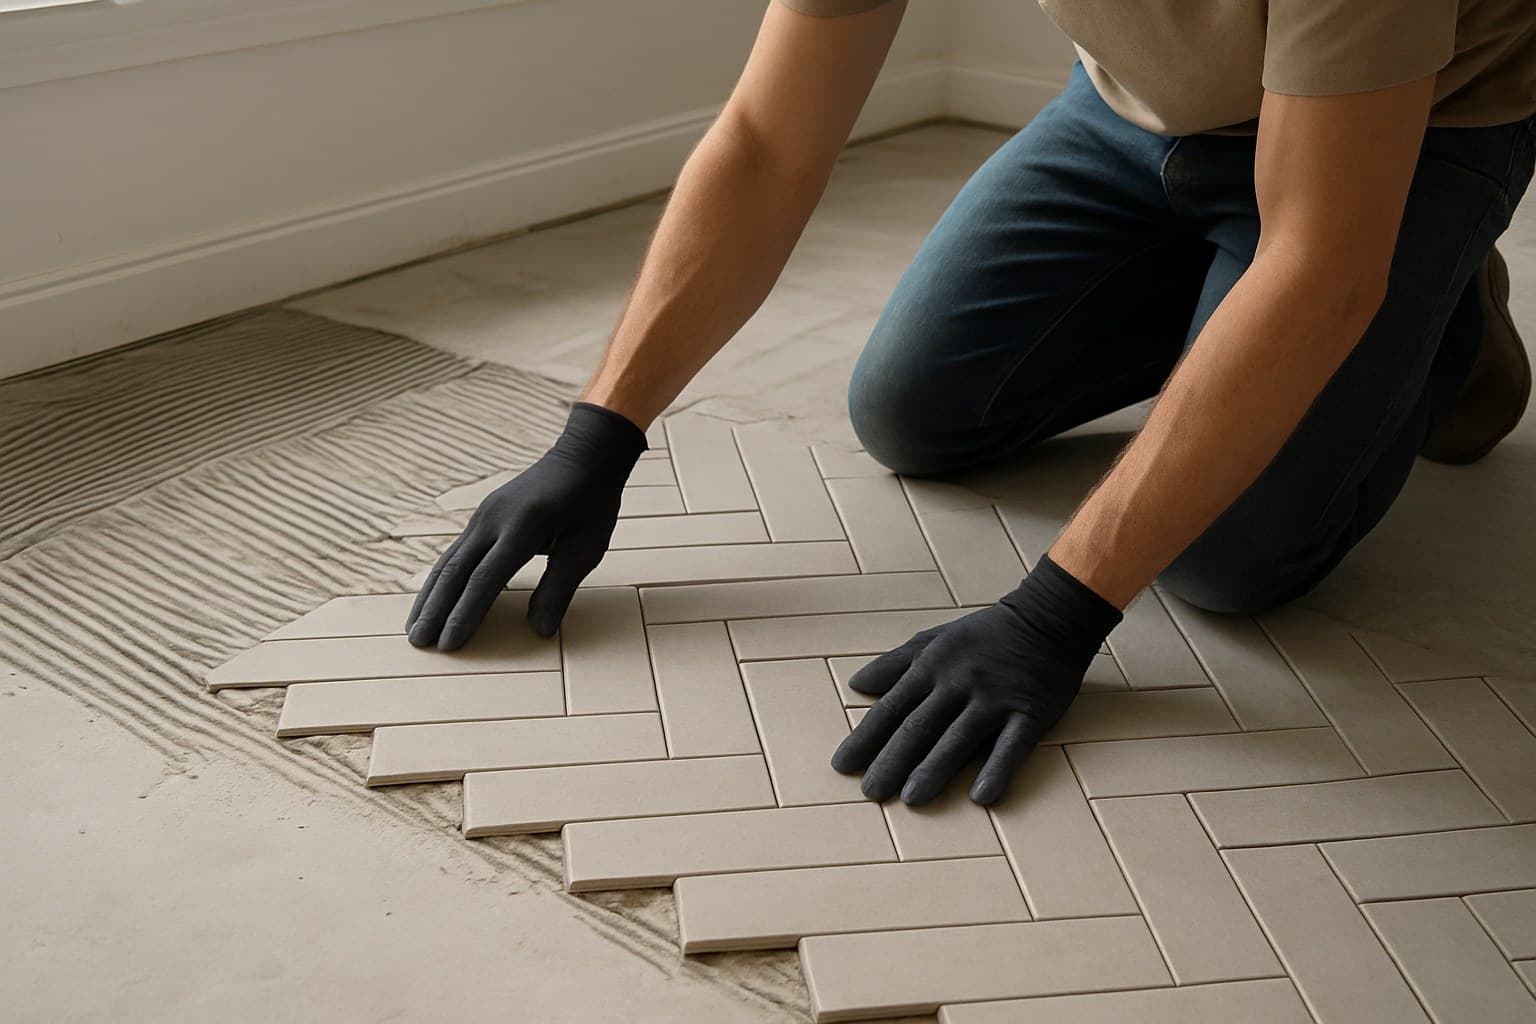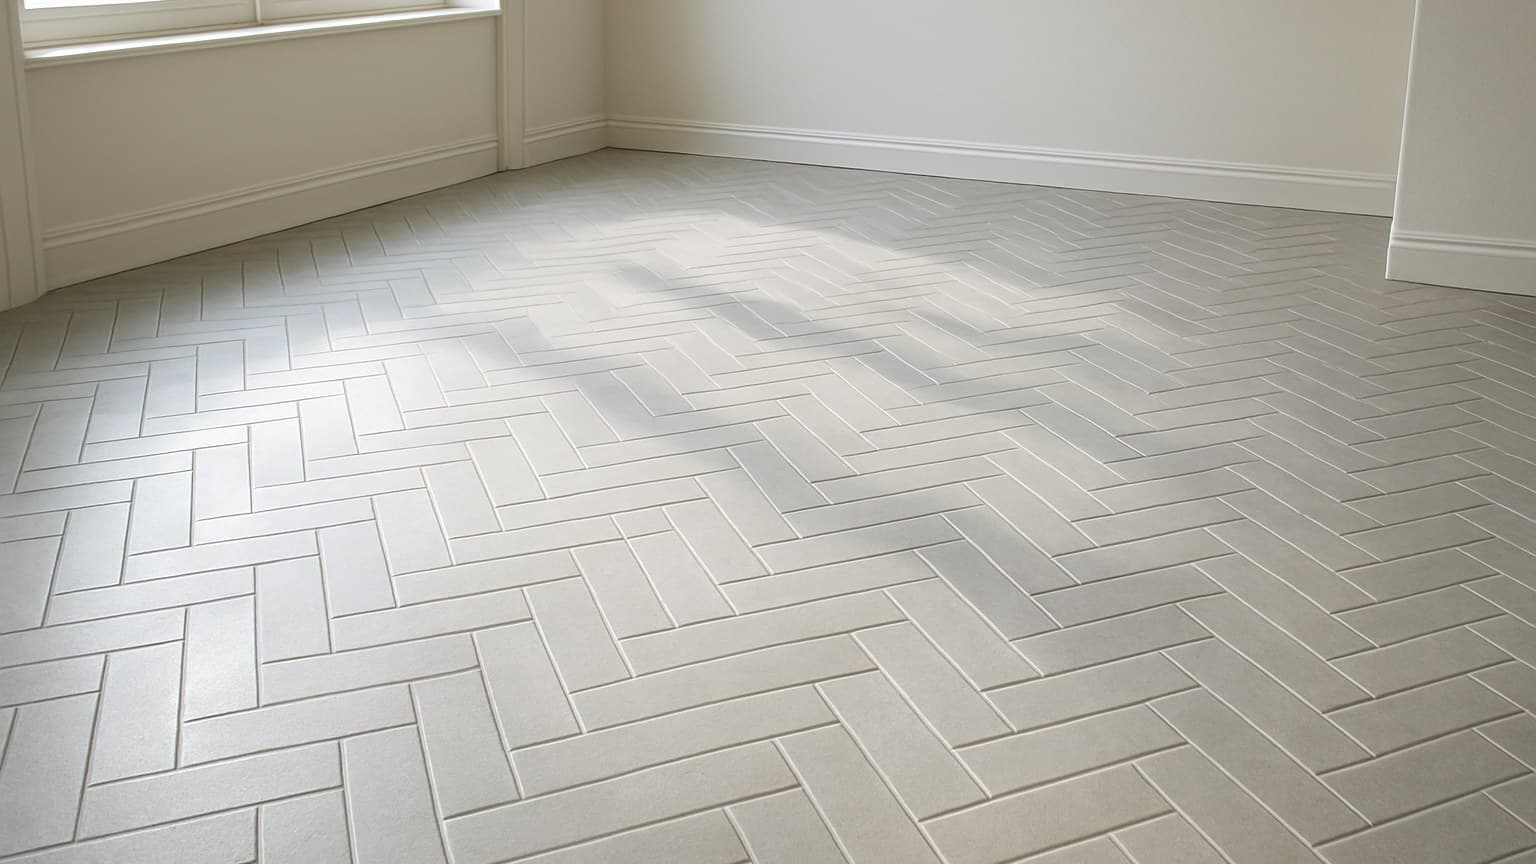
On a kitchen job for the Alvarez family in Tulsa, the herringbone floor almost went sideways before I set the last row, I ran two boxes short, and the lines had already wandered off angle from the first row. Both problems trace back to choices you make before any thinset (the cement-based adhesive that beds the tile to the floor) ever hits the subfloor. Here are the eight moves that keep it tight and level. The Alvarez kitchen also opened straight into a hardwood hallway, and deciding whether to tile through the doorway or stop at the threshold is exactly the kind of call this guide to running a tile kitchen floor next to hardwood walks through.
Key takeaways
- True herringbone needs a plank twice as long as it is wide (2:1) like a 12x24 or 6x24; square tile can't make the weave.
- Buy 15-20% extra tile for a 45-degree herringbone floor, 10-12% for mosaic sheets, and up to 25% for small cut-heavy rooms.
- Herringbone's angled cuts multiply lippage (uneven edge height), so use rectified tile and get the subfloor flat to TCNA spec before you start.
- Material cost per square foot barely changes, but labor for herringbone runs well above straight-lay because every tile is a cut and a match.
- A mosaic-sheet herringbone backsplash is realistic DIY; large 45-degree floors and marble are usually worth hiring out.
1. Know What True Herringbone Actually Is (and How It Differs From Chevron)
True herringbone needs a rectangular plank that is twice as long as it is wide. That is the 2:1 rule, and it is why sizes like 12x24, 6x24, and 3x12 work while a square tile cannot make the woven look at all. Wood plank porcelain tile is manufactured in exactly these ratios, which is part of why it's become such a popular material for the pattern.
The quickest way to tell herringbone from chevron is the join. In herringbone, the end of one plank butts into the long side of the next at a right angle, and the plank ends stay square. That right-angle butt is what creates the staggered, offset zigzag people call the weave.
Chevron is different. The plank ends are cut at an angle and meet point to point, so the seams line up into one clean, continuous V running up the wall or across the floor.
That cut is also a money difference. You buy plain rectangular tile for herringbone. Chevron needs special angle-cut tile shaped like a parallelogram, which costs more and comes in fewer options. Off the same basic layout you can also run double herringbone (two planks per step instead of one) or a basketweave, so it's really a small family of looks, not one pattern.
2. Decide Orientation: 45-Degree or Straight to the Walls
Pick this before anything else, because it drives your waste and your difficulty. A 45-degree herringbone runs the whole weave diagonally to the walls. It's the classic, dramatic look, but every tile that meets a wall becomes a cut, which means more waste and more chances for an uneven edge.
Straight herringbone runs the steps parallel to the walls. It reads calmer, wastes less tile, and is easier to keep aligned, which matters in a small room.
Here's the simple call. A big room with a long open sightline, where you want the floor to move, points to 45-degree. A tight room, or a first herringbone job, points to straight. When someone wants the drama but has never laid the pattern, straight is the honest starting point.
Whichever you pick, snap your layout lines and dry-lay a few rows before any thinset goes down. The first row sets the angle for every row after it, so a half-degree of drift at the start turns into crooked lines across the whole floor.
3. Pick the Room and Where the Pattern Goes
Match the pattern to the room's traffic and moisture, not just the photo you saved. Herringbone rewards a floor, but it also stacks up cuts and lippage risk, and a floor is where a mistake shows the most.
The smallest, most forgiving place to try it is a backsplash, which often uses pre-meshed mosaic herringbone sheets where whole steps come attached to a mesh backing. A shower wall is doable too, but it adds waterproofing and slope to the job, so plan those first. If you've never worked with one of those sheets before, it helps to understand what are mosaic tiles and how that mesh backing actually holds the whole pattern together.
You also don't have to commit the whole room. A herringbone strip, a niche, or a border gives you the look for a small tile order, while a full field commits you to the entire waste factor and labor bill.
Herringbone Floor Tile: Entryways, Kitchens, and Baths
Entryways and kitchens are where herringbone earns its keep, since the eye follows the weave the second you walk in. Both are high-cut, high-traffic rooms, so budget for the extra pieces and keep your leveling tight. A bathroom floor works fine too, as long as the subfloor is dead flat before you start. If you're still weighing herringbone against other looks for that bathroom, it's worth browsing broader bathroom tile ideas before you commit to the pattern.
Backsplashes and Shower Walls
A backsplash is the easiest win: low waste, small pieces, and mosaic sheets that do half the alignment for you. A shower wall is a bigger step up, because you're now dealing with a sloped floor pan, waterproofing behind the tile, and cuts around the valve and niche. Fine work, just not a first job.
4. Choose Tile Size and Material by Install Difficulty, Not Just Looks
The tile you pick decides how hard the day is, and looks are only half the story. As a rule, small pre-meshed mosaic sheets are the easiest to lay, and large-format planks are the hardest to keep flat and even. If hexagon shapes are on your shortlist instead, they carry their own layout and grout quirks worth weighing, which I break down in this guide to key hexagon tile decisions.
One term to know: rectified tile has edges that are mechanically trimmed to an exact size, so every piece is the same. Herringbone needs that for tight, even grout joints, because the pattern puts a lot of edges next to each other and any size variation shows up as a wandering joint. The Tile Council of North America (TCNA) also flags rectangular tile itself as an offset-installation challenge, separate from the pattern you choose: whenever a rectangular tile is set with an offset joint, size variation and warpage are more visible than on a square tile, one more reason herringbone, which is essentially a grid of offset joints, rewards a rectified product.
Wood-Look Porcelain and Marble
Wood-look porcelain plank gives you the trendy herringbone-wood look with the water tolerance of tile, which is why it shows up so often in kitchens and baths. Marble and other stone-look tile look stunning, but they need sealing and they show an uneven edge worse than anything else. If you go stone, go rectified. Since porcelain and real marble get compared so often, it's worth settling outright whether porcelain is a natural stone before you decide which one belongs in your herringbone.
Mosaic Sheets vs Loose Planks
Mosaic sheets carry whole steps of the weave on a mesh backing, so the pattern is built in and you just keep the sheets square. Loose planks give you a bigger, cleaner look, but you set every single piece by hand, and long planks amplify any bow in the tile or dip in the floor.
| Tile type | Typical joint | Difficulty | Notes |
|---|---|---|---|
| Mosaic herringbone sheet (pre-meshed) | 1/16 in | Easiest | Whole steps come attached; great for backsplashes and DIY |
| Small plank, e.g. 3x12 rectified | 1/16-1/8 in | Moderate | Lots of pieces but forgiving on flatness |
| Wood-look porcelain plank, 6x24 / 8x40 | 1/8 in | Hard | Long planks amplify any bow; offset carefully |
| Marble / stone-look, 4x12 | 1/16 in | Hard | Needs sealing; shows lippage most; use rectified |
| Large-format, 12x24 | 1/8 in | Hardest | Heavy, unforgiving; a tile leveling system is a must |
Source: I built this from sorting herringbone tile by how each type cuts and beds on my own saw, across the porcelain, marble, and wood-look jobs I've laid
Install difficulty and typical joint width by herringbone tile type.
5. Check the Subfloor and Understand Lippage Before You Buy
Lippage is the height difference between the edges of two tiles that sit next to each other, so one corner stands proud of its neighbor. Per TCNA's lippage resource, which draws on ANSI (American National Standards Institute) A108.02, the industry install standard, lippage is defined in those terms. Herringbone's angled, offset cuts multiply that risk, because you have more edges meeting at more angles than in a plain straight lay.
The fix starts under the tile, not on top of it. For tile with any edge 15 inches or longer, TCNA's guidance on installing rectangular tile calls for the subfloor to be flat within 1/8 inch over 10 feet, per ANSI A108.02. Check that with a long straightedge laid across the floor in several directions, not with your eye. A dip you can't see will rock a plank and crack the grout later.
Rectified tile and narrow grout joints leave almost no room to hide a height difference. As TCNA's guidance on rectified tile and narrow grout joints explains, tile is manufactured slightly oversized and then mechanically trimmed, or rectified, to an exact size, that precision is what makes the tight joints herringbone needs possible, but it also means there's little dimensional slack left to mask a low or high spot. That's exactly why a flat subfloor matters more on herringbone than on a simple straight lay. On a bathroom floor for Denise in Fort Worth, I let her talk me out of a moisture and flatness check to save an afternoon, and I ended up relaying the whole floor on my own dime. I don't skip that check anymore.
On grout width, don't go tighter than the tile's own size variation allows, or your joints will look uneven no matter how careful you are. The exact width is set per product, so read the box rather than reaching for a number you heard online.
6. Budget the Waste Factor (Why Herringbone Eats More Tile)
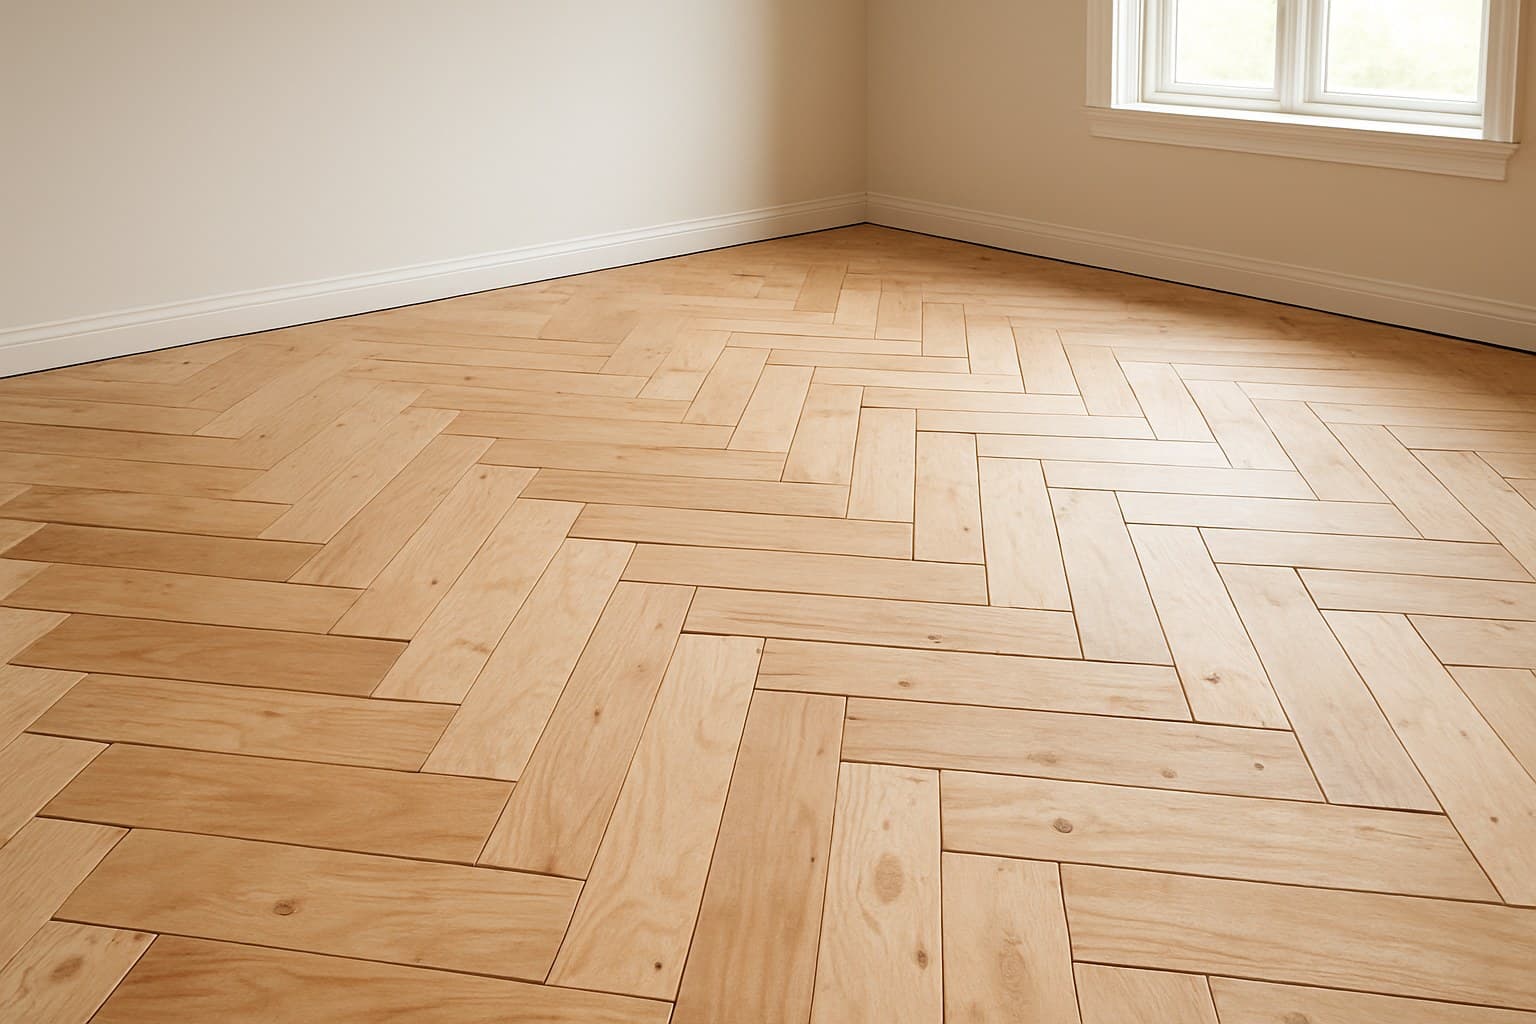
Herringbone eats more tile than a straight lay because so many pieces get cut, and every cut leaves an offcut you may not be able to reuse. As a general guideline, plan on roughly 15-20% extra for a 45-degree herringbone floor, 10-12% for mosaic sheets, and up to 25% for a small room with a lot of edge cuts, treat these as planning ranges, not guarantees, since actual waste varies with room shape and tile size.
The math is simple. Tile to buy = floor area x (1 + waste factor). So a 200 square foot floor at an 18% waste factor is 200 x 1.18 = 236 square feet ordered. Always round up to full boxes, and buy it all in one dye lot (the batch code on the box that tells you which production run the tile came from, since color can shift slightly between runs) so the color matches.
| Situation | Extra tile to buy | Order for a 200 sq ft floor |
|---|---|---|
| Mosaic-sheet herringbone | 10-12% | 220-224 sq ft |
| Straight herringbone, open room | 12-15% | 224-230 sq ft |
| 45-degree herringbone, open room | 15-20% | 230-240 sq ft |
| Small, cut-heavy room | up to 25% | up to 250 sq ft |
Source: These come from the tile counts I've ordered for 45-degree herringbone floors, where the offcuts pile up faster than on a straight lay
Waste factor by layout, with the order size it works out to for a 200 square foot floor.
Buy the extra even if it hurts. A few leftover boxes cost far less than chasing a discontinued color for the last cut against a wall, or keeping tile back for a future repair.
7. Split the Cost: Material vs Labor
Here's the part most quotes blur together. The tile itself costs about the same per square foot whether you lay it straight or in herringbone, but the labor climbs, because in herringbone nearly every tile is a cut and a match.
Tile material typically runs somewhere in the range of $3-15 per square foot depending on type, with basic wood-look porcelain toward the low end and marble toward the top. Straight-lay install labor tends to land around $5-10 per square foot, while herringbone labor often runs $10-18 or more. These are rough ranges, not fixed numbers, and they move with your region and your installer.
| Cost piece | Straight-lay tile | Herringbone |
|---|---|---|
| Tile material ($/sq ft) | $3-15 | $3-15 (same tile) |
| Install labor ($/sq ft) | $5-10 | $10-18+ |
Source: These figures track what I've quoted for herringbone floors
Material versus labor cost per square foot, straight lay compared with herringbone. Ranges vary by region and installer.
Three things push labor even higher: small, cut-heavy rooms, stairs, and basements, where the cutting work per square foot jumps, extra moisture prep eats time, and the open-floor speed you'd get in a big room disappears. When you compare bids, ask the installer to split material from labor so you can see where the herringbone premium actually sits.
8. Decide DIY or Hire It Out, Honestly
A mosaic-sheet herringbone backsplash is a realistic DIY. The steps come pre-woven on the mesh, the area is small, and a mistake is cheap to fix. A handy homeowner can do a good job with a tile saw, spacers, and patience.
Where I tell people to hire out is a large 45-degree herringbone floor, and anything in marble or large-format planks. Those jobs punish small errors: one row set a half-degree off, or one high spot left unground, and the lippage shows across the whole floor. A pro with a tile leveling system and a wet saw will finish it flatter and faster than a first-timer can, and the labor premium buys you a floor that doesn't come back to haunt you.
If the herringbone-wood look is what pulled you in, read how wood-look tile stacks up against real hardwood before you order, so you know what you're trading for the water resistance.