
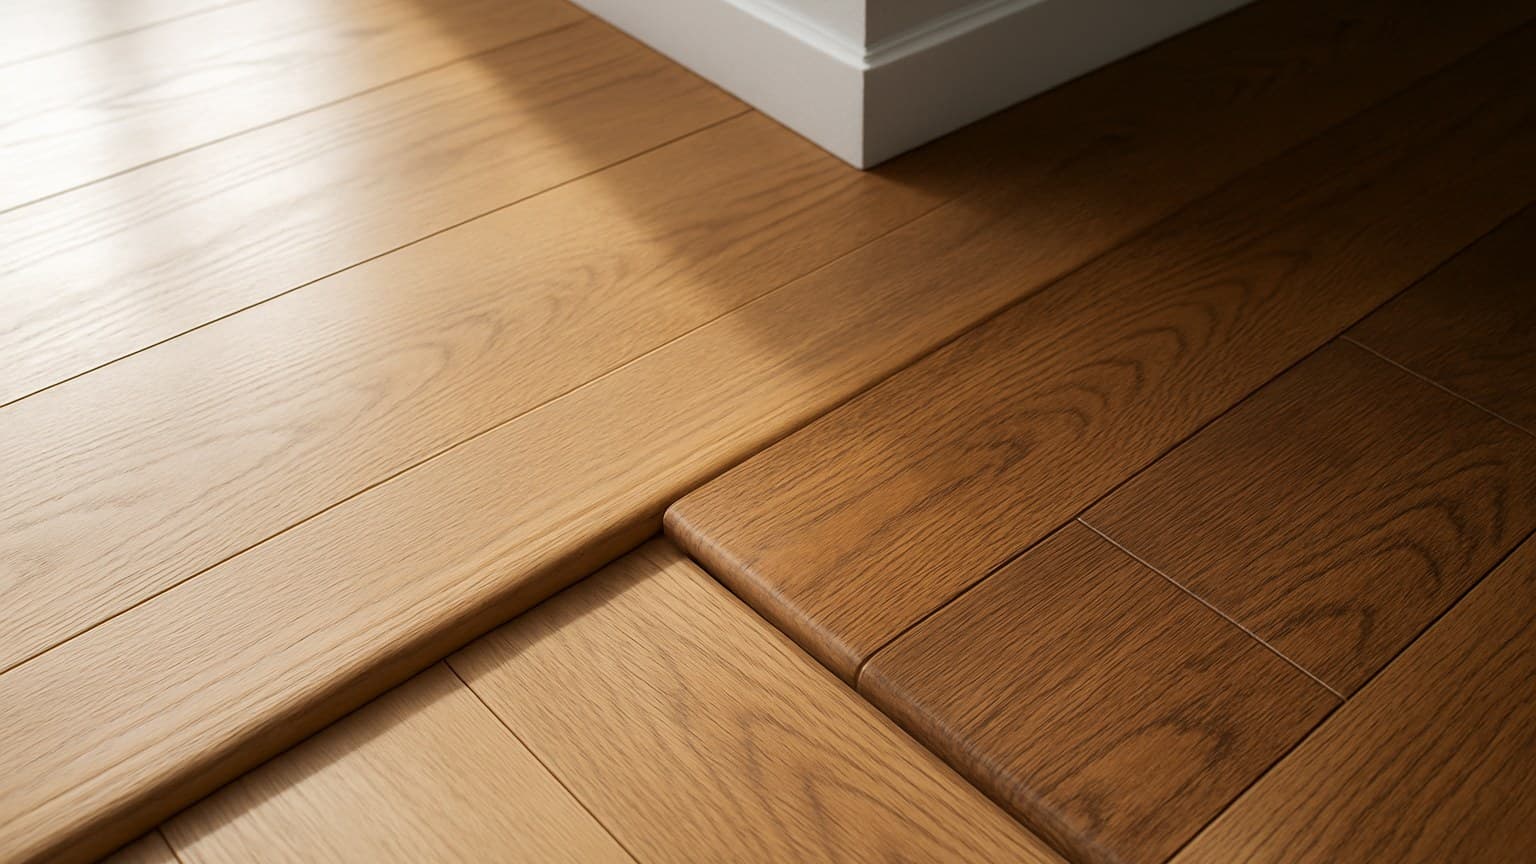
Measure the height difference between your two finished floors first, because that number, not the wood grain or color, decides which of the wood transition strips you actually need. Guess at it and the strip peels up at the edges or catches a toe. Measuring before you buy keeps the fix cheap.
Key takeaways
- Measure the height difference between the two finished floors first; that number picks the strip, not how it looks.
- Same height means a flat bar or thin strip; tile sitting higher means a reducer; two equal floors with a gap means T-molding; a doorway edge means a threshold or end cap.
- You can fasten three ways: nail-down into wood, a snap-in metal track, or glue-down; over a floating floor use a track so you never pin the floor in place.
- Wood strips look best in dry rooms; switch to metal or vinyl at kitchen, bath, and exterior doorways where water hits the seam.
- Flat bar and glue-down jobs suit most DIYers; out-of-level seams and exterior thresholds are worth hiring out.
Start by Measuring the Height Gap at the Seam
The height difference between the two finished floor surfaces is what picks your strip, so get that number before you buy anything.
Here's how I measure it on a job. Lay a straightedge flat across both floors right at the doorway, resting it on the higher floor. Then measure the step down to the lower floor with a tape or ruler, reading it in 1/16 inch or in millimeters. That step is your working number.
Before you trust it, check the seam itself. Run the straightedge across and watch for rocking, which means the subfloor humps or dips there. Press on both sides for a soft or spongy spot, and feel for damp. A slope or a wet patch changes which strip works and how it can even fasten.
The finished strip only lasts as long as the prep under it. On a hallway job over near Dayton, the old strip had been nailed straight over a hump in the subfloor, so it rocked every time someone stepped on it and the nails had chewed loose. The strip wasn't the problem. The floor under it was.
One more check if either side is a floating floor, like click-lock vinyl plank or laminate. That floor needs an expansion gap at the seam so it can move with the seasons. According to NALFA (North American Laminate Flooring Association), the expansion gap each product needs comes from that product's own installation instructions, not a number someone posted online, so look it up for your product and mark it. If you're instead planning to tile directly over an existing vinyl floor rather than butt a strip against it, that surface has to pass its own checks for tiling over vinyl flooring first.
Match the Height Gap to the Right Strip Type
Match the strip to the step you measured: same height takes a flat bar or thin strip, tile or stone sitting higher takes a reducer, two equal floors with a gap between them take a T-molding, and a floor that just ends at a doorway or room edge takes a threshold or end cap. Plank-style tile, which is cut and laid like wood planks but often runs thicker than typical floating floors, is a common reason you'd need that reducer in the first place, and pricing out plank tile flooring ahead of time helps you plan for it.
| Height situation | Strip type | How it sits |
|---|---|---|
| Both floors the same height | Flat bar / thin strip | Lies flat over both floors and covers the seam |
| Tile or stone sits higher | Reducer | Slopes down from the high floor to the lower one |
| Two equal floors with a gap | T-molding | Drops into the gap and laps both sides |
| Floor ends at a doorway or room edge | Threshold / end cap | Finishes one floor against a hard stop |
| Seam is out of level | Level first, then flat bar or reducer | No strip can bridge a slope on its own |
Which wood transition strip matches each height situation at the seam.
Flat Bar and Thin Strips for Same-Height Floors
When both floors land at the same height, you want a flat bar or thin strip. It lies flat over both surfaces and hides the seam, nothing more. There's no slope to it because none is needed.
The one thing to watch is whether the two floors truly match. "Close enough" by eye can still be a 1/16 inch step that you feel barefoot. If one side is a hair high, a flat bar will teeter on that edge, so shave or sand the high side down before you set the strip.
Reducers, T-Molding, and Thresholds for a Step
A reducer is for a real step up, like tile or stone standing taller than wood. It slopes down from the high floor to the low one so nobody stubs a toe. A T-molding is different: it drops into a gap between two floors of equal height and laps both sides, which works between two wood rooms or wood meeting laminate. Porcelain made to resemble stone typically runs the same thickness as the real thing for this purpose, even though whether porcelain counts as natural stone has a different answer than you'd expect.
A threshold, sometimes called an end cap, finishes one floor against a hard stop like a doorway, a sliding track, or carpet. It caps the exposed edge so the planks can't lift.
If the seam is out of level, no strip fixes that on its own. Level the subfloor first, then set a flat bar or reducer over the corrected seam.
For a tile-to-wood pairing, the wood side has to stay free to expand and shrink with humidity, so the gap and strip have to allow that movement. I walk through each height case for that combo in the tile-to-hardwood transitions guide.
Wood vs Metal vs Vinyl: Which Strip Survives Where
Use a wood strip in dry rooms, and switch to metal or vinyl anywhere water hits the seam, like kitchen, bath, and exterior doorways.
A wood strip's top face can look perfect while water wicks in at the joint underneath and swells the edge. The surface and the seam are two different things. That's why a bathroom doorway is the wrong place for a wood strip no matter how nice it matches your floor.
| Material | Best spot | At a wet seam | Note |
|---|---|---|---|
| Wood | Dry rooms, bedroom and hall doorways | Poor; the edge can swell | Matches wood floors and can be sanded or refinished |
| Metal (aluminum) | Kitchen, bath, exterior doorways, heavy traffic | Handles water well | Toughest edge, won't swell or dent easily |
| Vinyl | Wet areas paired with LVP | Handles water well | Matches LVP and flexes over minor unevenness |
How wood, aluminum, and vinyl transition strips hold up by room and at a wet seam.
Metal, usually aluminum, takes the hardest knocks and won't swell, so it earns its spot at busy and wet doorways. Vinyl flexes over small bumps and matches luxury vinyl plank (LVP) floors, which makes it a natural pick in a wet room that's already running LVP.
If you're still deciding which floor material goes in that damp kitchen or basement doorway in the first place, I compare how the materials themselves hold up in LVP vs tile for callbacks.
Tools, Expansion Gaps, and Prep Before You Cut
Keep your kit simple. You want a miter saw or a fine-tooth hand saw for clean cuts, a tape measure, a pry bar to lift the old strip, and a drill. Add whatever your chosen method needs: the metal track and screws, flooring nails or pins, or construction adhesive.
Acclimation depends on the product. Some wood strips want a few days in the room first so they settle to the home's humidity, and some say it's not needed. According to the National Wood Flooring Association (NWFA) installation guidelines, acclimation needs vary by wood species and product, so the manufacturer's own instructions govern that, not a rule of thumb, so read it.
Right before you cut, check the seam one more time. The straightedge should sit flat with no rocking, and the subfloor should be dry there. Then mark the expansion gap your floating floor's instructions call for, so you don't pin the strip tight against a floor that needs room to move.
Last, dry-fit and cut the strip to length before you fasten anything. It's far easier to trim a loose strip than to fight one that's already nailed or glued down.
How to Attach a Wood Transition Strip (Three Ways)
There are three ways to fasten one: nail-down, a snap-in metal track, or glue-down. Your subfloor and floor type decide which.
Nail-down. Set the strip over the seam, predrill small holes so the wood doesn't split, then nail or pin it into a wood subfloor. This is solid and permanent, which is what you want in a dry room over plywood.
Snap-in track. Screw the metal track to the subfloor, centered on the gap, then press the strip in until it clicks. Use this over a floating floor like LVP or laminate. The track holds the strip, so you never drive a fastener through the floating floor and lock it from moving.
Glue-down. Spread construction adhesive on a clean, dry subfloor, set the strip, and weight it down until it cures. This is the easiest method over concrete and the friendliest for a first-timer.
On DIY versus hiring out: a flat bar or a glue-down strip on a flat, dry seam is a fair weekend job for most people, and the materials for one strip cost a lot less than paying someone for an hour's labor, so DIY saves real money on a simple doorway. Hiring it out runs higher once the job gets harder, an out-of-level seam that needs the subfloor corrected first, or a stair nosing that has to be shaped and fastened on uneven treads, takes a pro more time than a flat hallway seam, and that time is what you're paying for. Basement entries and stair transitions almost always cost more than an open-room doorway, since there's extra leveling or cutting involved either way, whether you do it yourself or pay someone. Those are the ones that come back wrong when they're rushed.
The three fastening methods, matched to the subfloor and floor type each one suits.
Can You Make Your Own Wood Transition Strip?
Yes, for a simple flat strip. Rip a hardwood board to the width you need on a table saw, ease the edges so they aren't sharp, and stain or finish it to match your floor. For a same-height seam in a dry room, a shop-made flat bar works fine.
The shaped profiles are where it gets harder. A reducer's slope and a T-molding's underside both need a router with the right bit or a shaper, plus a bit of practice, to come out clean and consistent. If you don't have that gear, buying the milled profile is cheaper than ruining three boards learning to cut one.
Matching matters as much as the shape. Use the same wood species as your floor if you can, and finish it in the same light so it reads as one floor and not a patch. A home-ripped strip in a close-but-wrong tone stands out worse than a store-bought one.
A decorative inlay is another homemade route for a flat seam, like a row of small tile set flush between the two floors in place of a strip. If that look appeals to you, keeping the pieces straight is the whole game, which I cover in the mosaic tile install guide.
Sources
- NWFA Installation Guidelines (PDF)
- NWFA Installation Guidelines overview
- NWFA Technical Guidelines
- NALFA Laminate Accessories Guide