
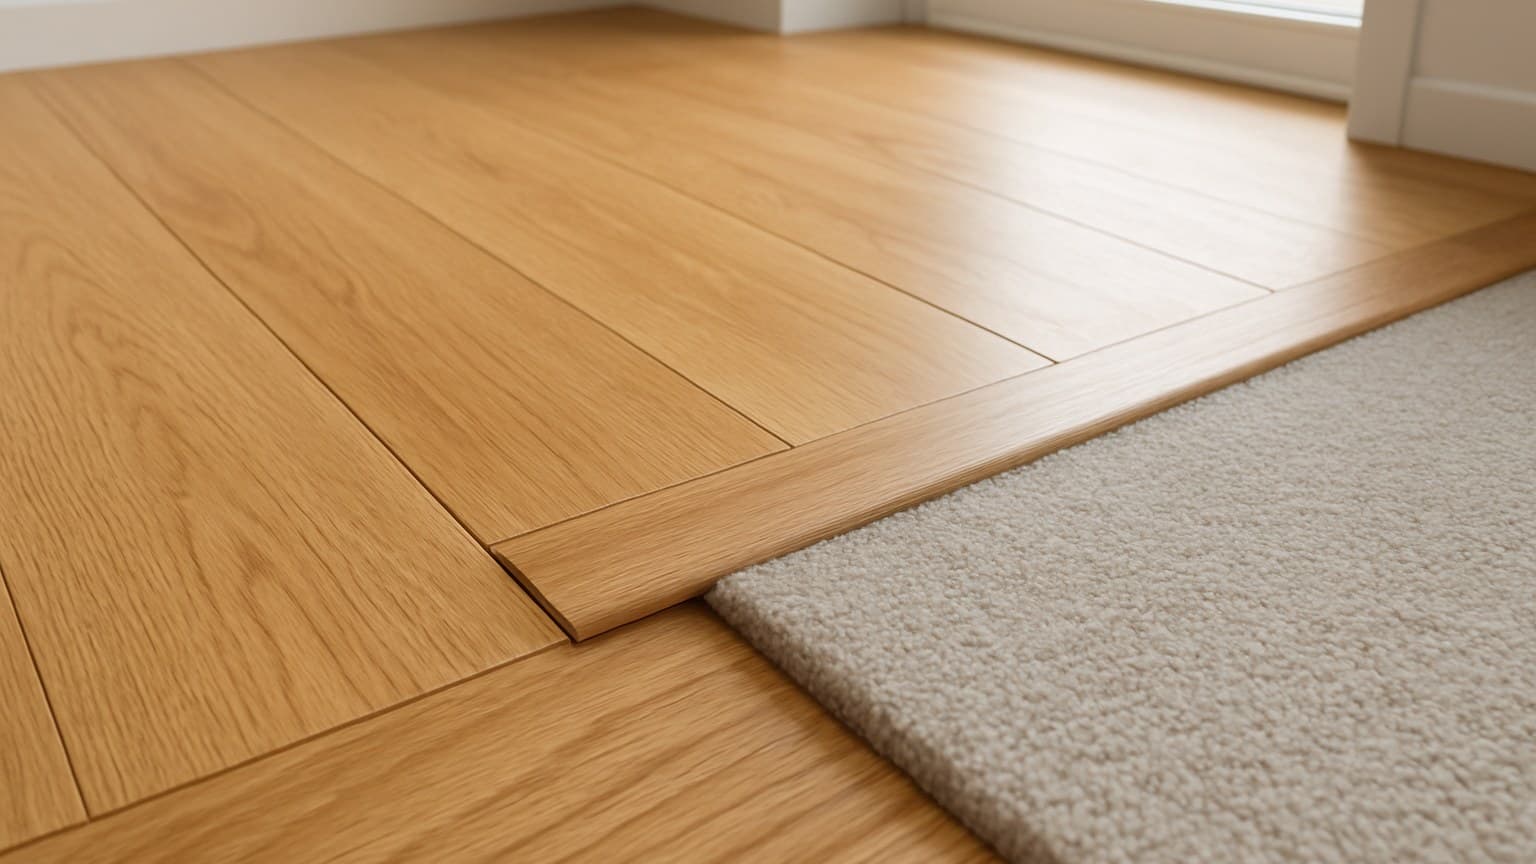
On a job for Renee in Columbus, Ohio, I fit and pulled the same transition strip three times before it sat flat between her new LVP and the hallway tile, all because I guessed at the height gap instead of measuring it. The names, T-molding, reducer, threshold, all blur together at the store rack. Here's the one measurement that sorts them out before you pay for the wrong piece twice.
Key takeaways
- Measure the height difference at the seam first: under about 1/8 inch reads as equal and takes a T-molding; a real step down needs a reducer or a sloped threshold.
- A T-molding joins two hard floors of nearly equal height at a doorway; a reducer bridges a higher floor down to a lower one.
- Carpet meeting a hard floor almost always wants a carpet strip (a Z-bar or tack bar), not a T-molding.
- The ADA caps a doorway threshold at 1/2 inch tall and wants anything over 1/4 inch beveled at a 1:2 slope.
- Strip material runs roughly $1-5 per linear foot for vinyl up to $6-15 for wood; aluminum holds up best in busy doorways.
Start With the Height Gap, Not the Strip Name
The strip you need is decided by one number: how far one floor drops below the other at the seam. Measure that first, and the type almost picks itself.
Don't trust your eye. Lay a straightedge, a level or a long ruler, across both floors so it spans the seam, then read the space underneath at the lower side. Under about 1/8 inch of difference reads as equal, and that joint takes a T-molding (an upside-down T that sits in the gap between two floors). A real step down, a quarter inch or more, needs a reducer or a sloped threshold built to bridge it.
Where the joint sits matters too. A doorway is the natural break point for a floating floor, and a floating floor, click-lock LVP or laminate, needs its expansion gap left open under the strip so the planks can move. That gap keeps the floor from buckling in summer or opening seams in winter.
One caution: the exact expansion gap is whatever your plank maker's install sheet says, not a universal number people repeat online. Look it up on the box before you set anything. The National Wood Flooring Association's (NWFA) installation guidelines make the same point: expansion allowances depend on the specific product, subfloor, and site conditions, so the manufacturer's instructions take precedence over any rule of thumb you hear online.
The 5 Transition Strip Types and the Joint Each One Solves
There are really only five shapes you need to know, and each one answers a specific joint.
- T-molding: an upside-down T that sits between two hard floors of nearly equal height, usually in a doorway. The center leg drops into the gap and leaves room for expansion.
- Reducer: a strip that slopes, or ramps, from a higher floor down to a lower one, like hardwood down to sheet vinyl.
- Threshold (also called a seam binder): caps and trims a floor edge at a doorway or against an exterior door.
- Carpet strip: grips the cut edge of carpet and finishes it against a hard floor. It shows up as a Z-shaped metal channel (a Z-bar) or a metal lip with teeth (a tack bar), the same kind of edge treatment the Carpet and Rug Institute's CRI-104 standard for commercial carpet installation calls for at a carpet-to-hard-floor transition.
- End cap (square nose): finishes a floor edge where it meets a fixed surface, like a sliding door track or a fireplace hearth.
| Strip | Joins | Height gap it bridges | Profile |
|---|---|---|---|
| T-molding | Two hard floors, near-equal height | Up to ~1/8 in | Upside-down T, sits in a center track |
| Reducer | A higher floor down to a lower one | ~1/8 to 1/2 in step | Sloped ramp, tall side to short side |
| Threshold / seam binder | Floor edge at a doorway or exterior door | Caps and trims the edge | Flat top with a lip |
| Carpet strip | Carpet to a hard floor | Holds carpet's pile height | Z-bar or metal tack lip |
| End cap / square nose | Floor edge to a fixed surface | Finishes an open edge | Square or bull-nose front |
Source: M-D Building Products' transition strip profile catalog
The five common transition strip profiles and the joint each one is built to solve.
Your Flooring Combo, Matched to a Strip
Match your two floors plus the measured gap to the table below, and you buy the right piece once. The material pairing gives you a starting point, but the height gap is what actually decides.
Tile-to-LVP is the classic case: the tile sits higher, so a reducer ramps that edge down to the vinyl. Laminate-to-tile at the same height takes a T-molding instead. Carpet-to-hardwood is the odd one out. It wants a carpet strip, not a T-molding, because the carpet's cut edge has to be gripped or it frays.
Renee's hallway is the tile-to-LVP row in practice: at that doorway the tile stood roughly 3/16 inch proud of the new LVP, just enough that a flush T-molding rocked instead of sitting flat. Swapping to a reducer sized to that measured gap, not a guessed one, is what finally let the strip sit still. That's the same 1/8-to-1/4-inch range most tile-to-LVP doorways land in, which is why it's listed as the typical gap below rather than a single fixed number.
| Combo | Typical height gap | Strip to buy | Why |
|---|---|---|---|
| Tile to LVP | Tile ~1/4 in higher | Reducer | Ramps the tile edge down to the vinyl |
| LVP to LVP (doorway) | Even | T-molding | Equal height, needs an expansion gap |
| Carpet to hardwood | Carpet pile stands proud | Carpet strip (Z-bar/tack) | Grips the carpet's cut edge |
| Laminate to tile | Even or tile higher | T-molding if even, reducer if tile higher | Height decides, not the material |
| Hardwood to tile | Varies | Reducer or T-molding by measured gap | Measure the drop first |
| Floor to exterior door | Floor edge exposed | Threshold | Caps the edge and seals the doorway |
Source: The height gaps I measure at the doorway before I order a strip
Common flooring pairs matched to a strip, with the height gap that drives the choice.
For the wood-to-tile joint specifically, check which floor sits higher before you order, and see the full walk-through in our wood-to-tile transition ideas guide for the detail that joint deserves.
Uneven Subfloors, Big Height Gaps, and ADA Doorways
When the gap runs more than about 1/2 inch, a strip alone won't save you. The transition will rock, and the fasteners or the strip itself will crack. Level the subfloor first, or build up the low floor, before you set anything.
Flatness and moisture checks come before you set a strip, the same as before laying the floor itself. The NWFA's installation guidelines call for this same kind of subfloor flatness and moisture testing ahead of a wood floor install, and that prep applies at the transition seam just as much as anywhere else. Run a straightedge to find the high and low spots, and check the slab for moisture if it's on or below grade. Our hardwood installation guide walks that subfloor prep step by step, and it applies to the transition just as much as the field of the floor.
If the doorway needs to be accessible, the ADA (Americans with Disabilities Act) sets clear limits on how tall a threshold can be.
| Change in height | Requirement |
|---|---|
| Up to 1/4 in | Allowed with no bevel or ramp |
| 1/4 in to 1/2 in | Must be beveled at 1:2 slope max (1 up for every 2 across) |
| Over 1/2 in | Not allowed as a threshold; use a ramp |
Source: The ADA (Americans with Disabilities Act) 2010 threshold and slope standards
ADA threshold height limits for accessible doorways, from the 2010 standards.
One more spot people get wrong: exterior and wet-area thresholds need aluminum or a sealed hardwood threshold. Bare wood in those spots swells, cups, and rots.
Aluminum vs Vinyl vs Wood vs Rubber: Cost and Where Each Wins
The material sets both the price and where the strip holds up. Aluminum takes the most abuse and shrugs off moisture, so it's my pick for busy doorways, entries, and wet areas. Vinyl is the cheapest and fine for a light-traffic bedroom or closet.
Wood and stained hardwood strips match a hardwood floor best, but they swell in wet spots, so keep them out of bathrooms and away from exterior doors. Rubber flexes over a slightly uneven seam and grips underfoot, which is why it suits basements and utility rooms.
The numbers below are general, strip-material-only ranges per linear foot, actual pricing varies by brand and retailer. Labor is separate: a pro typically charges roughly $30-75 to fit one transition, though that varies by market, and it runs higher on stairs, in a basement, or over an uneven subfloor that needs leveling first.
| Material | Strip cost per linear foot (material only) | Where it wins |
|---|---|---|
| Vinyl | $1-5 | Light-traffic rooms, tightest budget |
| Rubber | $2-6 | Basements, utility rooms |
| Aluminum | $3-10 | Busy doorways, entries, wet areas |
| Wood | $6-15 | Matching a hardwood floor |
Transition strip material cost per linear foot, strip only, shown as a low-to-high range for each material.
If you're also budgeting the floor itself, our hardwood flooring cost guide breaks the material-versus-labor split down the same way.
How to Secure a Transition Strip Without Wrecking the Floor
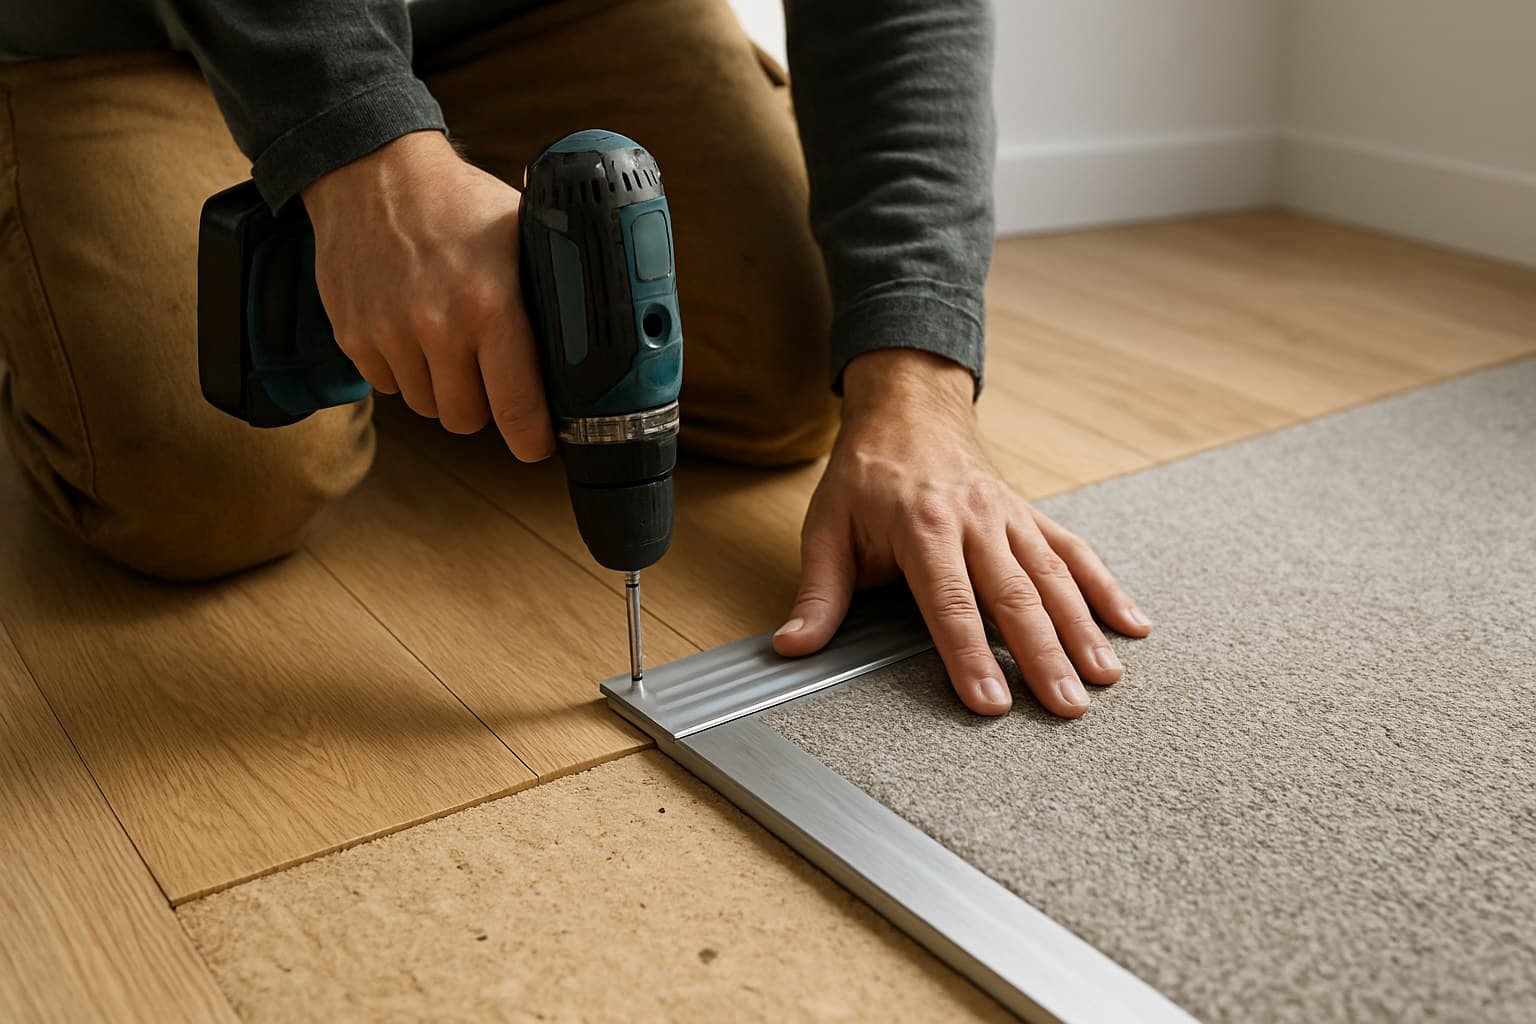
Most T-moldings and reducers snap into a metal or plastic track you fasten to the subfloor first. The strip clicks into that track, so it floats and the floor underneath can still move. Get the track down straight and level, and the strip does its job for years.
A no-track option worth knowing: self-adhesive (peel-and-stick) transition strips skip the fastener and track step entirely. The strip's underside carries factory adhesive, so you clean and dry the seam, peel the backing, and press the strip into place. They're a fast fix for a flat, hard subfloor in a light-traffic spot, but they don't grip as long-term as a screwed-down track under heavy foot traffic or moisture, and they don't give a floating floor the open expansion gap a track system does, so they're best reserved for low-movement, low-traffic joints rather than a busy doorway.
The big mistake is fastening a strip straight through a floating floor. Screw or nail through click-lock LVP or laminate and you pin the planks in place, and pinned planks buckle in the middle of the room or open a gap somewhere else. Leave the expansion gap open under the strip and fasten only to the subfloor.
How you anchor depends on what's under you. On a wood subfloor, screws into the subfloor hold best. On concrete, use construction adhesive or a track anchored with masonry screws. For a threshold at an exterior door, bed it in a bead of silicone so water can't sneak under.
Wood strips split easily, so pre-drill and countersink every fastener. A little glue plus a few brad nails gives the cleanest look.
One thing I learned pricing jobs: doorways and closets eat far more time than the open middle of a room. If you're paying a pro, expect the count of transitions to move the labor number more than the square footage does, because every one is a separate cut-and-fit.
Sources
- Carpet and Rug Institute, CRI-104 Standard for Installation of Commercial Carpet
- National Wood Flooring Association, NWFA Installation Guidelines