
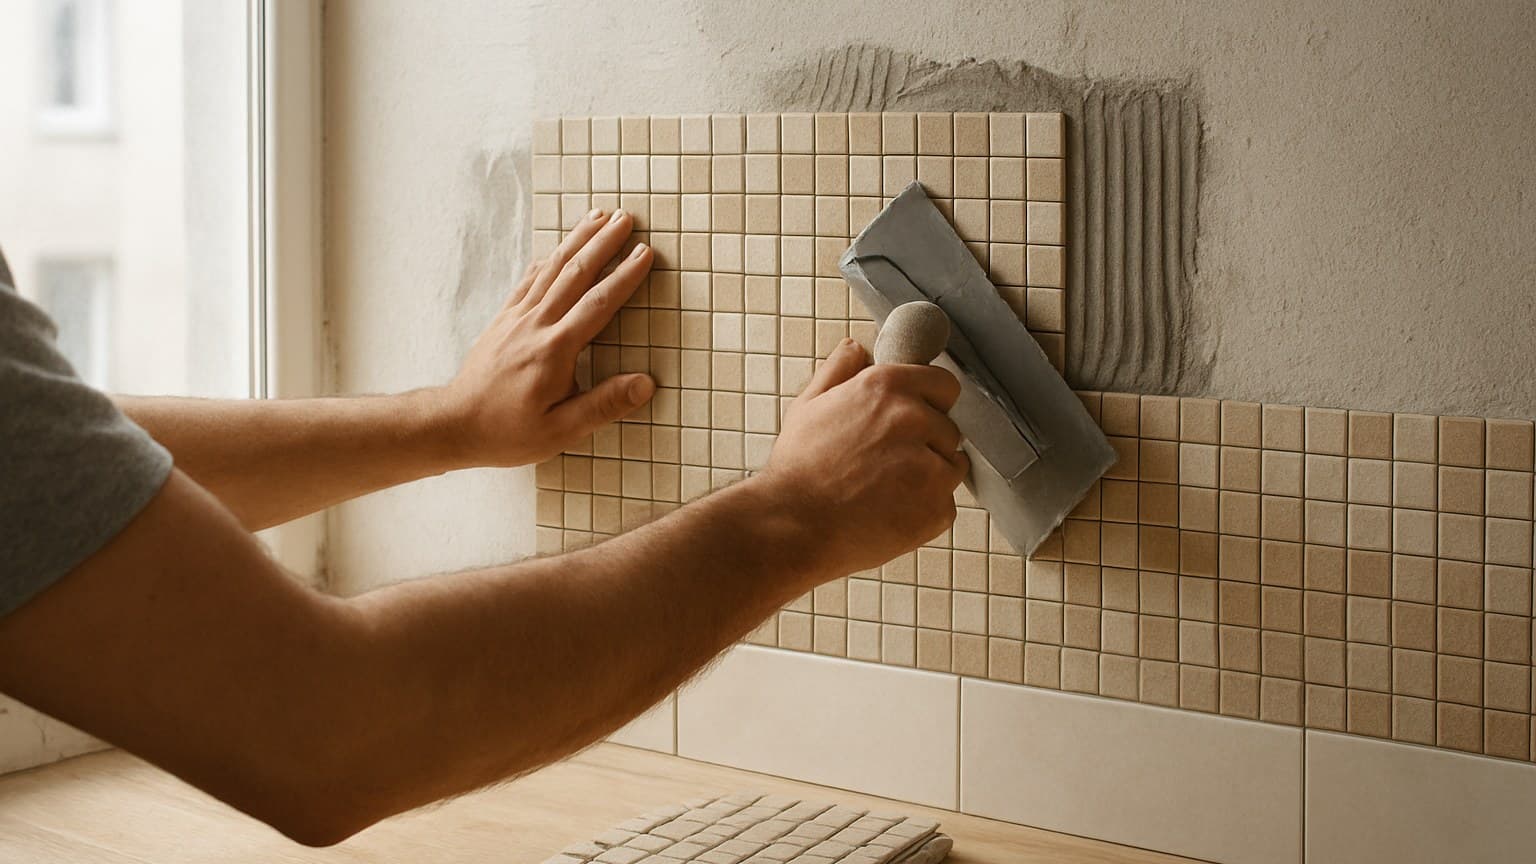
Mosaic tiles set fast because they come on mesh sheets, but that same speed is what sends grout lines crooked. The gap between sheets almost never matches the gap inside them, and once grout dries, the drift is locked in for good. This is the full install, from subfloor check to final seal, done so every line stays straight. That same full-install approach holds whether you're setting one small accent or finishing an entire mosaic tile house.
Key takeaways
- Grout lines wander when the gap between sheets doesn't match the gap inside each sheet, so dry-lay and snap your lines before any thinset.
- Use white thinset under glass and light stone; gray reads through translucent glass and dulls the color.
- Epoxy grout for showers, pools, and wet backsplashes; cement-based is cheaper and fine for drier floors but needs sealing.
- Glass and porcelain mosaics don't need sealing; natural stone mosaics do, before and after grouting.
- All-in mosaic install runs about $20-70 per sq ft (materials $8-45, labor $12-25), with shower floors and wet areas at the top end.
Mosaic Flooring vs Tiles for Mosaic Art: Buy the Right Thing First
Buy floor-rated mosaic sheets, not craft chips. They look alike in a photo and they are not the same product. Floor and wall mosaics come mounted on roughly 12x12 mesh sheets, rated for foot traffic or wet areas, and set with thinset. "Tiles for mosaic art" are loose glass or ceramic chips sold by the bag for craft projects, and they carry no floor rating at all.
The mesh is what makes a sheet fast to set, but it's also why the sheet drifts. I won't re-explain the backing here. If you want the full breakdown of why the mesh backing does all the holding, that's its own guide. What matters for this job is the one problem the mesh creates: sheets slide easily, so grout lines wander unless you control the spacing yourself.
Mosaic earns its keep in small or wet rooms. A bathroom floor, a shower pan, a tile band at an entry. On a big open floor, both the cost and the grout-line count climb fast, and all those tiny joints turn into a cleaning chore. I steer most customers toward larger-format tile for open rooms and save mosaic for the spots where its grip and its look actually pay off. If hexagon shapes are on your shortlist for one of those spots, it's worth weighing hexagon tile decisions that cause callbacks before you settle on a layout.
Step 1: Check the Subfloor for Flatness and Moisture
Flatness first, because mosaic's tiny pieces telegraph every hump and dip. Run a long straightedge across the subfloor, mark the lows and highs, fill the lows with patch and grind the highs down. Look up the exact flatness tolerance in your setting method's instructions. Don't guess it, and don't assume a number you read online applies to your tile.
A mesh sheet will not bridge a bad subfloor. A dip under one sheet shows up as a sunken sheet and a fat grout joint around it, and there is no hiding that after the grout goes in. I've pulled up more than one bathroom in the Dayton area where the tile looked fine and the floor underneath was a roller coaster.
Then run a moisture check. On concrete slabs and anything over a crawlspace, moisture coming up from below can wreck the bond. A wet area, a shower or a splash zone, needs a waterproofing membrane under the tile, not just thinset troweled over the subfloor. If what's underneath is actually old vinyl rather than bare subfloor, that bond question gets its own checklist, since you can only tile directly over vinyl flooring when it passes a specific set of tests.
This prep is the step the manufacturer's warranty quietly hinges on. Skip it to save an afternoon and you tend to lose the whole floor instead. Get the subfloor clean, dry, flat, and solid underfoot before you open a single box.
Step 2: Dry-Lay the Sheets and Lock In Sheet-to-Sheet Spacing
The crooked-line problem lives in this step. The gap you leave between two sheets has to match the gap between the pieces inside a sheet. If it doesn't, you get a fat or tight seam repeating every 12 inches, and the eye catches it instantly.
Snap chalk lines through the center of the room both directions. Then dry-lay a full run each way, no thinset, so you're not ending on an ugly sliver against a wall. Shift the whole layout now, while nothing is stuck, until the cut tiles at the edges look balanced. Pay the same attention to any edge where this mosaic field butts up against hardwood, since getting that threshold height right now avoids awkward tile-to-hardwood transition work later.
Match the seam gap to the interior joint. Use spacers sized to that interior gap, or set one sample joint and copy it down the line. Then sight down a straightedge across several sheets at once, not sheet by sheet. Checking one sheet at a time is how slow drift sneaks past you.
Once thinset is down, you are committed to whatever spacing you set. Fix it dry.
Step 3: White or Gray Thinset, and Why It Shows Through Glass
Use white thinset under glass and light natural stone, gray under porcelain and dark tile. Glass is translucent, so gray mortar reads straight through it and dulls or darkens the color. You don't see it until grout is done, and by then it's too late to fix without ripping the sheet out.
Pick a polymer-modified thinset rated for your tile and your spot. Wet areas and glass mosaic have specific setting requirements. There's no one-mortar-fits-all answer, and the bag will tell you what it's approved for.
The Tile Council of North America (TCNA), the trade group that publishes the handbook of U.S. tile installation methods and works with ANSI (American National Standards Institute) on technical standards, addresses this directly. According to TCNA's published ANSI standards for glass mosaic tile installation, not every setting method commonly used for other tile is recommended for glass mosaic. A quick read of the compatibility line on the thinset bag beats finding out after grout that your mortar shadowed through the glass.
| Factor | White thinset | Gray thinset |
|---|---|---|
| Under clear or light glass | Keeps color bright and true | Reads through, dulls and darkens the glass |
| Under light natural stone | Safe, no shadowing | Can show through thin, pale stone |
| Under porcelain or dark tile | Fine | Fine, color doesn't matter |
| Cost | Slightly more | Usually cheaper |
How thinset color affects glass and stone mosaic, by tile type.
Step 4: Back-Butter, Set, and Beat In Without Shifting the Lines
Trowel and comb the thinset in one direction, then flatten the ridges under glass so they don't shadow through the same way gray mortar does. Back-butter natural stone and any sheet with an uneven back, so you get full contact and no hollow spots under the little pieces. That same back-buttering habit matters just as much on full-size stone bathroom tiles, where a hollow spot under a bigger piece cracks even sooner.
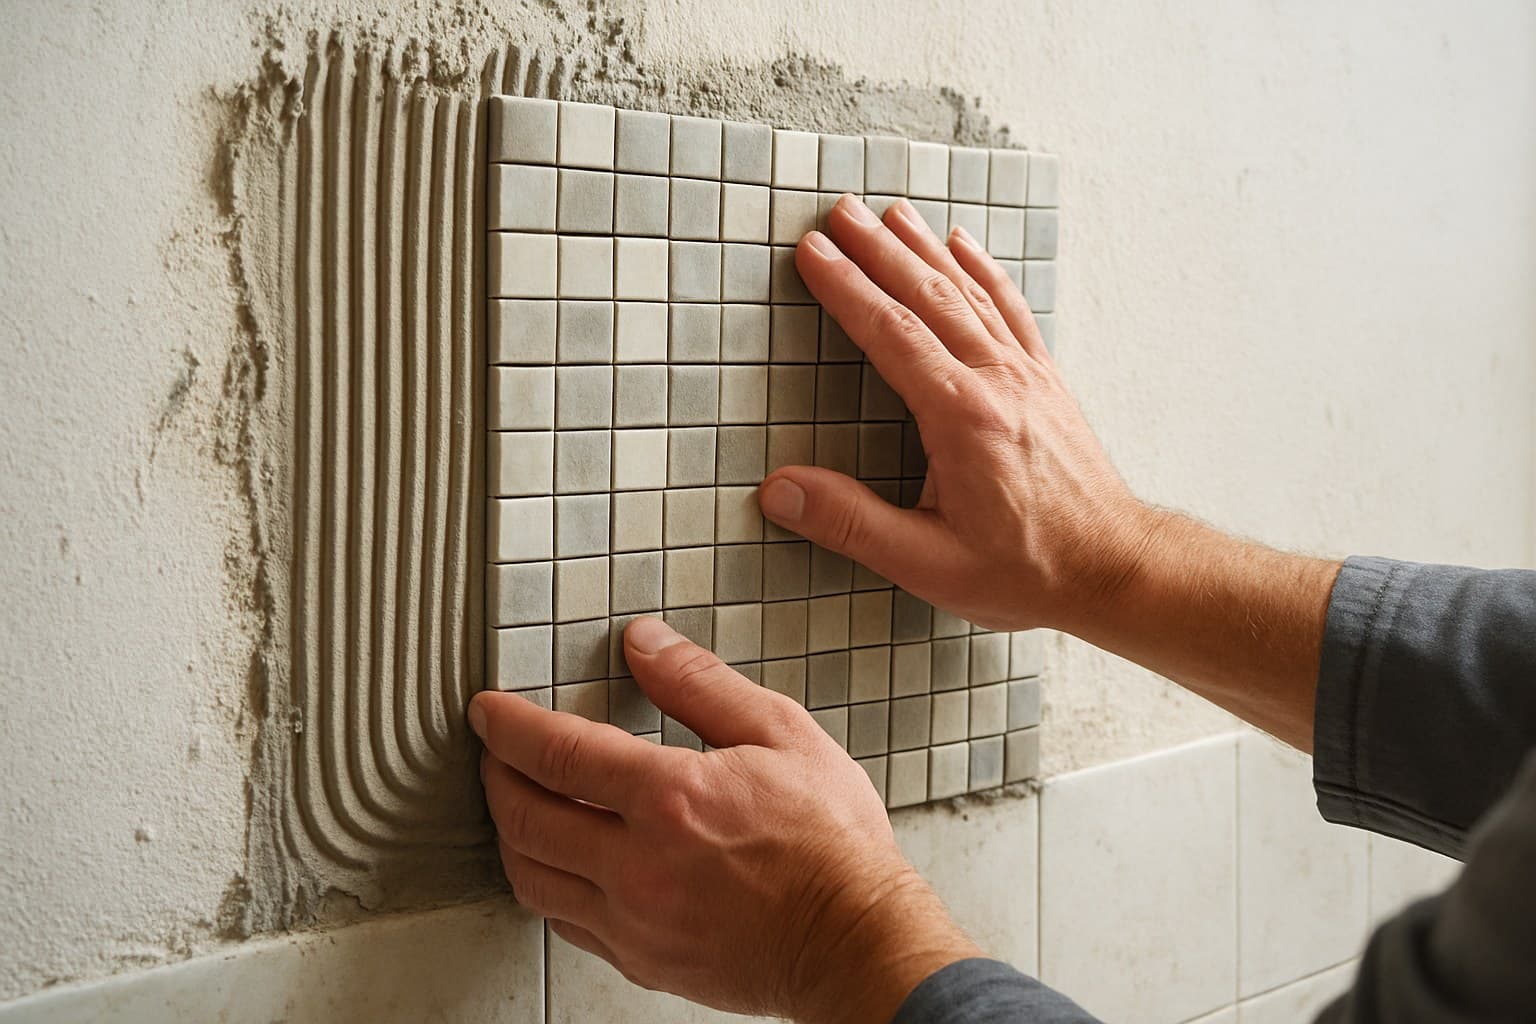
Set each sheet to your snapped line. Then seat it flat with a grout float or a padded beating block, tapping straight down. Never push it sideways, sideways is exactly how the gap you set in Step 2 slips out of line.
Re-check the sheet-to-sheet gap right after setting, while you can still nudge it, and clean thinset out of the joints before it skins over. Mortar left high in a joint ruins the grout line later.
Work small sections at a time. If you set half a room before coming back, the earlier sheets creep off the line while you're busy with the next ones, and that slow creep is the drift you were trying to prevent.
Step 5: Grout and Seal, Epoxy vs Cement-Based
Use epoxy grout for showers, pools, and backsplashes that stay wet or stain. It's stain-proof and waterproof right at the joint, which is where wet-area failures start. Cement-based grout is cheaper, more forgiving to work and clean, and fine for drier floors, but it's porous and needs sealing.
Keep two things separate in your head. A waterproof tile and a waterproof core are not the same as a waterproof joint. Water passes straight through grout lines no matter how dense the tile is, so your grout and your membrane are what keep a wet area dry, not the tile surface.
Glass and porcelain mosaics don't need sealing. Natural stone mosaics do, and you seal them twice, before grouting and after. Skip the first seal and the grout haze soaks into the stone and stains it. If you want a stone look without that sealing routine, porcelain made to look like limestone skips the step entirely.
| Factor | Epoxy grout | Cement-based grout |
|---|---|---|
| Showers, pools, wet areas | Best choice, waterproof at the joint | Works only if sealed and maintained |
| Stain resistance | Stain-proof | Porous, stains without a sealer |
| Ease to install | Stickier, shorter working time | More forgiving to work and clean |
| Cost | Higher | Lower |
How epoxy and cement-based grout compare for mosaic joints.
What Mosaic Install Costs and When to Hire Out
The following cost figures are general ballpark ranges, not verified pricing from a single source, actual costs vary widely by region, tile brand, and installer, so treat them as a starting point for budgeting rather than a quote. All-in mosaic install runs roughly $20 to $70 per square foot: materials about $8 to $45 and labor about $12 to $25. Glass sheets and shower pans sit at the top of that range. A plain porcelain mosaic on a dry bathroom floor sits near the bottom. Mosaic costs more than larger tile because all those tiny pieces and seams mean far more labor per square foot.
The formula is just materials per square foot plus labor per square foot, times your room size. Here's how that lands by job type.
| Job | Materials / sq ft | Labor / sq ft | All-in / sq ft |
|---|---|---|---|
| Dry bath or entry floor (porcelain) | $8-20 | $12-18 | $20-38 |
| Glass mosaic field | $20-45 | $15-22 | $35-67 |
| Shower pan or wet area | $12-30 | $18-25 | $30-55+ |
Cost ranges by mosaic job type, split into materials and labor.
Shower floors and wet areas cost more than an open floor of the same size. The slope to the drain, the small cuts around it, and the waterproofing membrane all add labor that a flat, dry room never needs. Stairs and curbed shower edges push it higher still.
On DIY: a small, dry backsplash or a bathroom floor band is realistic for a careful DIYer who does the dry-lay and snaps lines first. A shower pan, a big open field, or any wet-area waterproofing is where I'd hire out. Getting the slope and the membrane right is not a learn-on-the-job task, and a leak behind tile costs far more than the install did. If you're weighing the whole-floor math against other materials, it's worth seeing how vinyl plank tile compares on cost before you commit a large room to mosaic.