
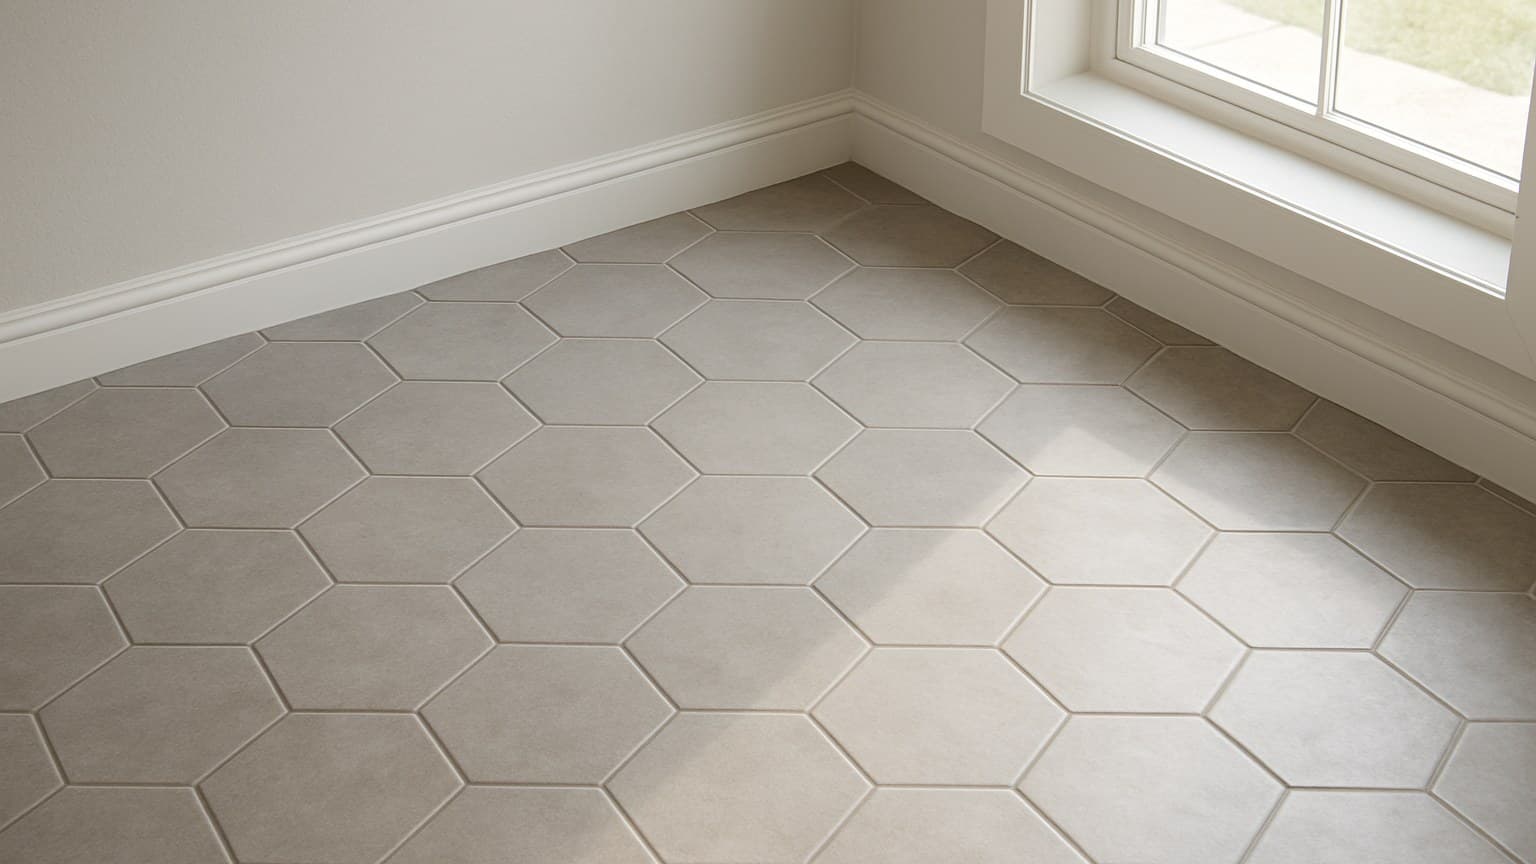
Large hexagon floor tile looks easy in a showroom photo, but on a real floor it punishes a wavy subfloor, the wrong size, or a skimpy tile order. For most rooms, pick an 8-14 inch hex, budget $10-27 per square foot installed (materials $3-12, labor $7-15), and order 15-20% extra tile to cover the angled perimeter cuts. Get those three numbers right first, then the rest - grout width, material pick, slip rating - falls into place.
Key takeaways
- Match the hex to the room: 8-10in across in a small bath, 14-24in in open rooms, or the floor reads off-scale.
- Big flat hexes show lippage fast, so flatness within about 1/8in over 10ft and a large-format trowel matter more than the tile you picked.
- Order 15-20% extra for a hex floor versus about 10% for rectangular tile, because every perimeter cut is an angle.
- Porcelain is the safe pick for kitchens and entries; cement tile needs sealing and natural stone etches and stains.
- Budget roughly $3-12 per sq ft for materials and $7-15 per sq ft for labor installed, with stairs and bad subfloors pushing labor higher.
1. Match the Hex Size to the Room, Not the Other Way Around
Pick the hex size to fit the room, not because you liked a big tile at the store. A hexagon is measured point to point, corner to corner across its widest two tips, not edge to edge, so a "12-inch" hex is wider than you'd guess.
In a small bath or powder room under about 40 square feet, an 8-10 inch hex keeps the floor in scale. Medium rooms land best at 10-14 inches. Save the big 14-24 inch hexes for open-plan spaces where they have room to breathe.
The failure I see is an oversized hex crammed into a narrow hall or small entry. Hexes meet walls at angles, and a big one leaves thin, fragile slivers along every edge where the cuts fall. Bigger hexes also mean fewer grout lines and a calmer floor; smaller hexes read busier. For an even busier, more intricate pattern than small hexes offer, mosaic tiles push that scale further still, as covered in mosaic tile patterns guide.
| Room | Hex size (point-to-point) | Why |
|---|---|---|
| Small bath / powder (<40 sq ft) | 8-10 in | Bigger hexes crowd the space and leave slivers at walls |
| Medium room (40-120 sq ft) | 10-14 in | The sweet spot for most floors; balanced scale |
| Large / open plan (>120 sq ft) | 14-24 in | Fewer grout lines, cleaner look across the field |
| Narrow hall or entry | 8-12 in | Too-big hex leaves thin, fragile cut pieces at the edges |
Source: how I size hex to a room before I ever cut one
Use this chart before you order a single box - it keeps you from buying a hex that's wrong for the room's scale.
2. Big Flat Hexes Punish an Uneven Subfloor
Large flat tiles show lippage, where one tile edge sits higher than its neighbor, far more than small ones do. The floor under the tile matters more than the tile you picked.
Before anything, pull a 10-foot straightedge across the floor. Grind down the high spots and fill the lows with patch or self-leveling compound until you're within about 1/8 inch over 10 feet, a flatness tolerance in line with the Tile Council of North America's (TCNA) guidance on large-format tile, which notes that the growing demand for narrow grout joints raises the bar for subfloor flatness. On a concrete slab, moisture-test it before you tile; a slab that reads wet now will push moisture up into the setting bed later.
Hex edges meet at angles, so one high spot doesn't throw off a single seam. It tips several tiles at once, and the eye catches that line of raised corners fast. To bed a large hex fully, use a large-format notched trowel, often a 1/2-inch notch, and back-butter the tile so there are no hollow spots. Dry-lay a few rows first to confirm the pattern lands where you want it before any thinset goes down.
3. Grout Line Width and Where the Lines Land
A tight grout line, often 1/8 inch, makes a large hex floor read as one clean surface; wide lines fight the big-format look. According to the Tile Council of North America (TCNA), narrow grout joints are in increasing demand on large-format tile projects, but that trend places more pressure on a flat substrate, since a narrow joint leaves little room to hide lippage. Tight is the modern call, but it only works if your floor is flat. A narrow joint hides nothing, so with big flat hexes the flatness has to earn that tight line. If your subfloor is shaky, a slightly wider joint gives you room to hide small height differences.
Plan the layout before you spread anything. Find the room's center or main sightline, snap your chalk lines, and set it so full hexes land where the eye hits first. Push the cut pieces under cabinets, behind the toilet, or along the least-seen wall. If this hex floor meets hardwood in an adjoining room, planning that seam now saves a headache later, and our tile-to-hardwood transition guide walks through the hardware options.
If you want a different rhythm, an elongated hex or picket shape changes how the grout lines flow across the floor; the same planning rules apply, and so do plank-format tile layouts if you're weighing a stretched look.
One hard rule from experience: keep everyone off the grout until it's set. I let a customer in Dayton walk her floor the same evening I grouted it, and the footprints pressed into the fresh joints had me raking and regrouting a path the next morning. The room can wait a day.
4. Porcelain, Cement, or Stone: Pick by Room
Glazed porcelain is the safe all-rounder for kitchens and entries; cement and natural stone buy you a look but add upkeep.
Porcelain is denser and less porous than most ceramic, which is why I steer wet and high-traffic rooms to it. Don't trust the word "porcelain" alone, though; check that specific tile's water absorption and use rating on its spec sheet.
Cement, often sold as encaustic (the pattern is pressed into the tile body, not just printed on top), needs sealing when it's installed and resealing after that, and the surface is softer. Natural stone is its own thing: marble etches from anything acidic and stains easily, while slate wears better underfoot. If you'd rather skip the sealing and etching risk altogether and want a wood look instead, a wood tile buying guide walks through that alternative.
If you love the stone look but not the sealing and etching, stone-look porcelain gives you the appearance with porcelain's easy maintenance.
| Material | Best rooms | Durability / slip | Maintenance | Materials per sq ft |
|---|---|---|---|---|
| Glazed porcelain hex | Entries, kitchens, baths | Very hard; pick a tile rated 0.42 or higher for wet floors | Wipe clean, no sealing | $3-12 |
| Cement (encaustic) hex | Powder rooms, low-traffic accents | Softer surface; confirm slip rating | Seal on install, reseal regularly | $8-25 |
| Natural stone hex (marble/slate) | Formal entries, baths | Etches and stains; slate wears better than marble | Seal; acid-sensitive, careful cleaners | $10-30 |
Material fit, upkeep, and material-only price per square foot for large hex.
5. Slip Rating Matters in Kitchens and Entries
For any floor that gets wet, match the finish to the room and check the slip number. DCOF, short for dynamic coefficient of friction, is a slip score; a reading of 0.42 or higher is the common recommendation for wet floors under ANSI A137.1, the American National Standards Institute's tile standard.
Big glossy hexes photograph well and can get slick fast. Steer matte or textured finishes into entries, kitchens, and baths, where water and shoes meet the floor.
That rating is published per tile, not per category, so read the specific tile's spec sheet instead of assuming all porcelain is safe. Polished stone and high-gloss cement are the ones to watch underfoot when they're wet.
6. Waste Factor: Every Hex Edge Is an Angled Cut
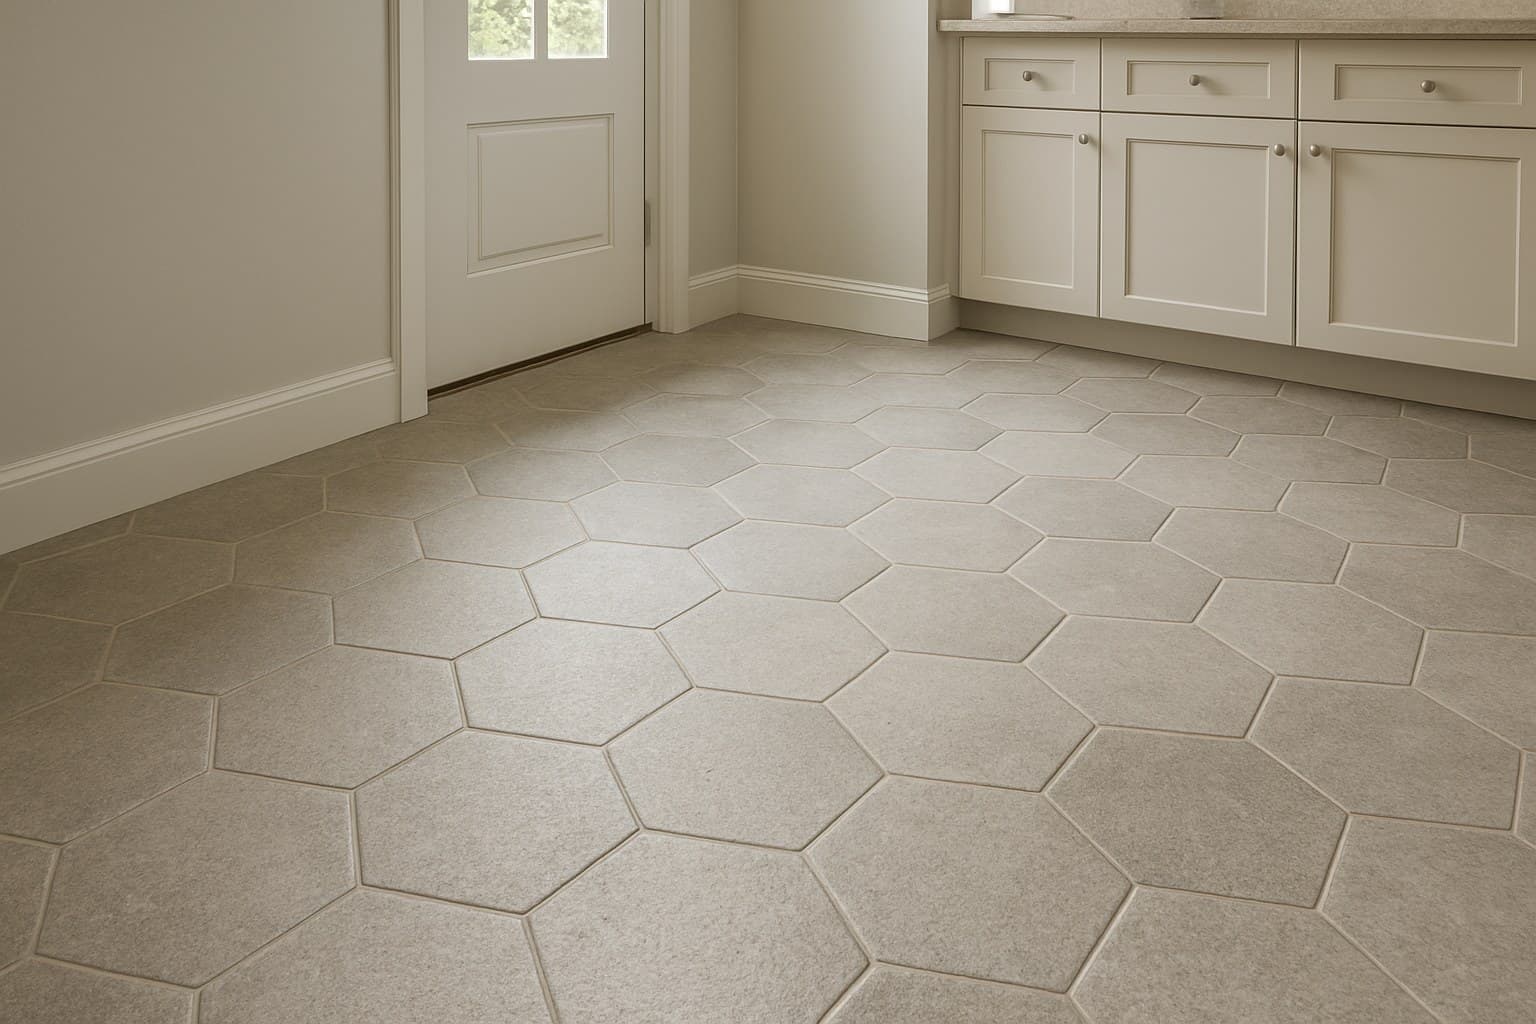
Order 15-20% extra for a hex floor, versus about 10% for rectangular tile. Hexagons meet walls at angles, so every perimeter cut leaves an odd offcut you usually can't reuse, and a diagonal room wastes even more.
The arithmetic is simple. Tiles needed equals your room square footage multiplied by (1 plus the waste factor), then round up to full boxes. For a 120-square-foot room at 18% waste, that's 120 x 1.18 = 142 square feet, so you order about 145 to land on whole boxes.
| Step | Value |
|---|---|
| Measure the room | 120 sq ft |
| Hex waste factor | 15-20% (vs ~10% for rectangular) |
| Add waste at 18% | 120 x 1.18 = 142 sq ft |
| Round up to full boxes | order about 145 sq ft |
Source: what I've had left over after cutting hex perimeters on real floors
Use this math to land on the right case count instead of guessing and coming up short mid-job.
Buy it all in one run so the shade matches. Dye lots drift between batches, and a reorder three weeks later can land a patch that doesn't blend.
7. The Real Cost Split and the DIY-vs-Hire Call
Budget roughly $3-12 per square foot for materials and $7-15 per square foot for labor installed, which puts a typical large hex floor around $10-27 per square foot all in. Both large-format and hex carry a labor premium over plain square tile, because leveling the floor and cutting every perimeter angle takes time.
Those labor numbers are for an open, flat room. Basements, stairs, and a bad subfloor all push labor higher, since leveling, moisture prep, and detail cuts eat hours before a single tile sets.
On the DIY call: a confident DIYer can take on a small, flat room with an 8-12 inch hex and manageable cuts. Big open floors, slabs that need leveling, and glossy large hexes where lippage shows are where I'd hire it out. The angled cuts and the flatness work are exactly the parts that come back wrong when they're rushed.
If the whole budget is tight, it's worth seeing how LVP tile costs stack up against a tiled hex floor before you commit to the saw.