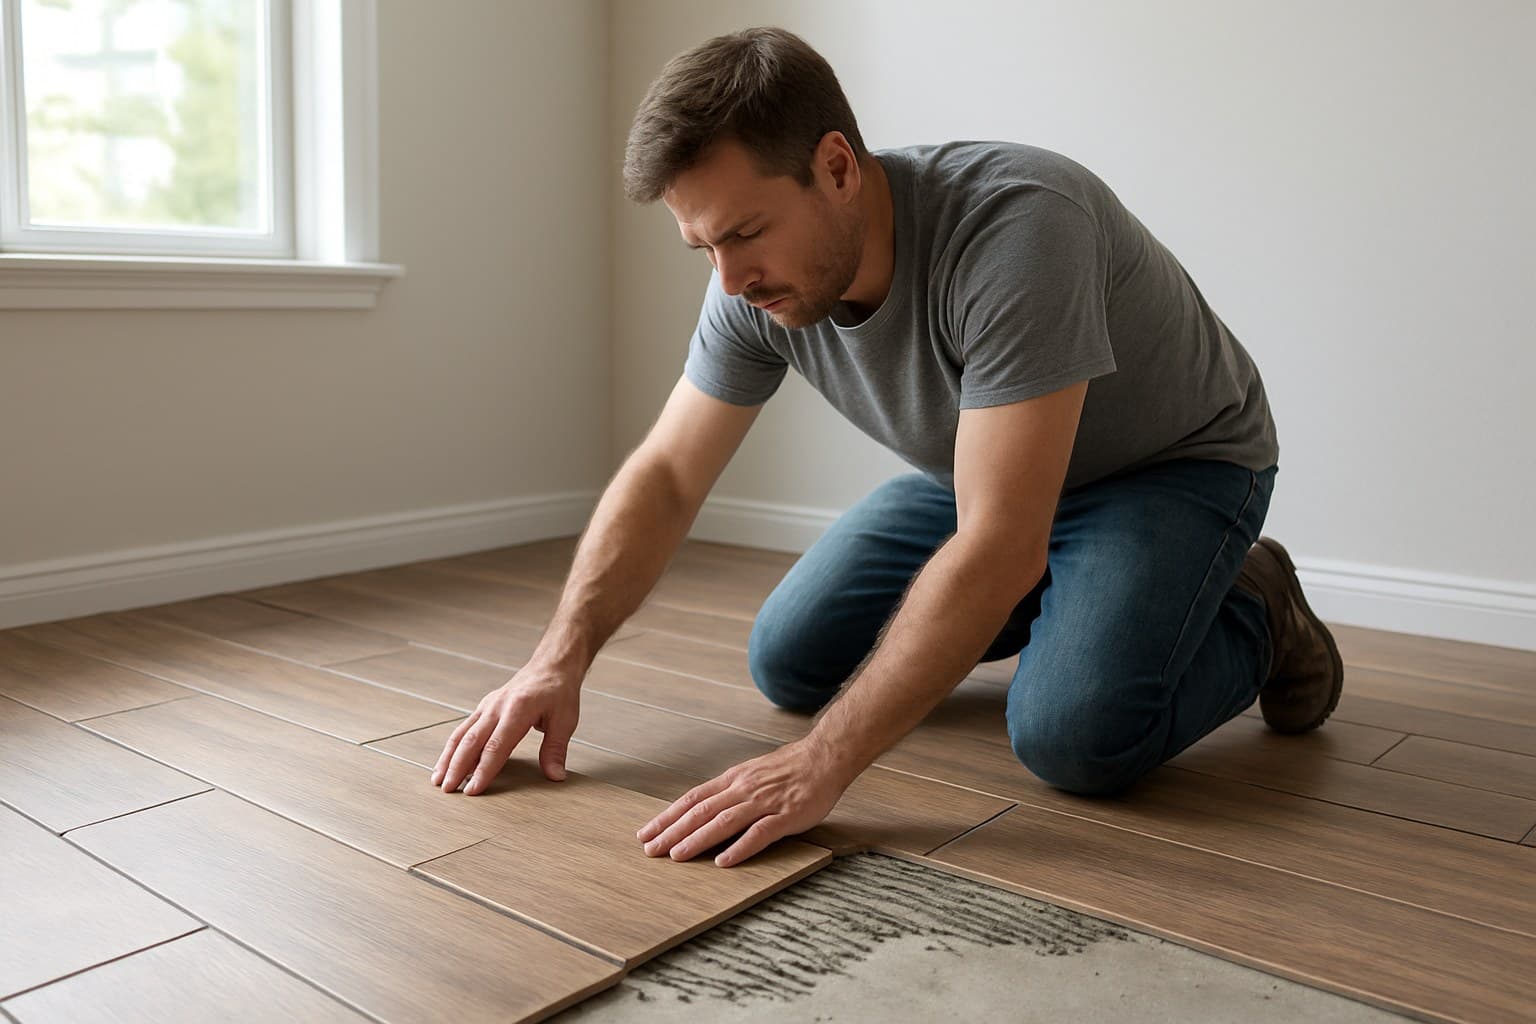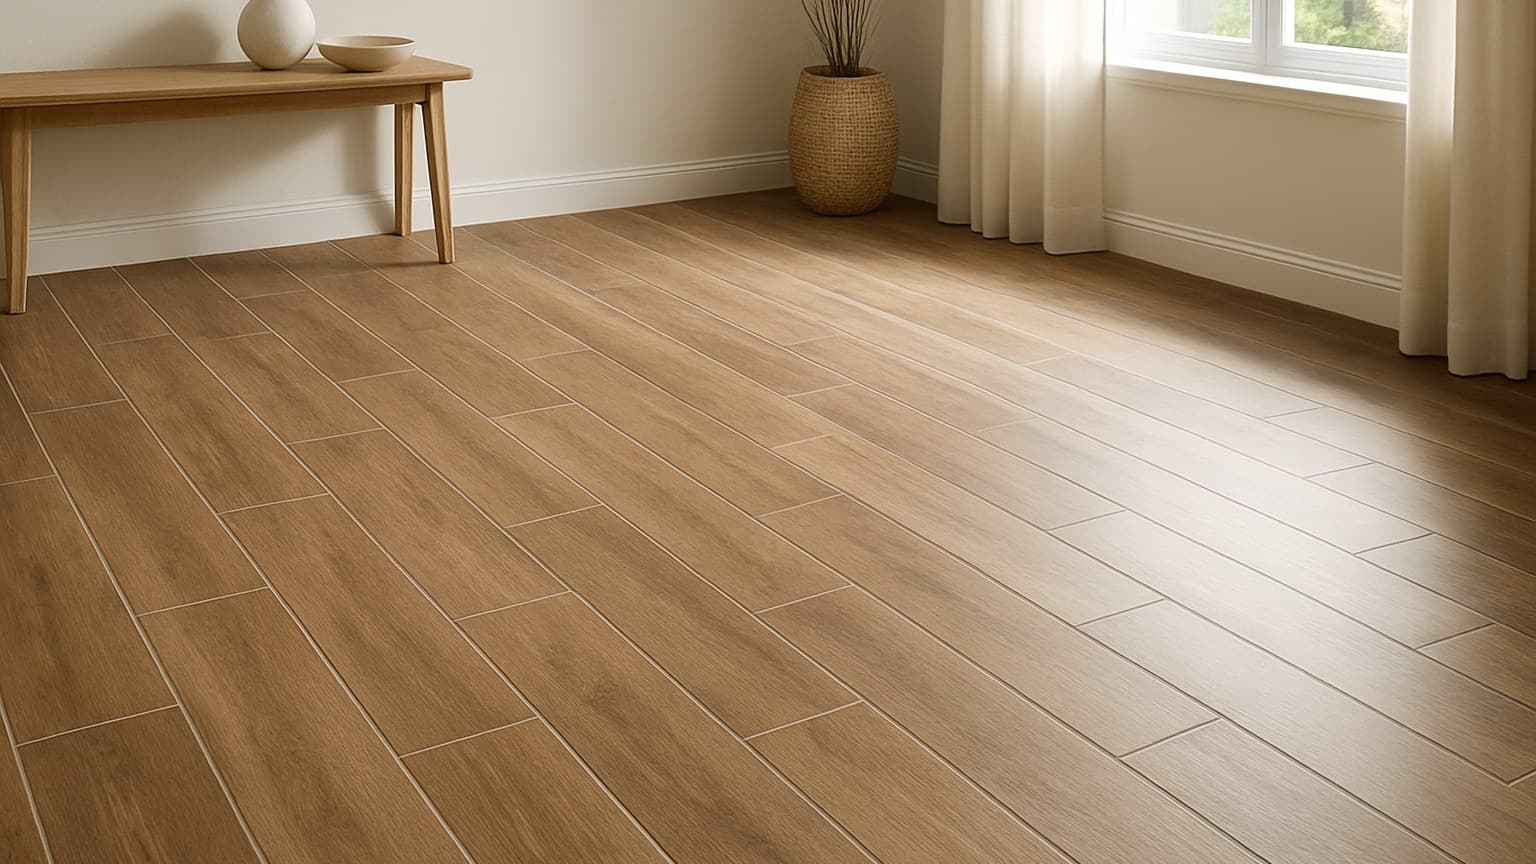
Wood plank porcelain tile reads like hardwood but shrugs off water, and yes, it can replace hardwood in wet rooms and on slabs, bathrooms, kitchens, mudrooms, basements. The tradeoff: porcelain won't warp, cup, or stain, but it's colder and harder underfoot and always has grout lines, something real wood never has. The box rarely tells you any of this, and a long plank set over a wavy subfloor is where the money goes. This walks the whole path, from ratings to grout.
Key takeaways
- Wood plank porcelain tile is porcelain (water absorption 0.5% or less per TCNA) molded and printed to look like wood planks, so it won't warp, cup, or water-stain like real hardwood.
- Before you buy, check three ratings: PEI 4-5 for floors with foot traffic, DCOF 0.42 or higher for areas that get wet, and water absorption 0.5% or less.
- Installed cost runs about $9-19 per sq ft in an open room (tile $3-8, setting materials $1-2, labor $5-9); bathrooms, stairs, and basements cost more.
- Long planks punish an uneven subfloor, so flatten to about 1/8 inch over 10 feet, offset planks 1/3 not 1/2, and use leveling clips, or you get lippage.
- Click-lock LVP is realistic DIY; thinset-set porcelain plank, especially large format, stairs, or big open rooms, is usually worth hiring out.
What Is Wood Plank Porcelain Tile, and Will It Really Replace Hardwood?
Wood plank porcelain tile is porcelain tile that's molded and printed to look like wood planks. You'll also see it listed as porcelain plank tile flooring, porcelain plank flooring, or just wood-look tile. The look is printed on a dense porcelain body, so it carries the ratings of a real floor tile, not the quirks of wood.
What it fixes is simple. It won't warp, cup, or stain from water, and you never sand or refinish it. That's where real hardwood struggles: bathrooms, kitchens, mudrooms, basements, anywhere moisture comes and goes. Kitchens in particular lean on this durability day to day, and guide to kitchen tile flooring covers how to pick a style that holds up to daily spills.
So will it replace hardwood? For wet rooms and slabs, yes. But be straight with yourself about the trade. Porcelain feels colder and harder underfoot, and it always has grout lines, even tight ones. Real wood still wins when you want warmth, a dead-flat seamless surface, and the option to refinish it decades later.
Laid out next to each other, the trade-offs are easier to see than to describe:
| Flooring | Installed cost (per sq ft) | Typical lifespan | Water tolerance | Underfoot feel |
|---|---|---|---|---|
| Real hardwood | $8-14 | 30-100+ years, can be refinished several times | Poor, swells, cups, or stains if water sits on it | Warm, some give |
| Wood plank porcelain | $9-19 | 50+ years, rarely needs replacing | Excellent, essentially waterproof once the grout is sealed | Cold, hard, no give |
| Luxury vinyl plank (LVP) | $5-10 | 10-20 years before wear shows | Good, waterproof, but can dent, scratch, or discolor over time | Warmer, some cushion |
Porcelain wins on water and lifespan, LVP (luxury vinyl plank) wins on a softer feel underfoot and a lower price, and hardwood wins on warmth and the option to refinish instead of replace. None of the three wins every room, which is usually why the decision comes down to which space you're flooring, worth reading up on in our guide to choosing solid vs. engineered hardwood. For the broader rundown on the material itself, we cover it in full guide to wood plank tile flooring. If you're deciding purely between LVP and tile without the wood-look overlap, LVP vs tile guide walks through that narrower comparison.
Step 1: Read the Ratings Before You Buy
The word "porcelain" on a box doesn't settle anything. The number does. Pull the spec sheet and check three ratings before you pay for a single plank.
First, water absorption. According to the Tile Council of North America (TCNA), the group that writes U.S. tile standards, porcelain tile is defined by a water absorption rate of "0.5% or less", the line that separates it from denser-but-still-porous ceramic. A tile sold as "porcelain-look" that absorbs 3% is ceramic, no matter what the display says.
Second, PEI. That's the Porcelain Enamel Institute scale, 1 to 5, and it rates how well the surface takes foot traffic and scuffing. For any floor people walk on, buy PEI 4 or 5. PEI 3 is fine only in a light-traffic room like a guest bath.
Third, DCOF. That stands for dynamic coefficient of friction, a way of saying how slippery the tile is when wet. The commonly cited industry benchmark, from the ANSI A137.1 tile standard, puts the minimum around 0.42 for wet floor areas. Anything meaningfully lower in a bathroom or entry is a fall waiting to happen.
| Rating | What it measures | What to look for |
|---|---|---|
| Water absorption | How porous the tile is | 0.5% or less = true porcelain (TCNA) |
| PEI (1-5) | Surface wear from foot traffic | PEI 4-5 for floors; PEI 3 only for light-traffic rooms |
| DCOF | Slip resistance when wet | generally 0.42 or higher for floors that get wet (ANSI A137.1) |
| Slip tech (brand claim) | Added grip on one product line | Daltile StepWise is rated 50% more slip-resistant than standard tile |
Source: the ANSI A137.1 and TCNA tile standards
The three numbers to compare across any brand before you buy.
That last row is a brand claim, not an industry rule. Daltile rates its StepWise line as 50% more slip-resistant than standard tile. Treat that as one product's own spec, not something every wood-look plank gives you.
Step 2: Match Plank Size, Texture, and Grout Joint to the Room
Match the plank to the room by starting with size, then edge type, then finish. Those three decide how much the floor reads like wood and how hard it is to set flat.
Common plank sizes run from 6x24 inches up to 9x60, in looks that mimic oak, white oak, walnut, and hickory. Longer, wider planks look more like real boards. They also punish an uneven subfloor harder, because a long plank bridges more dips and shows every one at the ends. If you want to see how these printed looks stack up against the broader category of wood-look tile, guide to wood tile flooring breaks it down species by species.
Edge type controls your grout line. Rectified means the edges are machined straight and square after firing, so every plank is the same size and you can run a tight joint, as narrow as 3/16 inch on some Daltile lines. Pressed (non-rectified) edges come out of the mold slightly rounded and vary in size plank to plank, so you need a wider joint to hide that drift. Either way, there's no such thing as a true zero grout line with tile.
Finish is the last piece. A textured, matte plank sells the wood look up close and grips better underfoot. A slick, glossy plank fights you on slip resistance, which matters in any room that gets wet. For sizing and ordering math, lean on how to measure and order plank tile. If you're leaning toward a stone look instead of wood, porcelain that looks like stone. Slate is another natural-stone option worth weighing if that's the direction you're headed, and guide to slate tile flooring covers what it takes to install.
Step 3: Budget Materials vs Labor
Expect roughly $9-19 per square foot installed in a flat, open room. The tile itself is the smaller piece of that; labor is where the number moves.
Porcelain plank tile runs about $3-8 per square foot for the material. Setting materials, meaning thinset mortar, grout, and leveling clips, add $1-2. Labor in an open room is roughly $5-9 per square foot. Add those up and you land in the $9-19 range.
Some rooms cost more per foot, and it's not the installer padding the bill. Bathrooms, stairs, basements, and small rooms all mean more cuts, minimum service fees, waterproofing, and slab prep. On the porcelain plank floors I've quoted around Dayton, a tight bathroom or a stair run often prices out higher per foot than a big living room, because the hard footage is all the little cuts.
| Line item | Cost range |
|---|---|
| Porcelain plank tile (material) | $3-8 / sq ft |
| Setting materials (thinset, grout, leveling clips) | $1-2 / sq ft |
| Labor, open room | $5-9 / sq ft |
| Labor, bath / stairs / basement / small room | $9-15 / sq ft |
| All-in, typical open room | $9-19 / sq ft |
Source: the porcelain plank floors I've quoted and set around Dayton
What wood plank porcelain costs per square foot, split by line item.
According to the National Wood Flooring Association's (NWFA) life-cycle cost research, flooring is best compared over its full lifespan rather than just the sticker price, and porcelain fits that framing well: a floor that lasts decades with no refinishing often beats carpet or laminate you'll replace sooner. If you're weighing this against vinyl plank first, our look at how vinyl plank compares to tile on cost breaks the materials-vs-labor split down further.
Step 4: Flatten the Subfloor and Check Moisture
Flatness is the whole game with long planks. Industry guidance, including standards referenced by TCNA, generally calls for keeping flatness variation to roughly 1/8 inch over 10 feet for large-format tile, and wood plank porcelain counts as large format once the planks get long.
I learned this the hard way. I set a large-format tile over a floor that looked flat to the eye but wasn't flat to a straightedge, on a job in central Ohio. The corners lipped up just enough to catch a bare foot and a mop. Big tile punishes every dip that small tile would have forgiven, so now I flatten more carefully once the tile gets over a certain size.
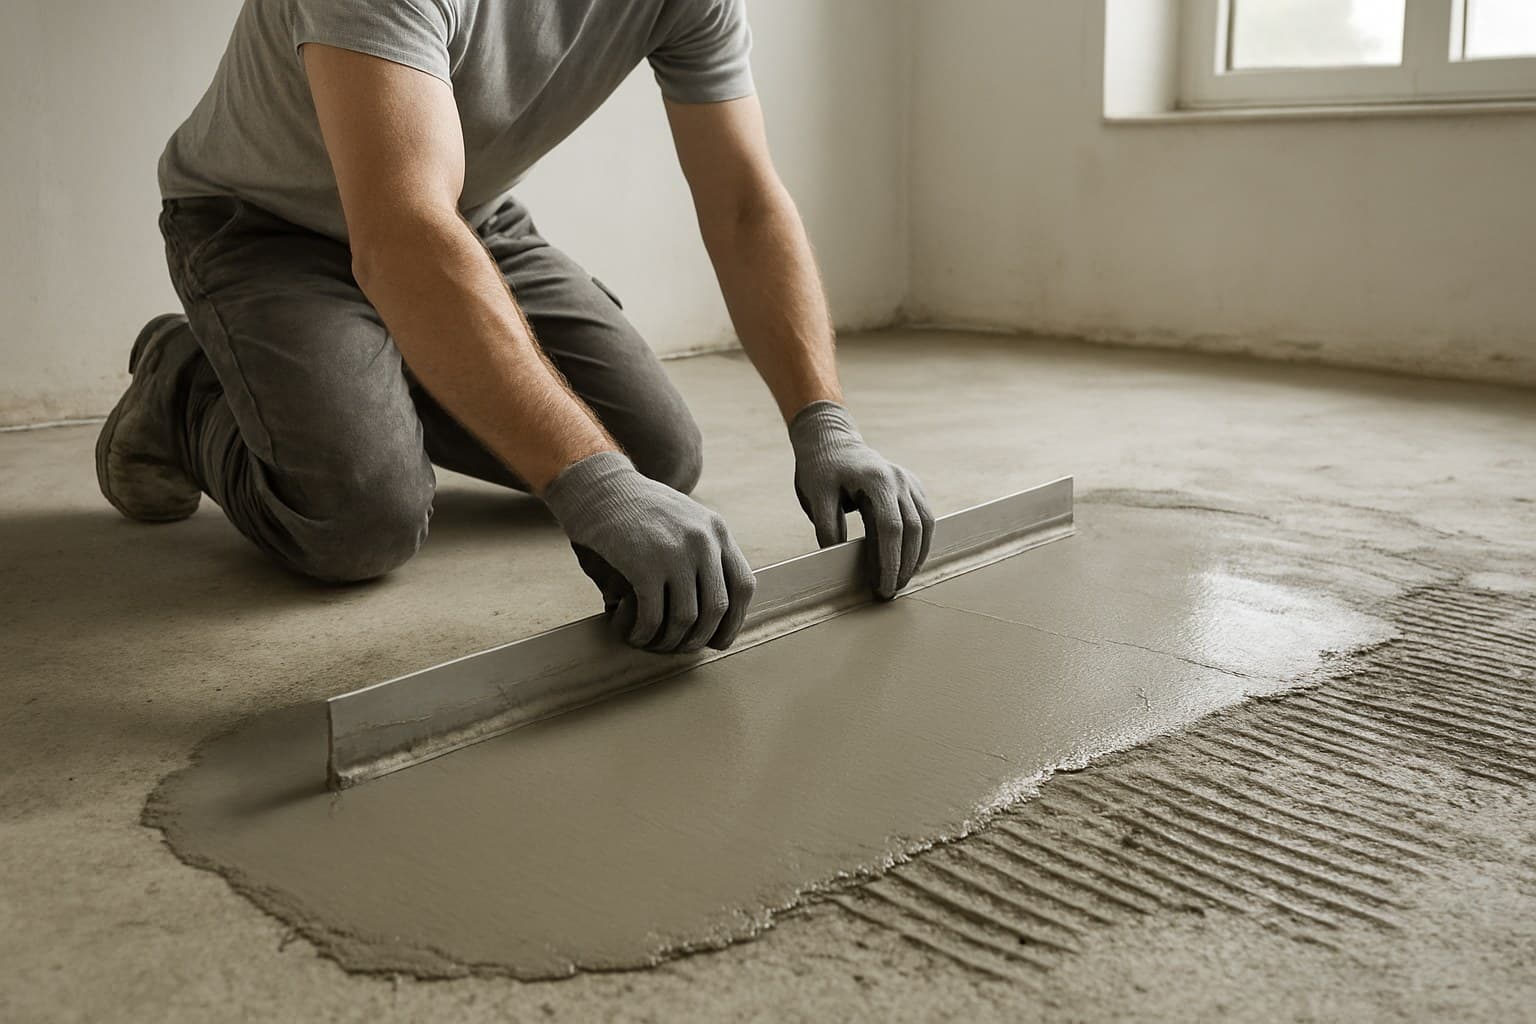
Here's how to check and fix it. Lay a long straightedge or level across the floor in several directions. Where it rides up, you've got a high spot to grind down. Where light shows under it, you've got a low spot to fill with patch compound. Keep working until the gap under the straightedge stays inside the tile maker's spec.
On a basement or ground-floor slab, run a moisture check before any tile goes down, because trapped moisture can wreck the bond. Concrete and wood subfloors need different prep: concrete usually wants grinding and patching, while a wood subfloor needs to be stiff and screwed down tight. Over a wood subfloor or a slab you're unsure about, add an uncoupling membrane. It absorbs small movement so a shifting subfloor doesn't crack the tile above it.
Radiant or underfloor heat is worth settling before anything else goes down, since it changes what's under the tile, not just what's on top. Porcelain is actually one of the better floors to pair with embedded heat, it conducts and holds warmth more evenly than wood, which can dry and gap over a heated subfloor. If you're setting over heating cables or a hydronic mat in a bathroom or kitchen, use a crack-isolation or uncoupling membrane that's rated for radiant systems, confirm the thinset is heat-tolerant, and bring the system up to temperature gradually per the heating manufacturer's instructions before you grout, so nothing is curing while the slab is still expanding.
Step 5: Set, Space, and Grout the Planks
Set wood plank porcelain with large-format (medium-bed) mortar, back-butter every plank, hold a consistent offset, and use leveling clips as you go. That sequence keeps the finished floor flat.
Back-buttering means you comb thinset on the floor and skim a thin coat on the back of each plank. Long planks need full contact underneath, with no hollow spots, or those voids crack later under a heavy step.
Offset the planks by a third, not half. Porcelain planks have a slight bow along their length, and a 50% offset parks the high center of one plank right against the end of its neighbor. That's instant lippage, meaning one edge sits higher than the next. Staggering a third or less keeps the high and low points from lining up.
Drop a leveling clip or wedge at each shared edge while the mortar is still wet. They pull neighboring planks flush and hold them until the mortar cures, which on most bags means 24-48 hours before you walk or grout. Follow the bag, not a rule of thumb.
When you grout, match the joint width to your edge type from Step 2. A grout color close to the plank hides the lines and sells the wood look; a contrasting color makes every plank pop. Cement grout needs sealing; epoxy grout doesn't. And leave the expansion gap around the room's edge that the tile maker calls for, so the floor has room to move.
Where the plank tile meets another floor, like carpet or real wood in the next room, finish it with a transition strip rather than butting materials together. Our guide to tile-to-wood floor transitions walks through matching the strip to the height difference, since a wood floor has to expand and contract while the tile stays put.
Should You DIY This or Hire It Out?
Be honest about which install you're actually doing. Click-lock vinyl plank is realistic for most DIYers. Thinset-set porcelain plank, especially large format, stairs, or a big open room, is usually worth hiring out.
The reasons are specific. Large-format planks punish a subfloor you didn't flatten well enough. Mixing thinset to the right consistency, timing your grout, and cutting dense porcelain on a wet saw all take practice. Get the flatness or the offset wrong and you don't notice until the mortar has cured and the lippage is permanent.
DIY makes sense when the room is small and flat, you've set tile before, and you're using a standard plank size with a simple layout. Hire it out for stairs, bathrooms that need real waterproofing, basements where slab moisture is a question, large open rooms, and big 9x60 planks that show every mistake. The cost of ripping up a failed floor and buying the tile twice almost always beats what a pro would have charged the first time.