
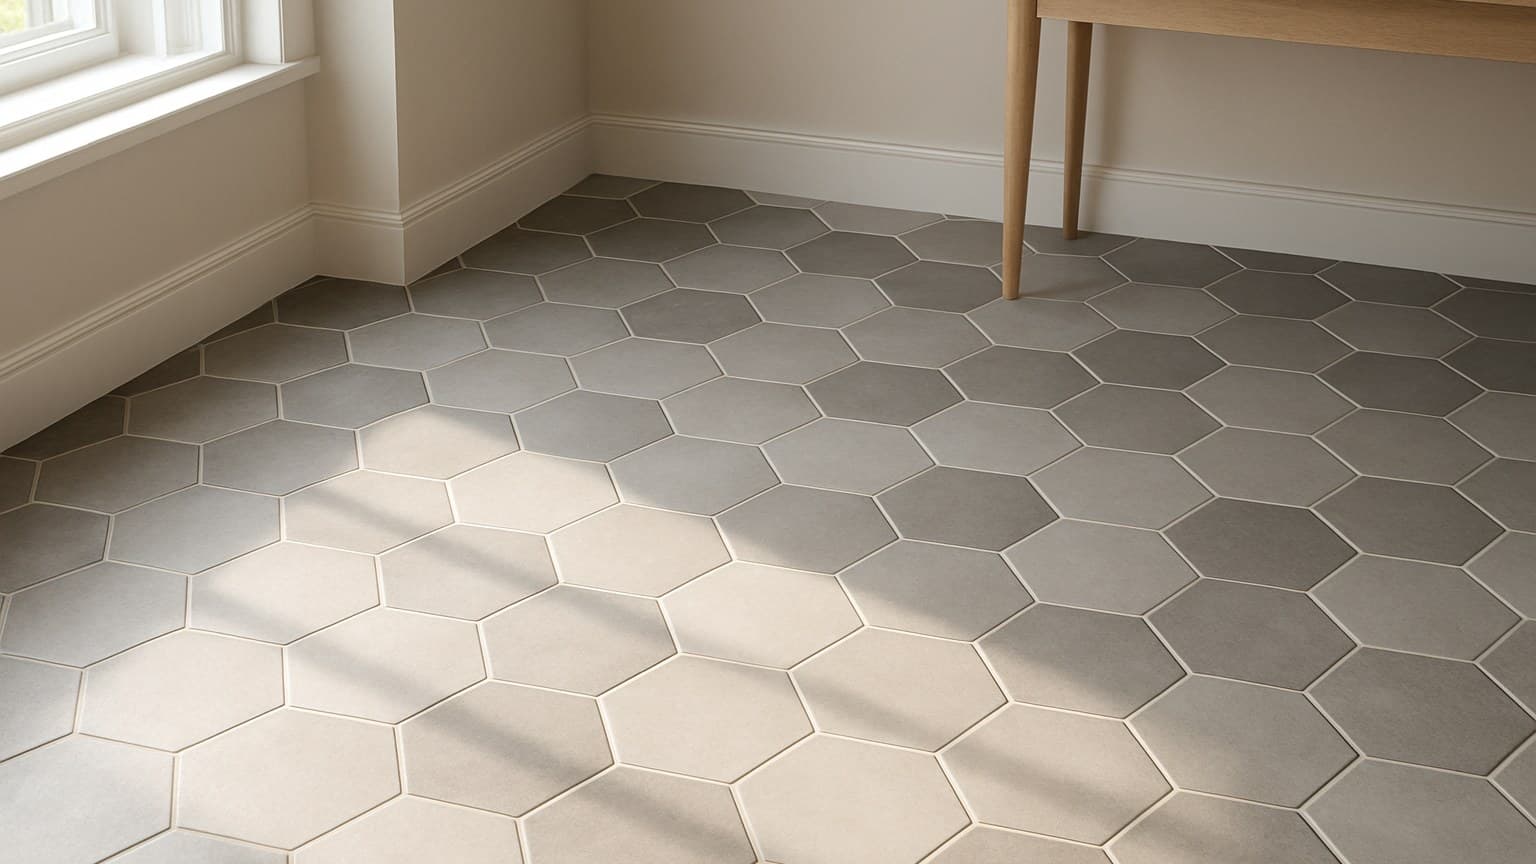
A hexagon floor is won or lost at layout, not at the tile counter. Every hex that meets a wall or corner is an angled cut, so if you skip a dry layout before mixing thinset, you end up with thin sliver cuts that chip and pop loose, and they grab your eye every time you walk in. Get hexagon floor tile laid out right and the field in the middle practically takes care of itself.
Key takeaways
- Every hexagon that meets a wall or corner is an angled cut, so a dry layout before you mix thinset is the single thing that saves a hex floor.
- Match hex size to the room: 1-2 inch hexes suit small baths and shower floors, 8-12 inch large hexes fit kitchens and open rooms.
- Order 15-20% extra tile for a hex floor versus about 10% for square tile, because angled perimeter cuts waste more.
- Confirm the subfloor is flat to the tile maker's tolerance and dry before layout; hex shows humps, dips, and lippage worse than square tile.
- Installed cost runs roughly $10-19/sq ft ceramic, $13-24 porcelain, and $18-38 natural stone, with labor higher than square tile from the extra cuts.
Why a Hexagon Floor Is Won or Lost at Layout
The reason hex is harder than square tile is simple: there's no easy straight cut at the edges. A square tile meets a wall with one clean line. A hexagon meets it on an angle, and every single perimeter tile has to be cut on that angle. Plank tile, which runs in long rectangular strips instead of a honeycomb, skips that angled-cut problem almost entirely, though figuring out plank tile costs and ordering is its own puzzle a hex installer never has to solve.
Rush that, and you get slivers. A sliver is a thin shaving of tile, say a half inch wide, bonded to almost nothing. It chips, it lifts, and it looks like a sloppy job.
Before any thinset comes out, plan four things: the hex size, your center lines, the grout width, and where the cut tiles land. The steps below walk each one. Those four calls are just part of a wider set of hexagon tile decisions that shape a floor, alongside cost, material, and room-by-room sizing choices.
In the hex floors I've been called back to look at around Dayton, the trouble was almost never the field in the middle. It was the border cuts somebody eyeballed on the fly.
Step 1: Check the Subfloor Is Flat and Dry
Before you lay out a single tile, confirm the subfloor is flat and dry. All those short grout joints on a hex floor show every hump and dip worse than square tile does, so a floor that would hide under big planks will read as lippage under hex.
For flatness, drag a long straightedge across the floor in several directions. Mark the high spots to grind down and the low spots to fill, and get the floor inside the flatness tolerance the tile and thinset makers publish. Lippage is just one tile sitting higher than its neighbor at the grout line, and hex puts that error right in your face.
For moisture, a concrete slab needs a moisture check before tiling. Moisture trapped under the tile breaks the bond over time, and the right test depends on the slab, so follow the product's install guide.
On a floating-style or bonded floor, the maker's warranty quietly hinges on your prep, not on the tile you bought. No layout trick rescues a floor laid over a bad subfloor. Fix prep first, then start your dry run.
Step 2: Pick a Hex Size for Your Room
Match hex size to both the room size and how big you want the space to feel. The size changes the whole look before you ever pick a color.
Small hex, in the 1-2 inch range, packs in more grout lines. That means more grip underfoot, which is why you see it on shower floors, but it reads busy and can make a small room feel smaller.
Large hex, in the 8-12 inch range, gives fewer grout lines and a cleaner, modern look. It can even make a small bath feel bigger. The tradeoff is that every wall cut is a bigger, heavier piece to manage.
Hexagon tile flooring comes in a wide color range too: white, black, grey, green, beige, and multi-color patchwork. But size drives the feel of the room far more than color does.
| Hex size | Best rooms | What it does to the look |
|---|---|---|
| 1 inch (mosaic sheets) | Shower floors, small powder baths | Most grout = most grip; busy, shrinks a small room |
| 2 inch | Small-to-mid baths, laundry rooms | Classic look, still lots of grout lines |
| 4 inch | Mid baths, mudrooms, entries | Balanced all-rounder, grout lines ease off |
| 8-12 inch (large format) | Kitchens, open floors, big baths | Fewest lines, modern, but the biggest wall cuts |
How hex size changes grip and room feel, by common tile size.
Hexagon tile in a bathroom
In a bathroom, small hex earns its keep on the shower floor. Those extra grout lines give your wet feet something to grab, which is the one place grip actually matters. For the main bath floor, 2 inch or 4 inch hex is the classic move and keeps the honeycomb look without feeling frantic.
Hexagon tile in a kitchen
A kitchen is where large hex shines. The 8-12 inch sizes give you a modern floor with fewer lines to scrub, and a kitchen usually has enough open space to carry the bigger wall cuts. Just remember a kitchen has cabinets, islands, and appliances to cut around, so your dry layout matters even more here.
Step 3: Dry-Lay the Field and Snap Your Center Lines
Dry-lay before you bond anything. Find the room's center, snap two chalk lines square to each other, and set a dry run of loose hex out toward the walls so you can see exactly where the cuts will fall.
Start full tiles on the main sightline, the view you get walking through the doorway. You want the eye to land on whole hexes, with the cuts pushed toward the least-seen wall.
If the dry run leaves slivers at a wall, shift your start point a half tile and re-lay. That one move kills most sliver problems before they ever happen.
Only mix thinset once the dry layout looks right and your start point is marked. I've watched folks mix a batch, then start chasing the layout with the clock running on the thinset. Don't do that to yourself.
Step 4: Set Grout Line Width and Color
Grout width and color change how big and how busy a hex floor reads, so decide both before you tile, not after.
Tighter joints, kept at or above the tile's minimum spacing, look more seamless. Wider joints play up the honeycomb pattern and lean into that geometric look.
Color does a lot of quiet work. Matching grout calms a small room and hides minor cut variation. Contrast grout, like black grout with white hex, makes the pattern pop, but it also shows every edge, so your cuts have to be clean to pull it off.
That grout color is exactly where a lot of the Victorian, geometric, and marble-effect hex looks are really made or missed. The tile gets the credit, but the line between the tiles sets the mood.
Step 5: Plan Where the Cut Hexes Land
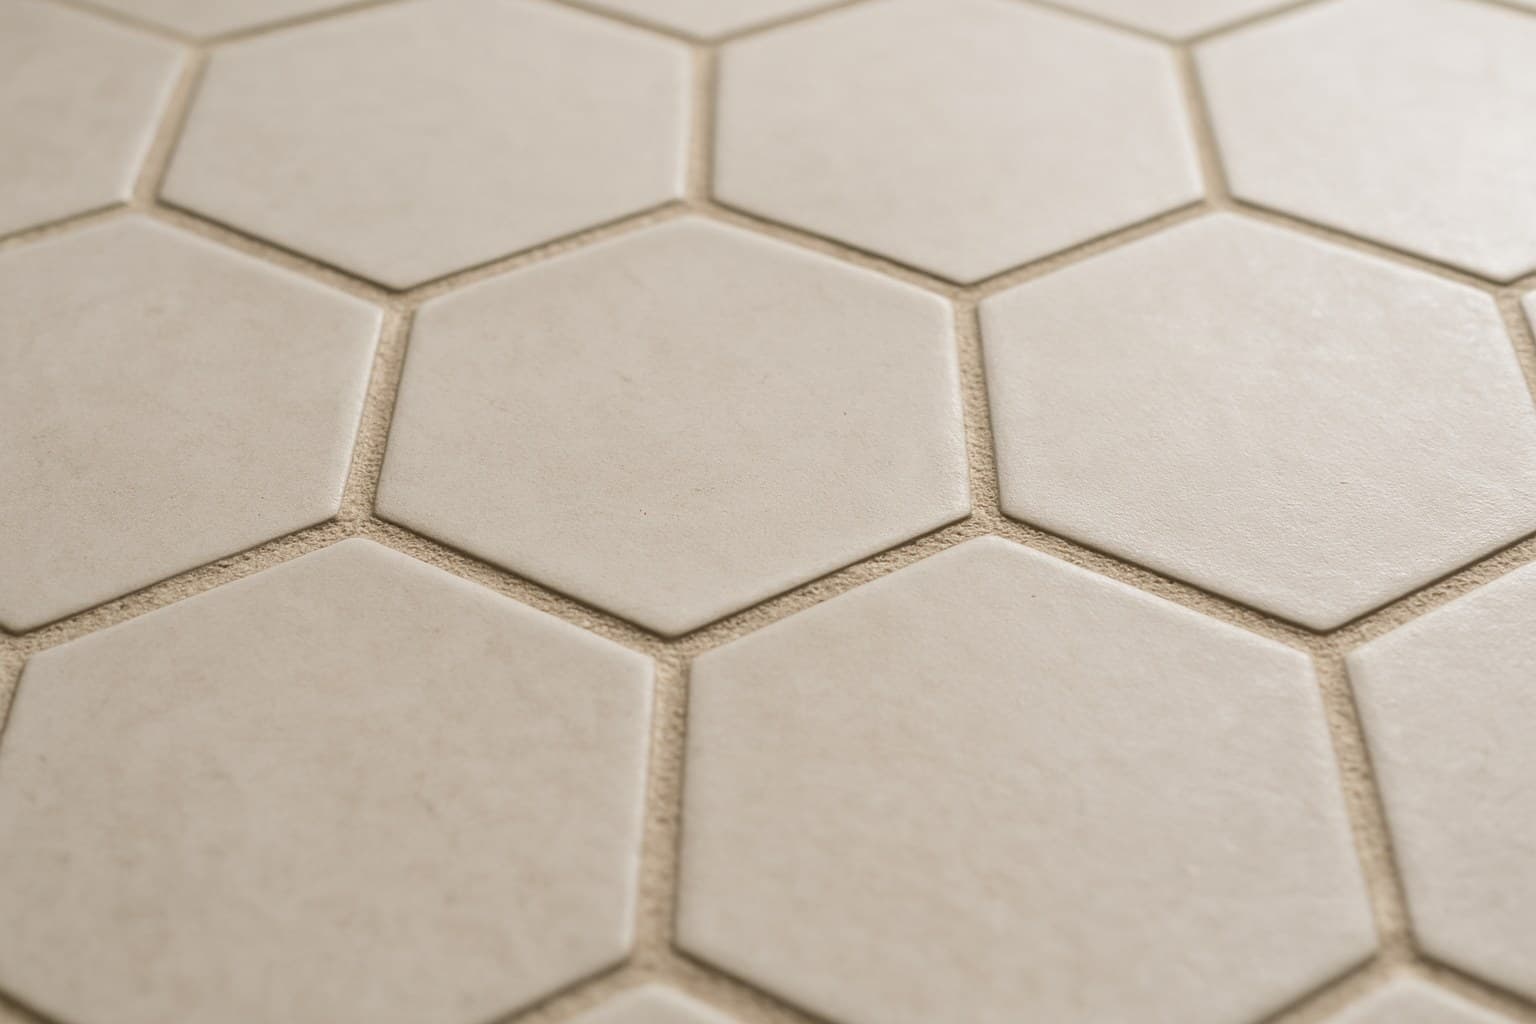
The whole job comes down to one rule: no edge tile ends up a thin sliver. Aim for half a hex or wider against every wall. Wide cuts bond solid and look deliberate.
A picture-frame border, a straight band of tile run around the room, hides the angled perimeter cuts and gives you a clean straight line. For an entryway I'd rather run a defined tile field with one clean straight line into the next floor than fuss over a busy border, because grit gets tracked in there and simple lines stay sharp.
Order roughly 15-20% extra tile for a hex floor, versus about 10% for square tile. Angled cuts leave more unusable offcuts, and you do not want to run short mid-job and chase a dye-lot match.
Where a hex floor meets a wood floor, use a transition strip or a straight tile border, and keep the wood side's expansion gap. Wood moves with the seasons, so the transition follows the wood's needs. Our guide to a tile and wood floor transition walks that detail, and if you're thinking about running a wood-look plank tile up to the hex instead, that one covers how those two tile shapes meet.
A planned edge keeps every cut at half a hex or wider; a rushed edge leaves a chip-prone sliver at the wall.
Which Material and Slip Rating Holds Up on a Floor
For a hex floor, porcelain is the safe default. It's dense and low on water absorption, which is why it holds up in baths, kitchens, and wet areas. Ceramic works fine in a low-traffic, dry bath, and natural stone like marble looks great but needs sealing and the right finish to survive foot traffic. If the honeycomb look isn't what you're after, wood-look tile that mimics hardwood planks is worth comparing before you settle on a shape and material.
Check the tile's DCOF rating for wet areas. That's the dynamic coefficient of friction, a published grip number, and small hex gains extra grip from all those grout lines on top of whatever the tile scores.
Check the PEI rating too. That's a wear scale from 1 to 5, and floors generally want PEI 3 or higher. Plenty of pretty hex is only wall-rated, so confirm the exact tile you're buying is made for floors before you fall in love with it.
Most porcelain and ceramic hex works over underfloor heating, but confirm it on that specific product's install sheet rather than assuming. If you want a stone look without the sealing chore, a limestone-look porcelain tile gives you the soft marble-and-stone feel in a tougher, lower-maintenance tile.
What a Hexagon Floor Costs Installed
Expect a hexagon floor to run roughly $10-19 per square foot installed for ceramic, $13-24 for porcelain, and $18-38 for natural stone. That number covers tile and labor together, and on a hex floor labor carries a bigger share of it than it would for square tile, since every perimeter tile needs an angled cut and cutting hex simply eats more time. The tile itself prices close to any other ceramic or porcelain in its tier, it's the setter's hours that climb. Exactly how that splits between material and labor depends on your installer, your region, and how many angled cuts your room needs, so ask your contractor for that breakdown on your actual quote.
| Material | Installed cost per sq ft | 50 sq ft bath, installed |
|---|---|---|
| Ceramic | $10-19 | $500-950 |
| Porcelain | $13-24 | $650-1,200 |
| Natural stone | $18-38 | $900-1,900 |
Installed hex floor cost by tile material, with a worked example for a 50 square foot bathroom.
Those are installed numbers, meaning tile plus labor together. Two things push the total up. First, basements and stairs cost more than an open room, because the slab below often needs more prep and tight, chopped-up areas slow every cut down. Second, remember to add 15-20% to your tile order for waste, which lands on the material side only.
On the DIY question, be honest with yourself. A small powder-room floor or a shower pan done in mosaic sheets is doable for a patient first-timer. A whole kitchen or open floor full of angled perimeter cuts, or a job with stairs and material transitions, is where hiring a tile setter usually pays for itself. If the cuts intimidate you, that's your answer. Even on those small mosaic sheets, keeping mosaic grout lines from going crooked takes its own kind of patience.
If you're weighing hex against a cheaper, faster floor for the same room, LVP tile costs by wear-layer tier lays out where vinyl beats tile on price and install time, so you can compare the real numbers side by side.