
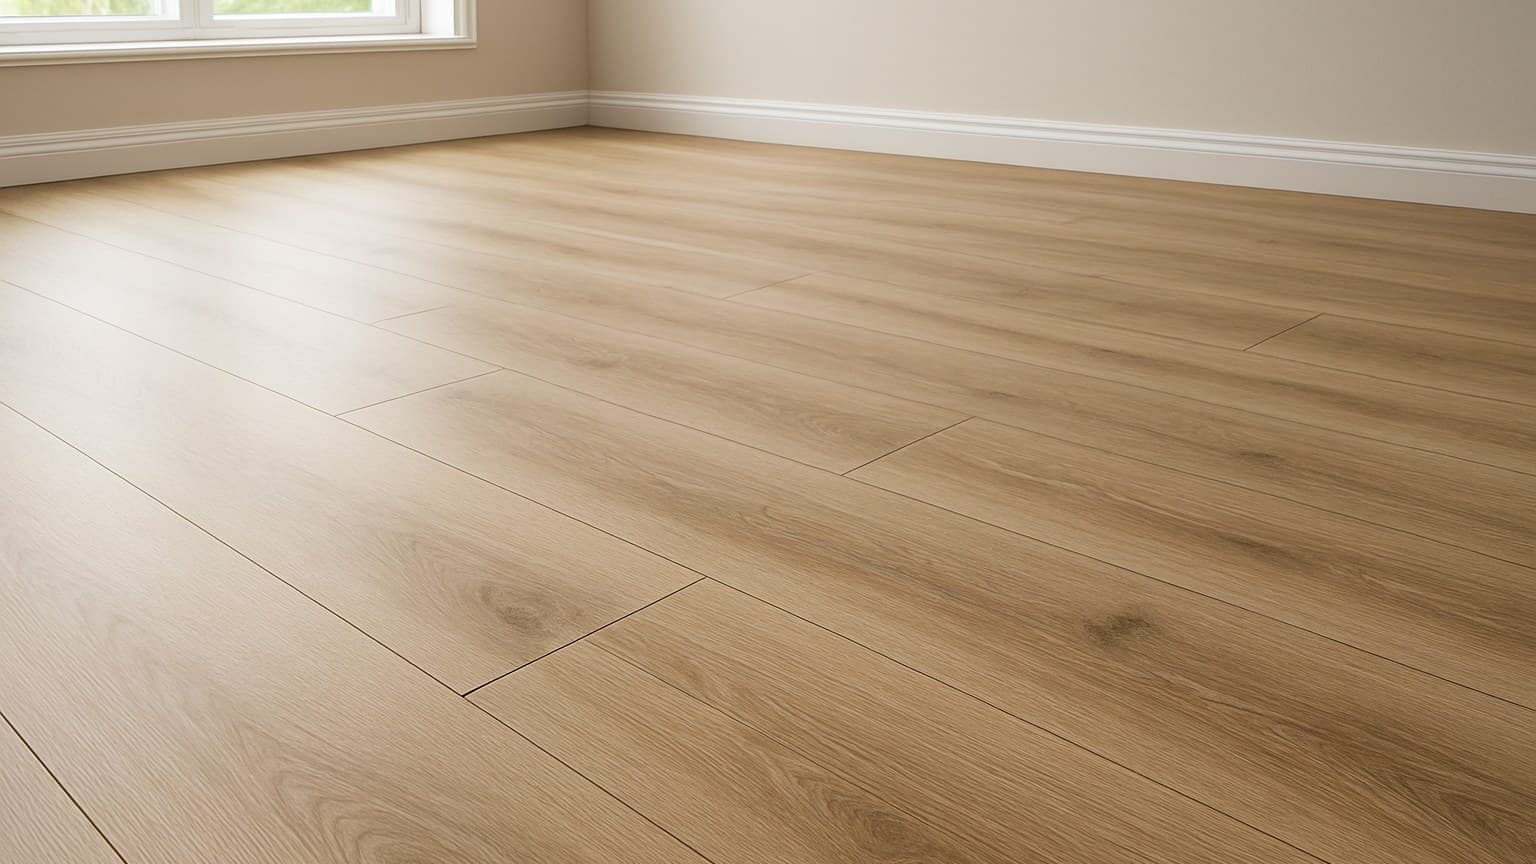
Click lock tile flooring is rigid-core luxury vinyl that snaps together edge to edge with no glue and no nails, floating over your subfloor instead of bonding to it. The catch is in the name and the marketing: it's vinyl, not real tile, and "waterproof" describes the plank body, not the seams where water actually gets in. Put it in the wrong room and you can be pulling planks up inside a year, so the whole game is matching the floor to the room, not to the marketing.
Key takeaways
- Click-lock tile flooring is rigid-core vinyl (SPC or WPC) that snaps together with no glue or nails, and most DIYers can lay it in a square room.
- The plank core is waterproof, but the clicked seams are not sealed. For full baths, laundries, and wet basements, I point buyers toward glue-down vinyl or real tile instead.
- Installed cost runs about $3-8 per sq ft for click-lock LVP versus $8-20 for ceramic or porcelain, and you should always split that into materials versus labor.
- Laminate looks more like real wood and costs a little less, but it swells if water sits on it. That is the real LVP-vs-laminate tradeoff.
- Check subfloor flatness and moisture before you lay a single plank. A floating floor only lasts as long as the prep under it.
What Click Lock Tile Flooring Actually Is
Click lock tile flooring is rigid-core luxury vinyl that snaps edge to edge with no glue and no nails. It floats over your subfloor, held together by the planks themselves. The core is either SPC (stone-plastic composite) or WPC (wood-plastic composite), and both are stiff boards, not the bendy vinyl you remember from old kitchens.
If the names have you second-guessing your search, relax. Click lock tile flooring, click lock vinyl tile flooring, and rigid LVT (luxury vinyl tile) or LVP (luxury vinyl plank) all point to the same floating vinyl product. The marketing teams just can't agree on what to call it.
That stiff core is the whole point. It bridges small dips in the subfloor and stays put under a heavy couch or fridge, where a thin flexible floor would dent or telegraph every flaw. If you want to see how it sits next to peel-and-stick, sheet vinyl, and glue-down plank, start with the broader vinyl flooring buyer's guide and come back here for the head-to-head.
Stone-Look, Wood-Look, and Tile-Look Options
Click-lock planks come printed to look like three things: wood, stone, and tile. The wood looks are the most common and the most convincing. The tile looks come as square or rectangular pieces with embossed grout lines, and some lines are even groutable so the seam reads like real tile. For buyers deciding between that printed wood look and the real thing, the wood tile buying guide walks through wood tile, plank tile flooring, and hardwood tile flooring side by side.
A printed plank is a photo under a clear wear layer. It looks good from standing height, but it won't have the depth of a true natural stone floor or the cool, solid feel of porcelain. If you want the genuine article underfoot, real stone or porcelain wood-look tile is the move, and it costs more to buy and install.
How the Click-Lock System Works (and How Drop-Lock Differs)
The planks join with a tongue-and-groove edge plus a locking lip. You angle the tongue of one plank into the groove of the next, drop it flat, and the lip snaps up underneath to pull the seam tight. On long edges most planks angle in; on the short end you either tap it over or fold it down.
That's the difference people ask about. Standard click lock usually wants you to angle a plank in and tap it home. Drop-lock, sometimes called fold-down, lets you lay the long edge in at an angle and drop the end straight down without tapping sideways. Drop-lock is easier when you're working alone, because you're not fighting a whole row to slide it together.
The rigid core keeps those seams flat over minor dips. But a real hollow still telegraphs through and pops joints open as you walk. I've had planks that clicked perfectly on the bench float and click apart over a low spot in the slab.
So before you lay a single plank, check two things. First, flatness: most makers want the subfloor flat within about 3/16 inch over 10 feet, and you confirm that with a straightedge, filling lows and grinding highs. Second, moisture, especially on concrete, with a simple moisture test and the barrier the maker calls for. A floating floor only lasts as long as the prep under it, and the manufacturer's warranty depends on that prep, not on the plank you picked. That same flatness and moisture check is what decides one test for installing LVP over tile when the existing floor underneath is ceramic or porcelain.
Click Lock Tile vs Glue-Down Vinyl, Laminate, and Ceramic Tile
The tradeoffs break down like this: click-lock wins on DIY and dry-room versatility, glue-down vinyl wins in true wet rooms, laminate wins on looks and price, and ceramic tile wins everywhere water actually pools. Match the floor to the room and the choice gets easy.
| Floor | Water tolerance | DIY realism | Feel underfoot | Cost (installed) | Best use |
|---|---|---|---|---|---|
| Click-lock tile (rigid LVP) | Waterproof core, unsealed seams | Realistic for most, snaps together | Firm with slight give, mildly warm | $3-8 | Kitchens, bedrooms, dry basements |
| Glue-down vinyl | Core and glued seams resist water better | Harder, glue and flat subfloor critical | Firm, flat, little give | $3-7 | Full baths, laundries, heavy traffic |
| Laminate | Water-resistant at best, swells if water sits | Realistic, clicks together | Firm, often the most wood-like look | $2-7 | Bedrooms, living rooms, dry areas |
| Ceramic/porcelain tile | Truly waterproof body, grout needs sealing | Hard: mortar, cutting, leveling | Hard and cold underfoot | $8-20 | Showers, wet baths, high-end wet rooms |
Installed cost ranges and use cases for the four floors most buyers cross-shop.
Peel-and-stick vinyl sits one rung below all of these. It's the cheapest DIY route and the shortest-lived, and it lives or dies on how clean and flat your subfloor is. If budget is the whole story, read how peel-and-stick floor tile holds up before you buy. For the tile looks specifically, the LVP tile and plank tile flooring guides go deeper on sizing and ordering.
Click-Lock LVP vs Laminate: The Real Tradeoff
People want me to crown one winner here, and I won't, because they're good at different things. Laminate usually has the more convincing wood look and tends to cost a little less. Its weak spot is water: the core is wood fiber, so if water sits on a seam it swells and the edges lift, and that damage doesn't go back down.
Click-lock LVP gives that up for water tolerance. The core won't swell from a spill you wipe up, which is why it beats laminate in kitchens and basements. So the rule I give buyers is simple. Dry bedroom or living room where looks lead? Laminate earns its place. Kitchen, mudroom, or anywhere water visits? Click-lock LVP.
What It Costs, Split by Materials and Labor
Plan on roughly $3-8 per square foot installed for click-lock LVP, versus $8-20 for ceramic or porcelain tile. These are ranges, not one flat national number, and your quote moves with product grade, room shape, and local labor. The table splits each floor into materials and labor so you can see where the money goes.
| Floor | Materials | Labor | Installed |
|---|---|---|---|
| Click-lock LVP | $2-5 | $1-3 | $3-8 |
| Glue-down vinyl | $2-4 | $1-3 | $3-7 |
| Laminate | $1-4 | $1-3 | $2-7 |
| Ceramic/porcelain tile | $3-7 | $5-13 | $8-20 |
Per-square-foot cost split into materials and labor for each floor type.
Installed cost range per square foot, floating bars from the low to the high end of each floor type. Not to scale as a precise quote; use it to see where click-lock LVP and laminate cluster low while ceramic tile sits far higher.
One thing the open-room numbers hide: basements and stairs cost more. A basement adds a moisture barrier, extra moisture testing, and often more cutting around a bulkhead, the boxed-in section of wall or ceiling that hides pipes or ductwork. Stairs add stair nosings, the finished edge piece that caps the front of each step, plus slow, fussy pieces, and installers price each tread, so a stairway can run several dollars a step on top of the floor. Budget above these ranges for both.
DIY or Hire: Which Click-Lock Jobs Are Worth Paying For
Click-lock LVP in a square, open bedroom is a realistic weekend DIY, and that's part of why it sells. The planks snap together, you cut with a utility knife and a square, and the only tool you really need is patience with the first row.
Where I tell people to hire out: glue-down vinyl, because the adhesive and dead-flat subfloor leave no room for error; stairs, for the reasons above; and large open-plan floors that cross from a kitchen into a bath or laundry, where the moisture transition and expansion gaps get tricky. Those are the jobs that come back to bite a first-timer. The snap-together floor in a dry room is the one worth doing yourself.
Waterproof Core vs Water-Resistant Seams
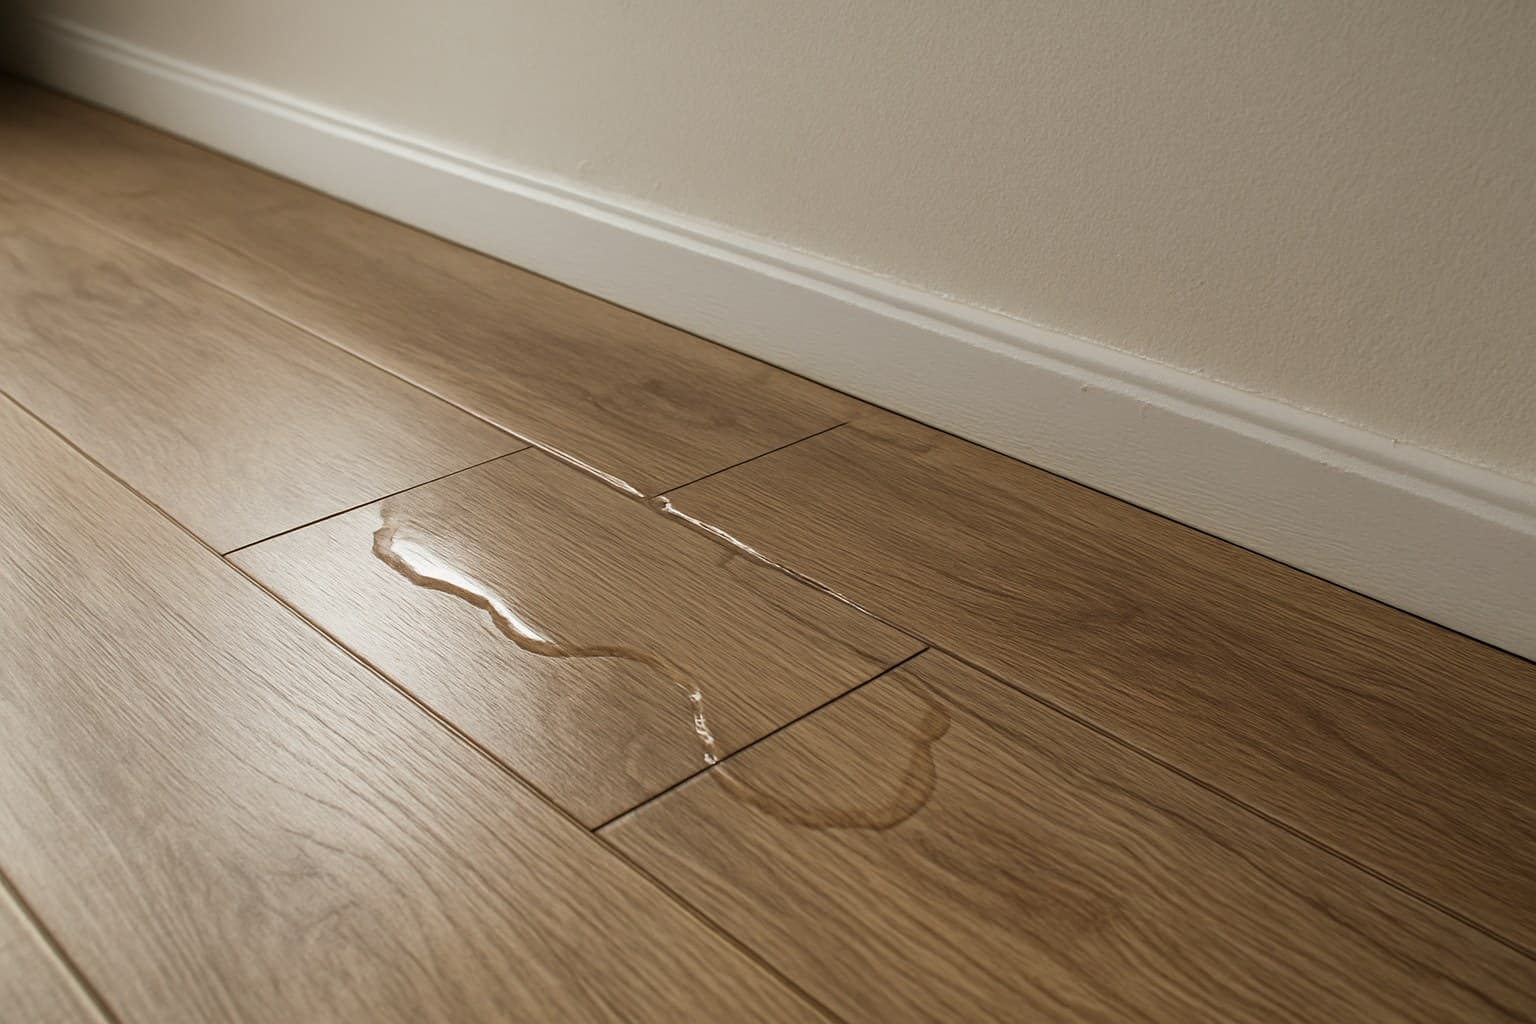
The key split is this: the plank body is waterproof, but the clicked seam is water-resistant at best, not a sealed gasket. The vinyl surface wipes dry all day. The mechanical joint between planks is a tight fit, not a bonded, caulked seal.
In the floors I've pulled up, the damage almost never starts on the plank face. It starts at the seams and under the floor. I did a laundry in a Dayton split-level where a slow washer leak sat overnight, wicked down through the joints, and grew mold on the subfloor while the vinyl on top still looked brand new. The owner, Karen, had no idea until it smelled.
So separate two kinds of water in your head. A splash you wipe up in a minute is a non-event for a waterproof core. Standing water that sits, from an overflowing tub, a supply line, or a floor drain backing up, has time to find the seams, wick down, and linger in the locked edges where you can't see it dry.
That's why I steer full-bath, laundry, and wet-basement buyers toward glue-down vinyl or real tile, and save click-lock for kitchens, bedrooms, and dry basements. In a kitchen the spills are quick and visible. In a full bath the water pools, and the seam is exactly where it gets in.
Reading the Specs: Wear Layer (Mil) and Core Thickness (mm)
Two numbers decide most of how a click-lock floor performs: the wear layer in mils and the core in millimeters. The wear layer is the clear, scuff-taking shield on top, measured in mils (thousandths of an inch). The core is the body underneath, measured in mm, and it sets the stiffness and how solid the floor sounds underfoot.
Don't buy on the category, buy on the product. According to Daltile's own product specifications, its click-lock collections span a real range on their own: the Adventuro™ line runs a 4.5 mm core with a 12-mil wear layer in 6x48 planks, while the Asher Bend™ line steps up to a 6.5 mm core and a 20-mil wear layer in 5x24 and 9x71 sizes, and the Halstatt™ line offers a 4.7 mm core with a choice of 20-mil or 12-mil wear layers in a 7 1/4 x 48 plank. That spread, from a single manufacturer, is why the spec sheet for the exact product you're buying matters more than any category average. The only figures that count are the ones printed on the box of the exact product you're buying.
The usable rule: look for a thicker wear layer in busy kitchens, entries, and mudrooms where grit and chairs scour the surface; a thinner one is fine in a bedroom. The product's own rating also tells you whether it's graded for residential or light-commercial use, so check that line if your house runs hard.
One warning. A thick core with a thin wear layer still scratches, because the core does nothing for the surface. I've seen 5 mm floors with a skimpy top layer show cart and dog-nail marks in a season. Read both numbers, and weight the wear layer for how the floor will actually look in two years.
Which Floor Wins by Room
No single floor wins everywhere, so here's how I'd call it room by room.
Kitchen: click-lock LVP is my default. Spills are quick and visible, the stiff core handles the fridge, and it's DIY-friendly. If your kitchen opens to a wood living room and you're torn on running one material through, work through tiling a kitchen floor next to hardwood before you commit to a transition.
Full bath, laundry, wet basement: glue-down vinyl or ceramic tile. This is the one place I actively steer buyers away from click-lock, because standing water finds the seams. In a shower, it's tile, full stop. If you're going with real tile in that bathroom, hexagon shapes are one of the most popular picks, and they come with their own set of layout and grout-line tradeoffs worth sorting out before you order, covered in this guide to hexagon tile decisions.
Bedrooms and living rooms: laminate or click-lock. If looks lead and the room stays dry, laminate's wood grain is hard to beat for the money. Dry basement: click-lock works well, as long as you test the slab for moisture and lay the barrier the maker calls for.