
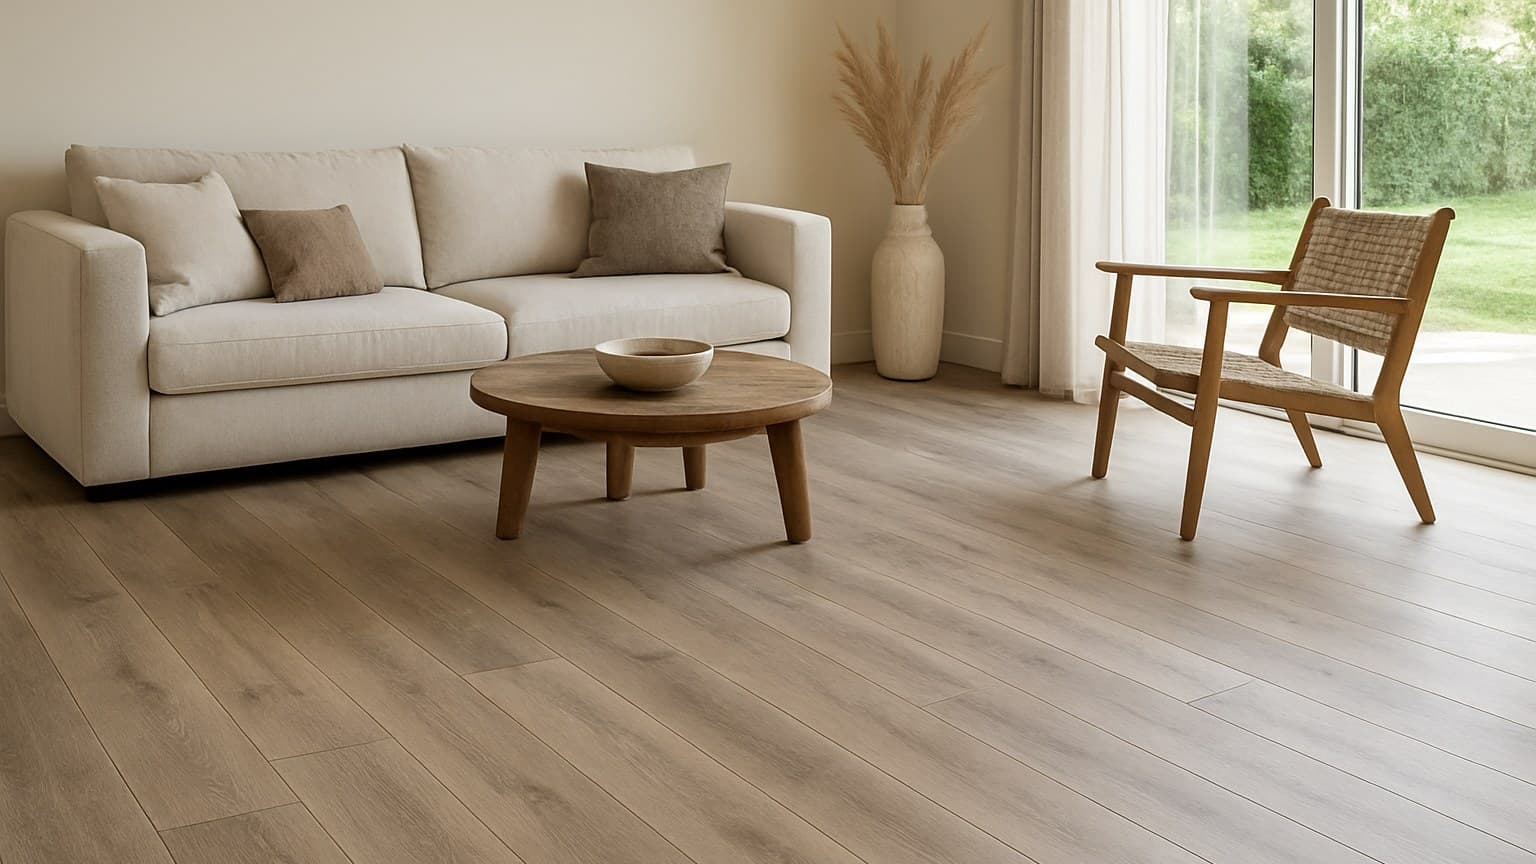
COREtec shows up on more of my jobs than almost any other rigid vinyl, and I keep seeing homeowners grab the wrong line for their room — the same mix-up happens with comparable brands like Lifeproof vinyl flooring. The name on the box is the same, but a basement floor and a bedroom floor inside the COREtec flooring family are built differently and fail differently. Getting that match wrong is what turns a good floor into a callback.
Key takeaways
- COREtec's SPC lines (like Pro Plus) handle basements and big temperature swings better; the older WPC lines feel softer underfoot but move more at the seams.
- Expect materials around $3-6 per square foot and pro labor around $2-5 per square foot, with basement and stair jobs costing more than open rooms.
- The 'waterproof core' is real, but spills still find the click-lock seams and the perimeter gap; that's where nearly every failure I see starts.
- Click-lock COREtec is a realistic DIY job for one flat, open room; basements, stairs, and big open-plan moisture transitions are worth hiring out.
- Every callback I've had traced to the subfloor, not the plank, so a flatness and moisture check comes before the first plank goes down.
What COREtec Flooring Actually Is
COREtec is a rigid-core luxury vinyl plank, or LVP. That means a stiff, dense body under a printed photo layer that gives the wood or stone look, with a clear top coat that takes the scratches, and on most lines a cork pad already stuck to the bottom.
It's made by Shaw Industries, the same company behind Shaw's own vinyl plank lines. Worth knowing, because the two overlap in the store and a salesperson may steer you between them by margin, not by what your room needs.
Here's the frame for this whole guide: COREtec floats. It clicks together and lays loose over most old floors instead of gluing down. A floating floor lives or dies by what's under it, not by the logo. In the floors I've pulled up, the plank almost never failed on its own.
The COREtec name covers a family of lines, and each one is built with a different core and a different construction. A spec that's true for one line isn't automatically true for the next, so don't read one box and assume the rest match.
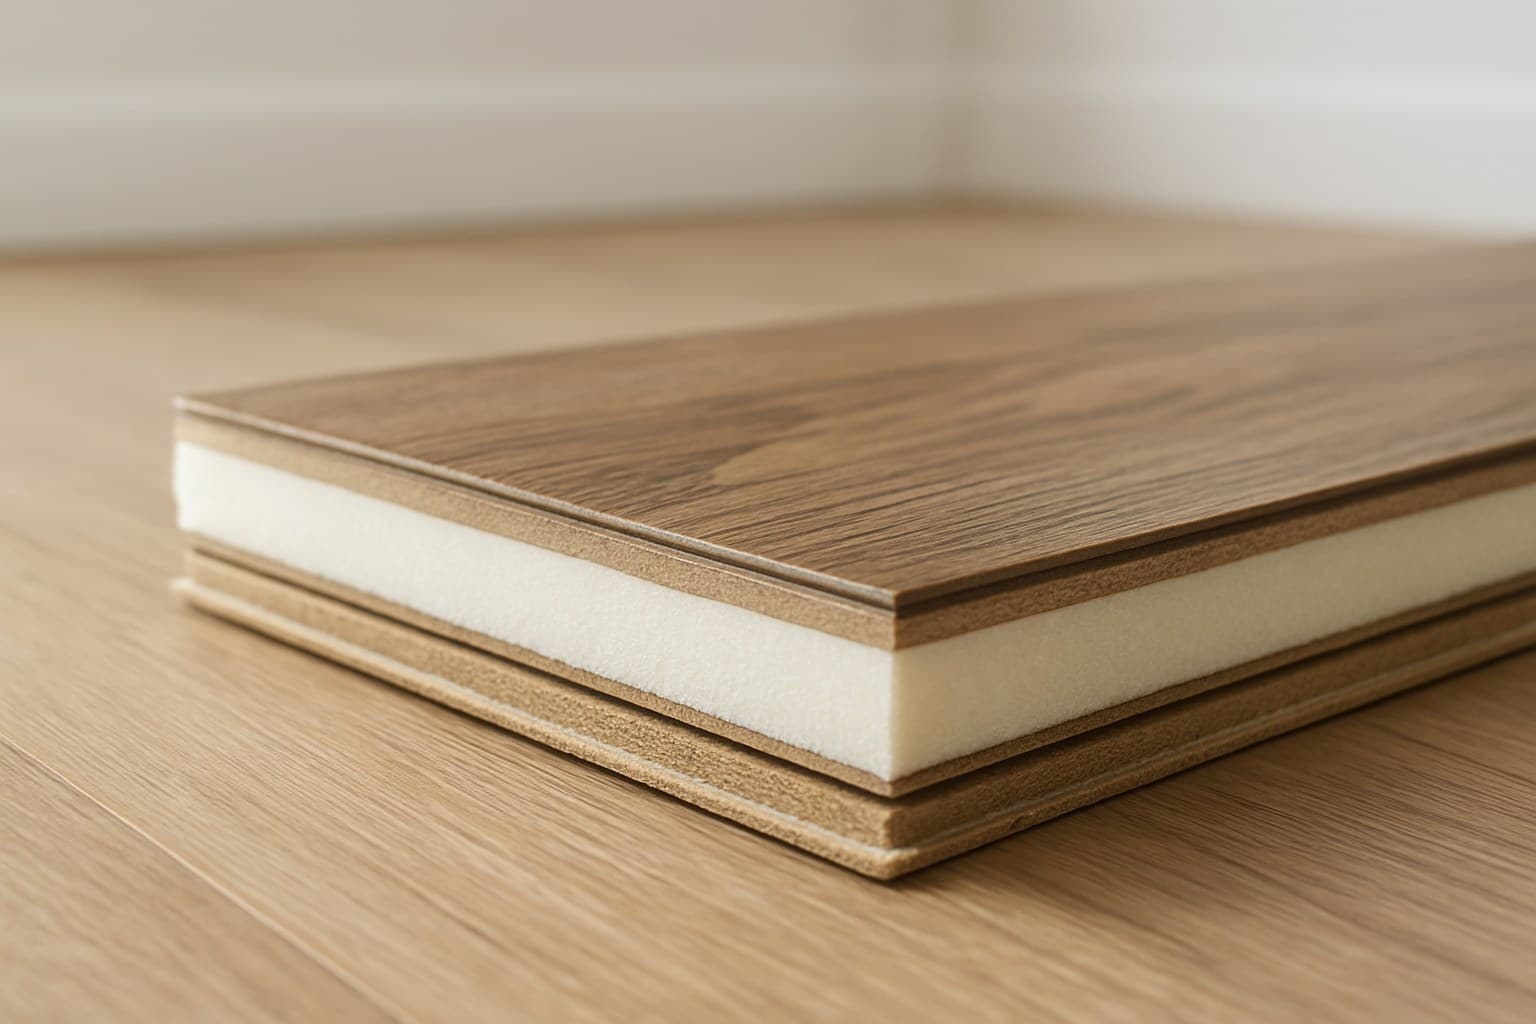
COREtec Product Lines Compared: Pro, Pro Plus, Advanced, Original, One, Access
Pick your line by the room it has to survive, not by the price tag alone — shoppers cross-checking against Lowes vinyl plank flooring run into the same trap. The big split is core type: the newer stone-based lines are denser and steadier, the older wood-composite lines feel softer and warmer but move more.
Here's how the main lines sort out. Treat every spec as belonging to that one line's own spec sheet, not to COREtec as a whole.
| Line | Core | Best for |
|---|---|---|
| COREtec Pro Plus | SPC (stone-based, denser) | Basements, big sun rooms, temperature swings |
| COREtec Pro | SPC | Kitchens, entries, rental turns |
| COREtec Advanced | SPC | Whole-home, mid budget |
| COREtec Originals / Plus | WPC (softer, warmer underfoot) | Living areas, bedrooms |
| COREtec One | Rigid core, thinner build | Budget-conscious rooms |
| COREtec Access | SPC | Value-tier installs |
COREtec lines sorted by core type and the room each is really built for.
SPC stands for stone plastic composite. It uses ground limestone to make a harder, denser plank. WPC stands for wood plastic composite, which swaps in a wood-like filler that feels cushier but reacts more to heat. The EPA's ChemExpo database documents this basic construction directly, its data record for rigid-core multilayer modular flooring lists the resin-and-mineral-filler makeup behind cores like these, which is a useful way to see what's actually in the product independent of any brand's marketing copy. That core difference is the whole ballgame, so the next section walks through how each one behaves once it's down.
SPC vs WPC Core: How Each Behaves Underfoot and at the Seams
SPC is harder and steadier; WPC is softer and warmer. If a room bakes in afternoon sun or sits over a slab, the denser SPC core is the safer pick because it barely moves. WPC will feel nicer on bare feet but it swells and shrinks more as the temperature swings, and that movement is what opens gaps at the seams.
Here's what actually decides basement-versus-bedroom suitability: the core, not the wear layer on top. A thick wear layer resists scratches, but it does nothing about a plank that grows an eighth of an inch in a hot sun room and then pulls back in winter.
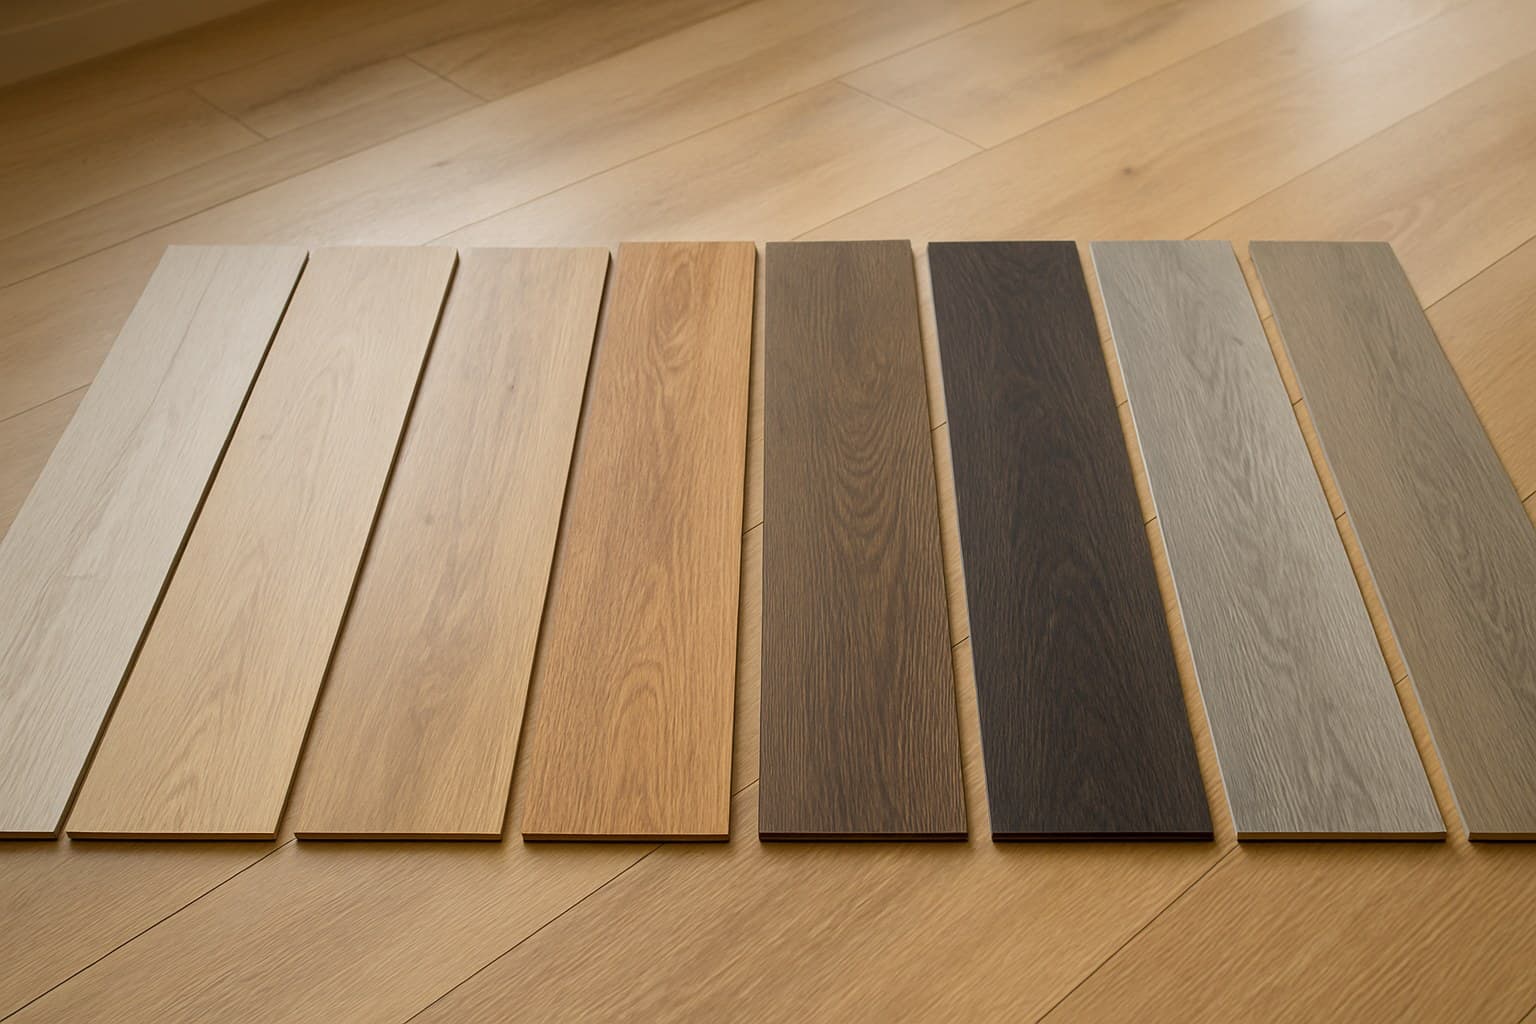
Every COREtec plank is built in the same four layers, top to bottom, so you can see where each part sits.
The cork pad is a nice touch for quiet and comfort, but don't mistake it for a fix. It hides a little surface roughness. It doesn't bridge a real hump or a low spot, and it doesn't stop a soft WPC plank from moving at the seams.
Which COREtec Line Survives Which Room
Match the line to the room and most problems never start. Here's my verdict on the rooms I get called into most.
Kitchen: an SPC line like Pro or Pro Plus. The wear layer shrugs off dropped pans, but the risk is water sitting on a seam, so wipe spills off fast.
Basement: denser SPC only, and a slab moisture check comes first. Basements swing in temperature and pull moisture up through concrete. That combination is exactly what a stone-based core handles best and a soft WPC core handles worst. Basement jobs also cost more and fail more than open rooms, so budget for both.
Full bath: COREtec works, but the perimeter gap around the room is a way for splashes to reach the subfloor. I run a bead of silicone in that gap so water at the wall has nowhere to go.
Pet household: the wear layer takes claw scuffs without complaint. The real threat is pet urine wicking into the click-lock seams, so a tight-locking SPC line and quick clean-up matter more than scratch worries — the same logic applies if you're weighing Lifeproof luxury vinyl plank flooring for the same room.
Bedrooms: this is where a WPC line earns its keep. Low traffic, no water, and the softer, warmer feel underfoot is a genuine plus — though if you want the real thing underfoot, Bruce hardwood flooring is worth a look too.
What COREtec Costs: Materials vs Labor
Plan on roughly $3-6 per square foot for the planks themselves and another $2-5 per square foot for a pro to float it in, with basements and stairs pushing the labor higher. I never quote one blended number, because the material and the labor move for different reasons.
The material spread is about build. The One and Access value lines cost less because they're thinner with less core, landing closer to budget options like Lowes laminate flooring. The Pro, Pro Plus, and Advanced lines cost more because you're paying for the denser stone core and the attached cork pad.
Labor is about cuts, not square footage. An open, square room is fast. What eats the day is closets, doorways, a bay window, or a staircase, where every plank gets measured and trimmed. I learned that the hard way quoting a flat rate on a room full of closets and a bay window that ran a whole extra day, so now I count the cut-heavy areas on their own.
| Item | Range (per sq ft) |
|---|---|
| Materials (One/Access value lines) | $3-4 |
| Materials (Pro/Pro Plus/Advanced) | $4-6+ |
| Pro labor, open room float-in | $2-4 |
| Pro labor, stairs/basement/cut-heavy | $4-8+ |
Source: Typical US installer pricing
Installing COREtec: DIY or Hire It Out?
Click-lock COREtec in one flat, open room is a realistic weekend job for most DIYers, much like click-together Mohawk laminate flooring lines. Where I'd hire out is stairs, any glue-down version, and big open-plan floors that cross from a slab area to a wood-framed area, because those moisture transitions and long runs are where a small mistake becomes a whole-floor problem.
Before any plank goes down, two checks come first, and no amount of good clicking makes up for skipping them.
Flatness: lay a long straightedge, a 6 to 8 foot level or a clean board, flat across the floor and slide it around. Watch for daylight under the edge or a spot where it rocks. Those low and high spots are what telegraph through a floating floor and stress the seams. Grind the high spots and fill the lows before you start.
Moisture: on any concrete slab, take a reading with a moisture meter, a handheld tool that tells you how wet the slab is. A slab can feel dry to your palm and still read too high. I once let a customer talk me out of that test to save an afternoon. The floor cupped, meaning the plank edges lifted, before the season was out, and I relaid it on my own dime. That was the last time I treated the test as optional.
- Check subfloor flatness with a long straightedge across the floor
- Take a moisture reading on any concrete slab
- Confirm acclimation and gap size on that line's box
- Undercut door casings so planks slide under
- Plan the perimeter expansion gap
Every floating floor also needs an expansion gap around the whole perimeter so the floor can breathe. The exact size isn't a universal number; it comes from that line's own instructions, so look it up on the box and cut your gap to match. COREtec is often sold as needing no acclimation time, which is a real convenience, but confirm it on the actual box for your line rather than trusting a rule of thumb, because it can vary.