
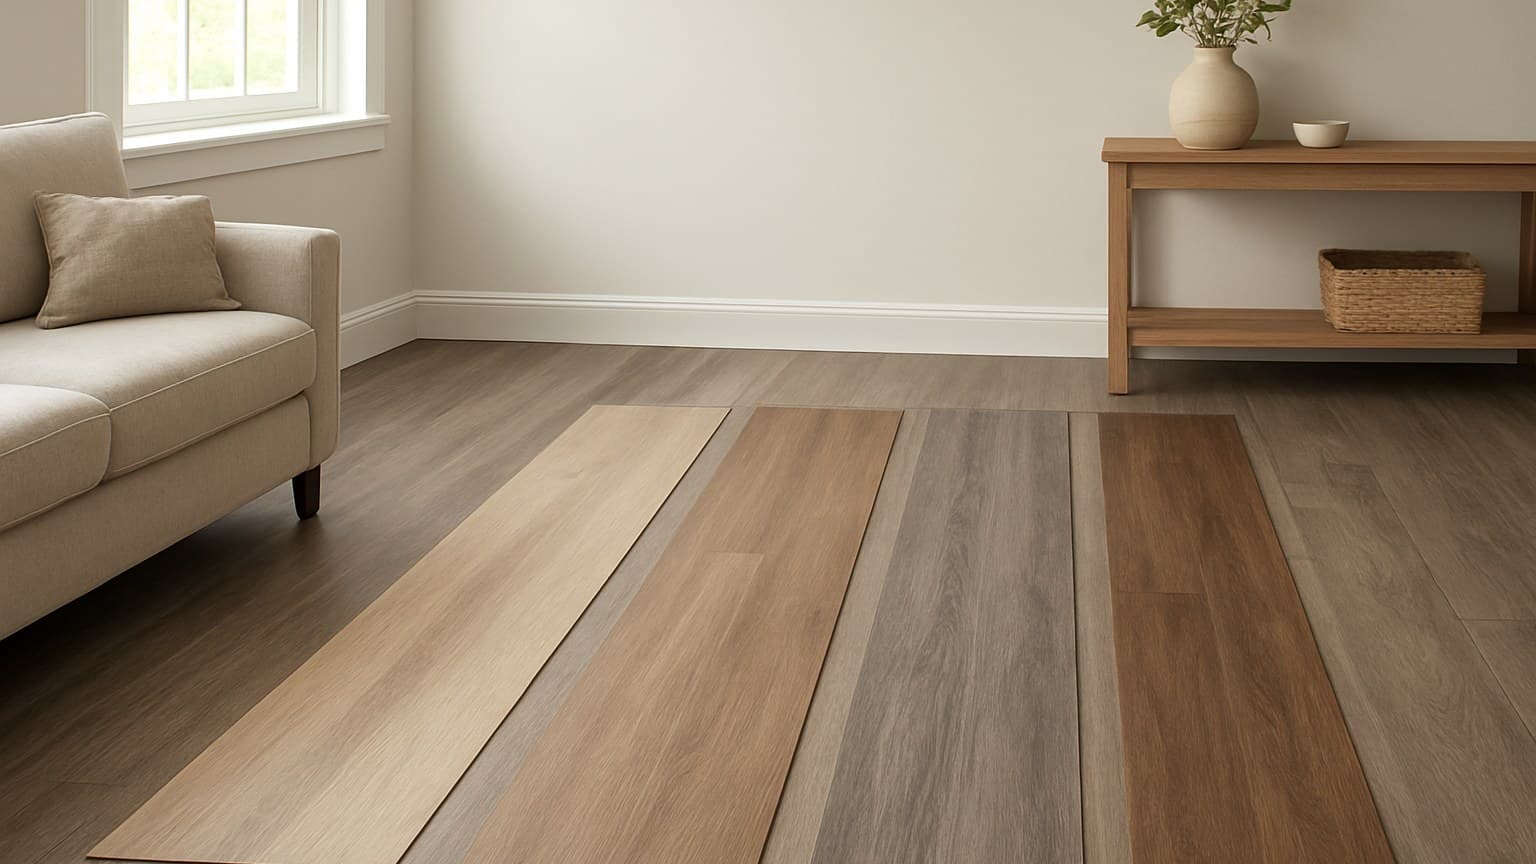
Every Lifeproof plank on the Home Depot rack shows nearly the same wood photo, which is why people grab the wrong one. The real differences in lifeproof vinyl plank flooring hide in the spec sheet, not the display. Here's how to read them before you load a cart.
Key takeaways
- Lifeproof is Home Depot's exclusive house brand, so you can only buy it there, and the lines differ mainly by wear layer (commonly listed as 22 mil or 30 mil) and core, not by the wood picture on the box.
- A 30 mil wear layer takes harder use than a 22 mil one; go 30 mil for kitchens and entries, and 22 mil is plenty for a bedroom.
- The rigid core is waterproof, but the click seams and the perimeter are the weak spot, and that is where water damage almost always starts.
- Budget roughly $2.50-$5.50 per sq ft for the planks and $1.50-$4 per sq ft for install, with basements and stairs costing more than an open room.
- Click-lock Lifeproof is a realistic DIY floor over a flat, dry subfloor; stairs and glue-down moisture transitions are where hiring out pays off.
What You're Actually Buying Under the Lifeproof Name
Lifeproof is Home Depot's private-label vinyl, sold only through Home Depot stores and its website. That much settles fast for most shoppers. What catches people off guard is further down the aisle: every box in the lineup carries the same warm oak photo, so the wear layer, the core type, the plank thickness (usually around 7-8 mm), and the square feet per box all sit buried in small print on the sheet stapled to the display, not on the box front.
I had a customer buy three boxes of Baymeadows for a hallway patch job, convinced it matched her living room floor from two years back. It didn't, same collection name, different production run, and a noticeably different grain pattern once she got it home. She'd matched it by the photo on the shelf tag instead of the lot number printed on the box end.
If you're not even sure vinyl is the right material for the space, start with the vinyl flooring buyer's guide before you shop a single Lifeproof color.
Every Lifeproof Collection, Decoded Side by Side
Home Depot never puts all the lines on one chart, so here's the map I use. Each named collection points at a look and a room, and the wear layer varies collection to collection, check what each one currently lists on its own Home Depot product page before you buy, since the exact mil rating and lineup can change.
One more thing the brand page skips: names like Golden Larch Oak and Heirloom Pine hint at the wood species, while style names like Calhoun or Chancellor tell you nothing about the look. The lot number on the box end, not the collection name, is what you'll need if you ever have to reorder.
| Collection | The name suggests | Spec to verify | Room it suits |
|---|---|---|---|
| Calhoun | Classic mid-tone wood look | Wear layer + finish, confirm current mil rating on its HD page | Living and dining rooms |
| Starlight | Lighter, airy tone | Wear layer + sq ft per box, confirm on its HD page | Bedrooms and low-traffic living areas |
| Baymeadows | Neutral, whole-home wood look | Wear layer + core type, confirm on its HD page | Whole-home main floors |
| Chancellor | Darker, more formal look | Wear layer + thickness, confirm on its HD page | Living, dining, formal spaces |
| Golden Larch Oak | Warm oak look | Wear layer, confirm on its HD page | Kitchens and busy living areas |
| Heirloom Pine | Rustic pine look | Wear layer + finish texture, confirm on its HD page | Bedrooms and lighter-use rooms |
| Whispering Creek | Weathered, cooler-gray tone | Wear layer + core for wet rooms, confirm on its HD page | Entries and kitchens |
Source: Home Depot's own product pages for each named Lifeproof SKU
Note: verify current specs on each SKU's own Home Depot product page, mil ratings and availability change as Home Depot updates the lineup. Lifeproof collections mapped to the look each targets and the room it fits; verify the exact wear layer and thickness on each SKU's own page.
Keep one thing in mind before you commit to a look: Home Depot swaps Lifeproof's shelf lineup a few times a year, dropping colors and adding new ones. I had a customer replace two water-damaged planks near her fridge eighteen months after her original install, and her exact color, Whispering Creek, was gone from both the shelf and the website. If you're patching an existing floor instead of doing the whole room, buy the extra box the same day as the rest, don't count on finding it later.
Wear Layer and Core: The Specs That Actually Split the Lines
The wear layer is the clear top skin on the plank, measured in mil, meaning thousandths of an inch. It takes the scratches, the grit, and the foot traffic. Home Depot's spec sheets show Lifeproof's lineup splits into lighter and heavier wear-layer tiers, roughly 20 mil on some lines and 30 mil on others, same brand, same aisle, two different jobs. Which specific collection lands in which tier is worth confirming on that product's own page, since Home Depot updates the shelf.
Here's the honest tradeoff. A heavier wear layer, in the 30 mil range, takes harder daily use, so it earns its higher price in a kitchen or an entry where grit gets ground in. A lighter wear layer, closer to 20 mil, is plenty for a bedroom, and there's no reason to pay more for wear resistance a guest room will never test. Check the mil number printed on the box end for whichever specific line you're buying, collections in the same lineup don't all carry the same number.
Lifeproof's wear layers generally split into two tiers, lighter lines around 20 mil and heavier-duty lines around 30 mil, as listed on the brand's Home Depot spec sheets; check the specific collection you're buying for its exact number.
| Line tier | Wear layer |
|---|---|
| Example: lighter-duty line | ~20 mil |
| Example: heavier-duty line | ~30 mil |
Under that skin sits the rigid core. Lifeproof uses a dense plastic base that stays stiff and won't swell the way a laminate core does when it meets water. Thicker planks in the 7-8 mm range feel more solid and sound less hollow underfoot, but remember they still ride on whatever subfloor is beneath them. A stiff plank doesn't fix a wavy floor; it just telegraphs the high spots more slowly.
This tiered-shelf trick isn't unique to Lifeproof. If you're cross-shopping big-box brands, the same game plays out in Shaw's lineup, which I break down in the Shaw vinyl plank decoder.
The '100% Waterproof' Claim, Read Honestly
Read the marketing carefully, because it blurs two different things. Lifeproof's rigid core genuinely won't swell when it gets wet. That's real. But a waterproof core isn't the same as a sealed, waterproof floor.
Water doesn't attack the plank surface. It gets in at the click seams and the perimeter gap along the walls, runs down, and pools on the subfloor underneath. That trapped water is what rots or molds the subfloor while the plank on top still looks fine. So "waterproof core" never means "waterproof floor."
I learned this the hard way. A customer once talked me out of a moisture test to save an afternoon, and I let her. The floor cupped before the season was out, and I relaid it on my own dime rather than argue about whose call it was. The plank was fine; what was under it wasn't.
For a full bath or a laundry room, don't trust the click seams alone. Plan sealed transitions and consider a glue-down install or a caulked perimeter so standing water has nowhere to sneak. Read the exact waterproof and lifetime-warranty wording on that specific product's warranty sheet, it's brand-sourced marketing until you check the exclusions.
Which Lifeproof Line for Which Room: the Verdict
Here's the payoff, so you don't have to cross-reference seven product pages. Send the wet and high-traffic rooms toward the 30 mil lines with sealed edges, and let bedrooms take a cheaper 22 mil line where the extra wear layer would never show.
| Room | Target spec | Why |
|---|---|---|
| Kitchen / entry | 30 mil wear layer, rigid core | Heaviest traffic and ground-in grit |
| Living / dining | 22 or 30 mil, rigid core | Steady use; 30 mil if you have pets |
| Bedroom | 22 mil wear layer | Light traffic, so save the money here |
| Bath / laundry | 30 mil, sealed or caulked perimeter | Standing water lives at the edges |
| Basement (below grade) | Rigid core, only after a moisture check | Slab must read dry and flat first |
| Stairs | Matching stair-nose pieces | A spot where DIY often goes wrong |
Source: my own install jobs matching Lifeproof lines to rooms Recommended Lifeproof wear layer and core by room, based on traffic, moisture, and where installs typically fail.
The basement rule is worth stating once, plainly: a below-grade slab has to pass a moisture check before anything goes down, and the rigid core only handles that room when the subfloor is dry and flat. Rigid doesn't mean immune.
Stairs are their own animal. They need matching stair-nose trim pieces, each tread is a cut, and one wrong angle shows for years. It's a room where DIY often goes sideways.
What Lifeproof Costs, and Who Should Install It
Plan on a rough range of roughly $2.50-$5.50 per square foot for the planks themselves, with heavier-duty lines usually sitting toward the top of that range and lighter-duty lines toward the bottom, these are general market estimates, not Home Depot's published pricing, so confirm the current cost for your chosen SKU before you budget. Install labor typically runs about $1.50-$4 per square foot on top of that, though it varies by region and installer. I split those on purpose, because a single national flat rate hides the part that actually swings your bill. Once you've got those numbers in hand, it's worth stacking them against the warranty fine print and the brand-by-brand comparisons laid out in Lifeproof's real costs and honest downsides.
Where does the labor number jump? Basements and stairs cost more than an open room, every time. I used to quote flat by the square foot until a job full of closets, doorways, and a bay window ate a whole extra day. Now I count the cut-heavy areas on their own, because the open middle of a room is never where the time goes.
On the DIY question, be honest with yourself. Click-lock Lifeproof over a flat, dry subfloor is a realistic weekend job for most handy homeowners. Where I tell people to hire out is stairs, glue-down installs, and big open-plan floors that cross a moisture transition, since those are where a small mistake turns into a full tear-out. Before you lay a single plank, check the subfloor for flatness and run a moisture test; skipping that is what turns a good floor into next year's callback.