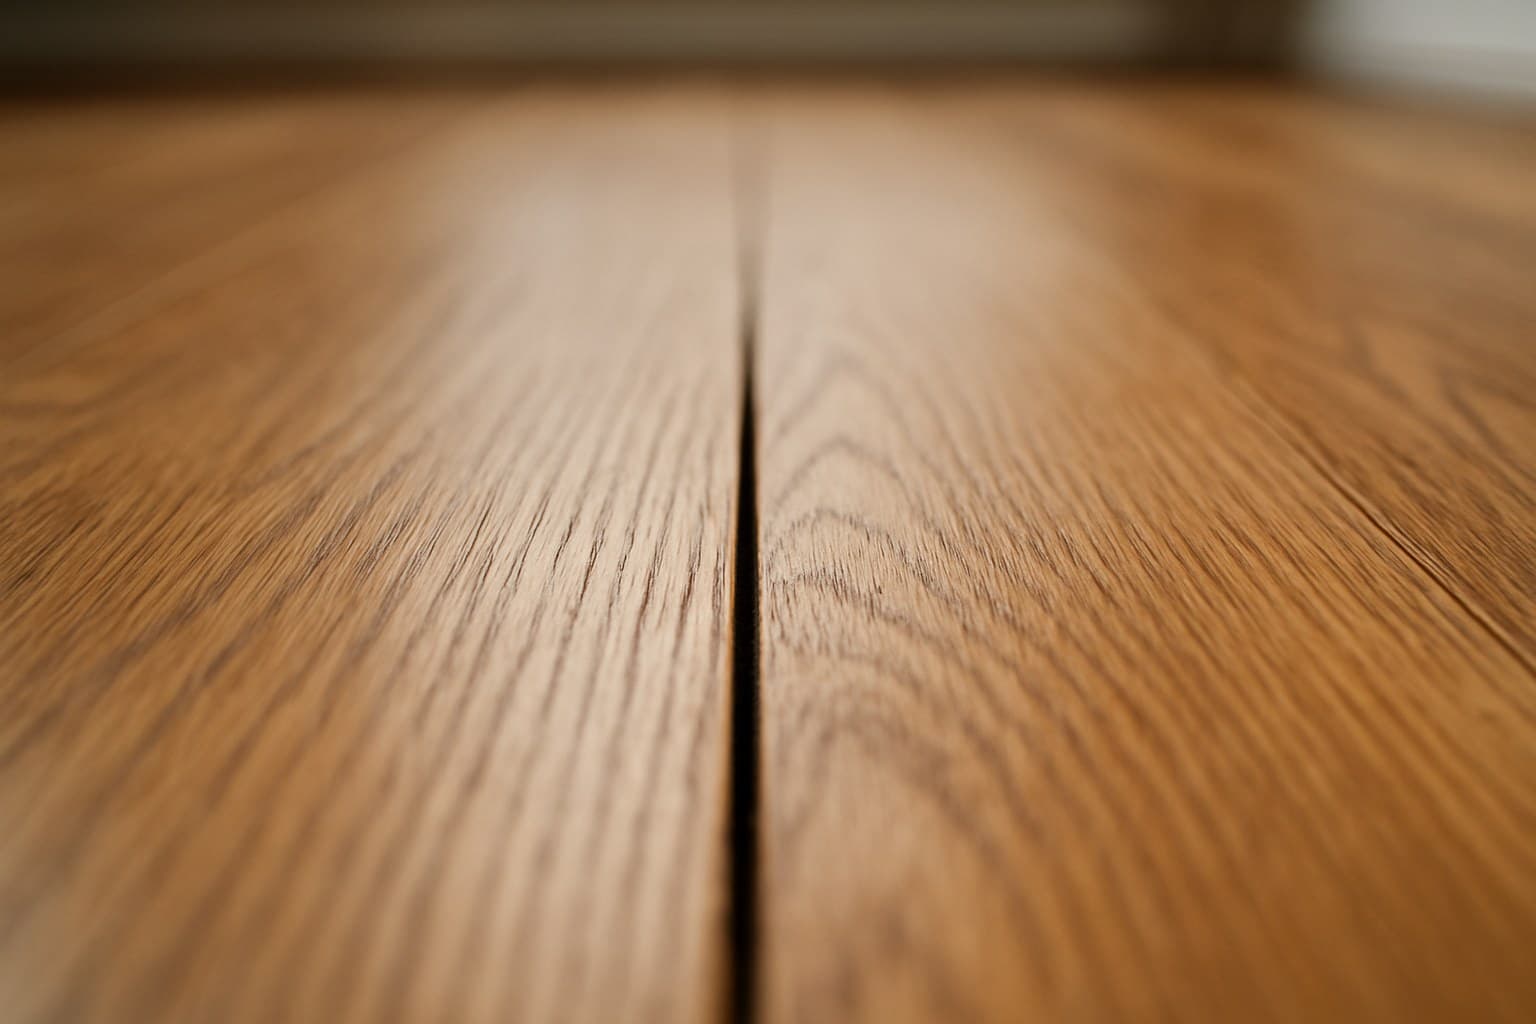
When I nailed down 900 square feet of white oak for the Petersons in Aurora, Colorado, the job came down to the same three arguments they'd already picked up from three different YouTube videos. None of those fights are about swinging the mallet. They're the expansion gap, the tongue, and the face-nailing, and getting those wrong shows up as a buckled floor months later.
Key takeaways
- Nail-down needs a wood subfloor (plywood or OSB); over concrete or below grade, use glue-down or a floating engineered floor instead.
- Blind-nail through the tongue at about a 45-degree angle; only face-nail the first row or two and the last rows a nailer can't reach.
- Yes, leave a 1/4 to 1/2 inch expansion gap around the whole room even when the floor is nailed, because nailed solid wood still moves with humidity.
- Check moisture and flatness before anything: the flooring and the subfloor should read within a couple of percent of each other first.
- Budget roughly $3-8 per sq ft for solid hardwood materials and $3-6 per sq ft for pro labor; a flooring nailer rents for about $40-70 a day for DIY.
What Nail-Down Is, and When It's the Right Call
Nail-down fastens solid hardwood to a wood subfloor with cleats or staples driven through the tongue of each board. It's the standard method for 3/4-inch solid wood installed on or above grade, meaning ground level or higher. Not every wood sold for flooring technically qualifies as a hardwood, and whether cedar really counts as hardwood is a good example of a label that isn't as straightforward as it sounds.
Nail-down isn't exclusive to solid wood, either. Some engineered hardwood can also be nailed down over a wood subfloor, but only if the plank is built for it, typically a thicker engineered board (often 1/2 inch or more of total thickness with a plywood core) whose manufacturer explicitly lists nail-down as an approved method. Thinner engineered planks are usually built for glue-down or floating only, since there isn't enough core material to hold a cleat without splitting it. Always check the product's own installation instructions before you reach for the nailer on an engineered floor; if the sheet doesn't list nail-down, don't attempt it. Engineered construction is also often marketed as the greener option since it uses less solid wood per plank, but it's worth understanding what that sustainable label actually means before it factors into your decision.
Here's when it's the wrong call. Over a concrete slab, or below grade like a basement, you can't nail into anything, and solid wood doesn't belong there anyway because of moisture. In those spots you glue down or float an engineered floor instead. Whichever of those two methods you land on, what to put under hardwood flooring in that situation matters just as much as how you fasten it.
The thing that decides the method isn't the look you want on top. It's what's under the floor. On the Petersons' job, checking the subfloor before I ever touched the nailer is what kept that white oak flat for good. Before you even get to subfloor conditions, though, it helps to settle whether solid or engineered is the right call for your room in the first place, and this guide to solid vs. engineered hardwood floors walks through that decision by species and room.
Three fights come up on every job and in every comment section: how big the expansion gap should be, whether the nail goes in the tongue or the groove, and how many rows you face-nail. I'll settle all three below, after the install.
Nail-Down vs. Glue-Down vs. Floating: Which One for Your Room
Pick the method by subfloor and grade first, then by material. Don't pick it by which one sounds easiest to do on a Saturday. And if you haven't settled on the material itself yet, it's worth working through how bamboo flooring compares to hardwood before you get this far into the install.
| Method | Subfloor needed | Best material fit | Grade allowed | DIY difficulty | Relative cost |
|---|---|---|---|---|---|
| Nail-down | Wood (plywood/OSB) | 3/4-inch solid hardwood | On or above grade | Moderate (needs a nailer) | Mid |
| Glue-down | Concrete or wood | Engineered hardwood | Any, including below grade | Hard (messy, unforgiving) | Higher |
| Floating (click-lock) | Any flat surface | Engineered/click hardwood | Any | Easiest | Lower labor |
Source: The method call I make once the old floor's up and I can see the subfloor and grade
How I decide the method once the old floor is up and I can see the subfloor and grade.
Nail-down is the go-to for solid wood over plywood. Glue-down is what handles engineered wood over concrete. Floating click-lock is the friendliest for a first-timer, but it tolerates the least abuse underfoot and can feel hollow if the subfloor isn't dead flat. If a floating click-lock product is on your shortlist, this Pergo hardwood flooring guide breaks down whether it's actually real wood and how well it holds up before you commit to it.
If a floating floor is what your room actually wants, don't wrestle a nailer for no reason. Read Is Click Hardwood Flooring Worth It? 9 Things to Know First before you buy, because that method has its own rules.
Subfloor and Moisture Checks Before a Single Nail Goes In
Nail-down goes over a wood subfloor only, and it has to be clean, dry, and flat. Skip these checks and the problem doesn't show up on install day. It shows up as a squeak or a gap months later, long after you've forgotten the shortcut.
Start with moisture. A moisture meter is a small handheld tool that reads how wet the wood is. Check the subfloor and check the flooring, and you want them reading within a couple of percent of each other before you begin. A slab or subfloor that feels dry to your hand can still read too wet on the meter, and your hand isn't what the warranty cares about.
Next is flatness. Drag a long straightedge across the floor and mark any high spots or dips. High spots get sanded down; low spots get filled. A hump you talk yourself into ignoring becomes a bounce you feel every day.
Acclimation is where the internet lies to you. Whether the boards need to sit in the room first, and for how long, is set by the maker's own sheet, not a rule of thumb passed around online. Some products want it, some say it's unnecessary, so read the box. That same read-the-box habit applies to health claims, since what a 'formaldehyde-free' label actually guarantees is narrower than most buyers assume.
Last, mind the subfloor thickness. Plywood or OSB needs enough bite to hold a cleat, and a thin or bouncy subfloor is a squeak factory no matter how carefully you nail the wood on top.
Tools, Cleats, and Nailer Settings
The core kit is short: a flooring nailer or stapler, a mallet, a tapping block, a pull bar, expansion wedges or 1/4-inch spacers, a chalk line, a tape measure, a moisture meter, and cleats or staples sized to your board thickness. Most of that you already own or can grab cheap.
Cleats versus staples comes up a lot. Cleats are L-shaped and flex a little as the wood moves with the seasons. Staples grip harder and tighter. Both work, and the fastener size you need follows the flooring thickness listed on the maker's sheet, so match it rather than guessing.
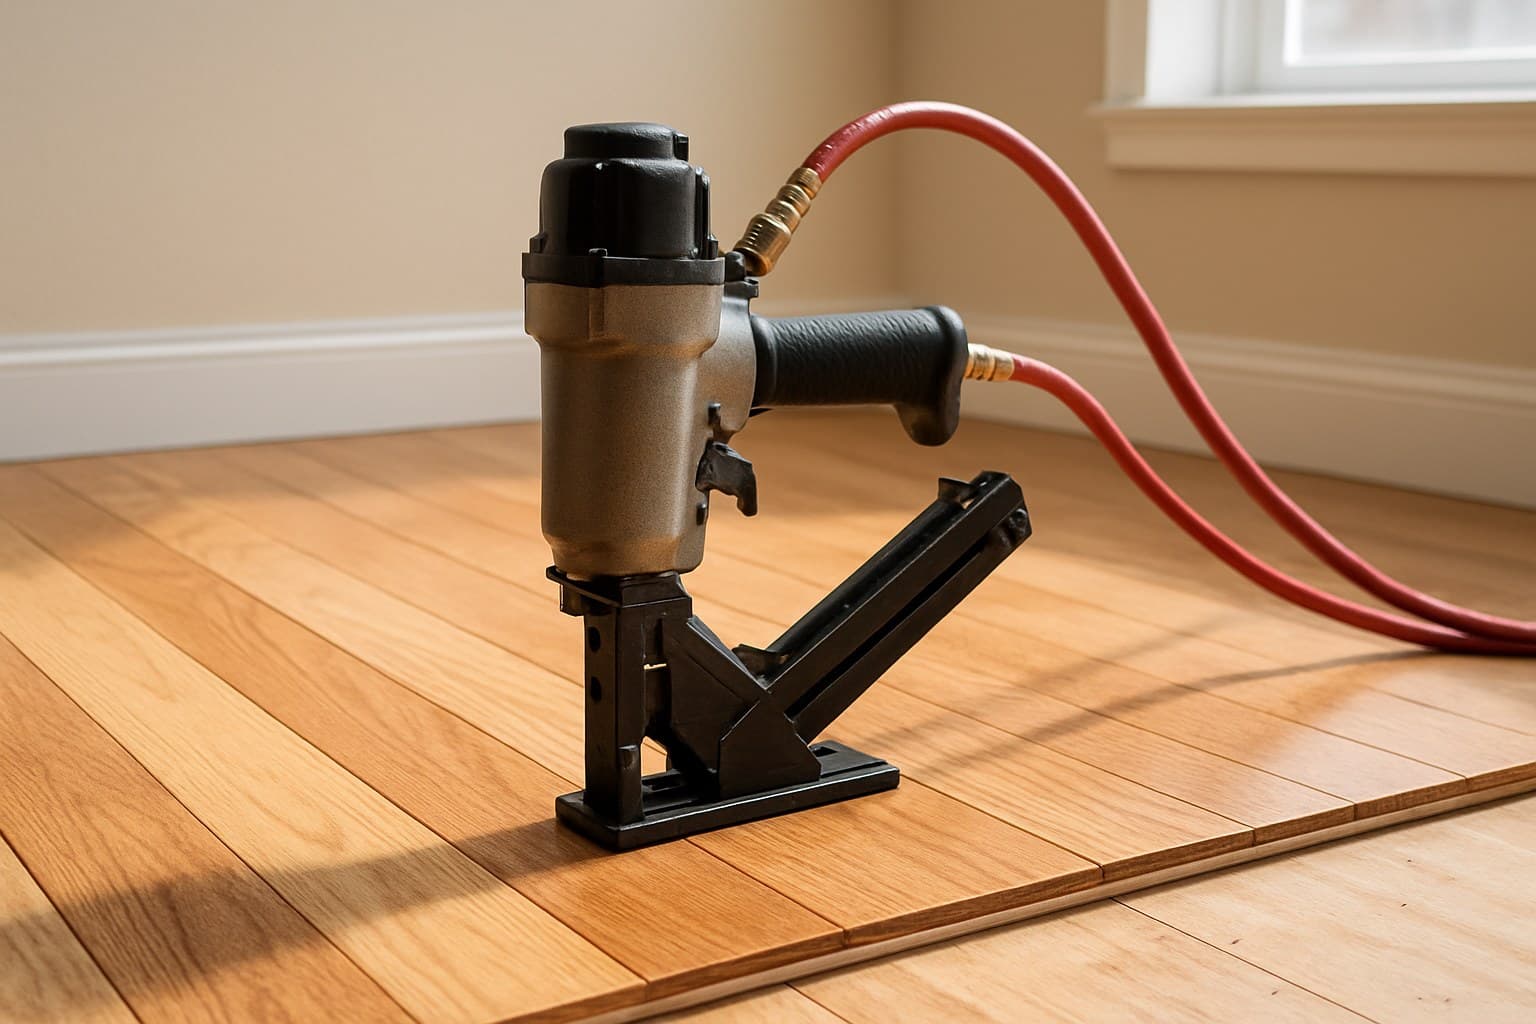
Nailers come in two flavors. A manual mallet nailer fires when you strike it, and a pneumatic one runs off an air compressor and saves your arm on a big room. With a pneumatic, set the air pressure so the fastener sinks flush without denting the tongue. Test it on a scrap board first every single time, because a nailer set too hot will crush the tongue and a board with a crushed tongue won't lock the next row.
Most DIYers rent the nailer rather than buy it, and that's the smart move for a one-time job. A flooring nailer runs about $40 to $70 a day at a rental counter, which beats buying one you'll use once.
Step-by-Step: Nailing Down a Floor, Row by Row
Snap a chalk line to mark your starting row. Set the first row along the straightest wall with the groove facing the wall and the tongue facing out into the room. Hold your expansion gap along that wall with wedges or spacers so the wood has room to move.
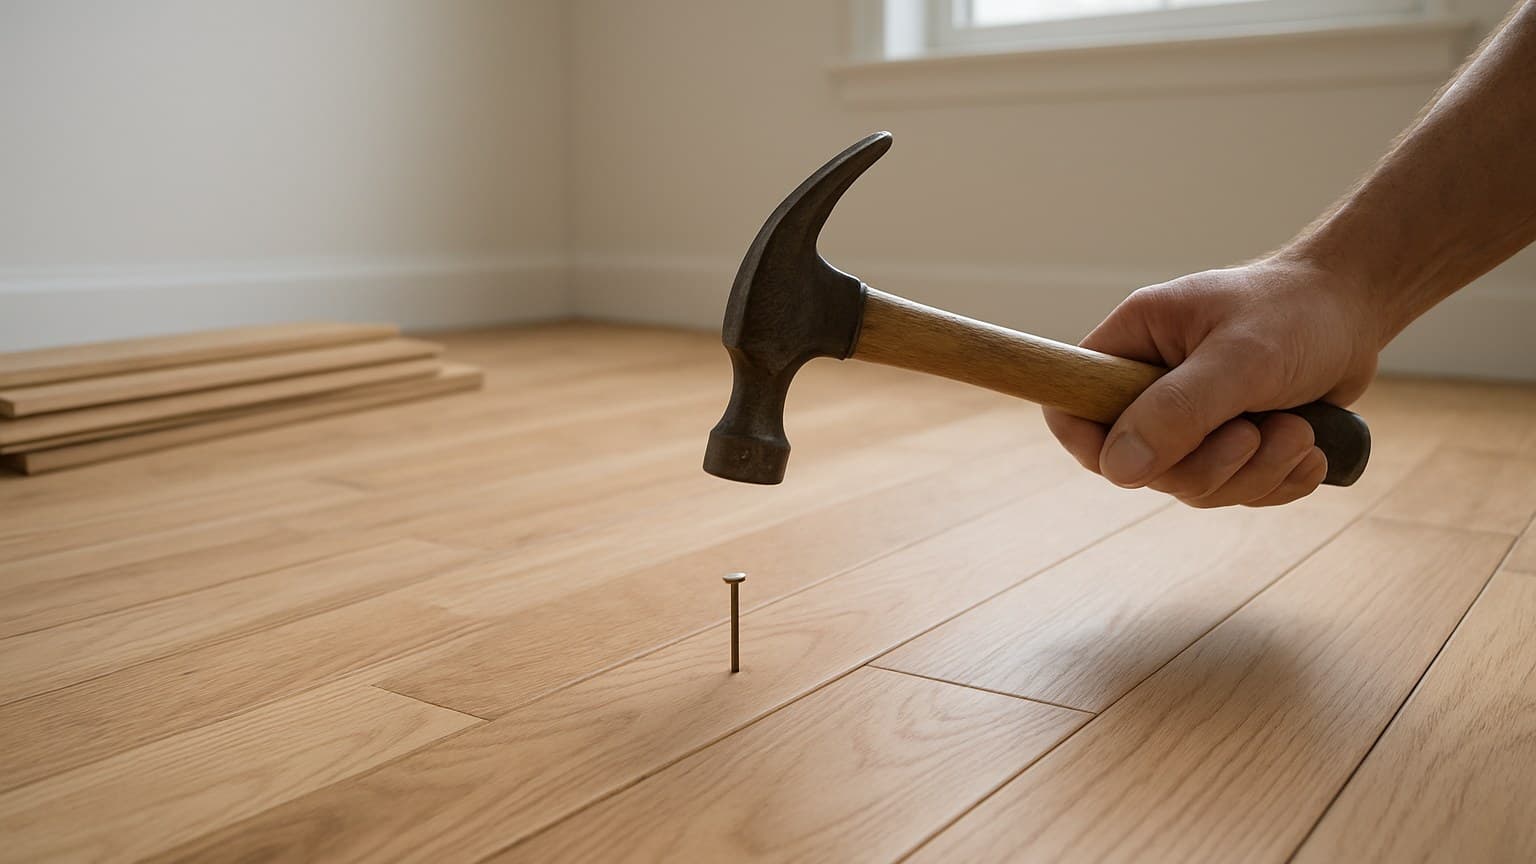
The fastening move is the part people fear, and it's simpler than it looks. You blind-nail through the tongue at about a 45-degree angle, so the fastener disappears and the next board's groove slides over it and hides the nail head. "Blind" just means the nail never shows on the finished floor. This blind-through-the-tongue technique is the standard approach covered in NWFA installation guidelines.
Rack your boards before you fasten, which means laying out several rows loose ahead of you and mixing lengths so the seams look random, not stair-stepped. Use the tapping block to snug each joint tight, tapping the block instead of the bare tongue so you never crush it. Stagger the end seams row to row for strength and looks.
Keep the nailer marching row by row until you reach the far wall. The last few rows are where the nailer physically won't fit against the wall, and that's a normal problem with a normal fix, covered in the next section.
The Nail-Down Debates, Settled
Here are the three arguments that fill comment sections, and the one rule each.
| The dispute | What you read online | The rule that's actually right |
|---|---|---|
| Expansion gap when nailed | "It's nailed down, so it can't move, skip the gap" | Leave space around the whole perimeter, commonly 1/4 to 1/2 inch; nailed solid wood still moves with humidity |
| How many rows to face-nail | "Face-nail the first several rows" | Face-nail only the rows a nailer can't reach (first 1-2 and the last few); blind-nail the rest |
| Tongue vs. groove | Mixed advice on where the nail goes | Always through the tongue, never the groove |
Source: NWFA installation standards, the industry's recognized authority, and how I set gaps on solid-nail jobs
The three nail-down questions I answer most on jobs, with the rule I follow on each.
On the gap: yes, you still leave space, commonly 1/4 to 1/2 inch, around the entire room even though the floor is nailed. That figure comes from the NWFA's own published Installation Guidelines (the document linked in the Sources section below), which specify perimeter expansion space for solid strip and plank flooring rather than leaving it as a vague industry rule of thumb. Solid wood needs room to move regardless of how it's fastened, so confirm the exact number on your product's spec sheet rather than assuming nailing eliminates the need for a gap. Nailing holds the board down, but it does not stop solid wood from swelling side to side when the air gets humid. Box a floor in tight against every wall and it has nowhere to go, so it pushes a baseboard loose or buckles a row up off the subfloor.
On face-nailing: face-nailing means driving a nail straight down through the top of the board where it shows. You only do it where the flooring nailer physically can't reach, which is the first row or two against the wall and the last few rows on the opposite side. Everything in between gets blind-nailed through the tongue. Some store videos tell you to face-nail several rows for no reason, and that's just extra holes you'll be filling.
On tongue versus groove: the cleat always goes through the tongue, the part that sticks out. The groove is the slot that receives the next board's tongue, and it's thin. Nail through the groove and you split it, which means that joint won't lock and you've weakened the seam.
These rules line up with the installation guidelines published by the National Wood Flooring Association (NWFA), the industry's recognized authority on wood flooring installation standards. One honest exception: on rustic and hand-scraped floors, face-nails are sometimes left showing on purpose as part of the look. That's a design choice, not a shortcut. If that finish appeals to you, see How Can You Tell Real Hand Scraped Hardwood Flooring From Fake? so you know what you're paying for.
What Nailing Down a Floor Costs
Solid hardwood for a nail-down job runs roughly $3 to $8 per square foot for the material alone, depending on species and grade. Professional labor to nail it in adds about $3 to $6 per square foot on top of that. Both swing with your region and how much prep the old floor needs, so treat these as starting ranges to confirm with local quotes, not fixed prices.
Not every part of the house costs the same. Open rooms are the cheapest to run because the nailer just marches across them. Stairs cost noticeably more per step, since every tread is hand-fit and often face-nailed, which is slow, careful work. Keep in mind a true basement is below grade, so nail-down solid wood usually isn't even on the table down there.
If you're doing it yourself, materials plus a nailer rental (roughly $40 to $70 a day) is most of your spend, and the labor is your own weekend. For a species-specific breakdown, see How Much Does Walnut Hardwood Flooring Actually Cost?, since the wood you pick moves the material number more than anything else.
Fixing Squeaks and Gaps After Install
Most squeaks come down to movement between the board and the subfloor, either because a fastener missed its mark or the subfloor has a little give in it. That friction is what you're hearing, and it points at the prep work.
For a squeak in a nailed floor, first find whether the noise is the board moving against the subfloor or the subfloor itself flexing on the joist. If it's the board, a specialty screw driven at an angle near the tongue can pull it back down tight. If a gap opened between boards in the dry winter months, don't panic and fill it yet, because solid wood shrinks in dry air and often closes the gap back up when humidity returns. A gap that stays open all year is the one worth addressing.
Cupping is when the board edges rise higher than the middle, and it's almost always a moisture signal from below the floor. Go back and check the subfloor reading you took before install, that number usually explains what you're seeing now.