When Denise Ochoa in Tulsa called me with two bids for her garage floor $4,000 apart, both contractors were being honest. The gap came from thickness, slab prep, and which grade of epoxy each one was actually pricing. Here is how to read a quote so you know which number is real.
Key takeaways
- Self-leveling epoxy runs a higher tier than a thin-mil coating: figure roughly $5-12 per square foot installed, versus about $3-7 for a standard garage coating, because it pours on far thicker.
- The reason is volume: at 1/8 inch (125 mil) a gallon of 100% solids epoxy covers only about 12-13 square feet, versus around 160 square feet for a 10-mil coating.
- Split every quote: materials land near $2-5 per square foot and labor near $3-7, and basement or oddly shaped rooms cost more than an open garage.
- Budget separate line items competitors ignore: moisture vapor testing ($75-300) and grinding or patching an out-of-level slab ($1-3 per square foot).
- Click-together this is not: self-leveling is a timed pour with a gauge rake, so most homeowners should hire it out even if they'd DIY a roll-on kit.
What Self-Leveling Epoxy Is (and Why It Costs Its Own Tier)
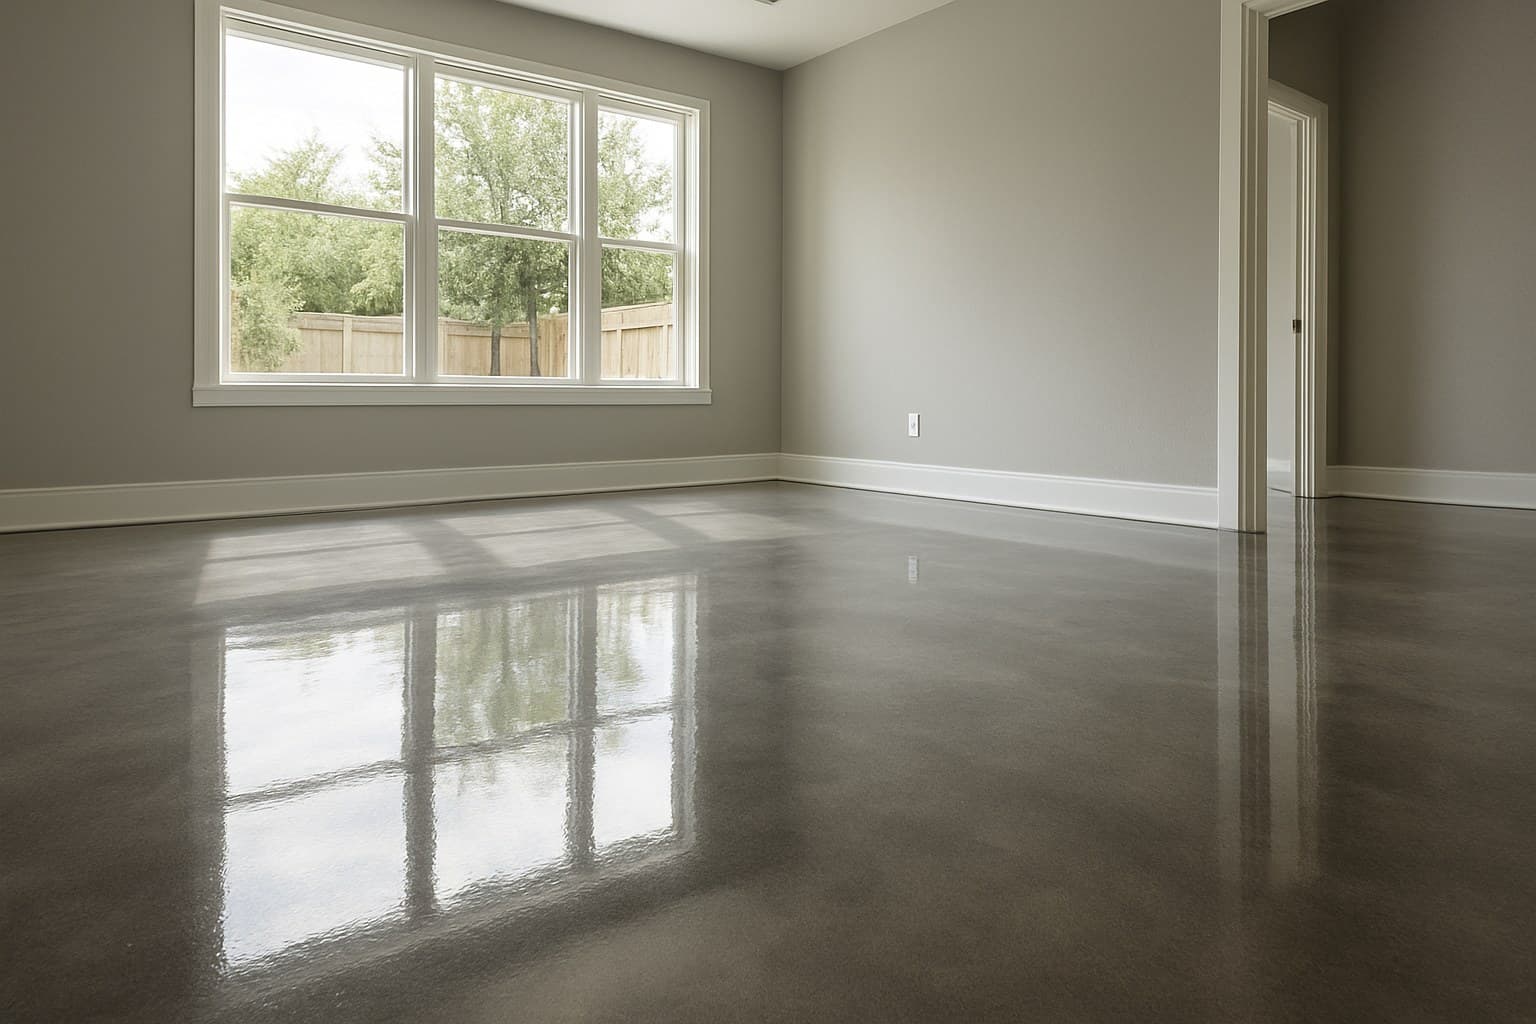
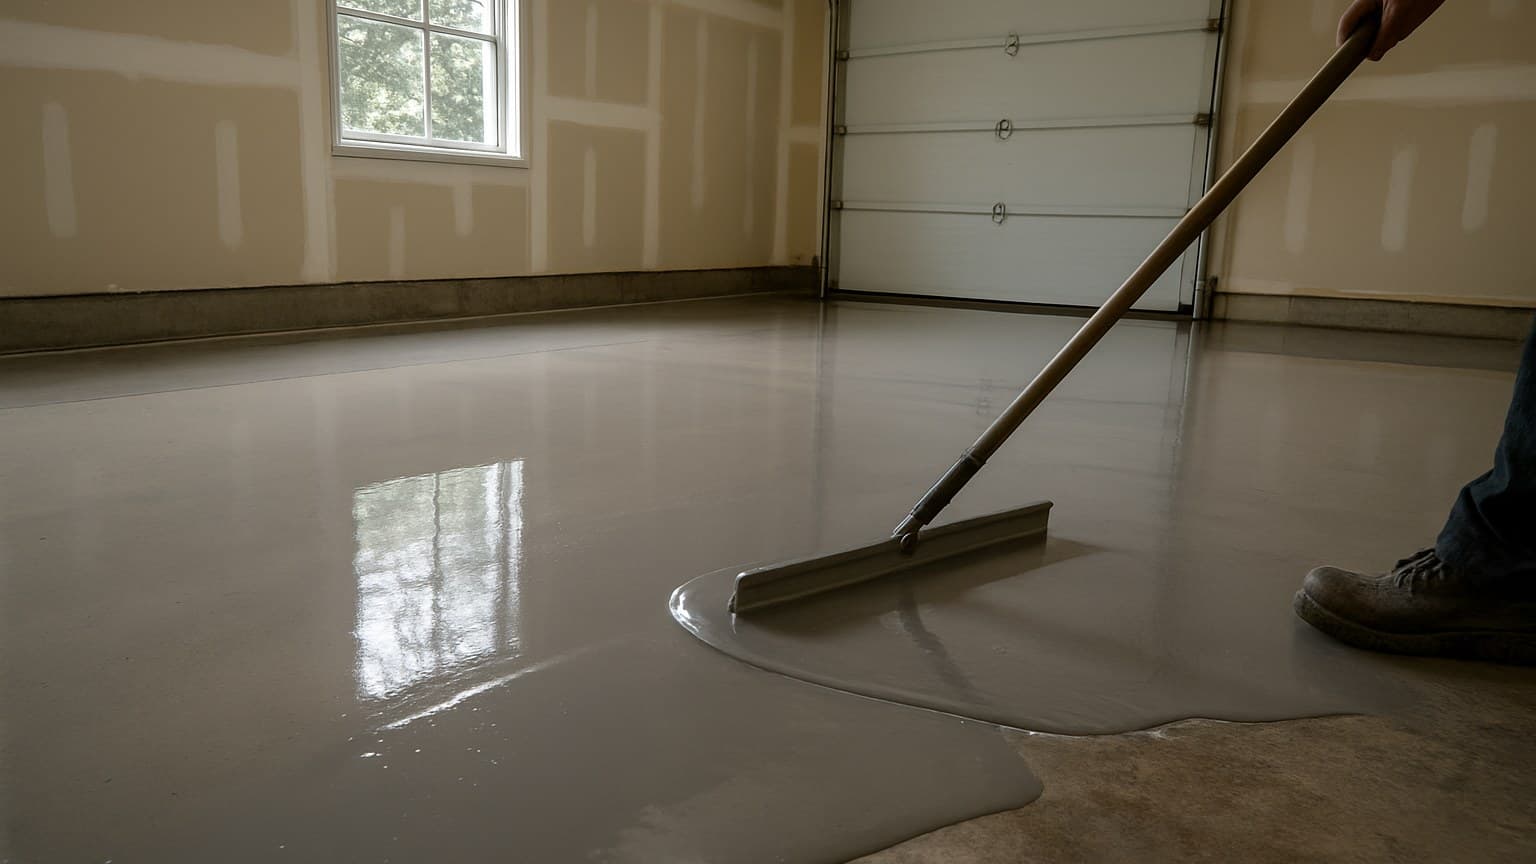
Self-leveling epoxy is a pour-and-spread liquid you flood onto a concrete slab and pull flat with a gauge rake, which is a notched squeegee that sets the thickness as you drag it. It settles into a thick, unbroken layer on its own, which is where the "self-leveling" name comes from. That is a different animal from a thin coating you roll on with a paint roller.
The cost driver is simple: this stuff goes on many times thicker than a standard garage coating. A roll-on floor might be 10 mils thick (a mil is one thousandth of an inch). A self-leveling pour is often 1/16 to 1/8 inch, which is 62 to 125 mils. Thicker floor means far more product per square foot, and that is what pushes it into its own price tier.
One thing buyers mix up: "self-leveling epoxy" as a finished floor is not the same as "self-leveling underlayment." Underlayment is a cheap patch you pour only to flatten a slab before tile or vinyl goes on top, which is a different job than running epoxy over vinyl floor as a finished surface. It is never the wear surface. Self-leveling epoxy is the floor you walk on.
There's a third term worth untangling, too: "epoxy mortar." According to the Tile Council of North America (TCNA), epoxy mortar is a separate, highly chemical- and stain-resistant compound used to set or grout tile, it is a tile-installation material, not a standalone floor. Self-leveling epoxy, the subject of this guide, is poured and cured as the finished wear surface itself.
A real system is also not one bucket of paint. It is usually three parts: a primer that bonds to the slab, the thick self-leveling body coat, and a polyaspartic or urethane topcoat for scratch and UV protection. On the garage floor I redid for Denise Ochoa in Tulsa, the part that decided how long any of it lasts was the slab underneath, not the epoxy on top, so the prep mattered as much as the pour, a point I unpack fully in my guide on why the slab decides epoxy floor lifespan.
Self-Leveling Epoxy Cost Per Square Foot (Materials vs Labor)
Expect roughly $5-12 per square foot installed for self-leveling epoxy, versus about $3-7 for a standard thin-mil garage coating. If you're still asking how much does epoxy flooring cost overall, that range is your starting point. The higher number is not a markup. It is the extra gallons of product a thick pour eats.
Split a quote and it usually lands near $2-5 per square foot for materials and $3-7 for labor. Materials climb with thickness and with a top-grade epoxy. Labor climbs with prep, tight rooms, and anything that makes the pour harder to work before it sets. For the roll-on end of the scale, my breakdown of epoxy floor coating cost per square foot shows how much cheaper a thin system runs.
Per-square-foot rates ease off a little on big, open pours where the crew can work fast, and they climb on small, cut-heavy rooms full of doorways and corners. The open middle of a room is never where the time goes.
Why Two Quotes for the Same Floor Differ So Much
Two honest quotes can be miles apart because they are not the same product. A DIY-grade water-based kit sits at the bottom of the range. A commercial-grade 100% solids install, the same system behind most commercial epoxy flooring jobs, sits at the top. "100% solids" means almost none of the epoxy flashes off as it cures, so nearly all of what you buy stays on the floor as thickness.
That is why one guide can quote $3 per square foot labor and another can quote a much higher whole-job number, and both are right. For the full epoxy floor price breakdown, it comes down to which grade each one is pricing.
| Epoxy grade | Best fit for |
|---|---|
| Water-based (DIY-grade) | Light-use spare rooms, low-traffic floors |
| Solvent-based (mid) | Standard garages, everyday wear |
| 100% solids (commercial-grade) | Heavy traffic, wet, or workshop-style use |
Installed cost per square foot for three self-leveling epoxy grades.
The Coverage Math: Gallons Per Square Foot by Thickness
Thickness alone decides how many gallons you buy, and the math is easy: coverage in square feet per gallon is about 1,604 divided by the thickness in mils. That single formula explains the whole price gap between a coating and a self-leveling pour.
Run it and the gap is huge. A 10-mil coating covers about 160 square feet per gallon. A 1/8-inch (125-mil) self-leveling pour covers only about 13 square feet per gallon. Same gallon, one-twelfth the floor.
Here is a real example. A 400-square-foot floor poured at 1/8 inch needs roughly 31 gallons of body coat. The same floor with a thin coating needs a couple of gallons. That is the entire cost story in two numbers.
| Thickness | Coverage per gallon | Gallons for 400 sq ft |
|---|---|---|
| 10 mil (standard coating) | ~160 sq ft | ~2.5 |
| 1/16 in (62.5 mil) | ~26 sq ft | ~15.5 |
| 1/8 in (125 mil) | ~13 sq ft | ~31 |
Source: the standard 1,604-mil-feet coverage formula I use to order material on jobs
Coverage and gallon counts for 100% solids epoxy at three thicknesses, for a 400 square foot floor.
Remember that primer and topcoat are extra gallons on top of the body coat. And a rough, pitted slab drinks more product than a smooth one, so waste pushes the count higher than the clean math suggests. When I order material, I always add a cushion for an uneven pour.
Cost by Space Size: 400 sq ft, 20x20, 1,000 sq ft and Up
Total installed cost scales with the floor, but not in a straight line, because prep and access change per job. Below are honest ranges by common size, each split into materials and labor so you can see where your money goes.
| Space | Materials | Labor | Total installed |
|---|---|---|---|
| Small room / 1-car (~400 sq ft, 20x20) | $800-2,000 | $1,200-2,800 | $2,000-4,800 |
| 2-car garage (~500 sq ft) | $1,000-2,500 | $1,500-3,500 | $2,500-6,000 |
| Basement (~800 sq ft) | $1,600-4,000 | $2,800-6,000 | $4,400-10,000 |
| Large area (~1,000 sq ft) | $2,000-5,000 | $3,000-7,000 | $5,000-12,000 |
Total installed self-leveling epoxy cost by common space size, split into materials and labor.
Notice the basement. A 20x20 garage and an 800-square-foot basement are not priced the same per square foot, and the basement is not just bigger. Stairs to haul buckets down, tight access that slows the crew, and a slab more likely to hold moisture all add labor and prep. Basements almost always cost more per foot than an equal stretch of open garage.
Outdoor slabs are their own case. A patio or driveway takes full sun and weather, so a standard epoxy can chalk or yellow. Those jobs need a UV-stable topcoat, which changes the product and nudges the price. For a full room-by-room breakdown on the coating end, see my guide to epoxy garage floor cost.
The Line Items Most Quotes Leave Out
The cheap quotes are cheap because they skip prep, and prep is what keeps the floor stuck down. Before you compare two numbers, make sure both price the same work underneath the epoxy.
Start with a moisture vapor test on the slab, usually $75-300. This matters because a pour over a wet slab is exactly what peels and bubbles a year later. Concrete pushes water vapor up from the ground, and that vapor has to be measured before you seal the surface. That one line item protects the whole job.
Next is slab correction. Grinding or shot-blasting to open the concrete so the epoxy can grip is standard, not an upgrade. If the slab is out of level or badly spalled (surface flaked and pitted), a leveling skim adds roughly $1-3 per square foot before any epoxy goes down. Cracks, spalls, and pits get repaired as their own line, and a badly pitted floor also eats more body coat, which means more gallons and more cost.
Then come the parts of the system itself: the primer coat gallons, priced separately from the pour, and the topcoat, where a polyaspartic or urethane upgrade buys scratch and UV resistance. Style extras like color flakes or a metallic finish nudge the price without changing the base system.
When you hand a contractor the slab, ask them to price each of these out loud: the moisture vapor test, the grinding or shot-blasting, crack and spall repair, any leveling skim, the primer gallons, and the topcoat choice. A quote that names all six is honest. A quote that is suspiciously low usually left three of them off. My deeper look at epoxy floor installation cost walks through where the labor hours actually pile up.
DIY vs Hiring a Pro for Self-Leveling Epoxy
Hire this one out. A roll-on kit is a fair weekend DIY, but true self-leveling epoxy is a timed pour you have to spread and rake flat before it sets, and there is no pause button once you mix it.
The cost math looks tempting at first. A DIY-grade kit saves the labor line, which is the bigger half of the bill. But those kits use thinner, less durable product, so you are not buying the same floor. And a pour that goes wrong sets up as a lumpy, stuck-down mess that costs more to grind off and redo than it would have cost to hire out clean the first time.
Some jobs are pro-only in my book: large open pours where one edge skins over before you reach the other, slabs with a moisture transition, and any floor that has to look flawless under good light. The demands that trip up first-timers are all invisible until they bite you, correct mix ratios, short pot life (the minutes you have to work the mix before it hardens), and clean edging.
If you genuinely want a DIY floor, buy a roll-on coating and skip self-leveling. The thicker system rewards a crew that has poured it many times.
Cost Per Year: Is Self-Leveling Epoxy Worth the Higher Tier?
Judge the price by cost per year, not sticker price, and the higher tier often makes sense. According to a Life Cycle Cost Analysis published by the National Wood Flooring Association (NWFA), flooring is best compared by dividing total installed cost by expected years of service rather than by upfront price alone, by that measure, a floor that costs more but lasts longer can end up the cheaper floor over time.
Roughly speaking, a thin-mil garage coating installed at $3-7 per square foot might last 5-10 years in a working garage before it needs a recoat. A properly prepped self-leveling floor at $5-12 per square foot commonly runs 15-20 years or more. Spread each over its life and the gap narrows hard, sometimes flips. The thin coating is cheaper to buy and the thick pour is cheaper to own.
Tile is the other common comparison, and it lands in similar territory to a mid-grade self-leveling floor once you count labor. The tile industry's own Tile Initiative research from TCNA points to durability and long service life as tile's core value case, the same annualized-cost logic behind judging epoxy by cost per year rather than sticker price. The difference is repair: crack a tile and you swap a tile, while epoxy is one continuous surface you recoat.
Where self-leveling truly earns its tier is heavy, wet, or high-traffic use, which is the whole reason industrial epoxy flooring leans on these thick systems. For a light-duty spare room, it is more floor than you need. Match the tier to the room and the budget, not to the fanciest brochure.