Wood-look vinyl flooring can pass for real boards or look like a plastic photo of wood, and the gap between the two comes down to specs most showrooms bury. Get the core, the wear layer, or the waterproof claim wrong and you pay for it later in dents, split seams, or a floor that dulls in a year. Here are the nine checks that sort a keeper from a regret before you spend a dollar.
Key takeaways
- Wood-look vinyl runs about $8-13 per square foot installed versus $12-16 for hardwood, and stairs and basements push the labor end higher.
- "Waterproof" describes the plank, not the seams or perimeter; standing water can still slip past the edges and sit on the subfloor.
- SPC (stone-plastic composite) cores feel harder and shrug off furniture dents; WPC (wood-plastic composite) cores feel softer and warmer underfoot.
- The wear layer is printed in mils on the box; thin layers are fine for bedrooms, but kitchens and pets need a thicker-rated product.
- Click-lock LVP is a realistic DIY job; glue-down, stairs, and big open-plan moisture transitions are worth hiring out.
1. What Format You're Actually Buying: Plank, Tile, or Sheet
Wood-look vinyl comes in three shapes, and the shape changes both the look and where it belongs. Luxury vinyl plank (LVP) comes in long board shapes and reads most like real wood. Wood-look luxury vinyl tile (LVT) prints wood or stone grain onto tile-sized pieces. Wood-look sheet vinyl comes on a wide roll and prints the planks onto one continuous sheet. If the tile format itself interests you beyond the wood look, guide to vinyl tiles covers the ceramic-look options too.
If you searched "vinyl wood look flooring," "wood grain vinyl," or "vinyl that looks like wood planks," you're looking at one of these three. The showroom just labels them LVP, LVT, or sheet vinyl.
For a living room or hallway, long LVP planks sell the look best. For a small bathroom or laundry, sheet vinyl gives you the fewest seams, which matters more than you'd think around water. For that living room or hallway job, our rundown of the best LVP flooring brands narrows the field to the ones worth considering.
There's a fourth option shoppers on a budget or renting should know before they commit: peel-and-stick wood-look vinyl tile, sold as self-adhesive squares you press directly onto the subfloor with no click joints and no trowel. It's the cheapest, fastest format to lay, but adhesive quality swings hard by brand, a weak backing lets edges curl loose within a season, while a sturdier one holds for years yet still isn't built to be pulled up and relaid more than once or twice. Skipping underlayment also means the subfloor itself has to be cleaner and flatter than for click-lock or sheet, since any dip, crack, or old glue residue telegraphs straight through the thin tile.
Plank layout is its own choice. Straight and offset layouts are simple and waste the least material. A herringbone layout looks sharp but cuts more planks into short pieces, so your vinyl plank layout and pattern decision can noticeably increase your waste factor.
| Format | Looks like | Seams | Best use | DIY-friendly |
|---|---|---|---|---|
| LVP (luxury vinyl plank) | Individual wood boards | Many click-lock seams | Living areas, bedrooms, halls | Yes, most are click-lock |
| Wood-look LVT (luxury vinyl tile) | Wood or stone in tile shapes | Many seams | Mixed stone/wood looks | Click or glue-down |
| Wood-look sheet vinyl (roll) | Continuous planks printed on a roll | Few or none in small rooms | Bathrooms, laundry, rentals | Harder to cut cleanly |
| Peel-and-stick wood-look vinyl tile | Tile squares printed as planks | Many seams | Rentals, quick refreshes, budget rooms | Easiest DIY, but limited reuse |
How the four wood-look vinyl formats compare on look, seams, and best use.
2. The Core Under the Print: SPC vs. WPC (Rigid Core)
The core is the thick middle layer that gives a rigid plank its stiffness, and it comes in two types. SPC means stone-plastic composite: limestone powder mixed with plastic. WPC means wood-plastic composite: a lighter, foamed plastic. You can't see either one once it's down, but you'll feel the difference every day.
SPC is harder and thinner. It shrugs off dents from a heavy couch leg or a dropped pan better than WPC. The tradeoff is that it feels firmer and louder underfoot unless it has a pad.
WPC is softer and warmer. It's quieter to walk on and easier on your feet, but a sharp point load, think a dining chair with no felt pads, can leave a dent.
Feel both in the showroom. Press a fingernail or a chair leg into each sample. The box almost never spells out dent behavior, so your own hand is the better test.
One warning. Core type usually tracks price, so a "luxury" label alone tells you nothing about which core you're getting. If the term "luxury" is doing the heavy lifting in the sales pitch, read what the word "luxury" actually buys you before you pay for it.
| Factor | SPC | WPC |
|---|---|---|
| What it is | Stone-plastic composite (limestone + plastic) | Wood-plastic composite (foamed plastic) |
| Feel underfoot | Harder, thinner, firmer | Softer, warmer, more give |
| Dent resistance | Better under heavy furniture | Can dent under sharp point loads |
| Sound | Louder unless padded | Quieter underfoot |
| Typical price tier | Budget to mid | Mid to premium |
What changes under the print film when you switch between an SPC and a WPC core.
3. The Wear Layer, in Mils, Not Marketing Words
The wear layer is the clear top coat that takes the scratches and scuffs, and it's measured in mils, which are thousandths of an inch, printed right on the box. This is the single number that separates a bedroom floor from a kitchen floor.
A thin wear layer is fine for a guest bedroom or a closet, where nothing drags across it. Kitchens, entries, and homes with dogs need a thicker-rated product. When a salesperson quotes a mil number, make them tie it to the exact product, because wear layers vary by line within the same brand.
Watch for the word "scratch-resistant" with no number behind it. That's marketing, not a spec. Find the printed mil figure before you buy; if the box or spec sheet won't show it, that tells you something too.
The wear layer matters for more than just scratches. It sits above the print film, the photo of wood grain you actually see. Once that clear layer wears thin, the wood look under it starts to dull and haze, and no amount of cleaning brings it back.
4. "Waterproof" vs "Water-Resistant" and Where It Actually Fails
A waterproof core means the plank itself won't swell when it gets wet. It says nothing about the seams or the perimeter, and that's where floors actually fail. If true waterproof performance matters most to you, our roundup of the best waterproof vinyl plank flooring breaks down which lines actually back that claim.
On a floating floor, standing water can creep down through the click seams and the expansion gap at the walls. It pools on the subfloor underneath, where it can't dry out. The plank is fine. The subfloor is what rots or grows mold.
So read the warranty for what water exposure it actually covers, and don't read "waterproof core" as "waterproof room." Those are two different promises, and only one of them is printed on the box.
The practical takeaway for a full bath or a basement: fewer seams means fewer paths for water. That's why sheet vinyl or a glue-down install beats a floating click floor in a true wet room. I've pulled up more than one "waterproof" floating floor in Dayton basements where the planks looked perfect and the subfloor underneath was black.
5. The Finish and Embossing That Decide If It Reads as Real Wood
The realism of a wood-look vinyl floor comes down to two things you can check by hand: the embossing and the finish. Get these right and people have to kneel down to tell it isn't wood.
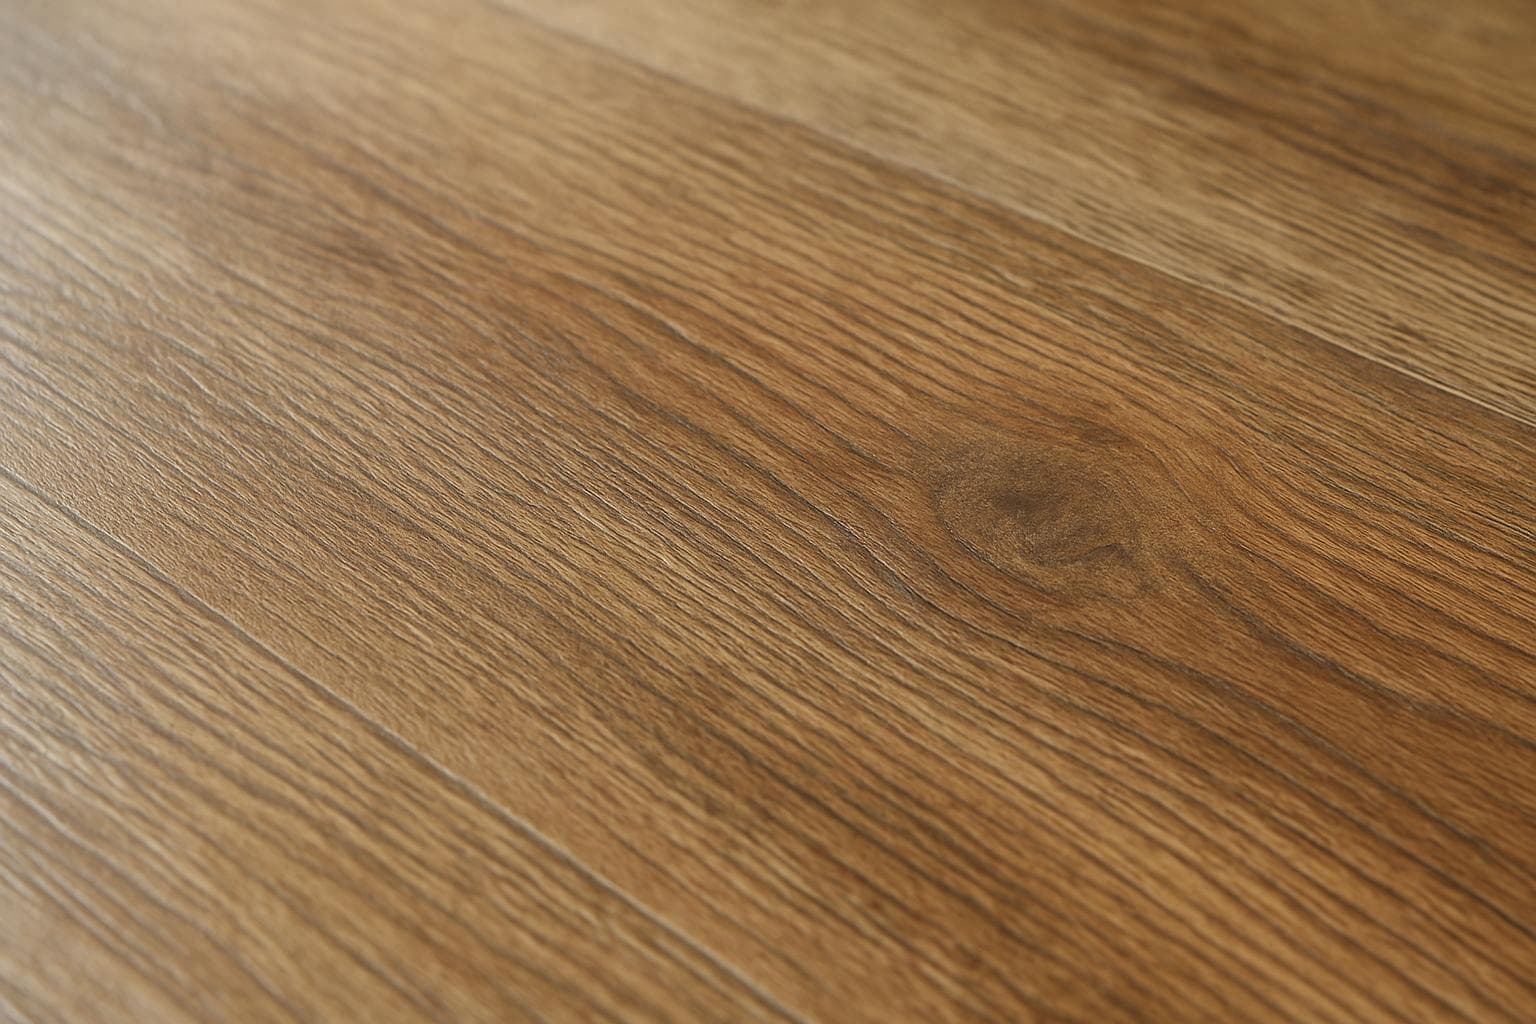
Embossed-in-register, or EIR, means the texture you feel lines up with the grain you see. Run your hand across a good sample and the dips follow the grain lines exactly. That's the single biggest tell of a realistic floor. Cheap vinyl has a random texture that doesn't match the printed grain at all.
Finish sheen matters next. Matte and low-gloss hide scuffs and read like real wood. High-gloss looks like plastic and shows every footprint and paw print.
Then count the repeats. Budget wood-look vinyl often uses only a handful of different plank images, so the same "board" shows up repeatedly across a big room and the eye catches the pattern. Better products use many more variations, with knots and color that shift board to board. Look for beveled edges too, the little grooves that mimic the gaps between real planks.
Before you commit to vinyl at all, weigh this tradeoff: laminate often gives a more realistic wood look at a lower price, while vinyl wins on water tolerance. If water isn't your main worry, weigh vinyl against laminate room by room and dig into the luxury vinyl versus laminate matchup before you commit.
6. The Real Price per Square Foot: Materials vs. Labor
According to Armstrong Flooring, citing HomeWyse's cost estimates, wood-look vinyl runs about $8-13 per square foot installed, while solid or engineered hardwood runs about $12-16, and those installed figures track closely with ranges several other flooring guides publish independently, not just one estimator's numbers. Those are ranges, not national flat numbers, and they move with your region and your room.
Budget LVP lands at the low end. A thick-wear-layer WPC lands at the high end. "Vinyl" is a price band, not one figure, so don't let anyone sell you a $10 floor as "just vinyl pricing."
| Flooring | Materials / sq ft | Labor / sq ft | Installed / sq ft |
|---|---|---|---|
| Wood-look vinyl (LVP/LVT) | $4-8 | $4-5 | $8-13 |
| Solid or engineered hardwood | $6-9 | $6-7 | $12-16 |
Source: HomeWyse's cost estimates, as published by Armstrong Flooring, for the installed totals
Installed cost per square foot split into materials and labor; figures are typical ranges, not a flat national price.
Two more things to budget. Stairs and basements cost more than an open room. Stairs mean extra cuts and stair nosings, and basements mean moisture prep on the concrete, so the labor end climbs.
And hardwood carries a cost vinyl doesn't: refinishing. Armstrong Flooring notes that a hardwood floor typically needs refinishing roughly every 7-10 years in a quiet, low-traffic room, closer to every 3-5 years in a busy, high-traffic one, a cadence confirmed elsewhere across comparable flooring longevity writeups. Vinyl never gets refinished, which is part of why the installed gap narrows over time. If you're weighing the wood against the fake, our full breakdowns on what LVP really costs and on choosing solid versus engineered hardwood and the right species lay out both sides.
7. The Right Room for It (and Where I'd Skip It)
Wood-look vinyl earns its keep in kitchens, basements, mudrooms, and busy family rooms, where real wood would scratch, cup, or swell. In those rooms a decent SPC floor with a solid wear layer is the smart money, not a compromise.
Bedrooms and formal living rooms are where I'd at least think twice. They stay dry and quiet, so if you love real wood, those are the rooms that justify it. Vinyl still works there, but you're not using its strength.
I'd skip a floating wood-look vinyl floor in a sunroom or any space that bakes in direct sun all day. Heat can cause a floating floor to expand and shift if the expansion gap wasn't set right. For those rooms, check the product's own guidance on sun exposure; some lines are rated for it and many aren't.
For rentals, sheet vinyl or a basic click LVP hits the sweet spot: cheap to buy, fast to lay, and it hides scuffs between tenants. If you want brand-level picks, the better vinyl plank lines sorts them by where they actually hold up.
8. DIY or Hire: Which Install You're Signing Up For
Click-lock LVP is a realistic DIY job for most handy homeowners in a simple, square room. Glue-down installs, stairs, and big open-plan floors with moisture transitions are where hiring a pro usually pays for itself.
A floating click floor in a spare bedroom is a weekend job. The planks snap together, and the tools are cheap. A big-box score cutter and a sharp utility knife handle most of the cuts fine. I bought a fancier cutter early on expecting cleaner results, and it mostly sat in the truck. What actually saved my cuts was scoring on the finished face, which I only learned after ruining a few planks the hard way.
Where I'd call someone: stairs, because every tread needs a precise cut and a nosing, and a loose stair plank is a fall waiting to happen. Glue-down, because trowel work and open time are easy to botch. And large open-plan floors where the vinyl runs from a kitchen into a slab area, because getting the expansion gaps and transitions right across that span is unforgiving.
One more thing on cores and pads. Many rigid LVP products already have an attached pad, so adding a second underlayment underneath can void the warranty. Whether you need any underlayment at all is set by that product's instructions and the subfloor you're going over, not by a tip you read online.
9. The Subfloor Check That Protects Your Warranty
Before a single plank goes down, check two things: how flat the subfloor is and how much moisture it holds. On most floating floor jobs, the finished product only lasts as long as the prep beneath it, and the manufacturer's warranty depends on both.
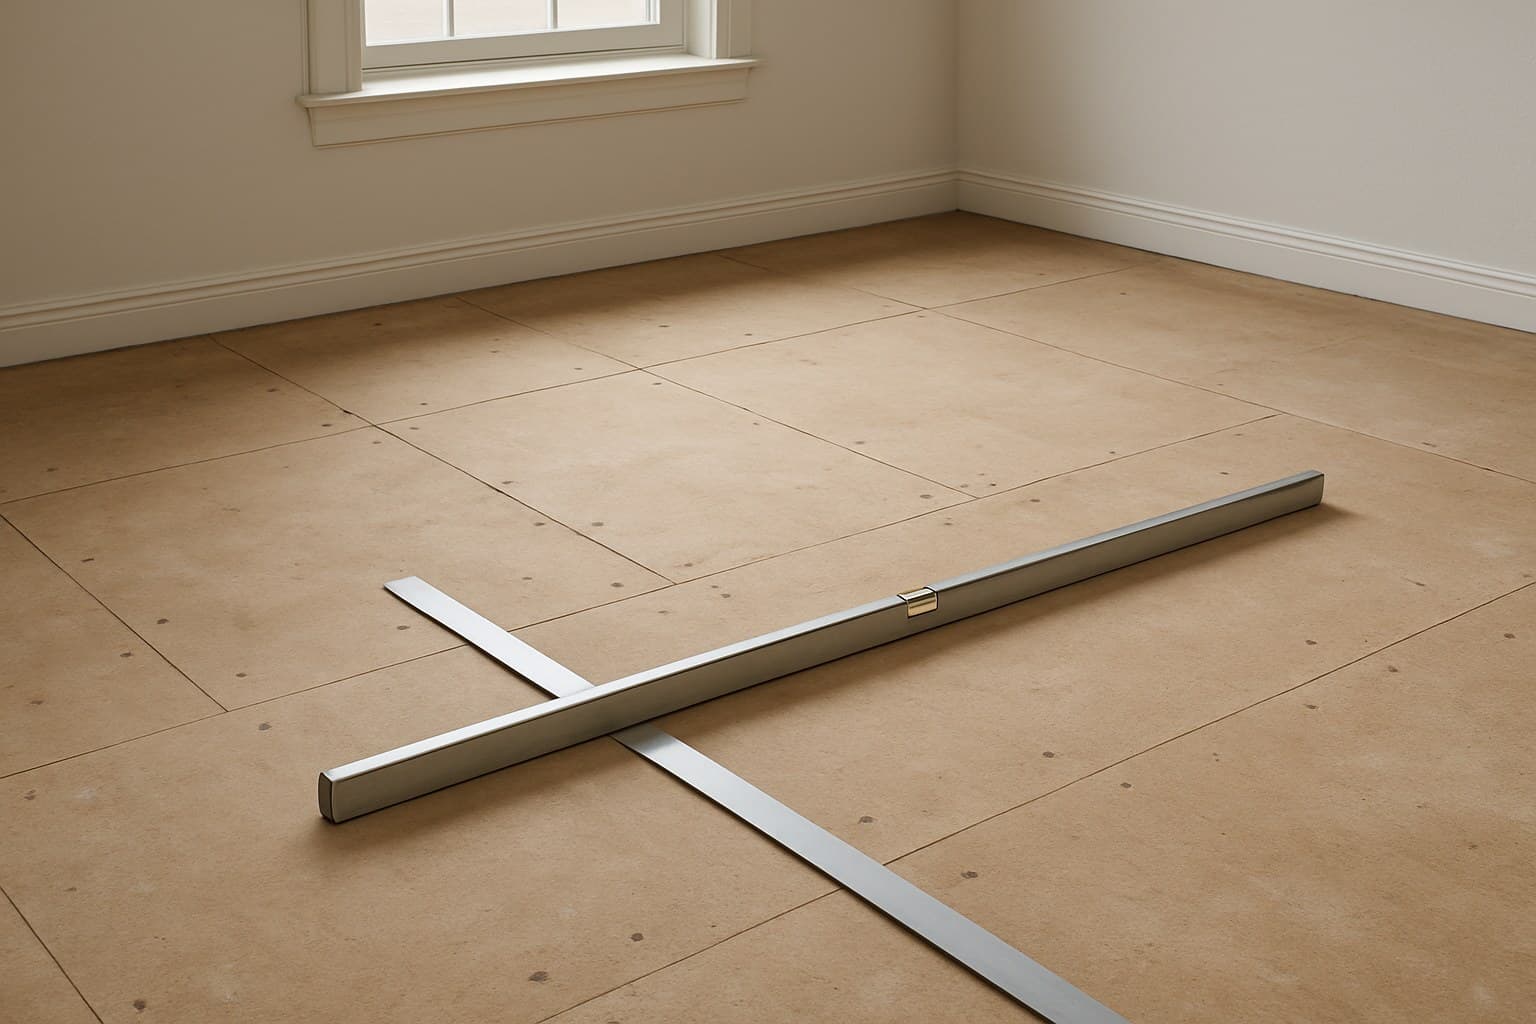
Flatness first. A floating floor needs a flat base, usually within a tolerance the maker spells out, something like a small gap under a long straightedge. Lay a straightedge across the floor and look for daylight under it. High spots get ground down, low spots get filled with leveling compound. Skip this and your planks will flex at the seams and may click apart or gap.
Moisture second, and it's the one people skip. Concrete slabs, which is what you're dealing with in most basements, hold water you can't see. There are real tests for this that read how much moisture is coming up through the slab, and products list the maximum they allow. Over the limit, you need a moisture barrier or a different plan.
Don't guess on either. A bag of leveling compound and an afternoon with a straightedge are cheap next to tearing up a buckled floor a year in. Every warranty I've ever read quietly assumes you did this, and every failed floor I've pulled skipped it.