
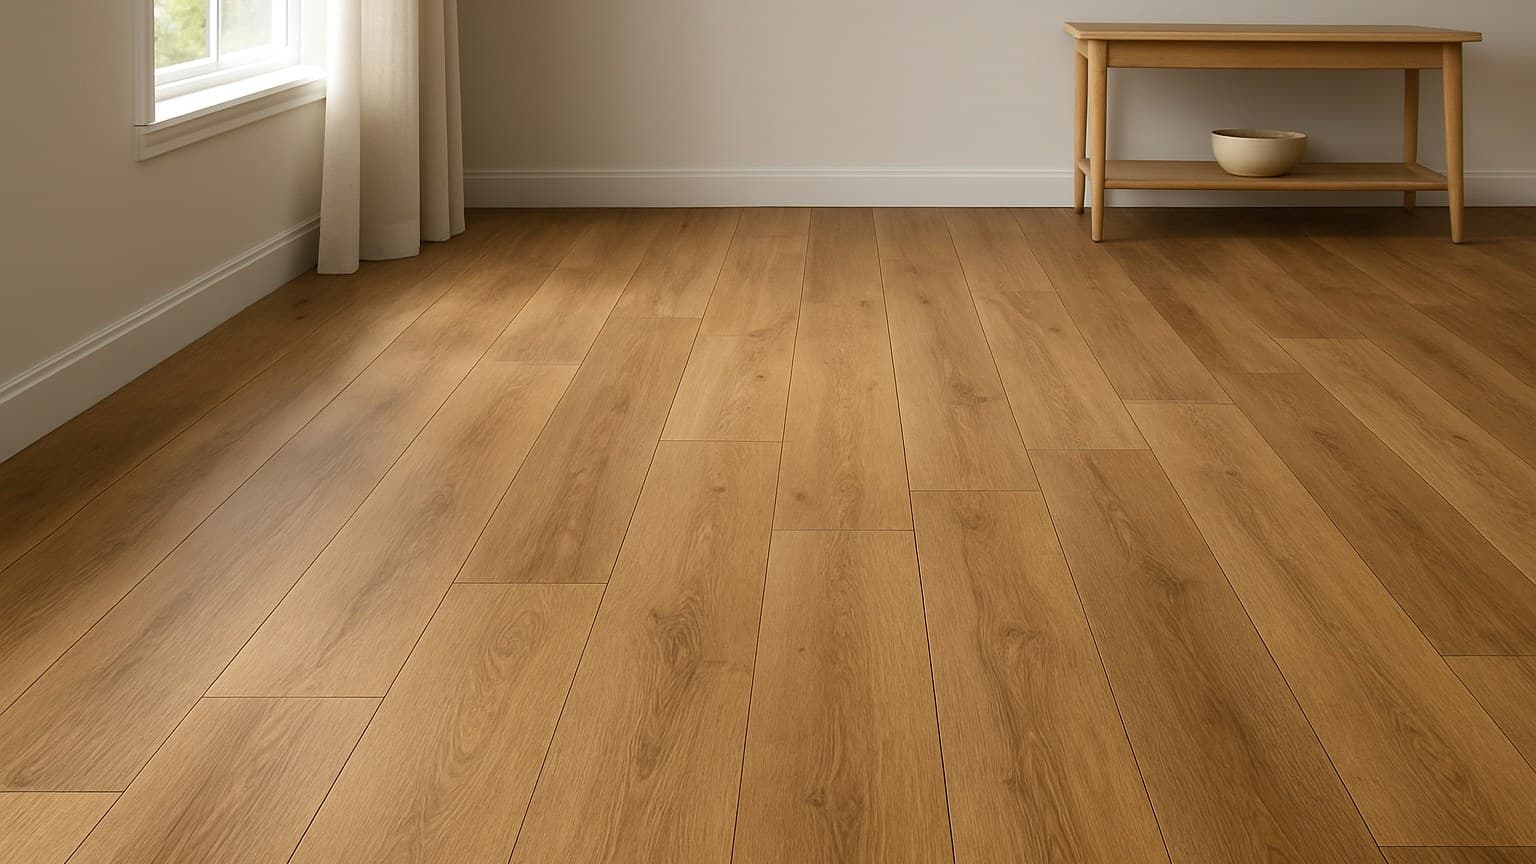
A homeowner in Springfield asked me to fix a "pine floor" that looked plastic after a year. It turned out the word "pine" on a flooring box can mean three different products, and two aren't pine at all. Sort out which one you're actually buying first, and the rest of the choice gets easy. If it turns out real boards in a wider width are what you're after, wide plank pine flooring covers what to expect there.
Key takeaways
- Make sure you're buying pine-LOOK vinyl, not real pine boards or a bamboo-look print relabeled as pine. Check the product line name and its spec sheet, not the word 'pine' in the ad.
- Wear layer is the number that decides scratch and dent life. Bedrooms can run a thinner layer, but kitchens, entries, and pet homes want the thickest layer that SKU offers. Read the mil off the exact product, never the category.
- Plan on materials around $2-7 per sq ft, plus labor of about $1-3 per sq ft for click-lock and $2-5 for glue-down. Basement and stair jobs cost more than an open room.
- Click-lock over a flat, dry subfloor is a realistic DIY. Glue-down, stairs, and big open-plan moisture transitions are where hiring a pro usually pays off.
- A 'waterproof core' plank still fails if the seams aren't tight or the subfloor is wet. Check flatness and moisture before you lay a single plank.
The Quick Verdict: When Pine-Look Vinyl Beats the Real Thing
Pine-look luxury vinyl plank (LVP) is the right call when you want that knotty, rustic pine look in a room where real pine boards would dent, cup, or soak up water. Think basements, kitchens, mudrooms, and busy family rooms. Pine is a soft floor wood, so in those spots vinyl gives you the look without the babysitting. That same real-wood-versus-vinyl question comes up constantly, and engineered hardwood vs LVP walks through how the two actually compare.
Real pine still wins in two ways. It feels warmer and a little softer underfoot, and you can sand and refinish it years down the road when it gets tired. If you love that living, dents-and-all character and the room stays dry, buy boards. If you want a floor you can mop, roll a chair over, and forget about, pine-look vinyl is the smarter buy. If you do go with real boards, the next big fork is solid versus engineered construction, and picking the right one for your room matters just as much as species, as this guide to solid vs. engineered hardwood floors lays out.
Here's the order I check a pine-look plank on a real job, and the order this guide follows:
- Confirm it's actually vinyl, not real pine or a bamboo print.
- Match the tone to your room's light.
- Pick the wear layer for your traffic.
- Read the subfloor, then choose click-lock or glue-down.
- Price it out, materials versus labor, room by room.
Step 1: Make Sure It's Actually Pine-Look Vinyl
Start by confirming what you're holding, because three products get sold under the word "pine." There's real pine lumber, there's pine-look LVP, and there's a bamboo-look print that gets relabeled with a pine name. The marketing photo won't tell you apart. The product line name and the spec sheet will. Walnut gets sold under the same loose labeling, so the habit of checking the walnut vinyl plank flooring spec sheet before the photo matters just as much there.
A real vinyl listing says so plainly. It uses the word vinyl, or SPC (stone plastic composite, a hard rigid core), or WPC (wood plastic composite, a softer rigid core). It gives you a wear-layer number in mils and an overall thickness in millimeters. If the listing instead names a wood species and a hardness grade, you're looking at real boards. If it dodges both and just leans on pretty photos, walk away until you see the sheet.
One pine-look vinyl line shoppers run into is Southwind's Authentic Plank in an antique pine tone. I'm not going to quote a mil or warranty number here, because those change by run and I only trust the current spec sheet. That's the point: read the number off the exact product, never off the category.
The same checks apply to any wood-look plank, not just pine. If you want the deeper version, here's what actually decides whether vinyl plank lasts 5 years or 20 before you commit to any SKU. For something bolder than pine entirely, wide plank walnut flooring brings a much deeper, more dramatic grain into the mix.
Step 2: Match the Pine Tone to Your Room's Light
Match the tone to your room's natural light, because the same plank reads differently from one room to the next. Warm honey and antique-pine tones fill in a north-facing, low-light room and make it feel cozy. A pale, clear-pine look in that same dim room can read cold and flat. South- or west-facing rooms get more light, so they can take cooler, lighter tones without looking gray. Once you've narrowed a tone by light exposure, it's worth checking it against what's actually selling right now, which this guide to trending LVP colors breaks down room by room.
Tone also sets the style before your cabinets or walls do anything. Warm knotty pine reads farmhouse and cabin. Pale clean pine reads Scandinavian and modern. Mid-tone antique pine sits in the rustic-modern middle, which is why it's a safe pick when you're not sure. Hickory pushes that farmhouse look even further with bolder color swings and contrast, so it's worth checking how convincingly the vinyl versions capture that before you commit to pine, as covered in this hickory vinyl plank flooring guide.
| Tone | Best light | Reads as | Style |
|---|---|---|---|
| Antique / honey pine | North-facing, low natural light | Warm, filled-in | Farmhouse, rustic-modern |
| Knotty golden pine | Mixed light, family rooms | Busy, forgiving of scuffs | Cabin, farmhouse |
| Pale / clear pine | South- or west-facing, bright | Calm, shows wear sooner | Scandinavian, modern |
| Weathered / gray-pine | Bright rooms only | Cool, can go flat in dim light | Coastal, modern |
Source: how these pine tones actually read in the north- and south-facing rooms I've floored
Bring the actual sample into the room before you buy, light changes these tones more than any swatch under store lighting will show.
If pine's warmth just isn't landing when you hold the sample up, look at its neighbors before you buy. A lighter option like blonde maple versus blonde oak vinyl plank gives you the airy look without the yellow. On the other end, a busier wood like wide plank hickory has more grain movement than pine if you want the eye to travel. Seeing pine next to those two usually makes the call for you. If none of those tones feel bold enough, going almost the opposite direction with a dark walnut vinyl plank brings its own scratch and fade tradeoffs worth weighing before you commit.
Knotty Pine vs Clear Pine Vinyl: Which Look Fits
Knotty pine has dark knots and swirls scattered across every plank. It reads casual and forgiving, and it hides scuffs, crumbs, and pet mess because your eye is already busy. That's why I steer families and cabin owners toward it. Whether that busy, character-heavy look holds up stylistically over the next few years is a separate question, and it's one this ranking of 2026 flooring trends by longevity digs into directly.
Clear pine has few or no knots and a calmer, straighter grain. It looks cleaner and more modern, but a calm floor shows scratches, hair, and dust sooner. If you're chasing that minimal Scandinavian feel and don't mind sweeping more often, clear pine is worth it. If you want low-maintenance, knotty wins. If even clear pine's faint grain feels too busy for that look, maple runs cooler and calmer still, and this buying guide for maple vinyl plank flooring covers what to check before you commit to it.
Step 3: Pick a Wear Layer for Your Traffic
The wear layer is the clear top skin over the printed photo of the wood, and it's the number that decides scratch and dent life. Measured in mils, it is not the same thing as the plank's overall thickness. This is the single most important spec on a pine-look plank, so read it off the exact SKU and its warranty, never off a category rule of thumb.
Match it to your traffic honestly, and use these as your starting targets. Bedrooms and closets see light foot traffic, so a thinner wear layer is fine there, most residential lines put "light traffic" at roughly 6 to 8 mil. Living rooms and hallways want more; 12 mil is the number most general-residential rigid-core lines are built around, and it's a reasonable floor to shop from for medium traffic. Kitchens, entryways, and any home with dogs or cats want the thickest wear layer that product offers, commonly 20 mil on lines that market themselves for heavy residential or light-commercial use, because grit dragged in on shoes and claws is what grinds through the top skin.
| Room | Traffic | Aim for | Watch for |
|---|---|---|---|
| Bedrooms, closets | Light | ~6-8 mil wear layer | Still check the warranty term |
| Living rooms, halls | Medium | ~12 mil wear layer | Rolling chairs, pet nails |
| Kitchens, entries | Heavy | ~20 mil wear layer | Grit dragged in from outside |
| Pet households | Heavy + claws | ~20 mil plus textured finish | Seam gaps that trap dirt |
Source: the wear-layer numbers I read off LVP spec sheets before I quote a job
Match your room to the traffic level above, then check that exact mil number against the SKU's own spec sheet before you buy, brands don't all round to the same tier, and the number is rarely printed twice.
Overall thickness in millimeters is a separate question. That number is about how solid and quiet the floor feels underfoot and how well it bridges small dips in your subfloor. Most SPC and WPC pine-look planks on shelves run somewhere in the 4mm to 8mm range overall, but that's a rough band to expect, not a spec to shop by, a thicker plank feels better and hides minor unevenness, but it does nothing for scratch resistance.
Here's the trap: a fat 8 mm plank with a thin wear layer will still scuff through fast. Don't let a big thickness number sell you on scratch protection it doesn't have. Buy the wear layer for durability and the thickness for feel.
Step 4: Read Your Subfloor, Then Choose Click-Lock or Glue-Down
Before you even pick a method, do two checks. Lay a long straightedge across the subfloor to find high spots and dips, and get the floor flat to the maker's spec. On concrete, run a moisture check first, using one of the ASTM (American Society for Testing and Materials) test methods made for it. Skipping either is how good planks fail.
I learned that the hard way. Denise, a homeowner on a basement job in Decatur, talked me out of a moisture test to save an afternoon, and I let her. The floor cupped before the season was out, and I relaid it on my own dime rather than argue over whose call it was. That's the day I stopped treating the test as optional.
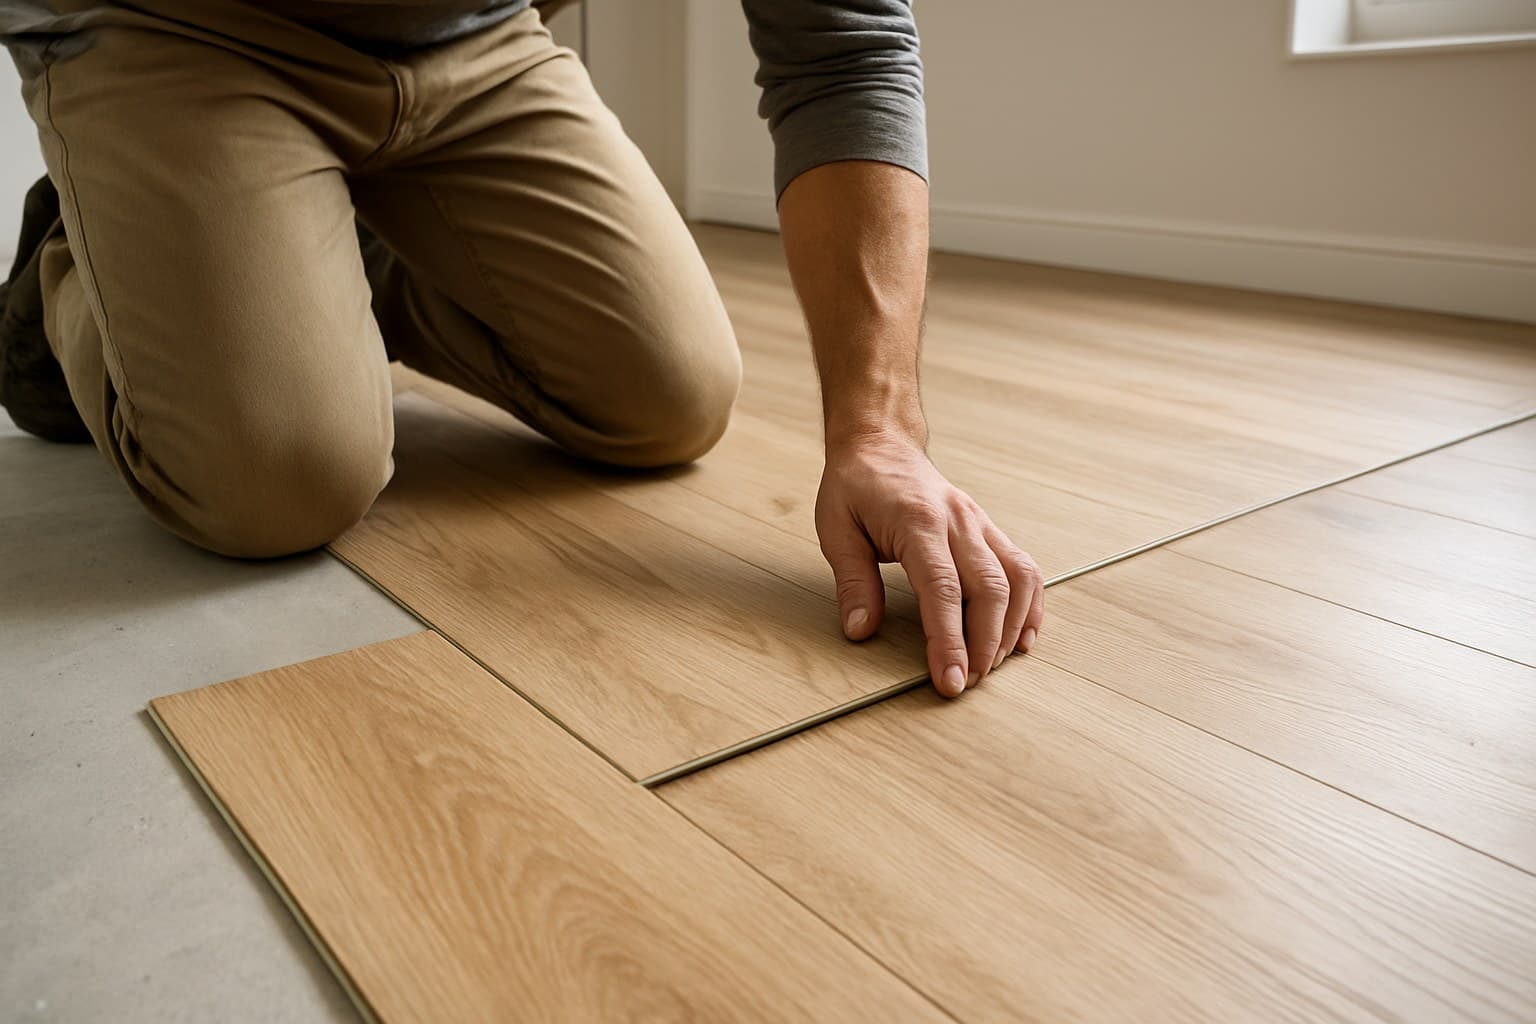
Once the subfloor is flat and dry, the method is easy. Click-lock floating planks snap together and float over the subfloor. They suit a flat, dry room and are realistic for most DIYers. Glue-down planks get bonded to the subfloor, which suits less-flat rooms, heavy traffic, and big open spans where you want the floor pinned down. Loose-lay is a niche third option that relies on friction and weight, handy for spots you may want to lift later.
Now the part the box won't say clearly. A plank can have a genuinely waterproof core and still fail at the seams. Water problems I get called back for start at the edges and joints, not the plank face. So tight seams and a dry subfloor matter more than the word "waterproof" printed on the carton.
On DIY versus hiring out, here's my honest line: click-lock in a plain open room is DIY-friendly. Glue-down, stairs, and large open-plan rooms with moisture transitions between spaces are where a pro usually pays for itself. Those are the jobs that come back when they're rushed.
Step 5: Price It Out, Materials vs Labor
There's no single national price for pine vinyl plank flooring, so here's how the math actually works. Your total is materials plus labor per square foot, times your room size, plus a premium for tricky spaces. Plan on materials of roughly $2 to $7 per square foot for the plank itself, then add labor on top, get a local quote to confirm current pricing in your area.
Labor splits by method. Click-lock installs run roughly $1 to $3 per square foot. Glue-down runs roughly $2 to $5 per square foot because it's slower and needs more prep. Those are ballpark, open-room numbers based on jobs I've priced, not a fixed national rate.
| Job type | Materials ($/sq ft) | Labor ($/sq ft) | Why it moves |
|---|---|---|---|
| Click-lock, open room | ~$2 to $7 | ~$1 to $3 | Fastest, most DIY-friendly |
| Glue-down, open room | ~$2 to $7 | ~$2 to $5 | Slower, more prep |
| Stairs | ~$2 to $7 | Higher, priced per step | Cuts, nosings, hand-fitting |
| Basement | ~$2 to $7 | Add moisture prep and leveling | Slab checks add cost and time |
Source: labor splits from the pine-look LVP jobs I've priced
Get two local quotes before you commit, labor rates swing more by region than the material price does.
Work a quick example using those ballpark numbers. A 200-square-foot bedroom in click-lock at roughly $4 materials and $2 labor per square foot works out to around $1,200 installed, before trim and underlayment. The same 200 square feet as a glued-down basement, with leveling and a moisture check, can climb past that because of the prep, not the plank.
Basement and stair jobs run more than an open room, and the extra money is in the prep and the fussy cutting, not the flooring you picked.