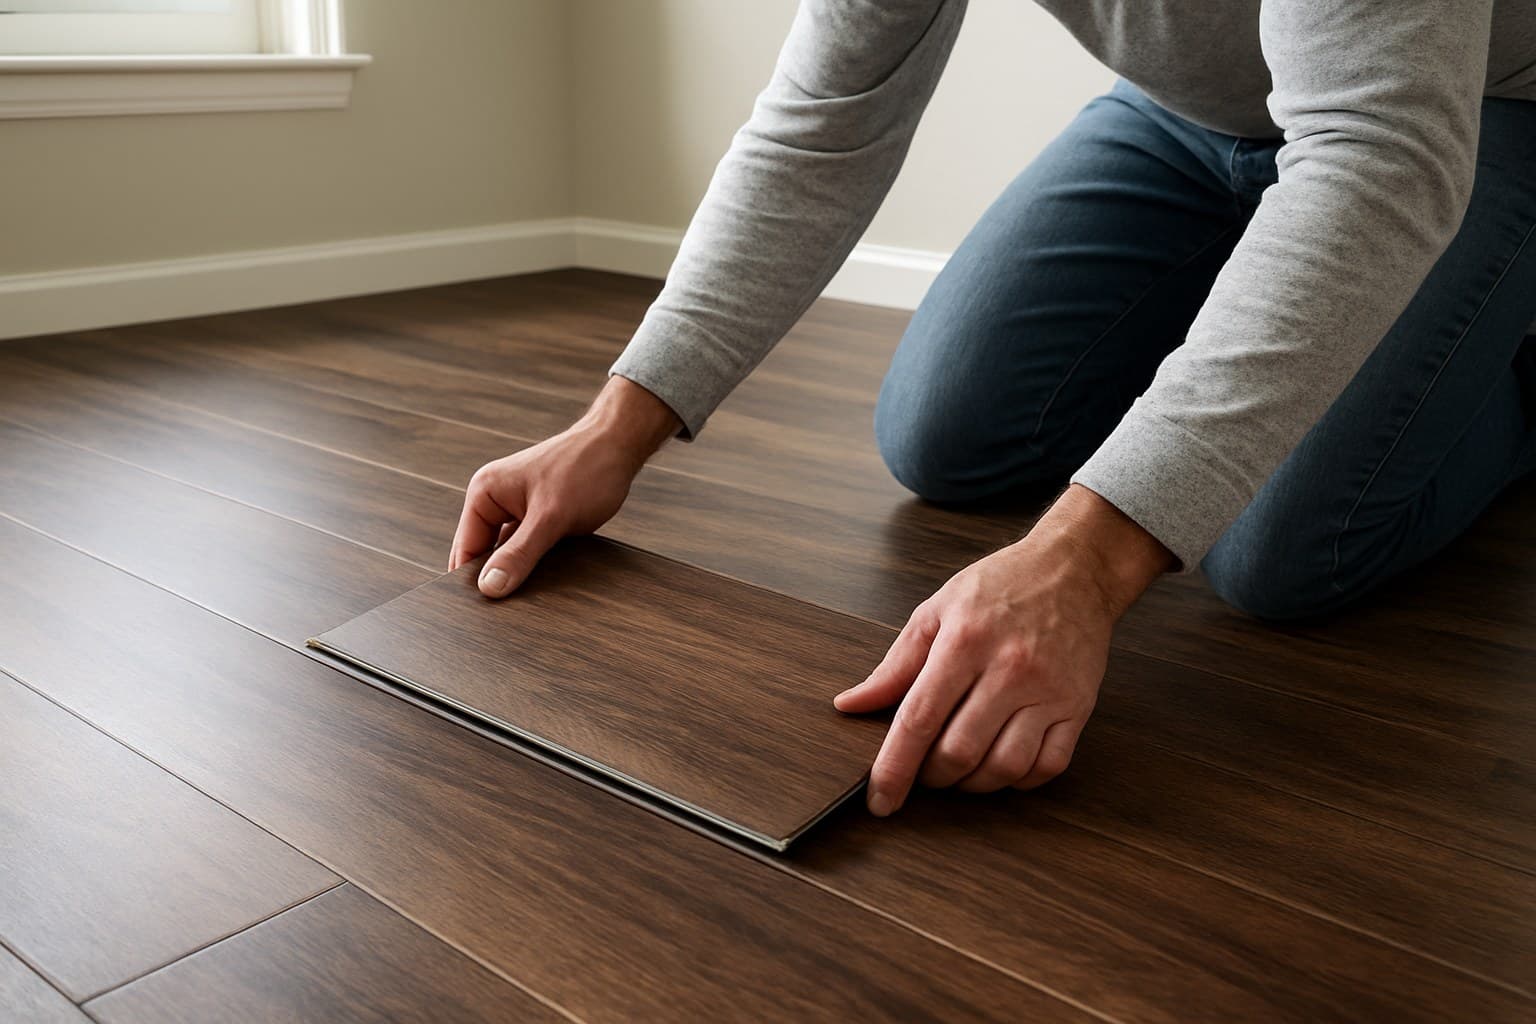
When Renee in Dayton, Ohio hired me to rip out her raised ranch's worn carpet and put down dark walnut vinyl plank, she almost bought a glossy sample because it looked rich under the showroom lights. That would have been the wrong pick: a dark tone flashes every scratch and dust speck the second light hits it, so the finish that actually works is matte and low-sheen with an embossed, grain-textured surface, never anything glossy or flat. Before: worn beige carpet over a decade old, so flattened by furniture legs you could still see the dents in the pad once we pulled it up. After: about 340 square feet of matte, embossed dark walnut SPC plank across her living room and hall, still scratch-free under her south-facing windows three winters later, that gap between the two is the whole reason this guide exists. Get that one call right and the rest of this guide, core, wear layer, seams, and cost, falls into place. If dark walnut isn't the shade you end up settling on, my rundown of the LVP colors trending in 2026 shows how it compares against what else homeowners are putting down right now.
Key takeaways
- Set the room first: traffic, moisture, and direct sun decide the core and wear layer before any color choice.
- On a dark floor, a matte, textured (embossed) finish hides fine scratches and dust; high-gloss smooth planks show every speck.
- A 'waterproof core' only protects the plank body. Spills fail at seams and edges, so check the edge/seam rating separately.
- Budget separately: materials run about $2-$8 per sq ft and labor about $2-$5 per sq ft, with stairs and basements costing more than open rooms.
- Click-lock in an open room is a realistic DIY job; glue-down, stairs, and basement moisture transitions are usually worth hiring out.
Start With the Room, Not the Plank
Before you look at a single dark walnut sample, write down three things about the room: how much foot traffic it gets, how much moisture it deals with, and how many hours of direct sun hits the floor each day. Those three answers decide the core, the wear layer, and even the finish. Color comes last. Once you've nailed those answers down, my walnut vinyl plank flooring guide covers the full range of shades beyond just this dark tone.
Sun matters more with dark walnut than with a pale floor. A dark brown plank in a bright south-facing room can fade or gray over a few years, so check that specific product's UV or fade line on its spec sheet. Don't trust a blanket "fade-proof" claim on a banner. That same fade math applies to other deep, reddish tones, which is why I break it out separately in my Brazilian cherry vinyl plank flooring guide.
Traffic sorts your rooms fast. Kitchens, entries, and any home with dogs or kids are high-abrasion jobs. Bedrooms and offices are gentle. Match the plank to the load, not to the showroom lighting.
Then there's the subfloor and moisture. A basement or bathroom is a moisture room first and a color room second, and that changes which core you're even allowed to use. Is the room a concrete slab, or plywood over a crawlspace? Answer that now, because it comes back to bite people who skip it.
Choose the Core: SPC vs WPC for Your Room
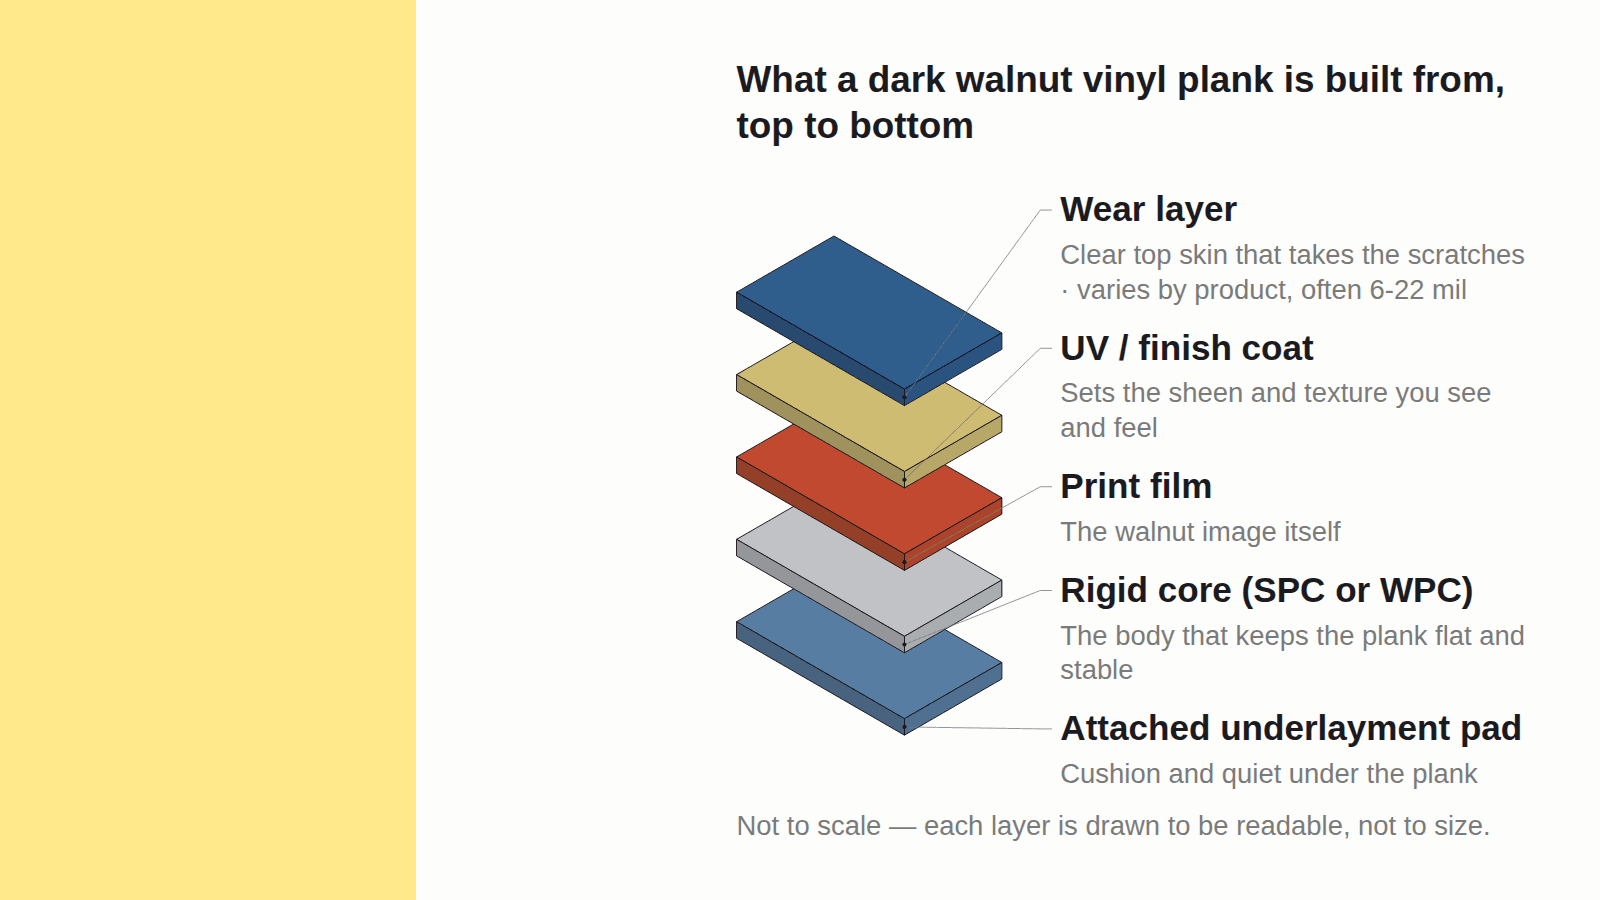
The core is the body of the plank, and for dark walnut in a busy or damp room, I steer most people to SPC. SPC stands for stone plastic composite, a dense, hard core that shrugs off dents and handles temperature swings. WPC, or wood plastic composite, is lighter and softer underfoot but dents easier. If engineered hardwood is still on the table instead of vinyl altogether, my engineered hardwood vs LVP guide compares how those cores actually hold up against a real wood veneer.
Core thickness is set per product, not per category, so read the spec sheet instead of trusting a number someone quoted online. For the full core rundown across every room and budget, see my vinyl flooring buyer's guide; here I'm keeping it to what dark walnut needs.
When SPC wins
Pick SPC for kitchens, entries, hallways, and any room sitting over a concrete slab or in a basement. Its harder body takes furniture legs, heels, and dropped pans without denting, and it stays flatter when the temperature moves. Dark walnut already shows wear, so you want the core that resists it.
When WPC is fine
WPC is a reasonable choice in a quiet bedroom, den, or low-traffic room where you want a warmer, slightly cushioned feel underfoot. Just keep it out of sunrooms and off rooms that swing hot and cold, because it moves more than SPC.
Radiant Heat: What Each Core Can Handle
If the dark walnut plank is going over an in-floor radiant heat system, that's a core question too, not just a moisture one. Both SPC and WPC can generally sit over radiant heat, but every manufacturer caps the subfloor surface temperature the product can tolerate, commonly somewhere in the low-to-mid 80s Fahrenheit, and running the system hotter than that number risks softening the vinyl, breaking down the adhesive, or opening gaps at the seams. SPC's denser, harder core tends to hold its shape more predictably under sustained heat than WPC, whose foam-based layer can compress and soften faster over time. Whichever core you pick, get the exact radiant heat rating and maximum temperature limit off that specific product's spec sheet before the installer ever turns the system on, and keep the thermostat under that number for good.
| Trait | SPC core | WPC core |
|---|---|---|
| Hardness / dent resistance | Higher, resists furniture and heels | Softer, dents easier |
| Feel underfoot | Firmer, harder | Warmer, cushioned |
| Best rooms | Kitchen, entry, slab, basement | Bedroom, den, low traffic |
| Temperature swings | More stable | Less stable in sunrooms |
Source: manufacturer core spec sheets, matched to what I see dent on real jobs
Note: general SPC and WPC core characteristics as commonly described across major brands, matched to what I see dent on real jobs, always confirm the exact core type on the specific product's own spec sheet before you buy.
SPC and WPC cores compared on the four traits that decide which one fits a room.
Match the Wear Layer to the Load
The wear layer is the clear top coat that soaks up scratches and grit, and on a dark floor a thicker one is worth paying for. It's measured in mils, thousandths of an inch. A thicker wear layer lasts longer under abuse and buys you more years before scratches start to show.
Don't trust a mil number without the product name attached. It varies line to line even inside one brand like Lifeproof or Coretec, so a "20 mil" claim on a display means nothing until you know which exact SKU it belongs to.
Here's the rough guide from my own jobs: a lighter mil is fine for bedrooms, a mid range suits living areas, and the heaviest belongs in kitchens, entries, and pet homes. A thick wear layer helps dark walnut in particular, because fine scratches on a dark plank flash white and catch your eye. More clear coat on top means more time before that happens.
| Room load | Wear layer target | Note |
|---|---|---|
| Bedroom / office (light) | Roughly in the 12 mil range | Gentle traffic, thinner is fine, verify on the exact SKU's spec sheet |
| Living / dining (medium) | Roughly in the 20 mil range | Daily use, some furniture moves, varies by brand and SKU |
| Kitchen / entry / pets (heavy) | Roughly 28 mil or thicker | Grit and claws, go thickest, check the specific product's rating |
Wear layer thickness matched to how hard each room works the floor; treat these as rough starting points and confirm the real number on the product you're buying, since it varies by SKU even within one brand.
Pick a Finish and Texture Made for a Dark Tone
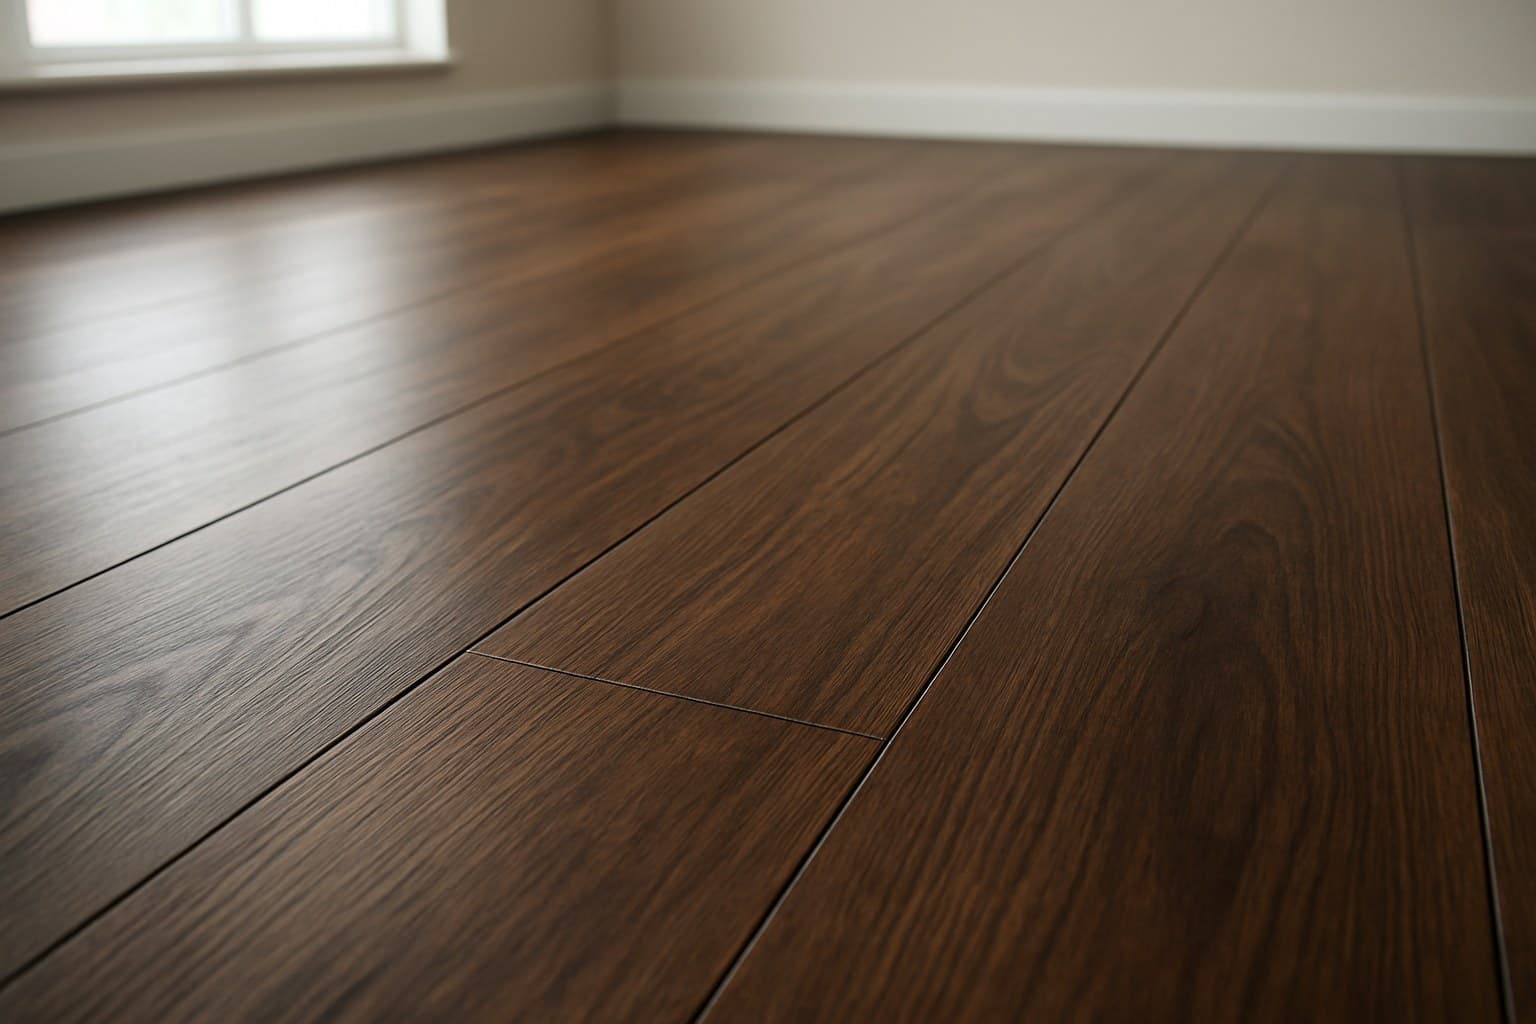
This is the whole game for dark walnut. A matte, low-sheen finish hides the light film of dust that settles on any dark floor and kills glare. A high-gloss plank shows every speck and every stray hair. If you take one thing from this article, take that. That matte preference isn't just a personal taste call either, it's one of the finishes holding up best in my 2026 flooring trends aging guide.
Look for an embossed or grain-textured surface, sometimes labeled EIR, which just means the texture follows the printed wood grain instead of sitting flat. That texture scatters light so fine scratches don't catch and flash. A smooth, glassy plank does the opposite: scuffs and reflections give the plastic away, and a dark floor reads cheap the moment that happens.
Texture and a good print are what sell the realism. On a dark tone, a strong grain image under a matte, embossed surface can pass for real walnut across a room. A shiny, smooth one won't. The same question comes up with busier, lighter-grained species, which is why I put together a dedicated hickory vinyl plank flooring guide to judge whether that same texture trick holds up on hickory too.
If you're weighing lighter woods too, texture reads differently on pale planks; my blonde maple vinyl plank guide and the pine vinyl plank guide walk through how finish behaves on those tones. If maple specifically is what you're circling back to, my maple vinyl plank flooring guide lays out the details worth checking before you commit to it.
How the same dark walnut plank reads under a matte-textured finish versus a glossy-smooth one.
Check the Seam and Edge Rating, Not Just the Core
A "waterproof core" only means the plank body itself won't swell if water sits on it. It says nothing about the seams and edges, and that's exactly where spills and mop water get in. Those joints are rated separately, so read them separately.
Ask for the product's edge or seam water rating and its own guidance for wet rooms. Many click-lock floors are water-resistant at the joint, not truly sealed, and that difference decides whether it belongs in a bathroom.
Bevels are the little V-groove between planks, and they look great on dark walnut because they add depth. But they also trap grit and moisture along every seam, so a beveled floor needs more careful cleaning than a flat one. That beveled, textured look is part of a bigger shift in buyer taste right now, one I map out fully in my guide to today's most trending flooring.
In baths and basements, the perimeter gap around the walls, the transitions at doorways, and the sealing at the edges matter more than the waterproof claim printed on the box. Get those right and a spill stays on top; get them wrong and the water finds a way under, core rating or not.
Budget It: Materials vs Labor, Room by Room
Split the number in two, always. Materials for dark walnut vinyl plank run roughly $2-$8 per square foot depending on the core and wear layer, and labor is a separate line of about $2-$5 per square foot. Anyone who quotes you one flat "installed" number is hiding which half is padded.
Labor for click-lock in an open room is the cheapest install. Glue-down costs more to lay. Stairs are priced per step, and basements add moisture prep, so both cost more than a plain open room. The basement premium is worth noting, since the slab often needs testing and sometimes a moisture barrier before a plank goes down.
Here's the arithmetic. Total cost = (material price + labor price) per square foot, times the room's square footage, plus about 10% for cutting waste and trim.
Work a real 200 square foot room: $4 material plus $3 labor is $7 per square foot, times 200 equals $1,400. Add roughly 10% for waste, underlayment, and trim and you're near $1,540 before stairs or moisture work.
| Room (200 sq ft) | Material/sq ft | Labor/sq ft | Base total | +10% waste/trim |
|---|---|---|---|---|
| Bedroom, click-lock | $3 | $2 | $1,000 | ~$1,100 |
| Living room, click-lock | $5 | $3 | $1,600 | ~$1,760 |
| Kitchen, glue-down | $6 | $4 | $2,000 | ~$2,200 |
| Basement over slab | $5 | $4 + prep | $1,800+ | ~$2,000+ |
Source: my own quotes on residential jobs, split the way I write them up
Worked cost estimates for a 200 sq ft room, split into materials and labor, using the formula above.
Before you lock in a species and grade, price it against other wide-plank looks. My wide plank hickory guide breaks down the cost of a busier grain, and the wide plank walnut guide covers what the same look costs in real wood if you're torn between vinyl and hardwood.
Install It: When to DIY, When to Hire, and Prep First
Here's the honest split: click-lock dark walnut in an open room is a realistic DIY job for most handy homeowners. Glue-down, stairs, and any basement or bathroom with a moisture transition are where hiring a pro usually pays for itself. Wide planks show every dip in the floor, so a dark, wide walnut is less forgiving of a rushed install than a narrow, light one. If you're still torn between vinyl and the real material, my hardwood floors solid vs engineered guide covers that same installation trade-off for actual wood planks.
Whether you DIY or hire, the prep comes before any plank goes down. Two checks are not optional. First, flatness: lay a long straightedge across the subfloor and look for gaps. Most makers want the floor flat within a set tolerance, and a hollow under a wide plank turns into a click that pops for years.
Second, moisture. On a slab or in a basement, test it with a moisture meter, a small tool that reads how wet the concrete is, and follow the product's own limit. I learned this the hard way on a basement job for a homeowner named Carol in Lansing. That was a 260 square foot rec room; she talked me out of a fifteen-minute moisture test to save an afternoon, and I let her. Planks along the far wall started cupping visibly within about four months, and I ended up tearing out and relaying the room that November, close to $900 in materials and two days of labor, on my own dime, rather than argue about whose call it was. That was the day I stopped treating the test as optional.
Check whether your product needs acclimation too, letting the planks sit in the room before install. Some lines require it, some say it's not needed, so the box's own sheet settles it, not a rule of thumb. Get flatness, moisture, and acclimation right and a click-lock DIY job goes smoothly. Skip them and even a pro install fails.