
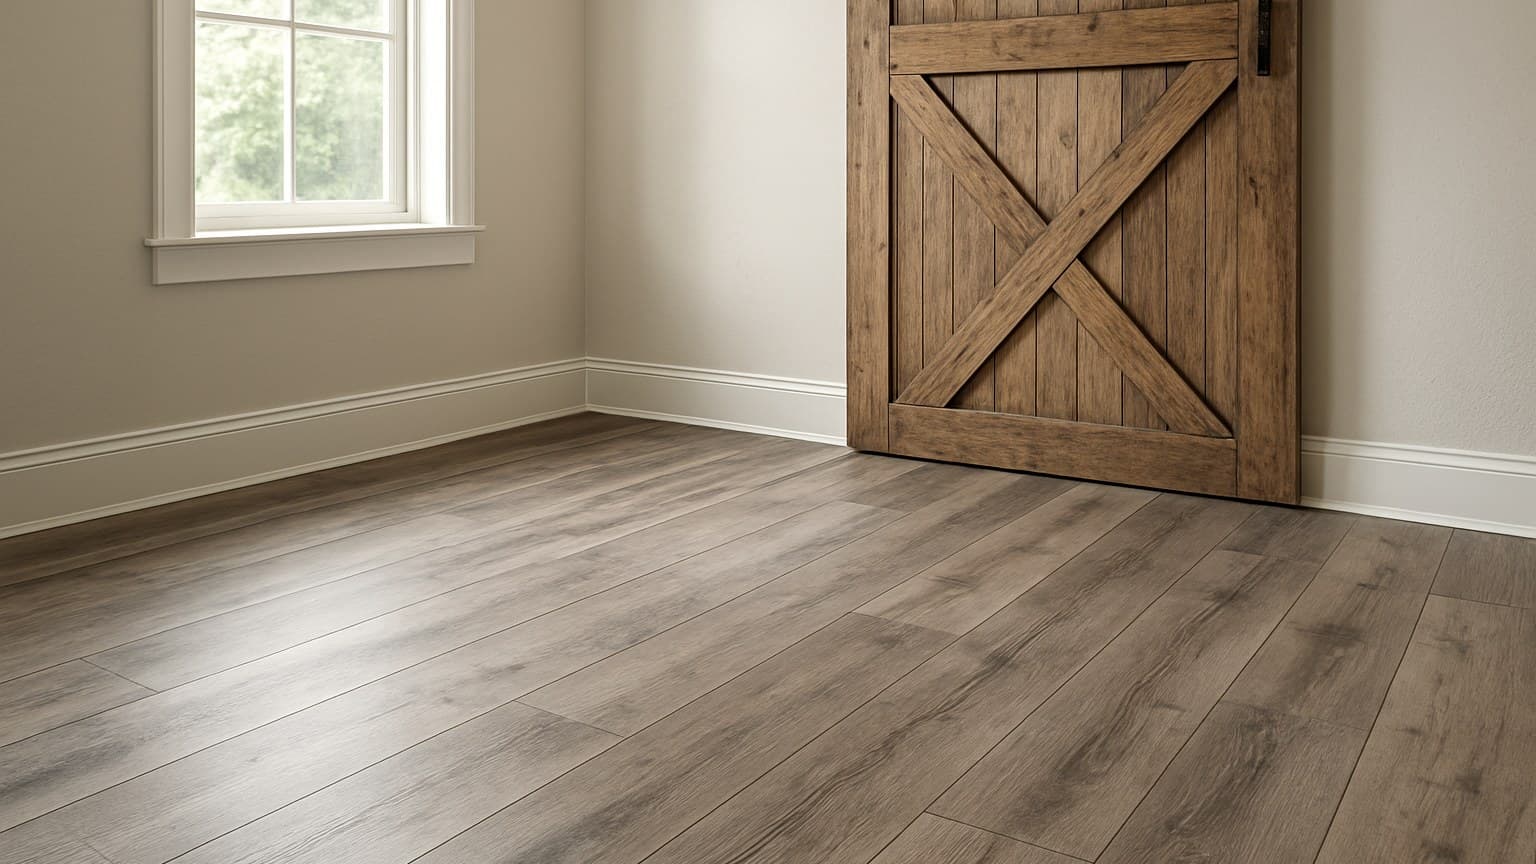
In a fixer-upper I redid for a customer named Renee in Dayton, Ohio, I laid rustic barnwood vinyl plank that passed for century-old boards. A year later, on a rental unit two blocks over, I pulled up the same style line and it read as printed plastic. The catch is you often can't tell which one you're buying from a palm-size showroom chip. Getting it wrong costs you a whole room, not a plank.
A note on sourcing: I don't publish photos from client homes out of respect for their privacy, so you won't find before/after shots of the Renee job or the rental teardown here. What you will find is that every claim in this piece comes from jobs I've personally installed, torn out, or inspected, including those two, not from a spec sheet I've only read.
Key takeaways
- Realism is decided by three things, not the brand: raised (wire-brushed) texture you can feel, a mix of plank widths and lengths, and how many different plank faces are in the box.
- The barnwood SPC line whose spec sheet ranks for this term lists 4.5mm total thickness, a 12-mil wear layer, and a 20-year residential warranty; treat those as that product's numbers, not the whole category's.
- Materials run about $2-5 per square foot and labor about $2-4 per square foot in open rooms, with basements and stairs costing more.
- A waterproof SPC core does not mean waterproof seams; the plank face shrugs off water but standing water still works into the edges over time.
- Click-lock barnwood vinyl is a realistic DIY over a flat, dry subfloor; basements, stairs, and big open-plan moisture transitions are where hiring pays off.
Start Here: Why the Same Floor Looks Fake in One Room and Real in Another
The look isn't set by the brand name or the price tag. It's set by three things you can check yourself: how much real texture the plank has, how much the plank sizes vary, and how many different plank faces are printed in the box.
Here's the part shoppers miss. Raised grain you can feel catches light from the side, the way a real weathered board does, so it reads as wood. A flat, smooth print has nothing for light to grab, so under a bright window or overhead can lights it goes dead flat and plasticky. The same floor can look great in a dim hallway and fake in a sunny kitchen.
The other trap is the sample. A little chip looks fantastic because you only see one face. Cover a whole room with a cheap line and you start seeing the same knot, the same crack, every few rows. Your eye locks onto the pattern and the illusion breaks.
Get the look right first. The specs, the room picks, the cost, and the install only matter once the floor actually reads as wood. If a warm reddish hardwood tone is more your style than weathered gray, american cherry hardwood flooring is worth a look before you commit to the barnwood route.
The Realism Test: Texture, Plank Variety, and Repeat Count
Three checks tell you almost everything before you spend a dime.
Feel the Grain, Don't Just Look at It
Run your hand across the sample. You want grain you can feel, not just see.
Two textures do this well. Wire-brushed means the surface has fine grooves pressed into it, like a real board that's been scrubbed with a wire brush. Embossed-in-register, often shortened to EIR, means the grooves you feel line up exactly with the grain you see in the print. When the feel and the picture match, side light behaves like it does on real weathered barnwood.
A smooth printed surface fails this test. It's a photo of wood under a flat coat. It can look sharp in a catalog and cheap on your floor.
Count the Planks in the Box
Real reclaimed barnwood came off different buildings in mixed widths and lengths, and no two boards were alike. Good vinyl copies that by printing a number of unique plank faces. In my experience, better lines run eight or more different faces; cheaper ones may run as few as three or four, though this varies by manufacturer. Among real hardwoods, hickory flooring's natural grain variation comes closest to that same board-to-board contrast, swinging from pale sapwood to dark heartwood within a single plank.
Fewer faces means the same knot lands near itself more often, and your eye catches the repeat. Before you buy, lay several planks side by side and hunt for a repeated knot or a matching crack. If you spot one fast in a small stack, you'll spot it everywhere on the floor.
Mixed plank widths and staggered lengths help too. One uniform plank size reads as a machine-made grid, not salvaged lumber.
If you like the weathered look but aren't married to barnwood specifically, it's worth comparing tones. A walnut LVP reads darker and more formal, while an acacia vinyl plank brings more color streaking. The same realism rules apply to all of them. If you'd rather skip the vinyl look-alike and get the real species instead, it helps to know what to check before buying acacia flooring so the grain and hardness actually meet expectations in that room.
The three tells on the left are what make barnwood vinyl read as reclaimed wood; the three on the right are what give it away. Drawing is not to scale.
What the Specs Actually Mean (in Plain Words)
Most barnwood vinyl today is SPC, which stands for stone plastic composite. That's a rigid, dense core with stone powder mixed in, so the plank stays stiff and doesn't swell in water. The older WPC, wood plastic composite, has a softer, warmer-feeling core, but you'll see less of it on barnwood lines now.
Wear layer is the clear plastic sheet on top that takes the scratches. It's measured in mils, and a mil is one thousandth of an inch. According to the spec sheet for the NuCore Harvest Barnwood SPC line I install, that product carries a 12-mil wear layer. Thicker generally means better scratch and dent resistance, but that 12-mil number belongs to that one product, not an industry rule, so always check the box in front of you.
Here's the line that saves callbacks: a waterproof core is not the same as waterproof seams. The NuCore Harvest Barnwood SPC line's core won't puff up in water. Even on that product, the seams and edges between planks are only water-resistant. Standing water left long enough still works its way into those seams, so a spill wiped up fast is fine, a flooded floor left overnight is not.
Many lines glue a foam pad to the bottom, usually EVA (a soft, rubbery foam) or IXPE (a denser, cross-linked foam that resists getting crushed flat). That gives a softer step and cuts noise. Sound gets rated with a number called IIC, short for Impact Insulation Class; higher just means less footstep noise passes through to the room below.
Per its own spec sheet, that same NuCore Harvest Barnwood SPC line lists a 4.5mm total thickness and a 20-year residential warranty. Read the fine print, because that warranty depends on you meeting the subfloor rules underneath, flat and dry. If the prep fails, the warranty does too. Check the spec sheet for the exact product you're buying, since these numbers change line to line.
Best Rooms for Barnwood Vinyl (and Where It Struggles)
Barnwood vinyl earns its keep in the rooms where a rustic look and water tolerance both matter. Kitchens, entryways, mudrooms, and living areas are the sweet spot.
Bathrooms and laundry rooms work well too, thanks to the SPC core. The thing to watch is the seams and the transitions. Caulk where the floor meets the tub or the tile, and don't let water pool under the washer or around the toilet base.
Basements are one of the strongest cases for this floor, because the rigid core handles a concrete slab and swings in humidity that would wreck solid wood. But test the slab for moisture before anything goes down. A slab can feel dry to your hand and still read wet on a moisture meter, which is a tool that measures how much water is in the material. Basement jobs also cost more in labor than an open room, because of cutting around posts, cold-joint transitions (the seams where two separate concrete pours meet, which often sit at slightly different heights), and stairs.
Where it struggles: sunrooms with heavy direct sun, since strong UV can make some lines gap or fade, and any badly uneven subfloor you didn't level first.
| Room | Verdict | What to watch |
|---|---|---|
| Kitchen | Great | Seal around the dishwasher and sink base |
| Full bathroom | Good | Keep standing water off seams; caulk transitions |
| Basement | Great | Moisture-test the slab first; expect higher labor |
| Laundry | Good | Protect seams under the washer |
| Sunroom | Caution | Direct sun can gap or fade some lines |
| Bedroom/living | Great | None major; a pad-attached line feels warmer |
Source: my own barnwood vinyl installs across kitchens, baths, and basements
How barnwood vinyl performs room by room, and the one thing to watch in each.
Still deciding between rooms and products? The broader vinyl flooring buyer's guide walks through what makes any vinyl floor last 5 years versus 20.
Barnwood Vinyl vs Real Reclaimed Wood vs Laminate
Real reclaimed barnwood still wins on absolute realism and feel. It's actual old wood, so it can't be beaten there. But it costs far more, needs skilled prep, and can't go where water lives.
Laminate is the closer call. A good laminate can show a very convincing wood look, sometimes sharper than vinyl, and it often costs less. The tradeoff is water. Laminate's core is wood-based, so it swells if water sits on it, while barnwood vinyl shrugs off spills and damp slabs. You're choosing between a better look for less money and better water tolerance.
| Factor | Barnwood vinyl (SPC) | Reclaimed barnwood | Laminate |
|---|---|---|---|
| Realism | Good with real texture | Best, it's real wood | Can be very good |
| Water tolerance | High core, weaker seams | Low | Low to moderate |
| Feel underfoot | Firm; pad softens it | Solid, warm | Hard, can sound hollow |
| Materials cost | $2-5/sqft | Much higher | $1-4/sqft |
| Refinish later | No | Yes, many times | No |
| DIY-friendly | Click-lock, yes | Hard, hire it | Click-lock, yes |
Source: the barnwood SPC and laminate spec sheets I install against, plus reclaimed oak I've pulled up and relaid
Barnwood vinyl against real reclaimed wood and laminate on the things that decide the buy.
If you're leaning toward the genuine article, the real barnwood flooring guide covers the prep and stability issues vinyl lets you skip.
What Barnwood Vinyl Actually Costs
Materials run about $2-5 per square foot, and labor runs about $2-4 per square foot in an open room, based on typical ranges I see on jobs. Basements and stairs cost more, so treat those separately.
The math is simple. Take your material price plus your labor price, both per square foot, add them, and multiply by the room's square footage. Then add prep if the subfloor needs leveling.
Project cost = (materials per sqft + labor per sqft) x square feet + prep.
Worked example, a 200 square foot kitchen at $3.50 materials and $3 labor: (3.50 + 3.00) x 200 = $1,300, before any leveling.
| Job | Materials $/sqft | Labor $/sqft | 200 sqft total |
|---|---|---|---|
| Open living/kitchen | $2-5 | $2-4 | $800-1,800 |
| Basement (over slab) | $2-5 | $3-5 | $1,000-2,000 |
| Bathroom/laundry | $2-5 | $3-5 | $1,000-2,000 |
| Stairs | priced per step | priced per step | see below |
Rough cost ranges split by materials and labor; confirm with local quotes.
Stairs don't price by the square foot. Materials are small, often $10-20 per step, but labor is the story, commonly $30-75 per step because each tread and riser is cut, wrapped, and glued by hand. A staircase can cost more than a small bedroom. These are starting ranges; species of look, region, and prep all move them, so get two local quotes.
DIY or Hire: Getting It Down Right
Before any plank goes down, two checks come first, and skipping them is where floors fail. The subfloor has to be flat, usually within the tolerance the maker prints in its install guide, and it has to be dry, which on concrete means a moisture reading, not a guess. Level the humps and fill the low spots first.
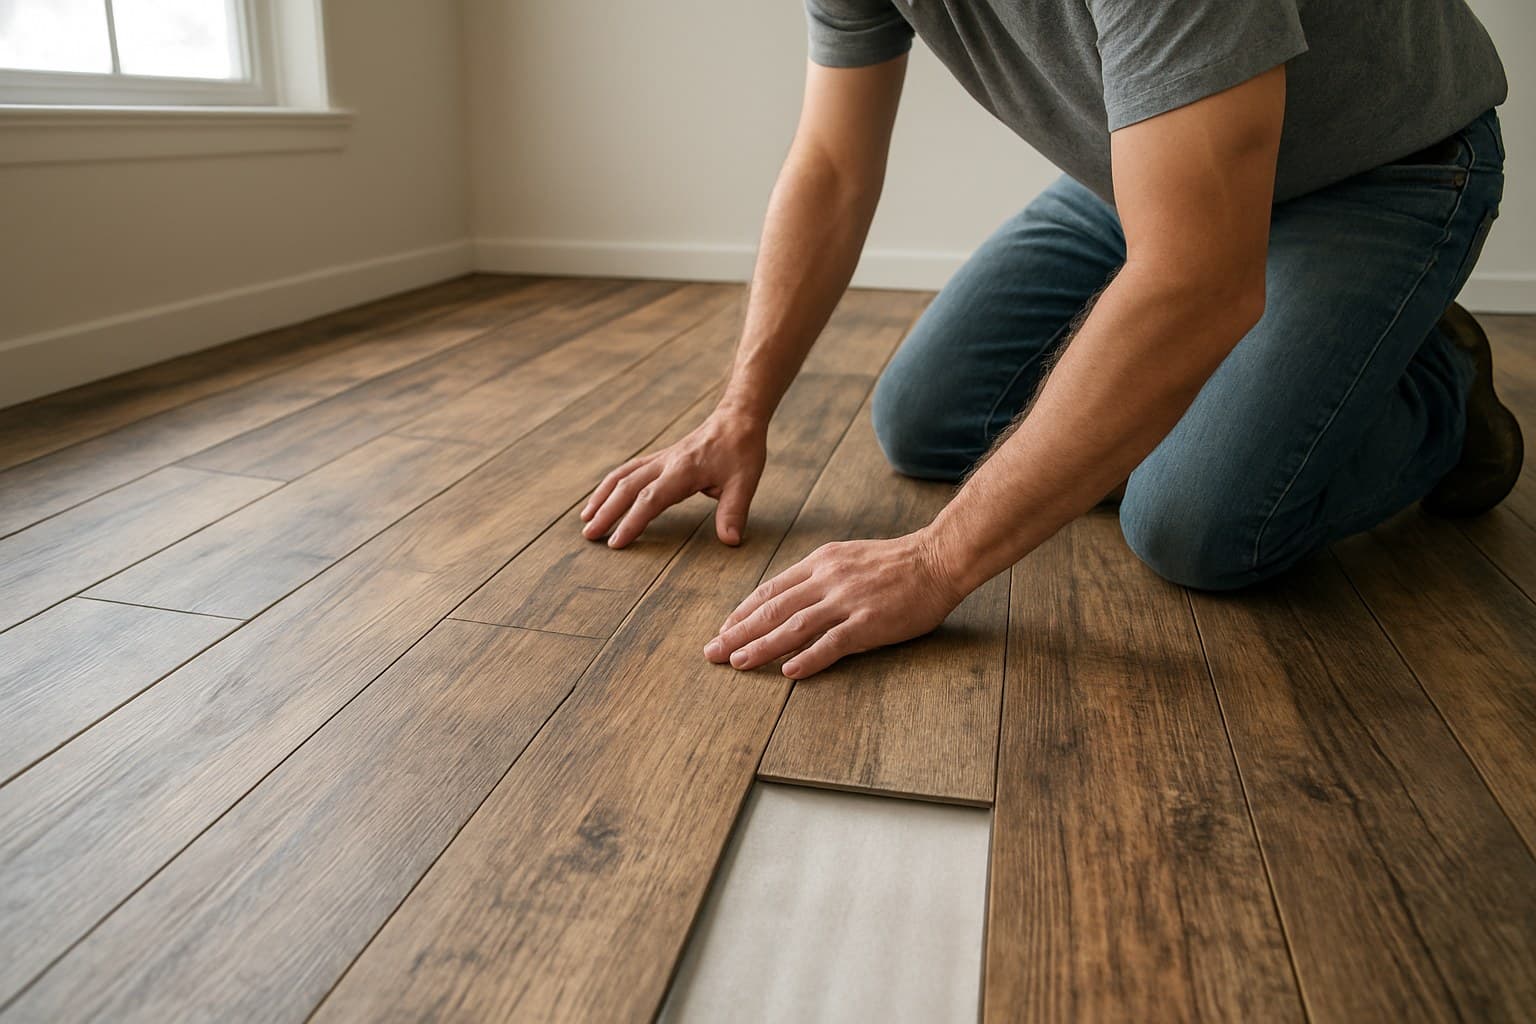
Click-lock barnwood vinyl is a realistic DIY for most people over a flat, dry subfloor. The planks snap together, you cut them with a utility knife and a square, and you leave an expansion gap around the edges. That gap matters, and the size is whatever the manufacturer specifies, not a number you copy off a forum. Check the box on acclimation too; some lines want the planks to sit in the room first, some say it's not needed.
Where I tell people to hire out: glue-down floors, stairs, and big open-plan layouts with moisture transitions between rooms. Glue-down is unforgiving, stairs are slow and fussy, and long open runs need the expansion and transitions planned right or the floor buckles. If your job is one flat, dry, rectangular room, it's a weekend. If it's a basement with stairs, pay the pro.
One method that's not part of this picture: nail-down installation. That's how solid and engineered hardwood get fastened to a wood subfloor, but barnwood vinyl plank doesn't nail down, it's built to float as a click-lock system or, in wet or high-traffic commercial spots, to glue flat to the substrate. The plank is too thin and the core isn't made to hold a fastener without cracking. If someone offers to nail your vinyl plank down, treat that as a sign to look elsewhere. If you're actually shopping for that nail-down hardwood instead of a vinyl look-alike, choosing between solid and engineered hardwood species is the next decision worth getting right.
On underlayment beyond the attached pad: the foam glued to the back of most barnwood vinyl planks is enough cushioning and sound damping for a typical room over a flat, dry wood subfloor. It's usually not enough on its own over concrete, because concrete wicks moisture upward. Check whether the attached pad includes a built-in vapor barrier, the product's spec sheet will say. If it doesn't, roll out a separate poly vapor barrier across the slab before you click the first plank down; skipping it is how basements fail early even when the floor itself is rated waterproof.
Transitions also need their own hardware, not just a butted edge. Where the floor meets a different material, tile, hardwood, carpet, or crosses into another room, use a transition molding: a T-molding bridges two floors at the same height, a reducer steps down to a lower surface like tile, and a threshold covers doorways where heights differ more. These pieces also hide the expansion gap the floor needs at those points, so budget for one at every doorway and material change, not just around the room's perimeter.
How to Keep It Looking Real
Sweep or vacuum grit, since fine grit is what dulls a wear layer over time. Damp-mop with a cleaner made for vinyl, and wring the mop out, because you're cleaning the surface, not flooding the seams.
Put felt pads under furniture legs and use a mat at doors to catch the grit before it gets tracked in. In a sunroom or a bright south-facing room, blinds or a UV film help slow fading on lines that are prone to it. None of this is fussy, but it's the difference between a floor that still reads as weathered wood in ten years and one that looks tired in three.