
Search "epoxy over laminate flooring" and half the results are countertop projects dressed up as floor advice. That mix-up is how people pour a slick, pricey coating onto a floating floor and watch it crack at the seams by spring. Here is what actually happens underfoot.
Key takeaways
- Epoxy can technically go over laminate, but the smooth, non-porous wear layer and the seams between planks are where it usually peels or cracks first.
- The success stories you read are almost always countertops, not floors. Floors flex and move far more, so countertop advice does not transfer.
- It only stands a chance on a small, dead-flat, low-traffic floor that you sand and coat with a real bonding primer, not just a quick clean.
- Sanding older laminate cores can release formaldehyde dust; the EPA notes many composite wood cores emit it, so wear a respirator and ventilate.
- For most homeowners, glue-down luxury vinyl or a full re-lay costs about the same and lasts years longer than epoxy over laminate.
The Short Answer: Yes, But I'd Talk You Out of It
Epoxy will physically stick to laminate if you prep it right, but on a real floor it usually starts failing at the plank seams and under foot traffic within a few months to a couple of years. So the honest verdict is: technically possible, rarely worth it.
There is one narrow case where it stands a chance. A small, dead-flat, low-traffic room, like a powder room or a closet, where you fully sand the surface dull and roll on a real bonding primer before any epoxy. Not a quick mop and pour.
Most people asking this want a cheap, glossy upgrade over tired laminate. Once you look at how much does epoxy cost on its own, that money almost always buys a longer-lasting floor if you spend it a different way, and I'll show you where.
The rest of this walks through why the coating fights the floor, what failure looks like, the prep that improves your odds, the real cost split — including where an epoxy floor price breakdown actually goes — and the alternatives that beat it.
Why Laminate Fights Epoxy at the Seams
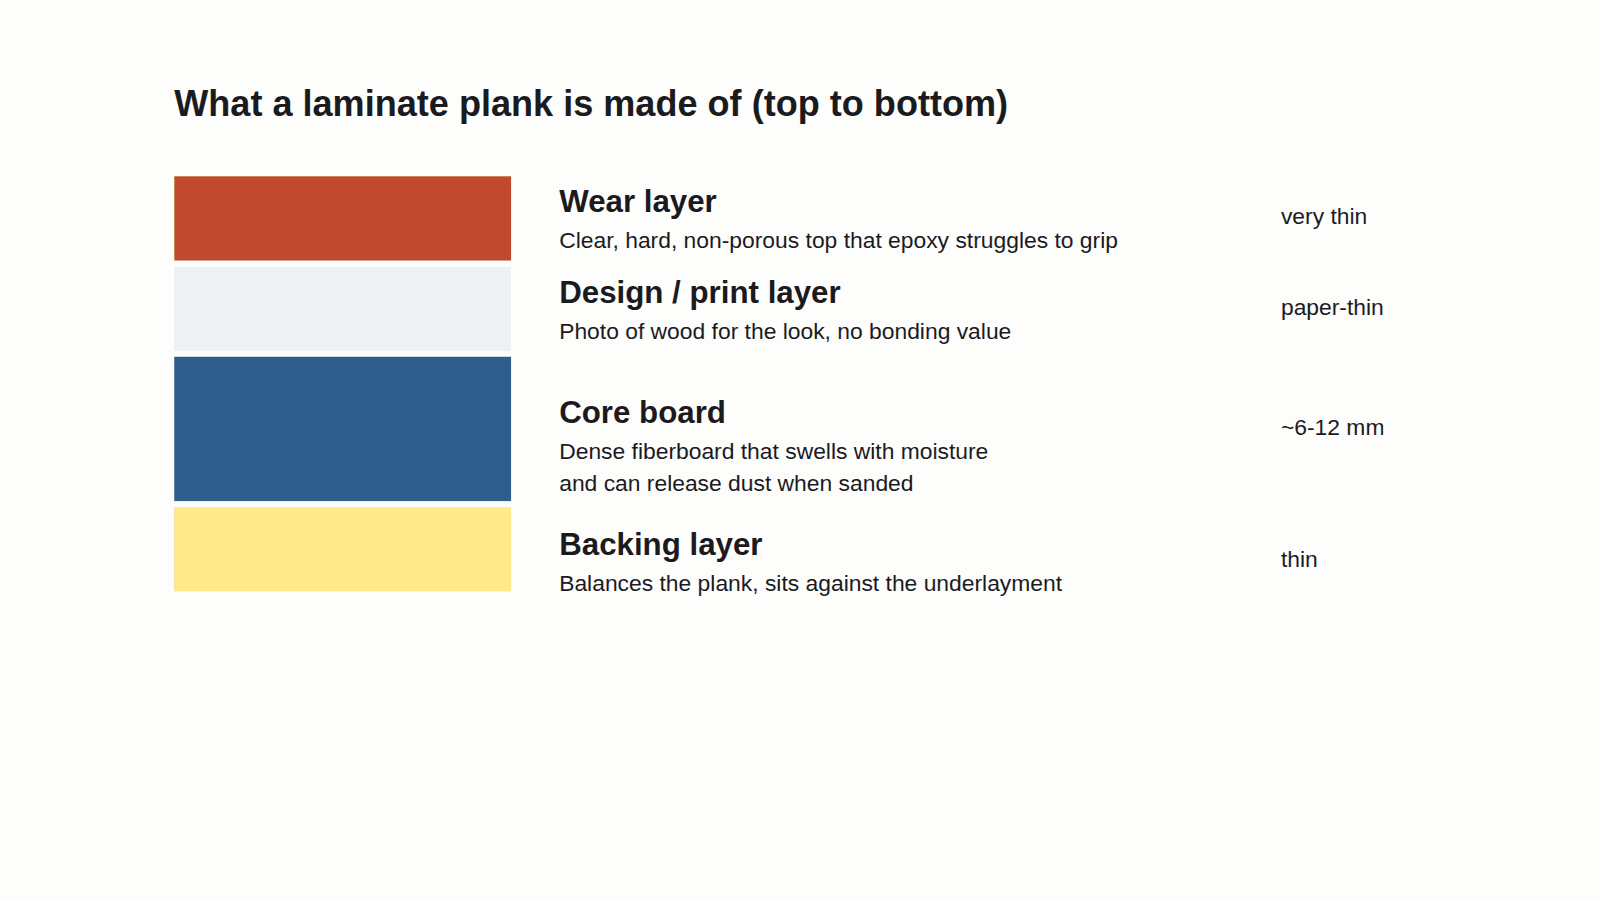
Laminate's top layer is smooth, hard, and non-porous, which means epoxy has almost nothing to grab onto unless you scuff it up first. A shiny surface sheds a coating the same way a waxed car sheds water.
Then there is movement. Laminate is a floating floor, meaning it sits loose over a foam pad and expands and contracts as the room's humidity changes. Epoxy dries into a rigid, glass-like skin, and a rigid skin over a moving floor cracks right where the planks shift.
The seams are the real weak spot. Even if you get a solid bond on the flat face of a plank, the joints between planks still flex and open with the seasons. That is where cracks and moisture start.
This isn't a made-up problem. According to the Tile Council of North America (TCNA), the tile industry maintains specialty bonding formulas engineered specifically for resin-based laminate surfaces, precisely because plain resin resists normal adhesion. Laminate's wear layer is one of those slick, resin-based surfaces, which is why a bonding primer isn't optional here.
Not to scale. The layers are drawn at readable sizes, not their true thickness.
If your laminate is worn and you are weighing a real fix, our full breakdown of laminate flooring covers what holds up and what to replace it with.
Floors vs. Countertops: Why the Advice You're Reading Doesn't Apply
Here is the trap: most of the epoxy-over-laminate success stories online are countertops, not floors. Kits like Stone Coat are built for a small, fixed surface, and their results don't carry over to a room you walk on.
A countertop is small, screwed down tight to a solid base, and almost never flexes. A floor is room-sized, floats over foam, and takes foot traffic, dropped pans, and furniture that slides — the kind of punishment an actual industrial epoxy flooring system is built to survive, not a thin coat over laminate. Those are two different jobs for the same bucket of resin.
The base underneath matters too. Countertop laminate is usually glued hard to plywood or particle board, so it doesn't move. Floor laminate floats as one big loose sheet and shifts with the seasons.
So stop copying countertop steps for your floor. The same coating that cures into a bulletproof counter will spider-crack on a moving floating floor, because nothing under it is holding still.
What Actually Happens When It Fails
When epoxy over laminate goes bad, it shows up in three ways: it peels at the edges and doorways, it clouds up with milky bubbles, and it grows hairline cracks that trace the plank seams like a road map.
Almost every one of those traces back to a skipped step, not the epoxy itself. No sanding, so the coating never grabbed. No bonding primer, so it sat on top like a sticker. Or laminate that was still swelling and shrinking with humidity, so the rigid skin had no chance.
The honest timeline: a rushed, poorly prepped floor can start lifting within a few months. A small room that got real prep might give you a few good years before the seams start telegraphing through. Neither matches the decade-plus you'd expect from a proper floor.
On a rental unit I stripped for a landlord in Tulsa, the epoxy someone had brushed straight over the laminate had lifted in sheets right along the plank seams, and it hadn't bitten anywhere the surface still had its factory shine. That job showed the two failure points I see every time: the floor moving underneath, or a surface that never got roughed up enough to grab.
The Prep That Improves Your Odds (and a Dust Warning)
If you're set on trying this, the prep is what decides everything. Skip a step and you're just buying an expensive peel.
Start under the floor, not on top of it. Confirm the laminate is dead flat and the planks aren't lifting or moving. Then check for moisture below it with a moisture meter, a handheld tool that reads how much water is in the floor. A floor that still moves or reads damp will crack the epoxy no matter how well you prime, so this is the non-negotiable first step.
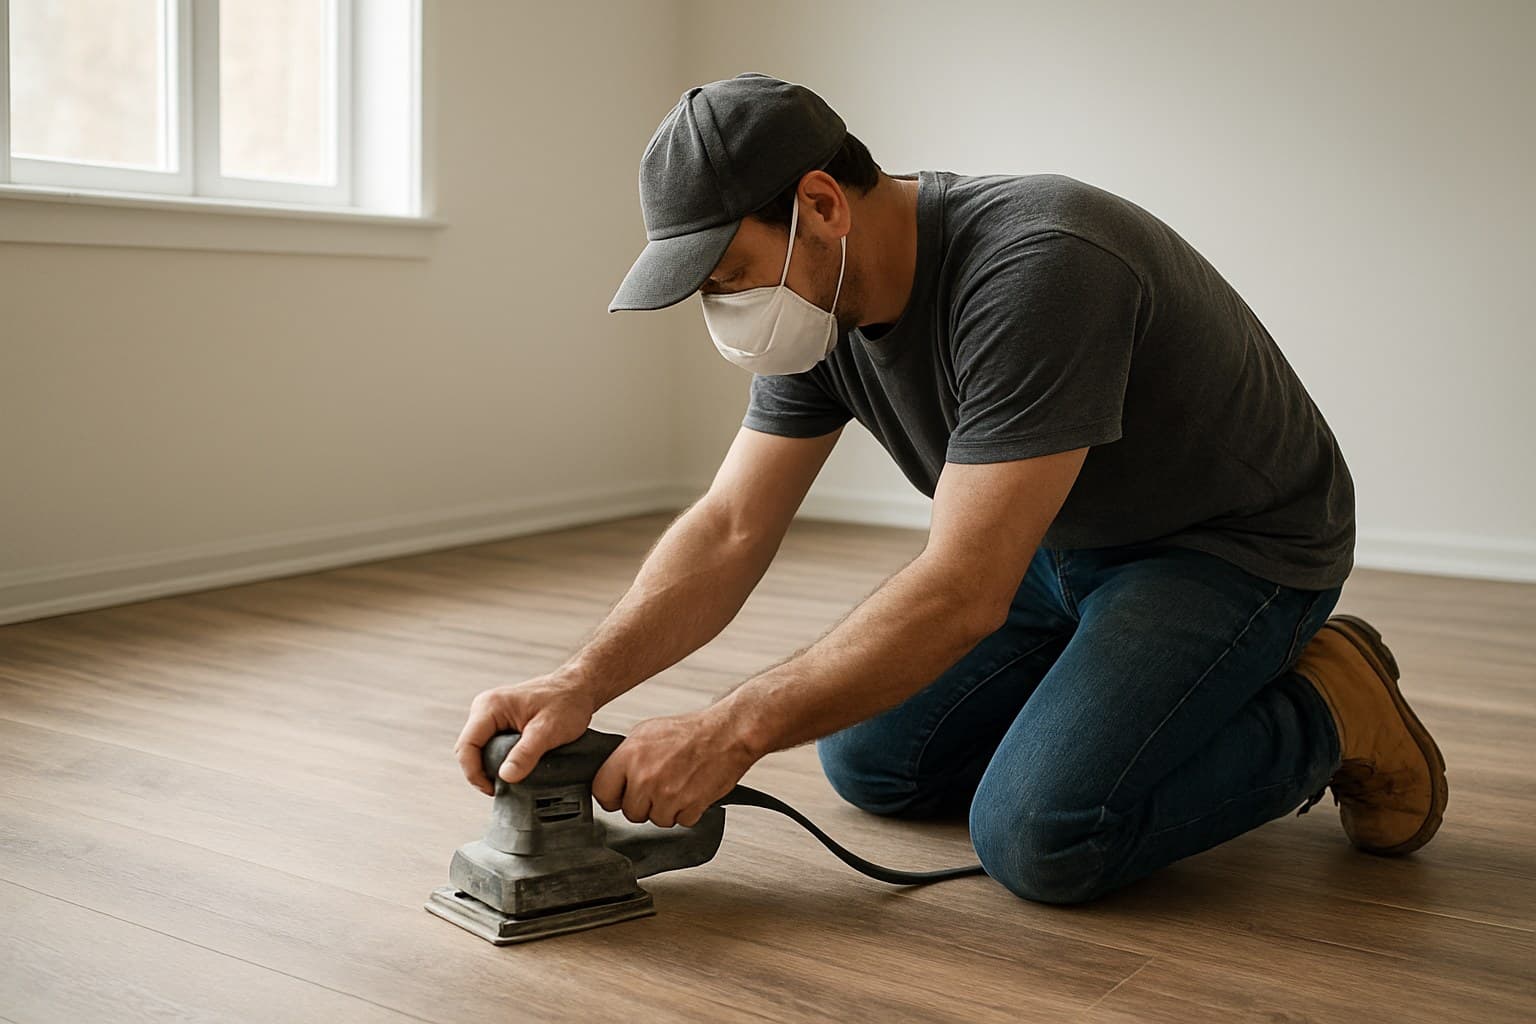
Only after that do you touch the surface. Clean the whole floor with a degreaser like TSP (trisodium phosphate, a strong cleaner that cuts grease and grime) and let it fully dry. Sand every plank dull with 60 to 120 grit paper, where the number is how coarse the paper is, lower being rougher. Vacuum and wipe until there isn't a speck of dust left.
Then comes the step the light-cleaning guides skip: a true bonding primer. Think of it as the glue bridge between the slick laminate and the epoxy. It's the reason a prepped floor grabs and an unprepped one peels.
One safety note that matters. According to the EPA, many older laminate cores are made of composite wood that can emit formaldehyde, a chemical that can irritate your eyes, nose, and throat. Sanding kicks that up in the dust. Wear a respirator, open windows, and run a fan the whole time you sand.
Prep Order That Gives Epoxy a Fighting Chance
- Confirm the floor is flat and the planks are not moving or lifting
- Check for moisture underneath before you commit
- Clean the whole surface with TSP or a degreaser and let it dry
- Sand every plank dull with 60-120 grit (respirator and ventilation on)
- Vacuum and wipe until zero dust remains
- Apply a true bonding primer, not just epoxy straight down
- Coat with epoxy per the product's own instructions
Source: my own prep and tear-out jobs, plus EPA guidance on composite wood formaldehyde
The prep sequence for coating over an existing laminate floor.
What It Costs and Whether It's Worth It
Here's the money, split the way it should be. Epoxy floor coating materials usually run about $2 to $5 per square foot. Add a bonding primer and prep supplies, another $1 to $3. If you hire it out, pro labor adds roughly $3 to $7 per square foot depending on how much sanding and prep the floor needs. If you're weighing a poured, self-leveling system instead of a brush-on coating, our self-leveling epoxy flooring cost guide breaks down what that pricier route actually runs.
Basements and stairs cost more than an open room. Basements need extra moisture control before anything goes down, and stairs are slow hand work with a lot of edging, so both push labor toward the top of that range or past it.
| Cost piece | Range (per sq ft) |
|---|---|
| Epoxy coating materials | $2-5 |
| Bonding primer + prep supplies | $1-3 |
| Pro labor (open room) | $3-7 |
| Basement or stair premium | add 20-40% |
Epoxy over laminate, materials versus labor per square foot, open-room baseline.
These are full install totals, not another line-by-line breakdown, DIY combines materials and primer, pro combines materials and labor from the table above.
Now do the honest math. Once you buy sanding gear, primer, epoxy, and a topcoat, the total often lands close to what glue-down luxury vinyl or a fresh laminate re-lay would run, but with a shorter lifespan and more ways to fail. That's the part the glossy how-to videos leave out.
My real advice: put that budget into a floor built to be walked on. If you like the epoxy look, do it on a surface it was made for, like a garage or a slab. A concrete floor is a far better epoxy candidate than laminate, largely because of why the concrete underneath matters so much to how long the coating holds up, and the epoxy garage floor cost guide and the epoxy floor installation cost guide both break down those numbers so you can compare before you commit.