
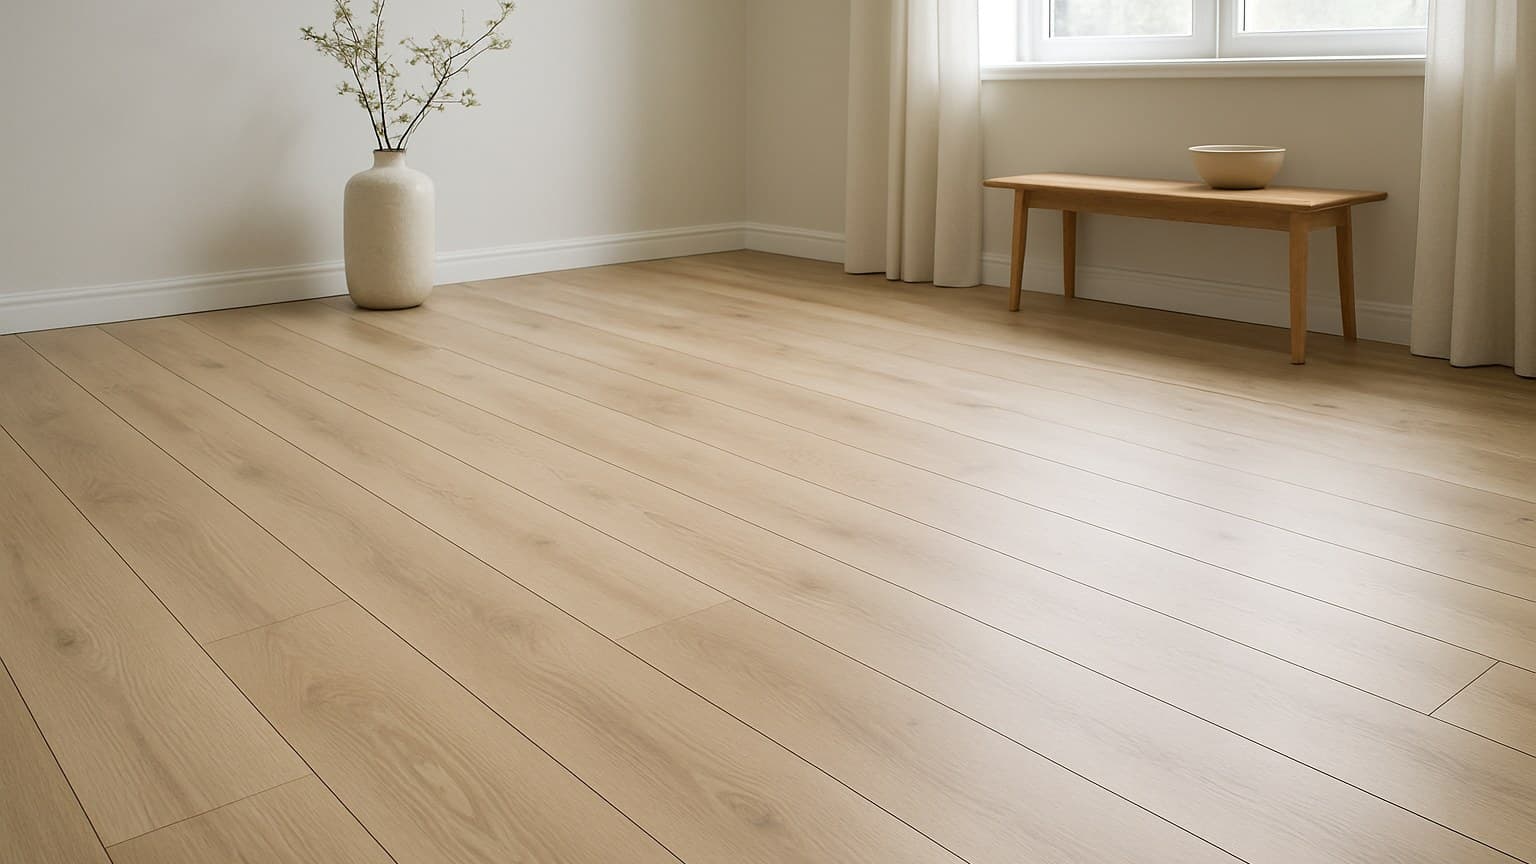
When Sandra in Dayton asked me to quote birch laminate for her hallway, she was picturing three different products at once, and picking the wrong one would have cost her at the first spill or the first refinish she couldn't do. This checklist runs in the order you actually hit each choice on the showroom floor. Nail the first item and the other eight fall into line.
Key takeaways
- "Birch laminate" is a printed photo of birch over an HDF (high-density fiberboard) core, not real birch wood, and not the same as birch-look vinyl plank.
- Match the AC rating to your traffic: AC3 for normal homes, AC4 for busy halls and kitchens, AC5 for the hardest-worn rooms.
- Even a "waterproof core" laminate fails at the seams, so keep it out of full bathrooms and treat every board edge as the weak point.
- Expect roughly $1.50-4 per square foot for the birch laminate itself and $2-5 per square foot for install, with basements and stairs costing more than open rooms.
- Check for EPA TSCA Title VI compliance and NALFA certification before you buy, so the floor meets US formaldehyde-emission limits.
1. Confirm What You're Actually Buying: Laminate, Hardwood, or Birch-Look LVP
Birch laminate is a printed photo of birch grain, sealed under a clear top coat, glued onto a wood-fiber core. According to NALFA (the North American Laminate Flooring Association), laminate flooring is a multi-layer synthetic product built from an image layer fused over a high-density fiberboard (HDF) core beneath a clear, protective wear layer. It is not sawn birch wood, and it is not the same thing as a birch-look vinyl plank. That same layered build shows up under other species names too, including cherry laminate flooring made on an identical HDF-core process.
Three products get sold under nearly the same name. Real birch hardwood is actual wood, solid or engineered, and you can sand and refinish it. Birch laminate is a picture over an HDF (high-density fiberboard) core, so once the image wears through, it is done. Birch-look LVP is a printed pattern over a vinyl core, and it behaves like other wood-look vinyl, the way hickory vinyl plank flooring does. If real birch hardwood is still in the running, it's worth working through solid vs. engineered hardwood species selection before you decide which one fits your room.
The fastest way to tell them apart at the store is to look at the cut end of a sample. Brown, packed fiberboard means laminate. Real grain running through the edge means hardwood. A solid plastic edge means LVP. That LVP category hides plenty of surprises, and bamboo vinyl flooring is one of the trickier ones to shop since several different builds get sold under that same name.
This has to be item one because everything below it, moisture limits, refinishing, cost, all hangs on which of the three you're holding.
| Feature | Birch laminate | Birch hardwood | Birch-look LVP |
|---|---|---|---|
| What it's made of | Printed birch photo over HDF core | Real birch wood (solid or engineered) | Printed birch photo over a vinyl core |
| Refinish or sand later | No | Yes (limited by veneer on engineered) | No |
| Water tolerance | Water-resistant surface, weak seams (a waterproof core is only true of specific products, like Pergo Defense+) | Low, avoid wet rooms | Highest of the three |
| Feel underfoot | Firm, can sound hollow | Solid, warm | Softer, quieter |
| Typical material cost | $1.50-4/sq ft | $5-12/sq ft | $2-7/sq ft |
Source: the birch-look floors I've pulled up
How the three birch products differ on build, refinishing, water, feel, and material cost.
2. Read the AC (Usage Class) Rating Against Your Traffic
Match the AC rating to your traffic: AC3 for a normal home, AC4 for busy halls and kitchens, AC5 for the hardest-worn rooms. Buying above what a room needs just costs you more.
AC stands for the abrasion class, a score for how well the wear layer resists rubbing and scuffing. It comes from the EN 13329 laminate testing standard, and NALFA's laminate flooring FAQ points to this AC system as the industry benchmark manufacturers and installers use to communicate a laminate floor's durability. The higher the number, the tougher the surface.
A low AC rating on a busy floor wears through the printed birch image at doorways and turns first. On laminate there is no fix for that, since you cannot sand a photo back. So read the number against the room and stop there. Solid hardwood doesn't share that ceiling, since unfinished boards can simply be sanded and finished on site instead of replaced once the surface wears down.
| AC rating | Built for | Where it fits at home |
|---|---|---|
| AC1-AC2 | Light use, bedrooms, closets | Low-traffic rooms only |
| AC3 | General residential | Most whole-home installs |
| AC4 | Heavy residential, light commercial | Kitchens, hallways, entries |
| AC5 | Heavy commercial-grade | Hardest-worn spots, pets plus kids |
Source: the NALFA and EN 13329 usage-class tables I check product specs against before recommending a grade
AC usage-class ratings and the rooms each one is built to handle.
3. Check the Wear Layer and Edge Treatment
The wear layer is the clear top coat that takes all the scuffing, and its thickness plus its aluminum-oxide content are what set the AC rating in item two. Thicker and harder means a higher class.
Edges matter too. A beveled edge has a small groove milled along each board, which hides tiny height differences between planks and reads more like real wood. A square edge looks seamless but shows any bump in the subfloor underneath.
There is a trade-off with looks. That beveled groove also gives water a channel to sit in, so weigh the edge style against the moisture point in item six before you fall for the look.
Run your hand across a sample before you buy. Good birch laminate has a slight embossed grain texture you can feel, not a slick, flat photo.
4. Match the Birch Shade and Grain to Your Room's Light
Birch runs a wide range: pale, near-white sapwood, light golden middle tones, and reddish-brown heartwood, all carried by a fine, mostly straight grain. The shade you pick should answer the room's light, not just the showroom's.
Here is the light rule I give people. Pale birch brightens a dark, north-facing room, but it can look washed out under strong direct sun. Warmer golden birch grounds a bright room and hides scuffs better between cleanings.
Birch is what a lot of buyers reach for when they want a Scandinavian, minimalist, or farmhouse feel. The catch on cheaper laminate is that the whole floor is printed from just a few board images, so a large room starts showing the same plank over and over.
Before you commit to a big room, lay six or eight planks out and count how often the grain repeats. Then set a sample down in the actual room and look at it morning and evening, because that floor lives under your light, not the store's.
5. Verify Air-Quality Compliance: EPA TSCA Title VI (Toxic Substances Control Act) and NALFA
The HDF core is held together with glue that can give off formaldehyde. Under the EPA's TSCA Title VI rule, TSCA stands for Toxic Substances Control Act, the federal law that caps formaldehyde emissions from composite wood products like laminate cores, any laminate sold legally in the US has to meet those emission limits. That is the floor for safety, and it is worth confirming rather than assuming.
On the box or spec sheet, look for a plain "TSCA Title VI compliant" statement and, better still, certification from NALFA, whose laminate certification program tests emissions along with durability performance rather than emissions alone. A named formaldehyde-emission class is another good sign the maker is being specific.
Sustainability is worth a glance too. NALFA notes that laminate flooring typically relies on fast-growing wood species and can incorporate recycled wood fiber in its HDF core, which is part of why it's often positioned as a lower-impact option than solid hardwood.
Check the country of manufacture and the paperwork instead of trusting the price tag alone.
One habit that helps either way: open the windows and air out the room for the first few days after install to clear any early off-gassing.
6. Judge Moisture Room by Room: Waterproof Core vs. Vulnerable Seams
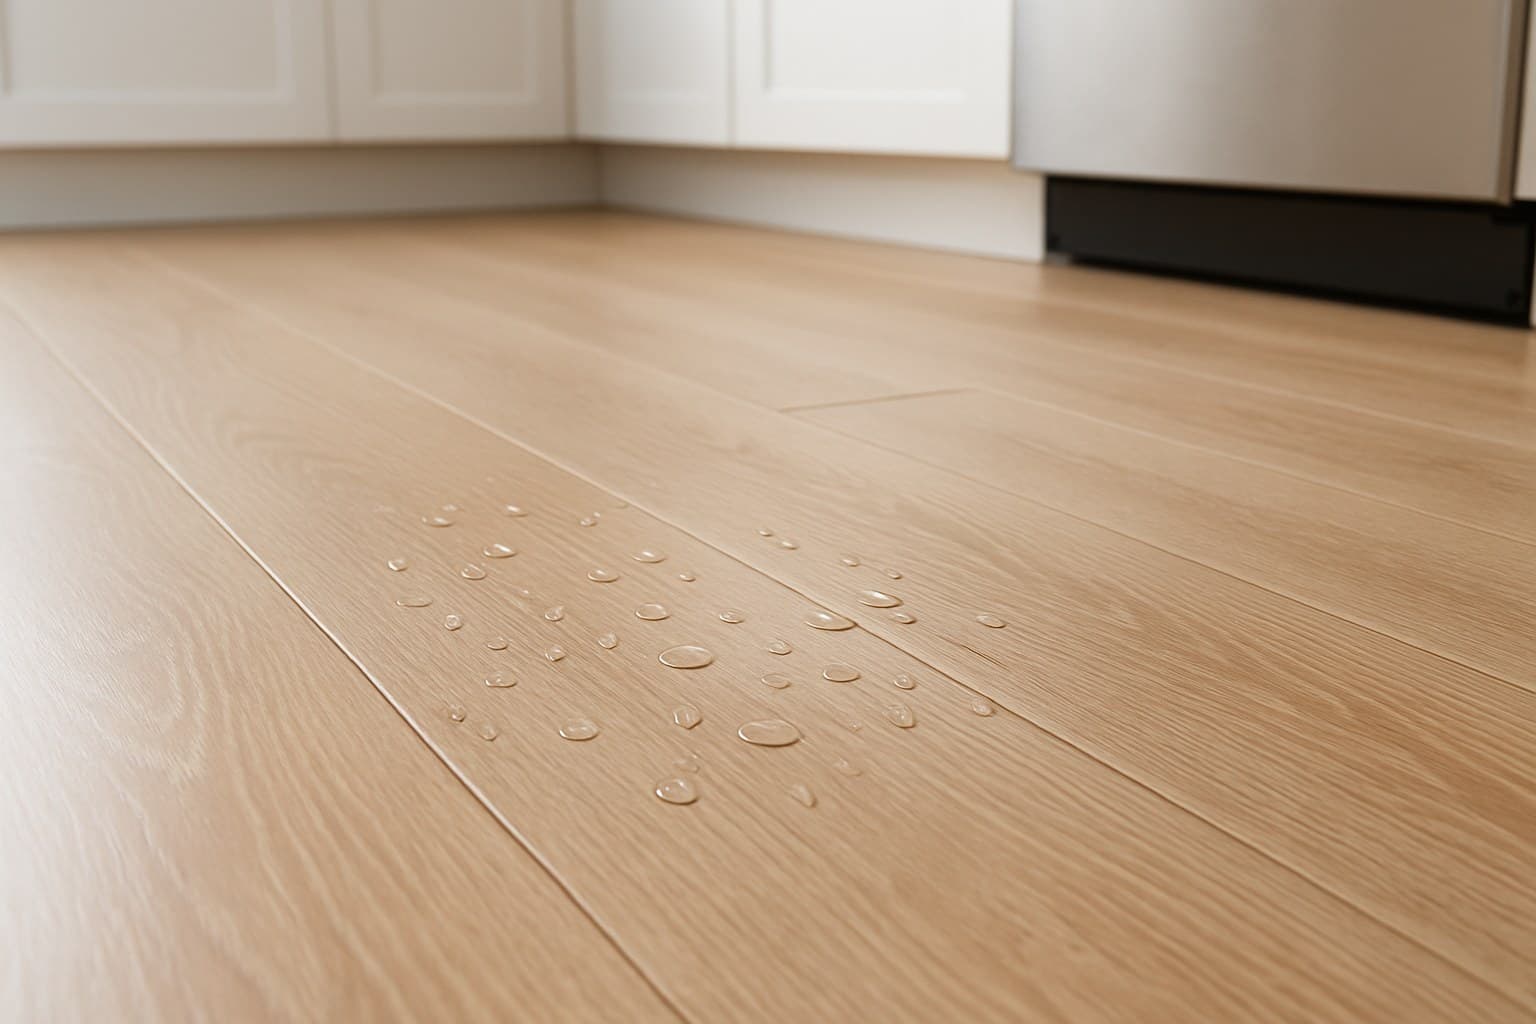
Here is the line the ad copy blurs. A "waterproof core" claim only covers the body of the board, not the click seams where two planks meet. Treat every board edge as the weak point, no matter what the core promises.
Room by room, birch laminate is fine in bedrooms, living rooms, and most kitchens as long as you wipe spills up fast. It gets risky in full bathrooms and laundry rooms, where water sits and steam lingers. Keep it out of anywhere standing water can pool.
A spec like Pergo Defense+'s "72-hour water resistance" rating is for surface spills you mop up, not for water left standing on a seam over the weekend. Read numbers like that as a cleanup window, not a swimming rating.
For a fuller breakdown of which rooms laminate flooring actually works in, that guide walks through the wet-room calls in more detail.
7. Flatten and Moisture-Test the Subfloor Before You Lay a Plank
Before any board goes down, the subfloor has to be flat and dry, because a floating laminate floor only lasts as long as the prep beneath it. Warranties quietly depend on this, not on which plank you picked.
Flatness first. Laminate makers want the subfloor flat to within a set tolerance over a span, and the exact figure is in that product's own install guide, so look it up rather than eyeball it. High spots get ground down and low spots get filled with leveling compound.
Then moisture. On concrete especially, you check with a moisture meter, a small tool that reads how much water is in the slab, and you compare that reading to the maker's limit. A couple in Kettering once talked me out of that test to save an afternoon, and I let them. The floor cupped before the season was out and I relaid it on my own dime. That is the day I stopped treating the test as optional.
Two more prep points. Floating floors need an expansion gap around the room's edge, and the size is set by the maker, not by a rule of thumb. And acclimation, letting the boxes sit in the room first, is required by some products and skipped by others, so the box's own sheet decides it.
Underlayment goes down next, between the subfloor and the laminate itself, and it is worth choosing on purpose rather than grabbing whatever roll is cheapest. Plain foam underlayment is fine over a dry, flat wood subfloor. Over concrete, or in any below-grade room, you need a moisture barrier as well: either a combination foam-and-film underlayment with the vapor barrier bonded on, or a separate 6-mil poly sheet taped and sealed at the seams, unless the laminate itself already ships with an attached moisture barrier, in which case adding a second one is redundant. Sound matters too, especially above an occupied room or in a condo. Underlayment is rated for sound with IIC (Impact Insulation Class) and STC (Sound Transmission Class) numbers, and many building codes or HOA rules set a minimum, often IIC 50, for flooring installed over someone else's ceiling, so check that figure against your building's requirement before buying.
Moldings and transitions are the last prep decision, not an afterthought to solve on install day. T-molding covers the gap where laminate meets another floor at the same height, a reducer strip handles a height difference such as laminate meeting tile, and quarter-round or shoe molding hides the expansion gap along the wall. Plan these pieces alongside the underlayment, since the expansion gap you leave is sized to be covered by one of them, not left exposed.
8. Know What Birch Laminate Actually Costs, Split by Material and Labor
Plan on roughly $1.50-4 per square foot for the birch laminate itself and $2-5 per square foot for a pro to install it. There is no single national number, because both halves swing with the product grade, the room, and the prep.
The room shape drives labor hard. An open living room is the cheap end. Basements add moisture prep and cutting around posts, and stairs are slow, fussy work, so both cost more per square foot than a plain rectangle.
| Line item | Materials | Labor |
|---|---|---|
| Open room, AC3 laminate | $1.50-3.00/sq ft | $2.00-3.50/sq ft |
| Kitchen or hallway, AC4 | $2.50-4.00/sq ft | $3.00-4.50/sq ft |
| Basement (adds moisture prep) | $2.00-4.00/sq ft | $3.50-5.00/sq ft |
| Stairs | $2.50-4.00/sq ft | Often priced per step, higher |
Cost ranges for birch laminate split into material and installed labor, by room type.
Worked example, a 200 square foot living room. At $2.50 per square foot, the laminate runs about $500. At $3 per square foot, install runs about $600. Add underlayment and trim, and you land near $1,150 before tax, or about $5.75 per square foot all in. Run the same math with your own square footage and your quoted rates.
9. Decide DIY or Hire, Honestly
Click-lock birch laminate in a plain, open room is a realistic weekend job for most handy homeowners. The planks snap together without glue, and the biggest skill is careful measuring and cutting.
Where I tell people to hire out is stairs, glue-down products, and large open-plan runs where the floor crosses from one room's moisture conditions into another. Those are the jobs where a small mistake in the expansion gap or the transition shows up as buckling months later.
Be honest about the prep, too. If leveling a wavy subfloor or reading a moisture meter is past what you want to take on, that is exactly the part worth paying for, because it is the part the warranty leans on.